| Author |
 Topic Search Topic Search  Topic Options Topic Options
|
08TRDOFFROAD 
Guest


Joined: March 16 2011
Location: Herriman
Status: Offline
Points: 352
|
 Post Options Post Options
 Thanks(0) Thanks(0)
 Quote Quote  Reply Reply
 Topic: 08TRDOFFROAD's 45 Gallon Build Topic: 08TRDOFFROAD's 45 Gallon Build
Posted: April 15 2011 at 11:16am |
Updated: 4/15/2011
It's offical! It is time for another build thread!   I am jumping back into the hobby again after a nearly two year absence!  I recently purchased a Aqueon 45 Gallon tank to fit an existing stand that I already had, I went with the biggest tank I could get with that right size footprint for my stand. The dimensions are 36"x13"x24" The equipment list so far is very basic... Current~45 gallon tank ~30 lbs of Carib Sea Sugar Sized Aragonite Sand ~50 lbs of Key Largo Marco Rock ~Octopus BH-1000 HOB Skimmer (slightly modified) ~150 W Eheim Jager Heater ~2-150 W HQI Retrofit Kits with Pheonix 14k bulbs from hellolights.com Planned~2-3 Koralia Evolution 750 gph Powerheads ~2-39 W T5HO Sunlight Supply Tek retrofit kit for actinic supplementation The tank has been running with water and sand for several weeks while I decided on rock.
 |
This image has been resized. Click this bar to view the full image. The original image is sized 1024x768 and weights 146KB. | 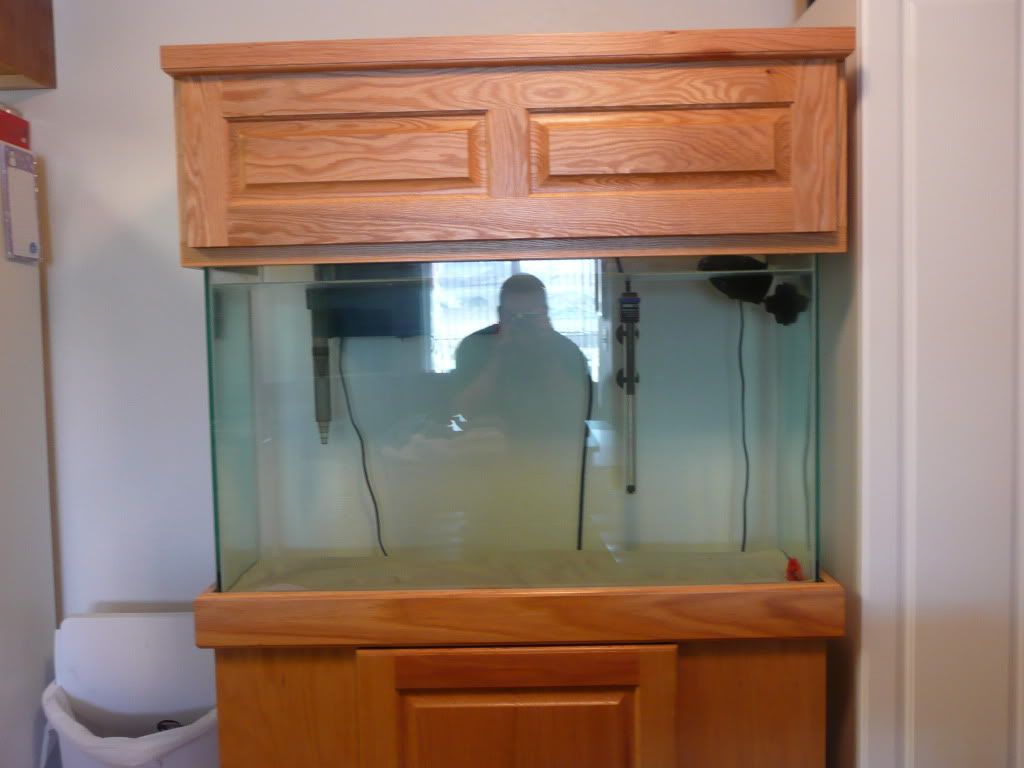
 |
This image has been resized. Click this bar to view the full image. The original image is sized 1024x768 and weights 158KB. | 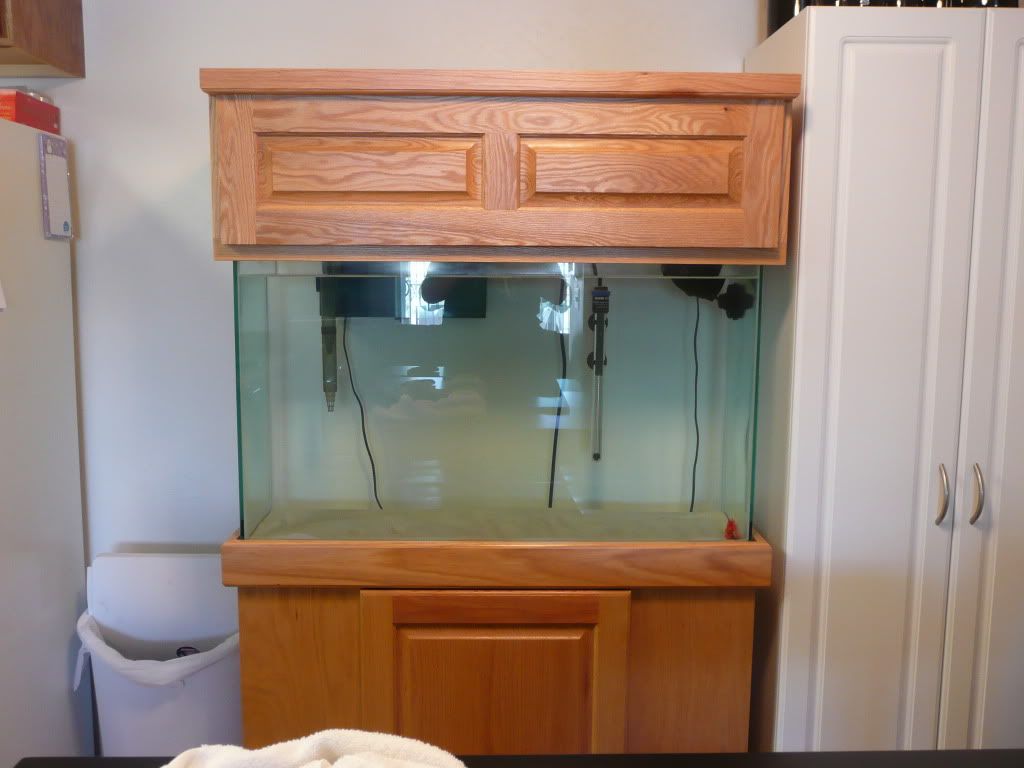 I ordered 50 lbs of Marco rock that just arrived yesterday. I didn't have time to unbox it or look at it all, but I am very impressed with what I saw when I peaked at it breifly last night. It is very porous and clean! I don't think I will be able to fit all dry 50 lbs in the tank! I will rinse it in fresh water to get the dust off and then it will be going straight in the tank. I will take pictures of the rock as I unbox it, as well as of the tank once it is aquascaped tonight. I will pick up a few medium raw shrimp from the store tonight to toss in to get the cylce going also. I will only leave them in the tank until there is a registerable amount of ammonia and then remove them. The plans for the tank to start out with are a FOWLR while I save for my lighting and protein skimmer. But, eventually my wife and I will be keeping LPS, Clams, and some type of anemone. Planned Livestock list~Pair of True Percula Clownfish ~Flame Angelfish I will do my best to keep this thread updated with pictures as things progress...
|
 |
08TRDOFFROAD 
Guest


Joined: March 16 2011
Location: Herriman
Status: Offline
Points: 352
|
 Post Options Post Options
 Thanks(0) Thanks(0)
 Quote Quote  Reply Reply
 Posted: April 15 2011 at 11:18am Posted: April 15 2011 at 11:18am |
As of 3/16/2011...
Over the weekend I was able to get a lot of progress made on the tank! I got my rock unpacked and put in the tank and I can't tell you how impressed I am with the rocks I received from Marcorocks! I was also able to get a background put on to hide all the equipment. I added two Koralia 4's that I had for circulation until I have the funds to purchase their smaller counter parts. Here is some pictures of how the rock came packaged. Each piece was wrapped individually in bubble wrap.
 |
This image has been resized. Click this bar to view the full image. The original image is sized 1024x768 and weights 253KB. | 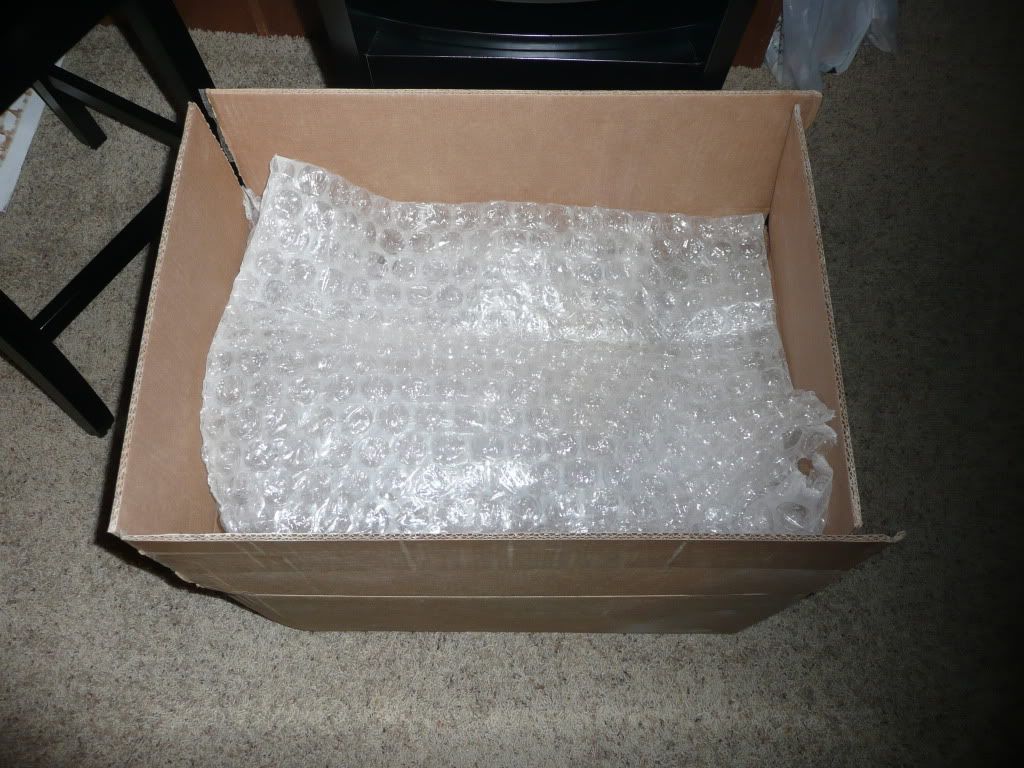 There was very little rubble due to the way it was packed.
 |
This image has been resized. Click this bar to view the full image. The original image is sized 1024x768 and weights 186KB. | 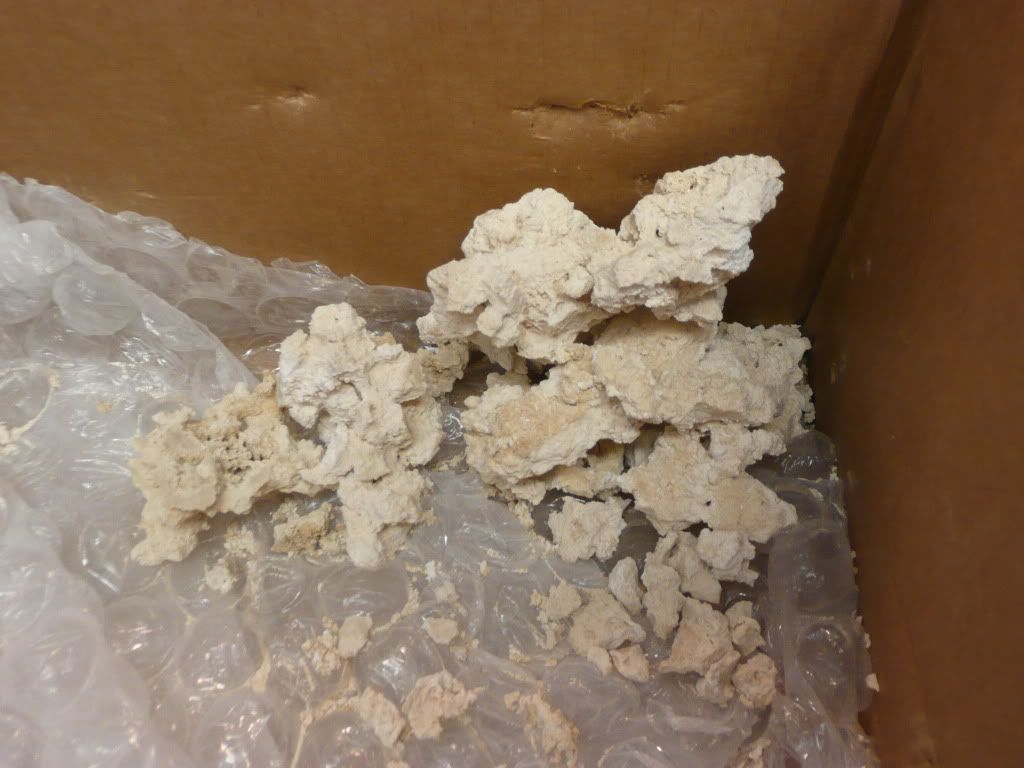 Here is all 50 lbs laid out after unpacking.
 |
This image has been resized. Click this bar to view the full image. The original image is sized 1024x768 and weights 345KB. | 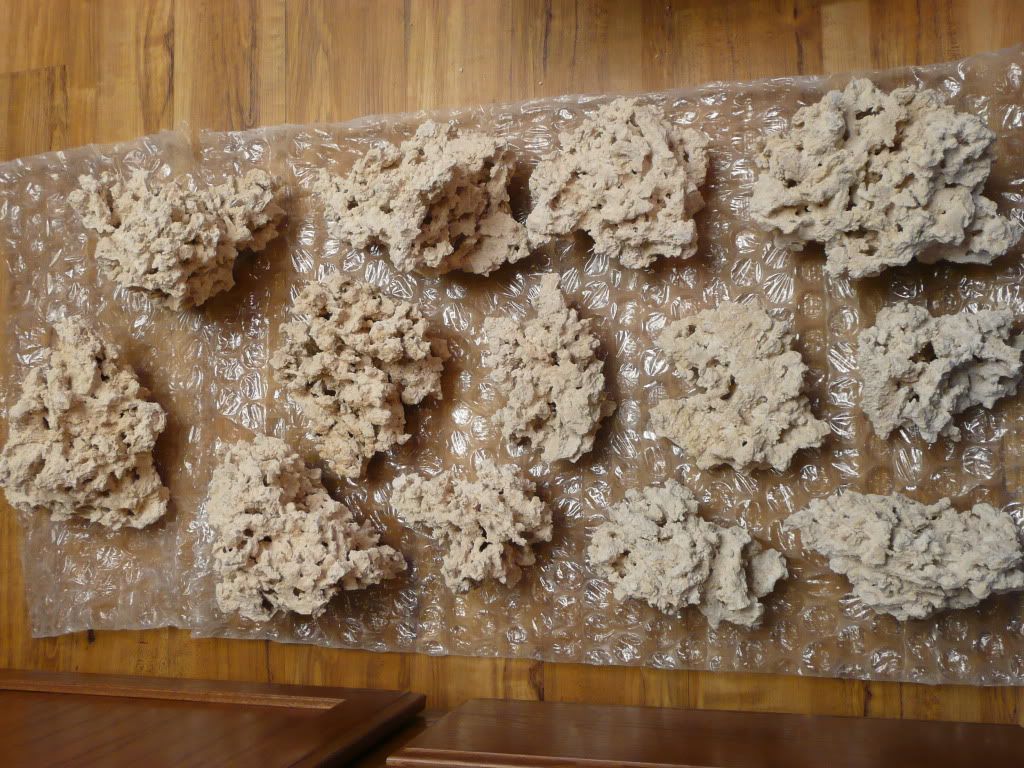
 |
This image has been resized. Click this bar to view the full image. The original image is sized 1024x768 and weights 254KB. | 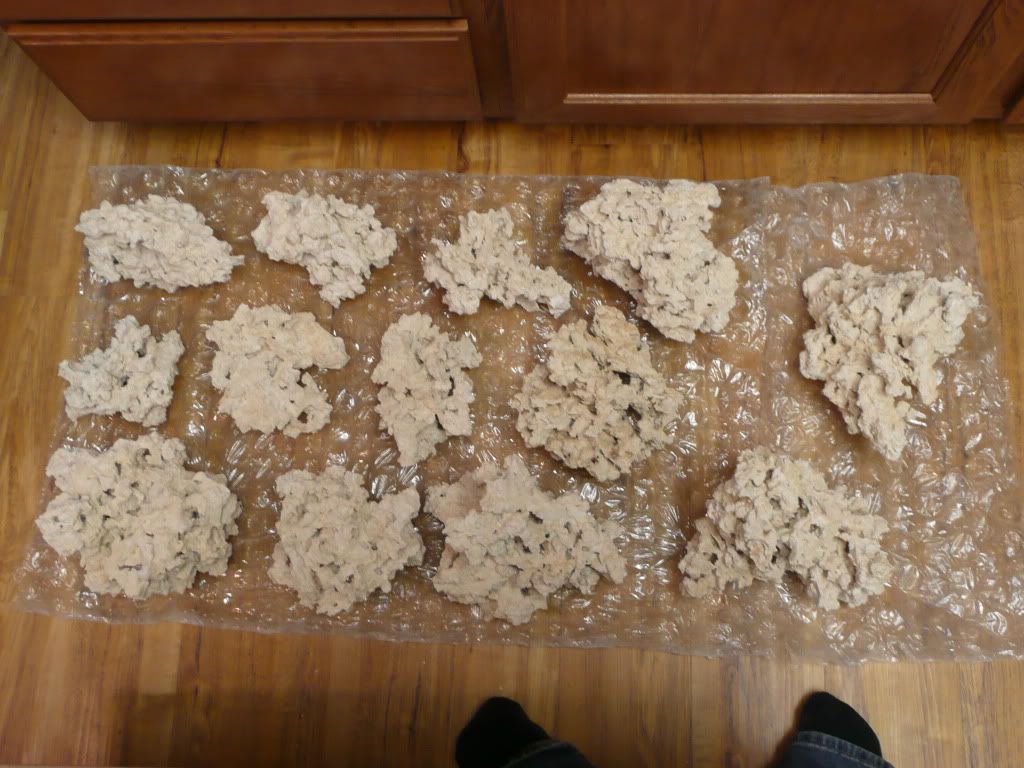 I rinsed the rock in a 5 gallon bucket and began placing in the tank. It was a lot of rock!!!! Here is the final aquascaping. I am extremely happy with the way the tank has turned out so far!
 |
This image has been resized. Click this bar to view the full image. The original image is sized 1024x768 and weights 172KB. | 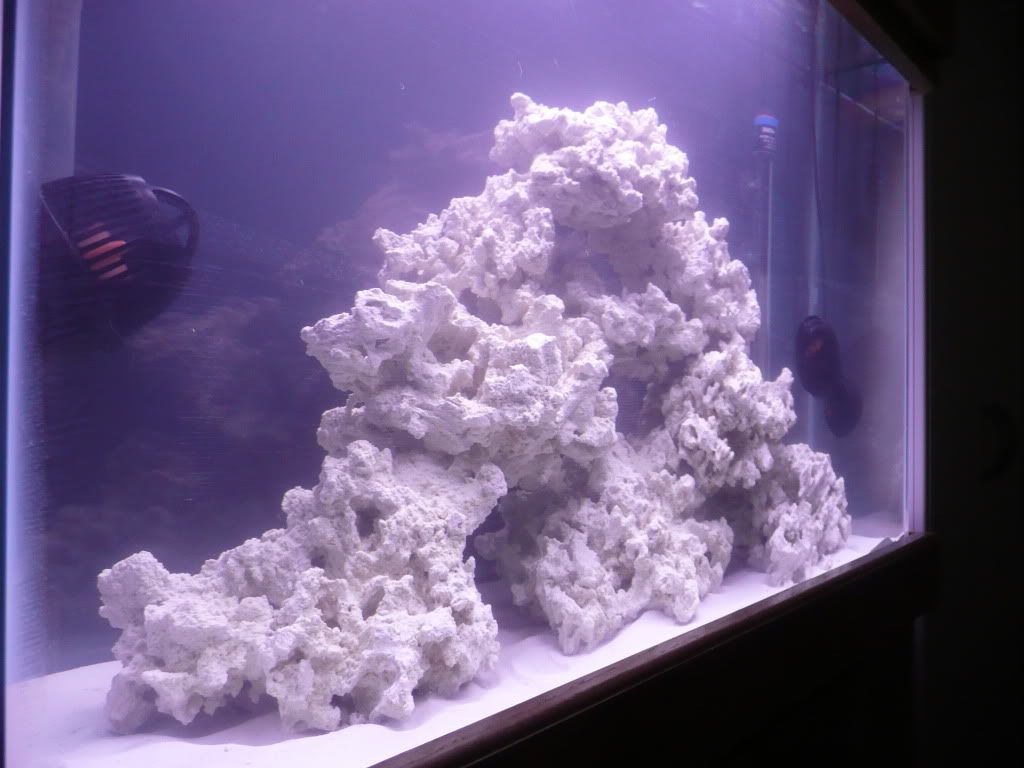
 |
This image has been resized. Click this bar to view the full image. The original image is sized 1024x768 and weights 165KB. | 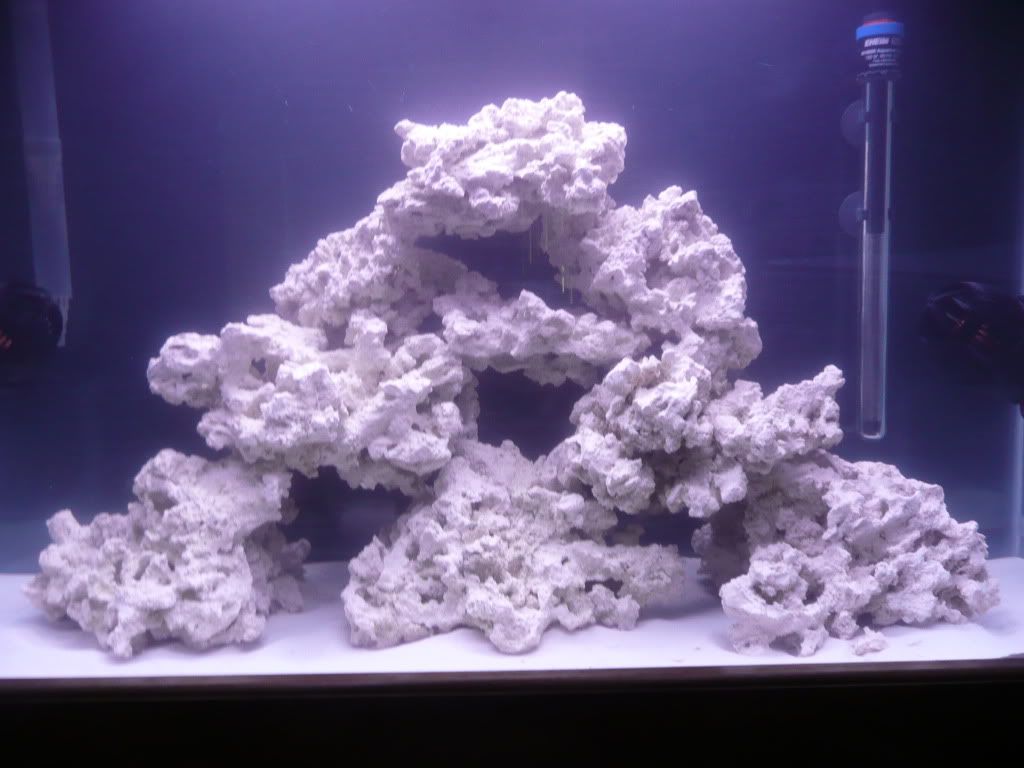
 |
This image has been resized. Click this bar to view the full image. The original image is sized 1024x768 and weights 121KB. | 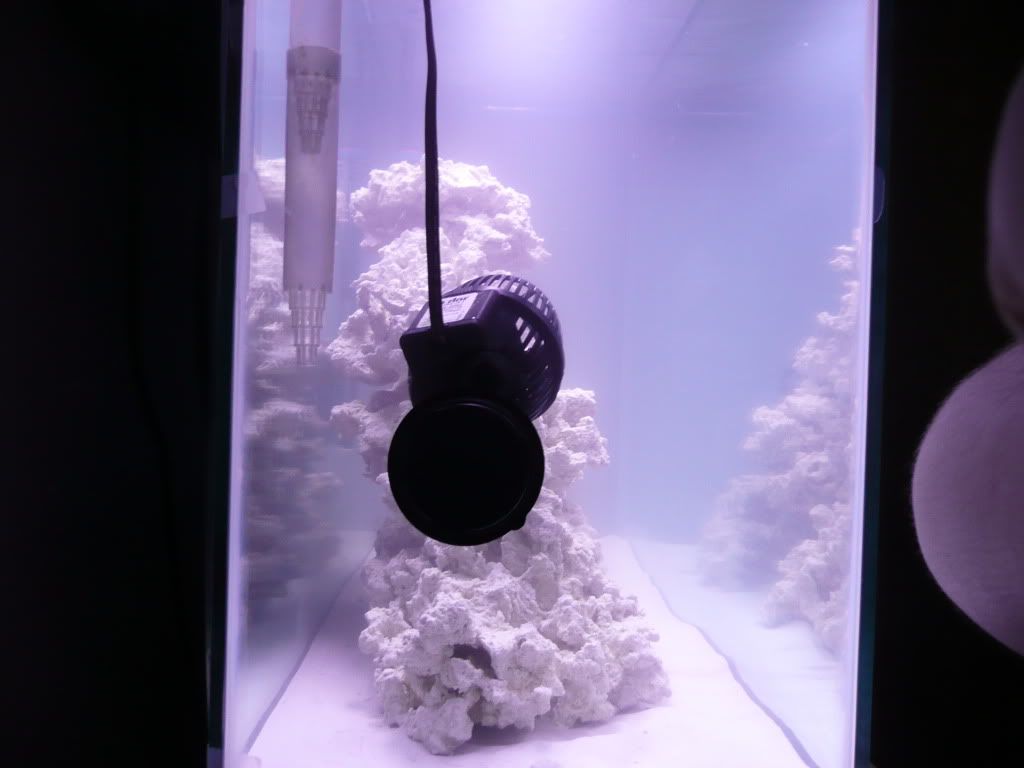
 |
This image has been resized. Click this bar to view the full image. The original image is sized 1024x768 and weights 106KB. | 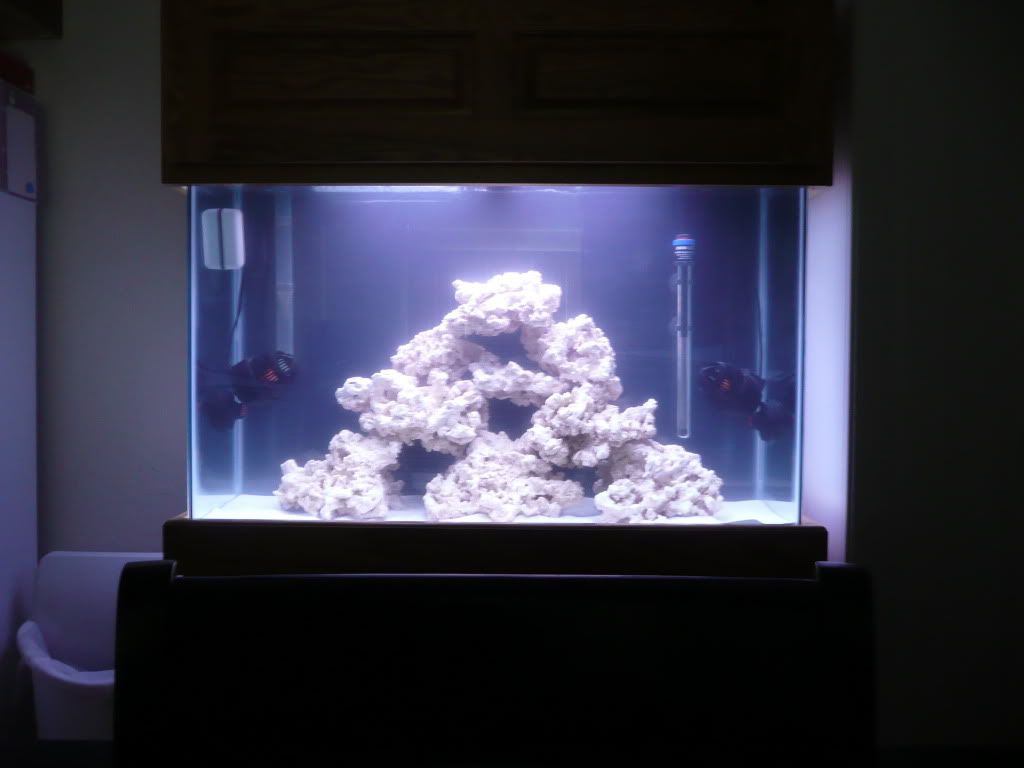 I did have a little rock left over after aquascaping. I figure I have about 40 lbs of rock in the tank as it sits now. I will hang on to the left overs for another project or bigger tank down the road.
 |
This image has been resized. Click this bar to view the full image. The original image is sized 1024x768 and weights 305KB. | 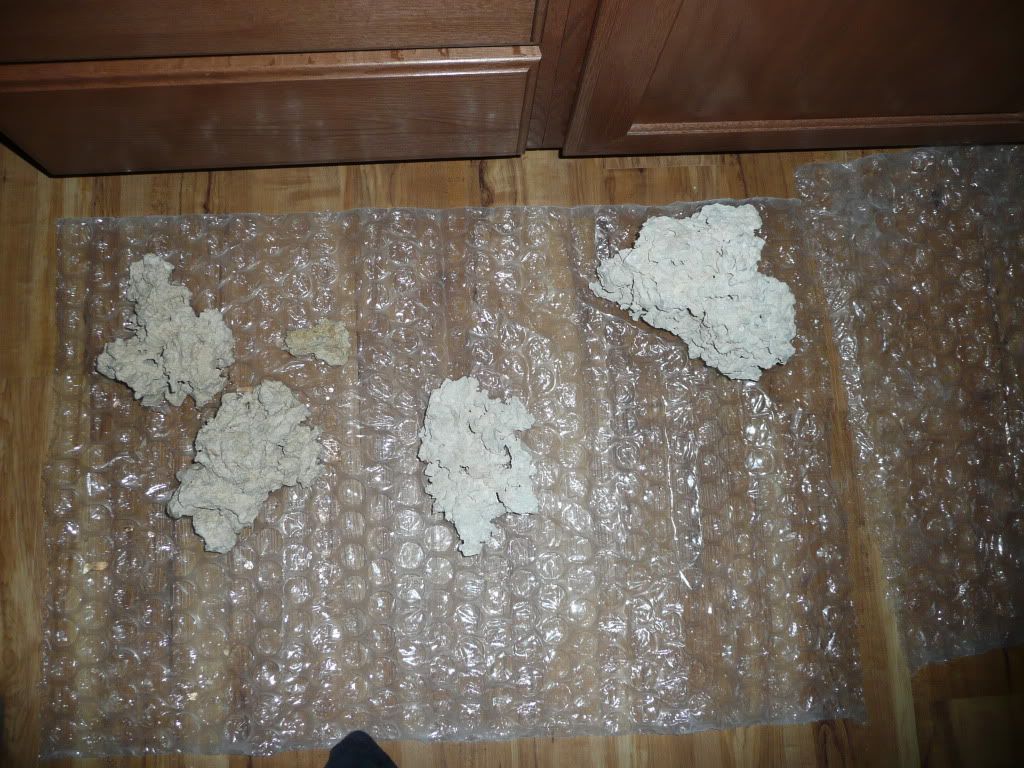 Last night I was able to get to the grocery store to pick up a couple raw shrimp to get the cycle started. The guy at the meat counter looked at me extremely funny when I asked him for just two of the 71-90 count raw shrimp. It cost me a whopping 11 cents... Then as I proceded to the check out and the cashier wanted to throw the bag away after scanning it until he realized that there was still shrimp in it! lol! Now for the long wait as the cycle progresses.... I tested the water last night to get a baseline for the cycle. SG: 1.024 PH: 7.9 Ammonia: 0 Nitrate: 0 Nitrite: 0 Temp: 78 degrees And the waiting begins! |
 |
08TRDOFFROAD 
Guest


Joined: March 16 2011
Location: Herriman
Status: Offline
Points: 352
|
 Post Options Post Options
 Thanks(0) Thanks(0)
 Quote Quote  Reply Reply
 Posted: April 15 2011 at 11:21am Posted: April 15 2011 at 11:21am |
As of 3/30/2011...
Edited by 08TRDOFFROAD - April 15 2011 at 11:35am
|
 |
Lewy 
Guest

Joined: April 13 2010
Location: Bountiful
Status: Offline
Points: 995
|
 Post Options Post Options
 Thanks(0) Thanks(0)
 Quote Quote  Reply Reply
 Posted: April 15 2011 at 11:22am Posted: April 15 2011 at 11:22am |
|
to get the 'cycle' going faster see if someone here will give you some LS, LR, or some chaeto.
|
|
40 gal w/ 20 sump
|
 |
08TRDOFFROAD 
Guest


Joined: March 16 2011
Location: Herriman
Status: Offline
Points: 352
|
 Post Options Post Options
 Thanks(0) Thanks(0)
 Quote Quote  Reply Reply
 Posted: April 15 2011 at 11:24am Posted: April 15 2011 at 11:24am |
I am well past cycling, I am a new member and want to get involved in our local club, but the site won't let me post more than this for a minute, "spamming is not permitted" ha ha! My tank is already cycled and well on its way, I just haven't been able to post my further progress.
|
 |
08TRDOFFROAD 
Guest


Joined: March 16 2011
Location: Herriman
Status: Offline
Points: 352
|
 Post Options Post Options
 Thanks(0) Thanks(0)
 Quote Quote  Reply Reply
 Posted: April 15 2011 at 11:24am Posted: April 15 2011 at 11:24am |
|
|
 |
08TRDOFFROAD 
Guest


Joined: March 16 2011
Location: Herriman
Status: Offline
Points: 352
|
 Post Options Post Options
 Thanks(0) Thanks(0)
 Quote Quote  Reply Reply
 Posted: April 15 2011 at 11:26am Posted: April 15 2011 at 11:26am |
As of 4/6/2011...tank finished cycling, completed a 10 g water change and added my first inhabitants from Fish 4 U!
The tank is no longer just rock and water....  On Monday my water tests were: Salinity: 1.024 Temp: 79* PH: 8.00 Ammonia: 0 Nitrite: 0 Like I said before I don't have a nitrate test, but because my nitrite levels have fallen to zero I assumed my cycling is complete. I performed a roughly 10 gallon water change with freshly mixed SW to lower my nitrate levels and prepare the tank for it new inhabitants. My wife and I then set out on our first trip in which we could seriously shop for new fish for the tank. We ended up with two True Percula's as we had originally planned! These are some great looking little fish! Here they are floating
 |
This image has been resized. Click this bar to view the full image. The original image is sized 1024x768 and weights 191KB. | 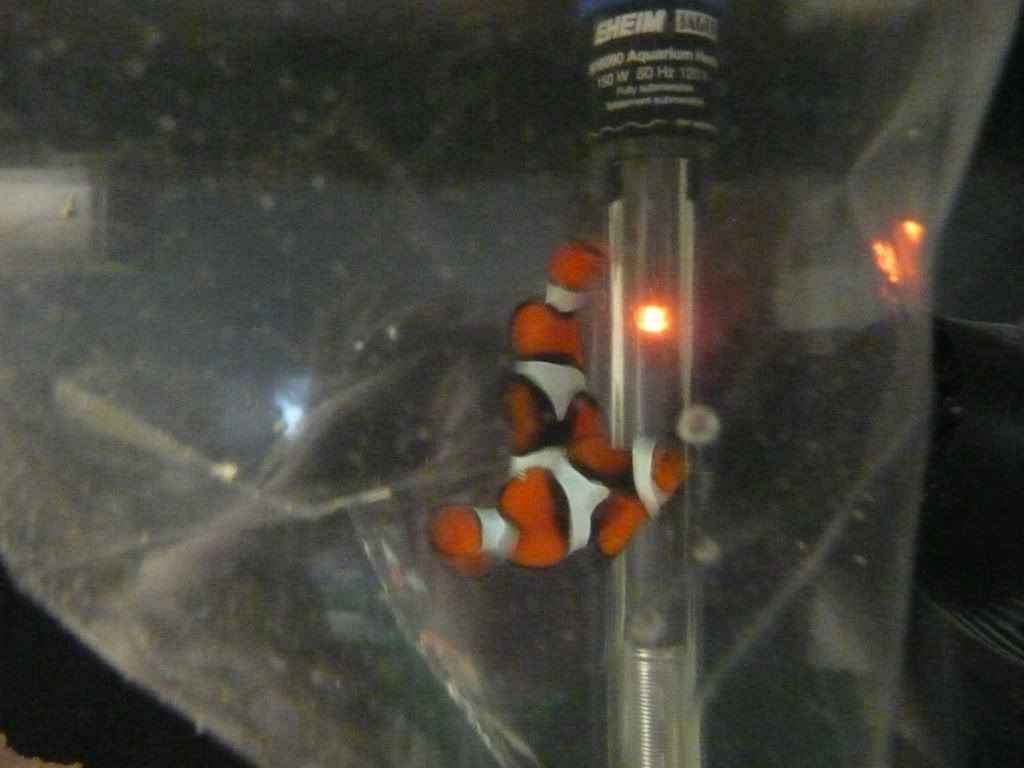 And these were taken yesterday (Tuesday) morning after they had an afternoon and night to adjust to their new surroundings without the lights on.
 |
This image has been resized. Click this bar to view the full image. The original image is sized 1024x768 and weights 157KB. | 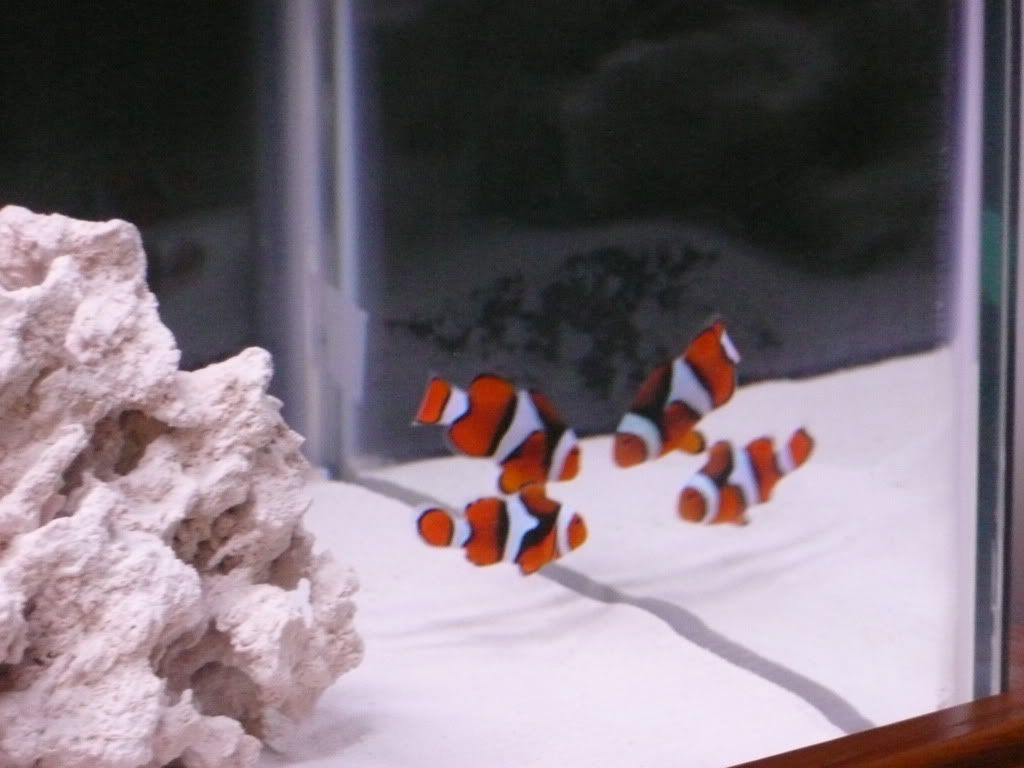
 |
This image has been resized. Click this bar to view the full image. The original image is sized 1024x768 and weights 145KB. | 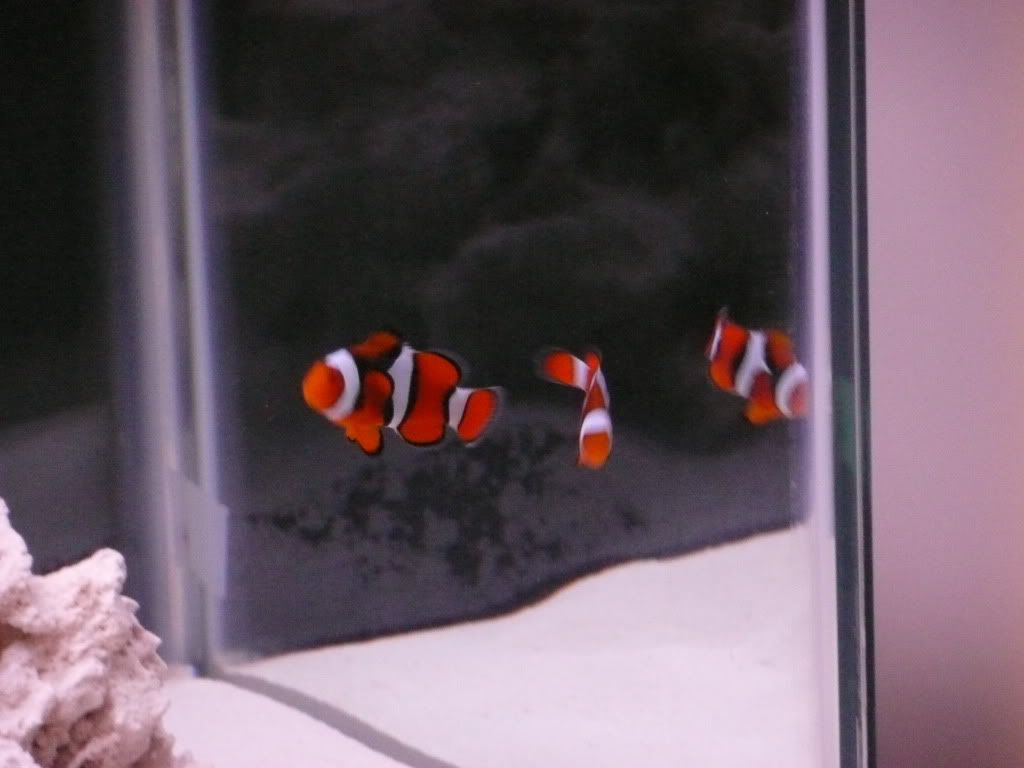
 |
This image has been resized. Click this bar to view the full image. The original image is sized 1024x768 and weights 155KB. | 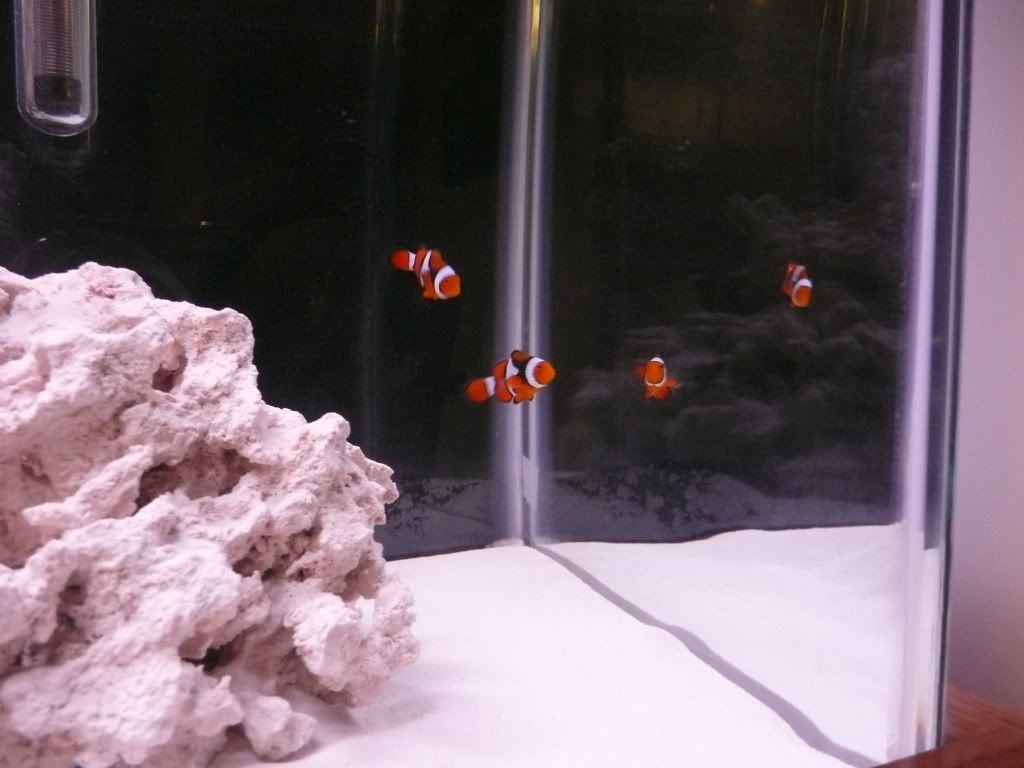
 |
This image has been resized. Click this bar to view the full image. The original image is sized 1024x768 and weights 139KB. | 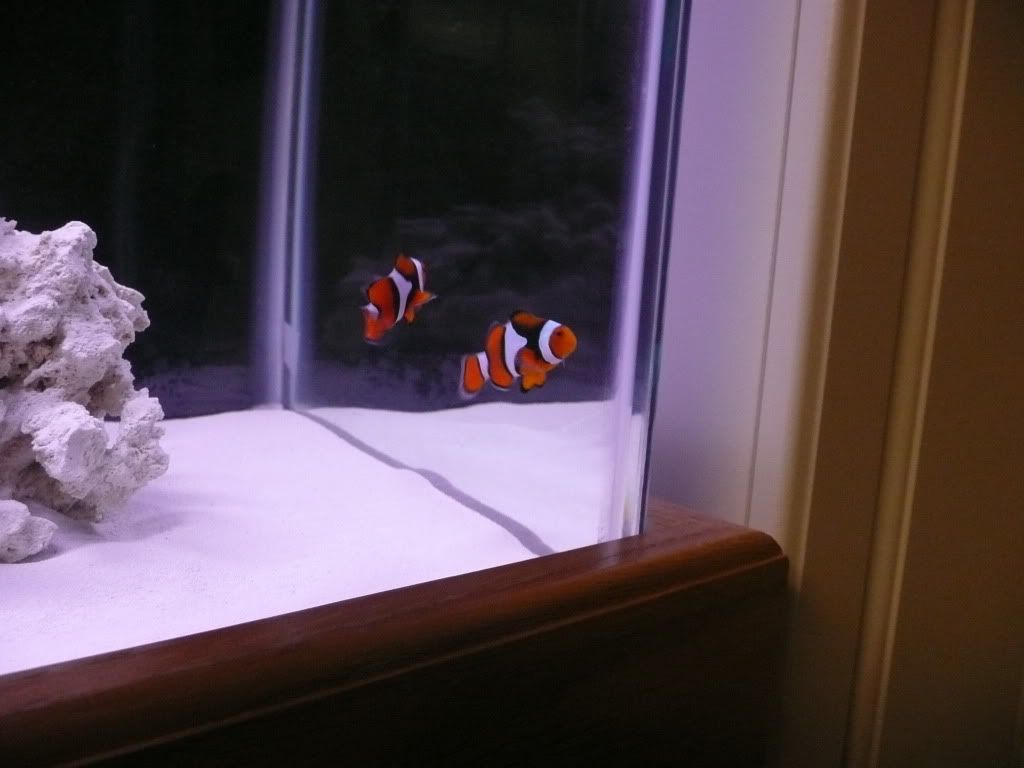 They seem to be settling in just fine. They ate some mysis and some 1 mm sinking NLS Thera A yesterday!
|
 |
08TRDOFFROAD 
Guest


Joined: March 16 2011
Location: Herriman
Status: Offline
Points: 352
|
 Post Options Post Options
 Thanks(0) Thanks(0)
 Quote Quote  Reply Reply
 Posted: April 15 2011 at 11:29am Posted: April 15 2011 at 11:29am |
I think this is the last post and my progress will be current!
As of 4/13/2011
A few updates!
I added 5 small red leg hermits from Marine Aquatics to clean up after my clownfish. They seem to be doing a great job taking care of the few rouge pellets my fish may miss.
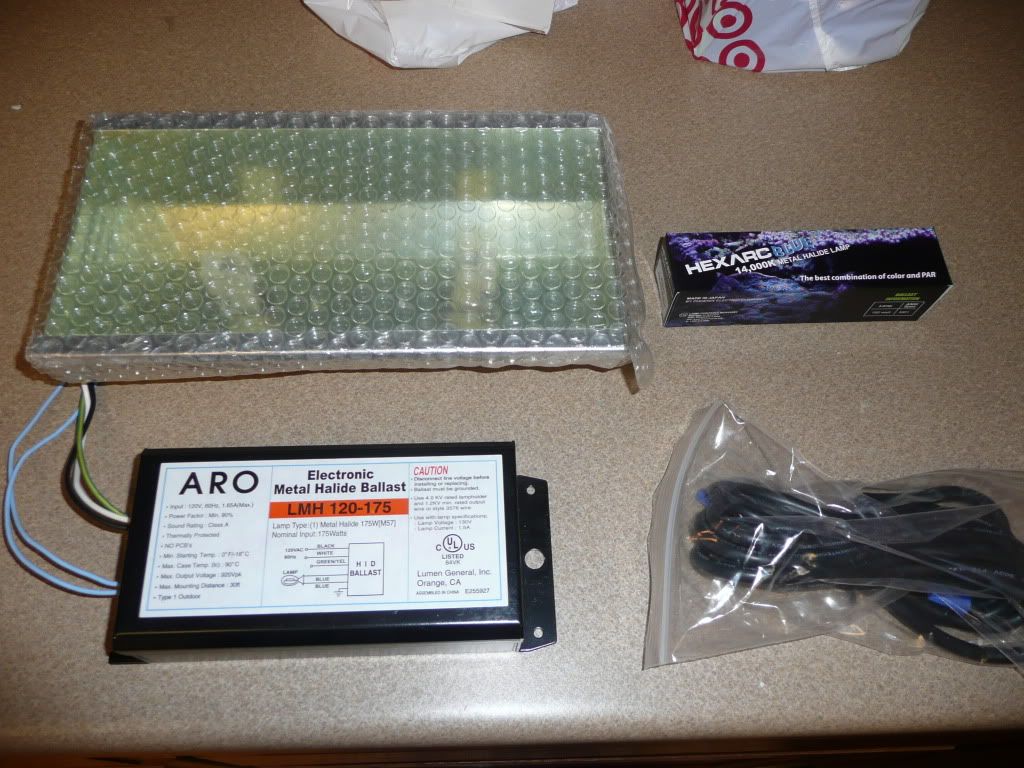
Secondly, I got the lighing installed in my canopy. The quality of the kits from Hellolights is great!!
If you haven't noticed, I love pictures, so here are a bunch of the installation and final set up.
How they come packaged
 |
This image has been resized. Click this bar to view the full image. The original image is sized 1024x768 and weights 169KB. |
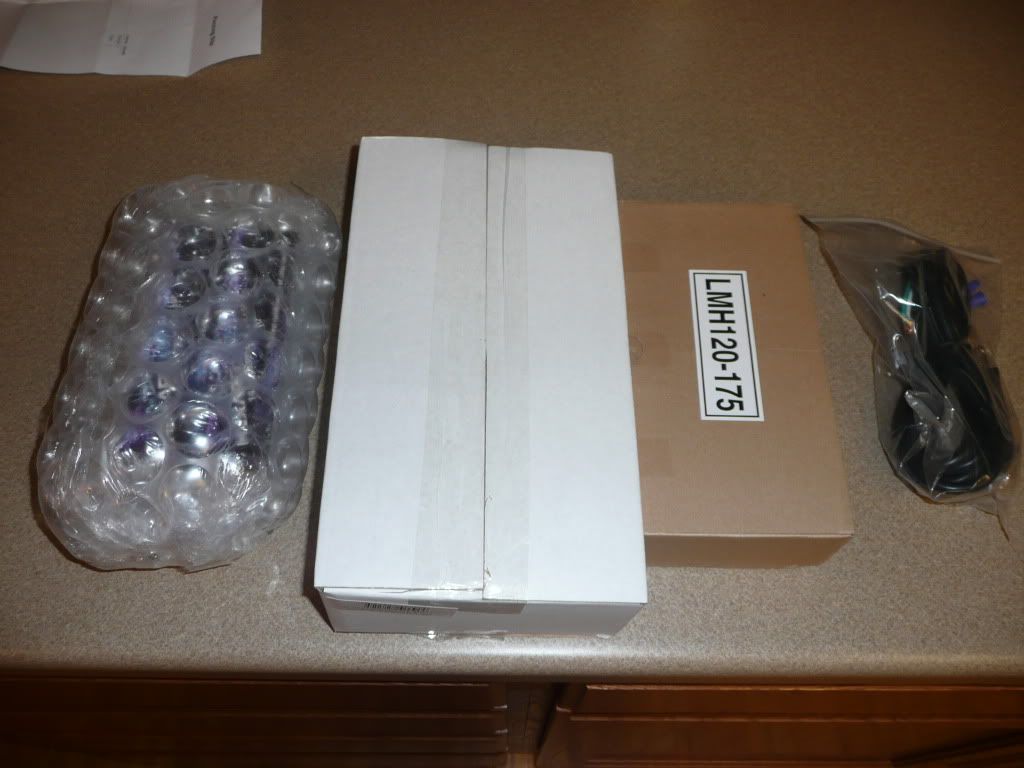 Right out of the box, of course this is just one of the two kits I purchased.
 |
This image has been resized. Click this bar to view the full image. The original image is sized 1024x768 and weights 272KB. |
 Installed in the canopy
 |
This image has been resized. Click this bar to view the full image. The original image is sized 1024x768 and weights 159KB. |
 |
This image has been resized. Click this bar to view the full image. The original image is sized 1024x768 and weights 163KB. |
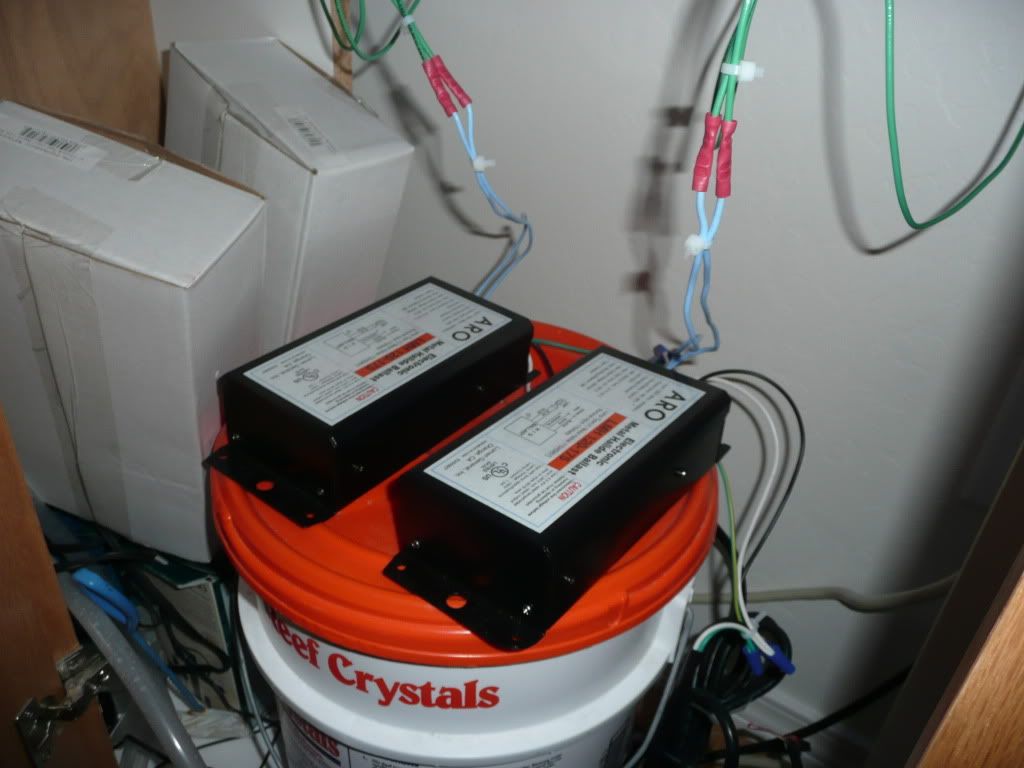
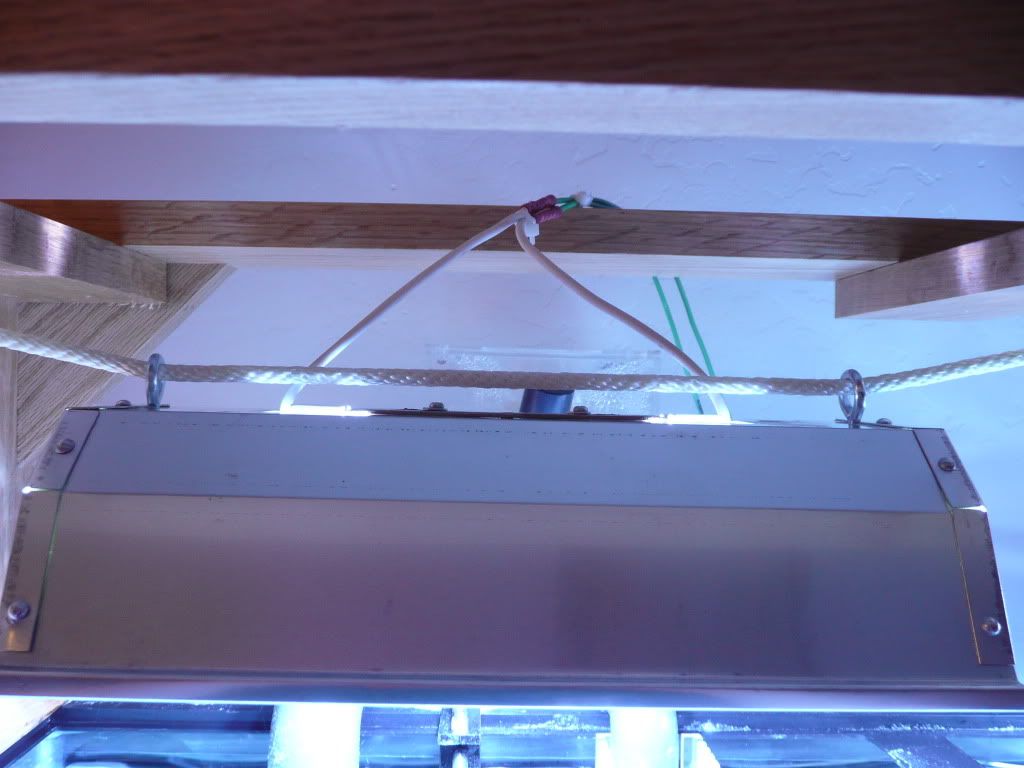 I am not sure that the way I mounted them will work because the eyelets get HOT! The lights were only on for an hour or so last night and the eyelets were too hot to touch, which worries me that they may melt through the rope. The temporary ballast location, until I can round up screws to mount them to the side of the stand. I also need to do something to water proof my connections. I bought heat shrink, but it turned out to be not quite big enough to go over my crimp connectors, also once the ballasts are mounted I will tidy up the wiring.
 |
This image has been resized. Click this bar to view the full image. The original image is sized 1024x768 and weights 160KB. |
 A full tank shot
 |
This image has been resized. Click this bar to view the full image. The original image is sized 1024x768 and weights 131KB. |
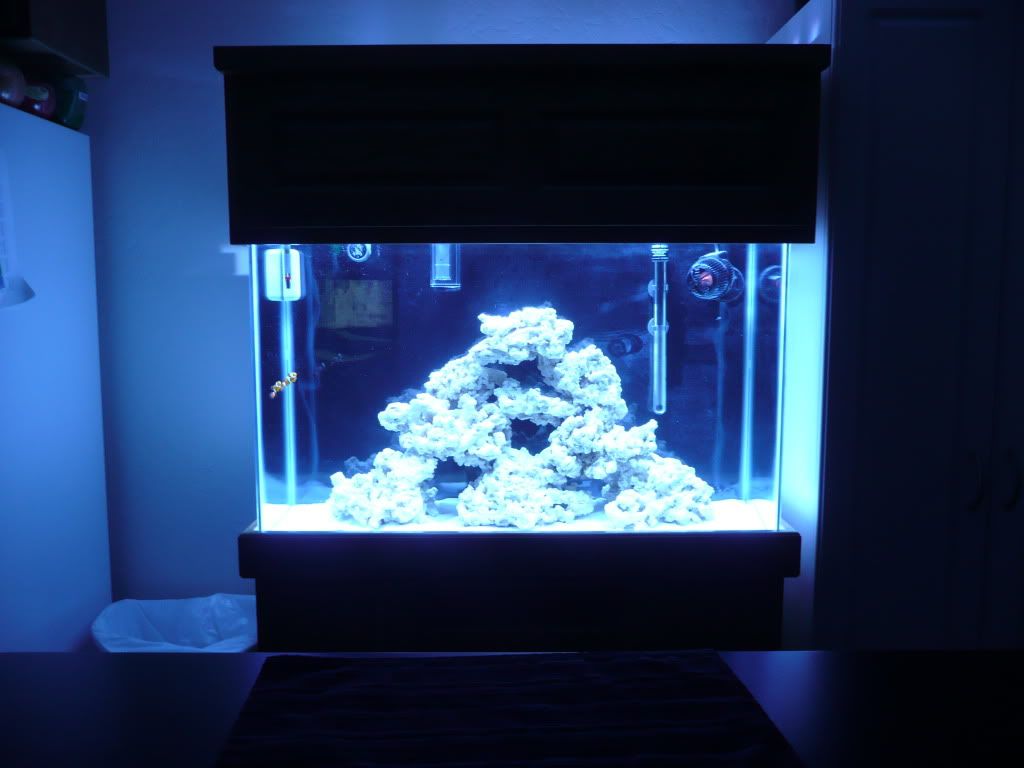 The only residents of the tank enjoying the new "sun."
 |
This image has been resized. Click this bar to view the full image. The original image is sized 1024x768 and weights 125KB. |
 |
This image has been resized. Click this bar to view the full image. The original image is sized 1024x768 and weights 108KB. |
 |
This image has been resized. Click this bar to view the full image. The original image is sized 1024x768 and weights 150KB. |
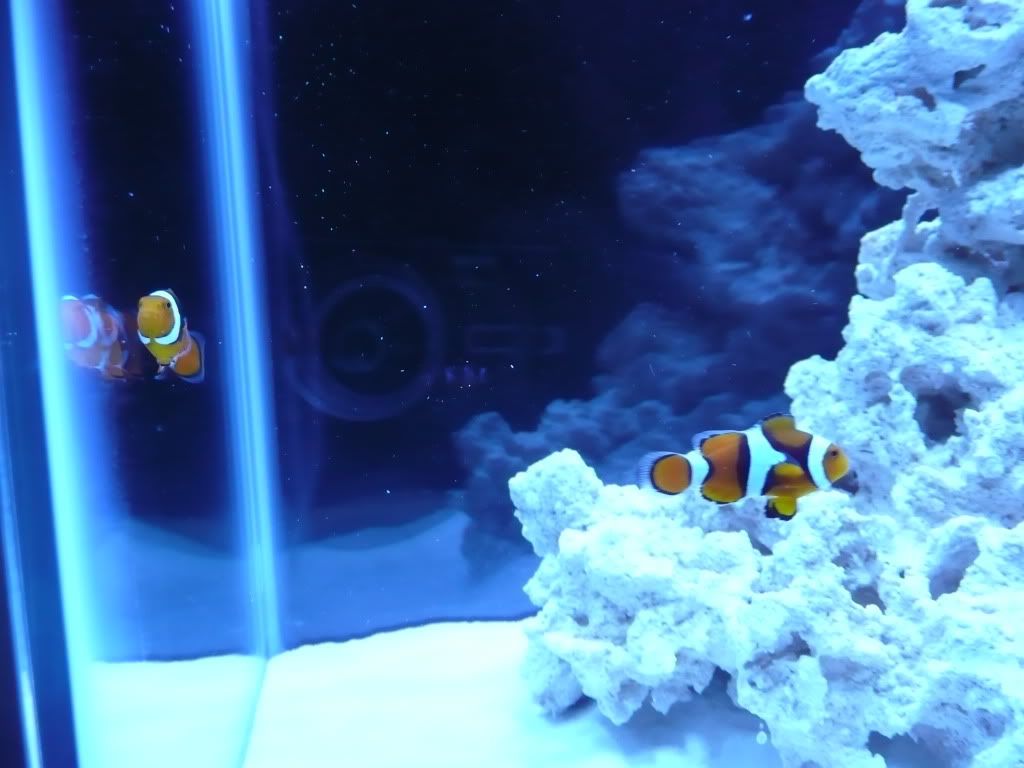 So far the bulbs are pretty blue...I am hopeing that as they burn in they will get a bit more white light to them.
Edited by 08TRDOFFROAD - April 15 2011 at 11:39am
|
 |
Lewy 
Guest

Joined: April 13 2010
Location: Bountiful
Status: Offline
Points: 995
|
 Post Options Post Options
 Thanks(0) Thanks(0)
 Quote Quote  Reply Reply
 Posted: April 15 2011 at 11:29am Posted: April 15 2011 at 11:29am |
|
it looks good. I think you'll be real happy with your set up.
|
|
40 gal w/ 20 sump
|
 |
08TRDOFFROAD 
Guest


Joined: March 16 2011
Location: Herriman
Status: Offline
Points: 352
|
 Post Options Post Options
 Thanks(0) Thanks(0)
 Quote Quote  Reply Reply
 Posted: April 15 2011 at 11:31am Posted: April 15 2011 at 11:31am |
|
Thanks! It has been a process! Things will definitely be slowing down now, the cost of inital set up has drained my wallet...ha ha! I will be adding a few $5 frags and then it will be going on auto pilot for a while to give the "troops" time to regroup! ha ha!
|
 |
Lewy 
Guest

Joined: April 13 2010
Location: Bountiful
Status: Offline
Points: 995
|
 Post Options Post Options
 Thanks(0) Thanks(0)
 Quote Quote  Reply Reply
 Posted: April 15 2011 at 11:34am Posted: April 15 2011 at 11:34am |
|
you should add your city in 'location'. That way people around you can know where you are and offer help.
|
|
40 gal w/ 20 sump
|
 |
08TRDOFFROAD 
Guest


Joined: March 16 2011
Location: Herriman
Status: Offline
Points: 352
|
 Post Options Post Options
 Thanks(0) Thanks(0)
 Quote Quote  Reply Reply
 Posted: April 15 2011 at 11:43am Posted: April 15 2011 at 11:43am |
 Lewy wrote: Lewy wrote:
you should add your city in 'location'. That way people around you can know where you are and offer help. |
Done! 
|
 |
Jeremyw 
Guest


Joined: April 09 2009
Location: Utah County
Status: Offline
Points: 8513
|
 Post Options Post Options
 Thanks(0) Thanks(0)
 Quote Quote  Reply Reply
 Posted: April 15 2011 at 11:45am Posted: April 15 2011 at 11:45am |
|
Looks great! Thanks for all the pictures! I enjoyed them! Also man those clowns look really really nice! Enjoy the ride once again! Glade to have you here and a part of this awesome group of people!
|
 |
08TRDOFFROAD 
Guest


Joined: March 16 2011
Location: Herriman
Status: Offline
Points: 352
|
 Post Options Post Options
 Thanks(0) Thanks(0)
 Quote Quote  Reply Reply
 Posted: April 15 2011 at 11:48am Posted: April 15 2011 at 11:48am |
 disneymania wrote: disneymania wrote:
Looks great! Thanks for all the pictures! I enjoyed them! Also man those clowns look really really nice! Enjoy the ride once again! Glade to have you here and a part of this awesome group of people! |
Thanks! Glad to be back!
|
 |
Kirklan 
Guest

Joined: September 17 2003
Location: SE Idaho
Status: Offline
Points: 210
|
 Post Options Post Options
 Thanks(0) Thanks(0)
 Quote Quote  Reply Reply
 Posted: April 15 2011 at 12:17pm Posted: April 15 2011 at 12:17pm |
I'd definitely get some picture hanging wire or cable at home depot instead of that rope. I'd also be worried about it melting and dropping your lights in the water. You could always smear some silicone around the connections to make your wiring water proof.
|
|
SE Idaho
67G Rimless Reef
|
 |
08TRDOFFROAD 
Guest


Joined: March 16 2011
Location: Herriman
Status: Offline
Points: 352
|
 Post Options Post Options
 Thanks(0) Thanks(0)
 Quote Quote  Reply Reply
 Posted: April 15 2011 at 12:54pm Posted: April 15 2011 at 12:54pm |
 Kirklan wrote: Kirklan wrote:
I'd definitely get some picture hanging wire or cable at home depot instead of that rope. I'd also be worried about it melting and dropping your lights in the water. You could always smear some silicone around the connections to make your wiring water proof.
|
I did a bit of research on nylon/polyester rope this morning. The information I dug up shows that the rope has a melting point of 480 degrees. I don't think my eyelets are getting anywhere near that hot! My eyelets would have to be dang near "red hot" to be near that temp...at this point I am not to worried about it.
Edited by 08TRDOFFROAD - April 15 2011 at 1:01pm
|
 |
08TRDOFFROAD 
Guest


Joined: March 16 2011
Location: Herriman
Status: Offline
Points: 352
|
 Post Options Post Options
 Thanks(0) Thanks(0)
 Quote Quote  Reply Reply
 Posted: April 16 2011 at 8:32am Posted: April 16 2011 at 8:32am |
|
|
 |
jwoo 
Presidency


Joined: April 29 2009
Location: Alpine
Status: Offline
Points: 3603
|
 Post Options Post Options
 Thanks(0) Thanks(0)
 Quote Quote  Reply Reply
 Posted: April 16 2011 at 10:02am Posted: April 16 2011 at 10:02am |
|
Looking good! I've got a 45 gallon as well and I like what you've done so far.
|
|
None at the moment
Soon: 72 Gallon Bowfront
|
 |
08TRDOFFROAD 
Guest


Joined: March 16 2011
Location: Herriman
Status: Offline
Points: 352
|
 Post Options Post Options
 Thanks(0) Thanks(0)
 Quote Quote  Reply Reply
 Posted: April 16 2011 at 12:10pm Posted: April 16 2011 at 12:10pm |
 jwoo wrote: jwoo wrote:
Looking good! I've got a 45 gallon as well and I like what you've done so far. |
Thanks! The hardest part so far has been deciding on the lighting! I couldn't decide between halide or T5, but after seeing the shimmer from the Halides I know I made the right decision!!!
|
 |
kay181 
Guest


Joined: January 16 2009
Location: utah and co.
Status: Offline
Points: 352
|
 Post Options Post Options
 Thanks(0) Thanks(0)
 Quote Quote  Reply Reply
 Posted: April 19 2011 at 9:55pm Posted: April 19 2011 at 9:55pm |
|
great looking tank good job
|
|
day light scares me im going back under
|
 |