08TRDOFFROAD's 45 Gallon Build
Printed From: Utah Reefs
Category: Main
Forum Name: Tank Threads
Forum Description: A place to show off your tank build.
URL: http://www.utahreefs.com/forum/forum_posts.asp?TID=48262
Printed Date: July 14 2026 at 10:18am
Software Version: Web Wiz Forums 12.03 - http://www.webwizforums.com
Topic: 08TRDOFFROAD's 45 Gallon Build
Posted By: 08TRDOFFROAD
Subject: 08TRDOFFROAD's 45 Gallon Build
Date Posted: April 15 2011 at 11:16am
|
Updated: 4/15/2011 It's offical! It is time for another build thread!  I am jumping back into the hobby again after a nearly two year absence!  I recently purchased a Aqueon 45 Gallon tank to fit an existing stand that I already had, I went with the biggest tank I could get with that right size footprint for my stand. The dimensions are 36"x13"x24" The equipment list so far is very basic... Current ~45 gallon tank ~30 lbs of Carib Sea Sugar Sized Aragonite Sand ~50 lbs of Key Largo Marco Rock ~Octopus BH-1000 HOB Skimmer (slightly modified) ~150 W Eheim Jager Heater ~2-150 W HQI Retrofit Kits with Pheonix 14k bulbs from hellolights.com Planned ~2-3 Koralia Evolution 750 gph Powerheads ~2-39 W T5HO Sunlight Supply Tek retrofit kit for actinic supplementation The tank has been running with water and sand for several weeks while I decided on rock.
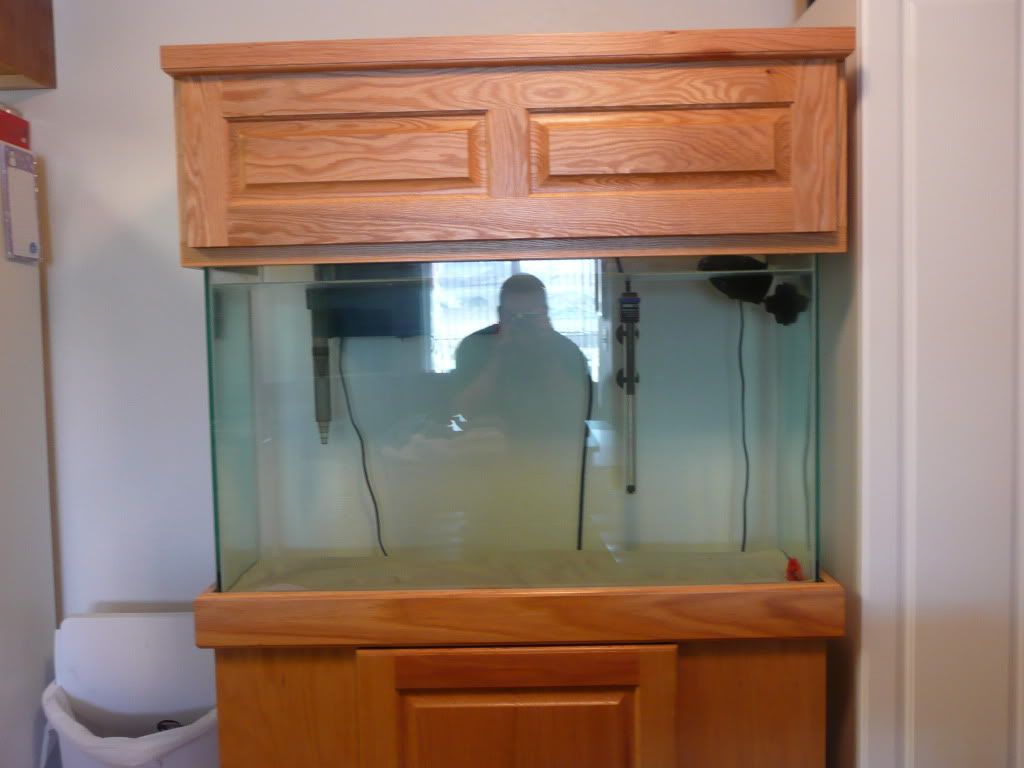
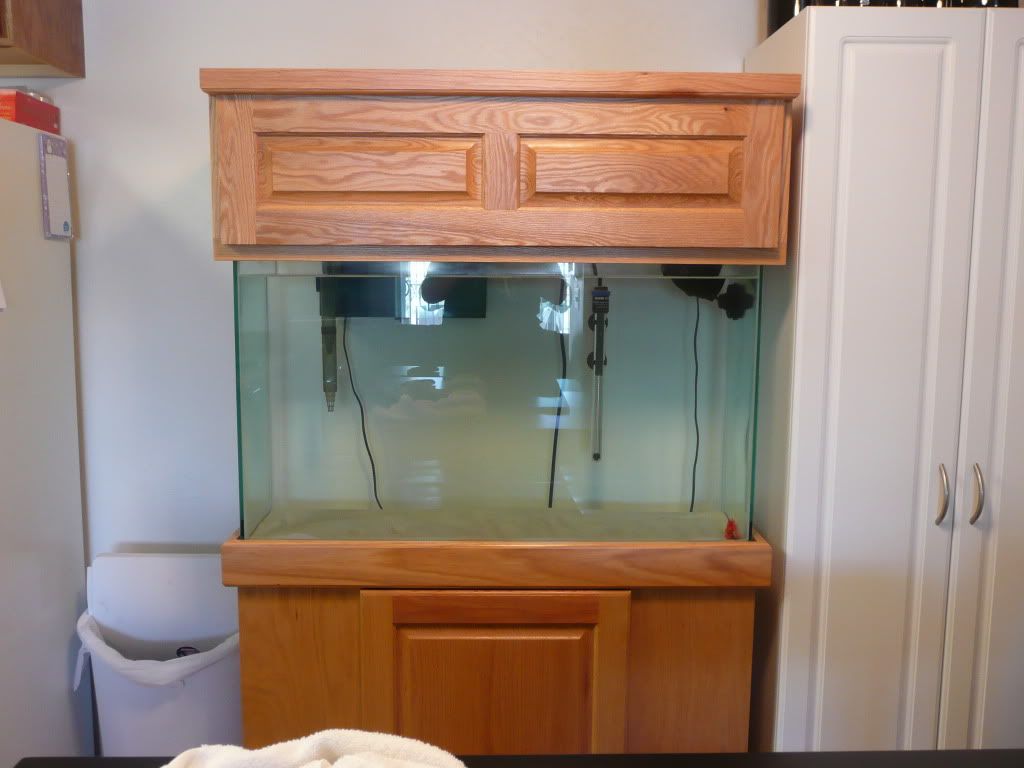 I ordered 50 lbs of Marco rock that just arrived yesterday. I didn't have time to unbox it or look at it all, but I am very impressed with what I saw when I peaked at it breifly last night. It is very porous and clean! I don't think I will be able to fit all dry 50 lbs in the tank! I will rinse it in fresh water to get the dust off and then it will be going straight in the tank. I will take pictures of the rock as I unbox it, as well as of the tank once it is aquascaped tonight. I will pick up a few medium raw shrimp from the store tonight to toss in to get the cylce going also. I will only leave them in the tank until there is a registerable amount of ammonia and then remove them. The plans for the tank to start out with are a FOWLR while I save for my lighting and protein skimmer. But, eventually my wife and I will be keeping LPS, Clams, and some type of anemone. Planned Livestock list ~Pair of True Percula Clownfish ~Flame Angelfish I will do my best to keep this thread updated with pictures as things progress... |
Replies:
Posted By: 08TRDOFFROAD
Date Posted: April 15 2011 at 11:18am
|
As of 3/16/2011...
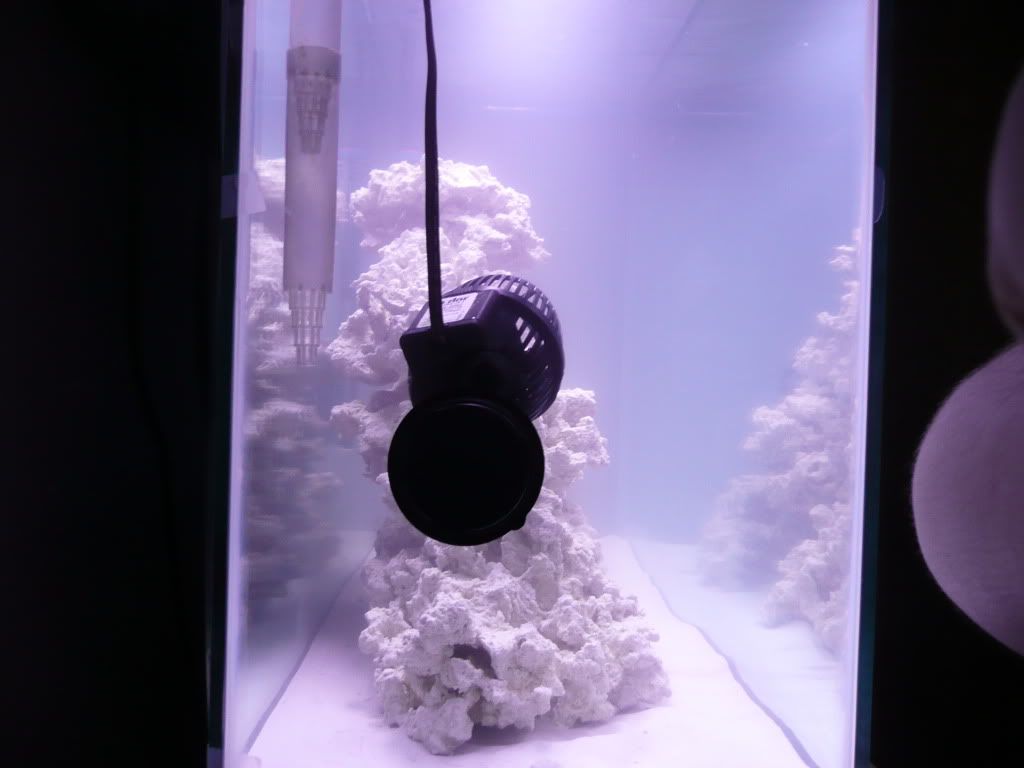
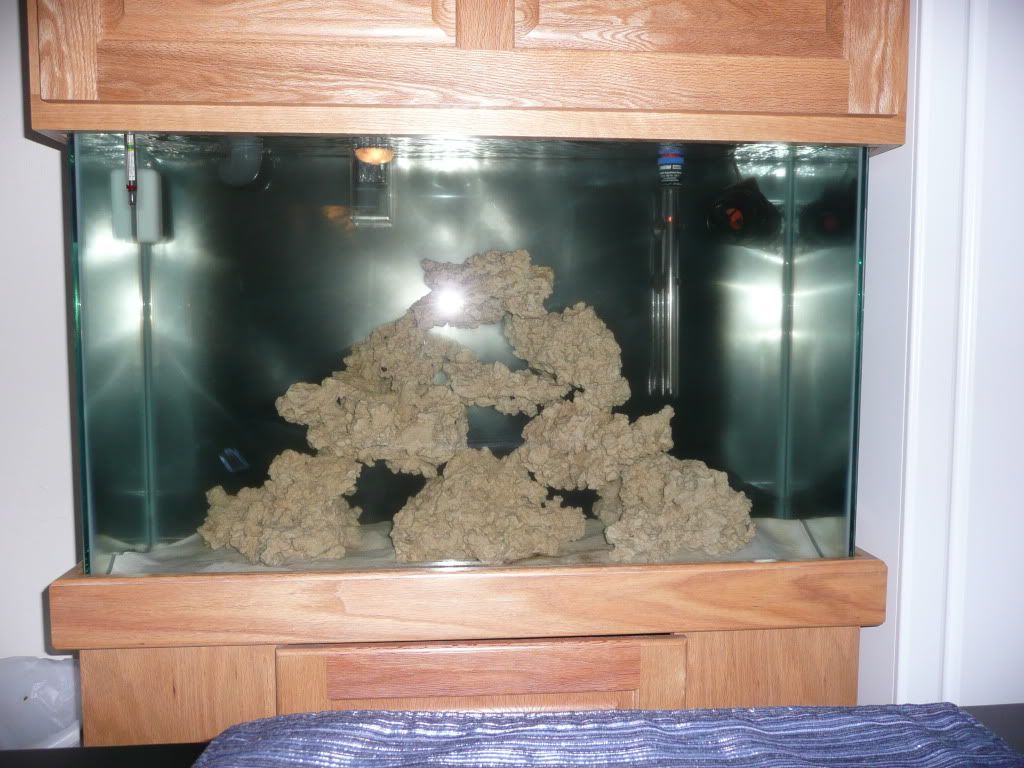
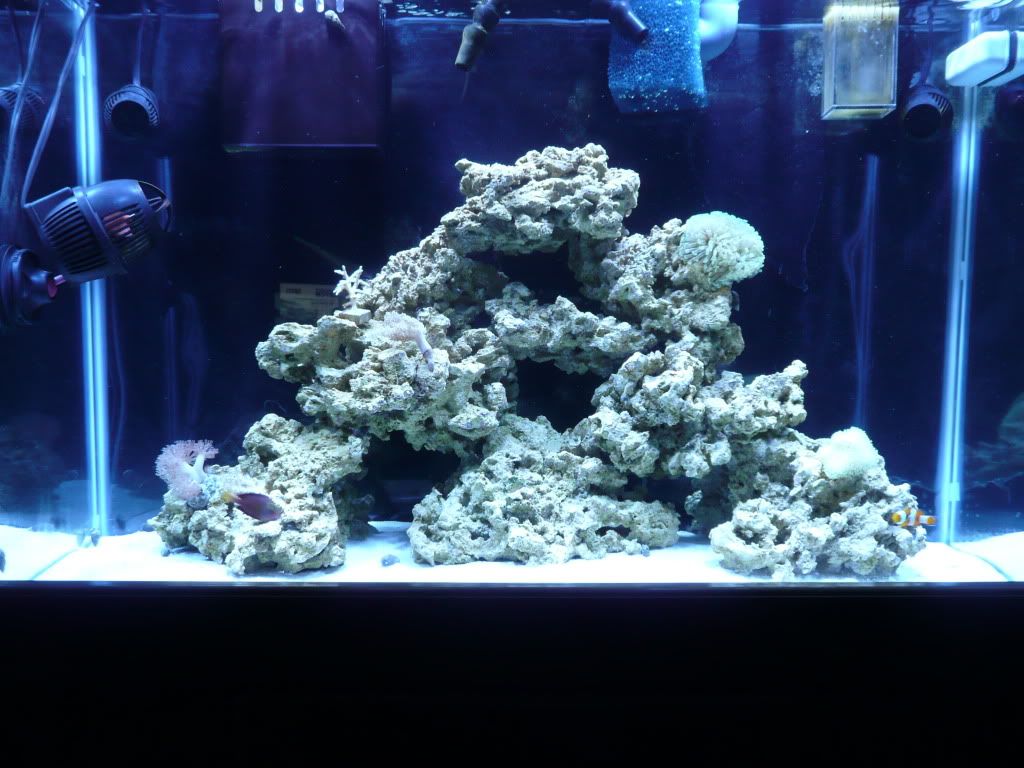
Over the weekend I was able to get a lot of progress made on the tank! I got my rock unpacked and put in the tank and I can't tell you how impressed I am with the rocks I received from Marcorocks! I was also able to get a background put on to hide all the equipment. I added two Koralia 4's that I had for circulation until I have the funds to purchase their smaller counter parts.
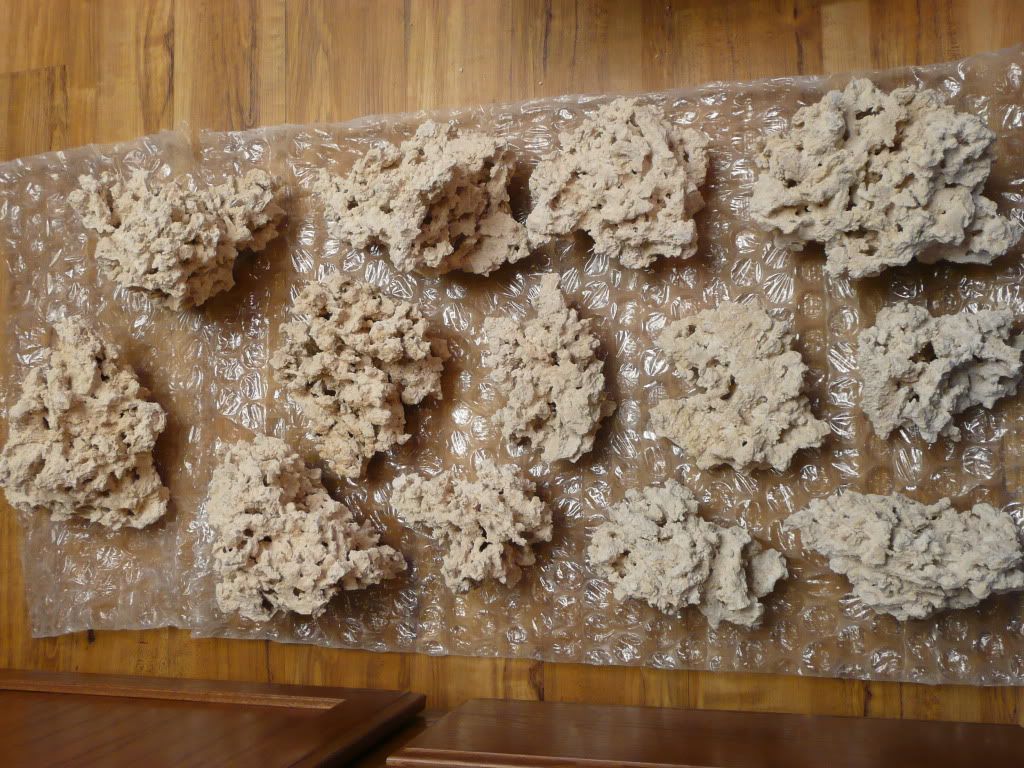
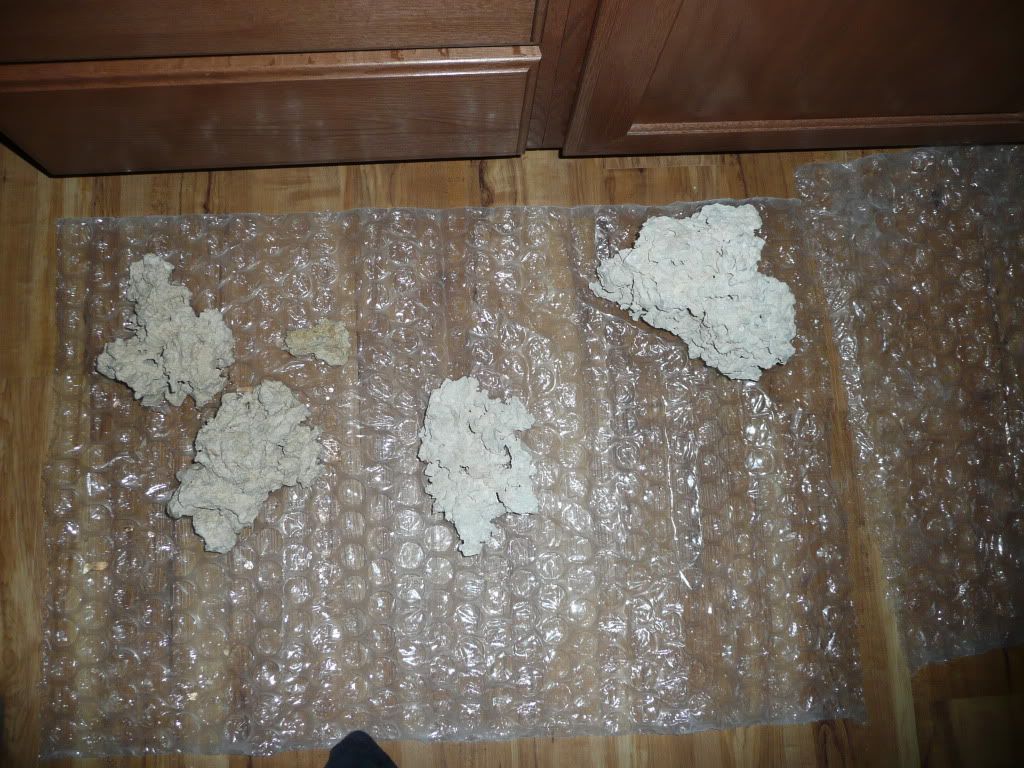
Here is some pictures of how the rock came packaged. Each piece was wrapped individually in bubble wrap.
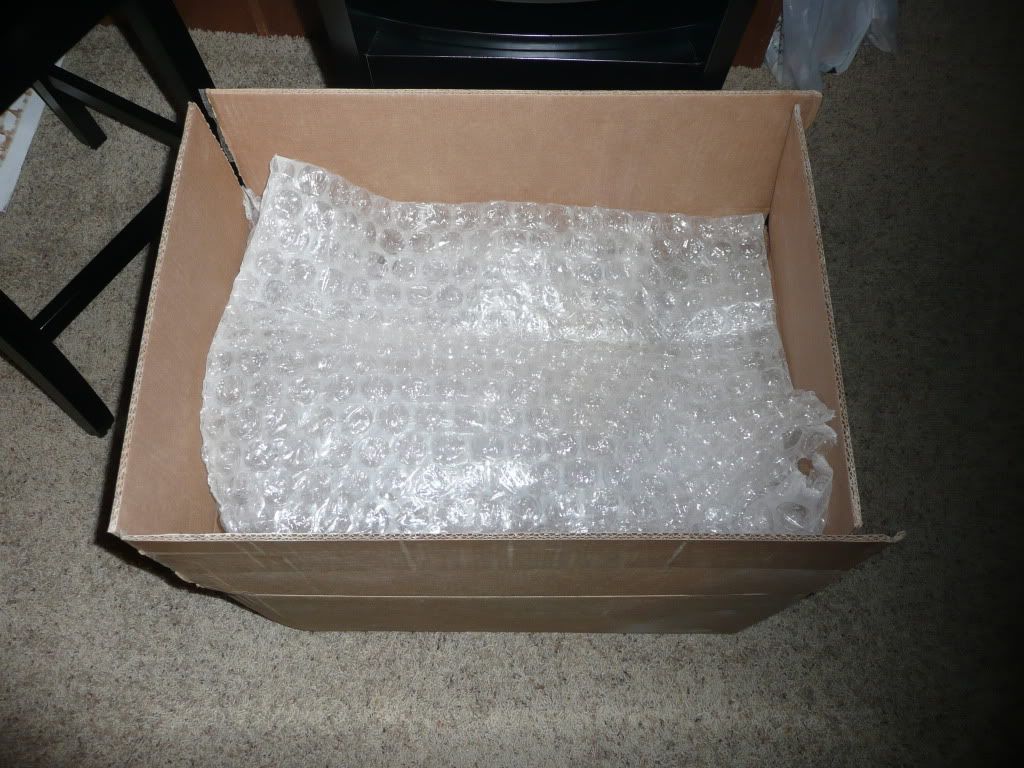 There was very little rubble due to the way it was packed.
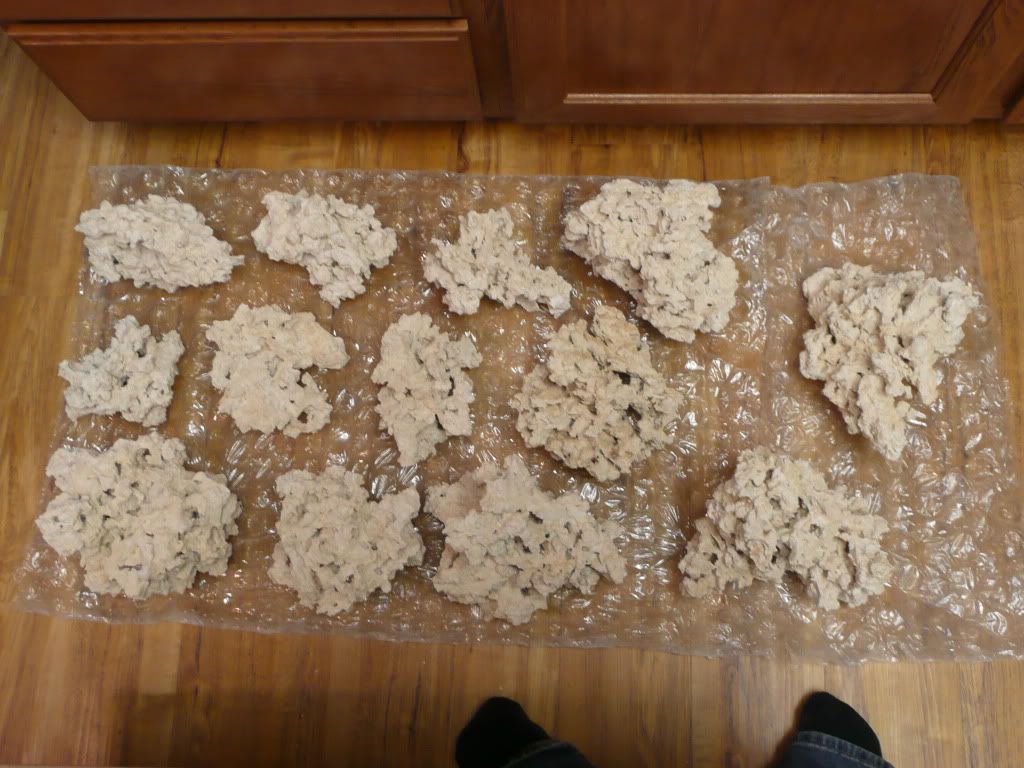
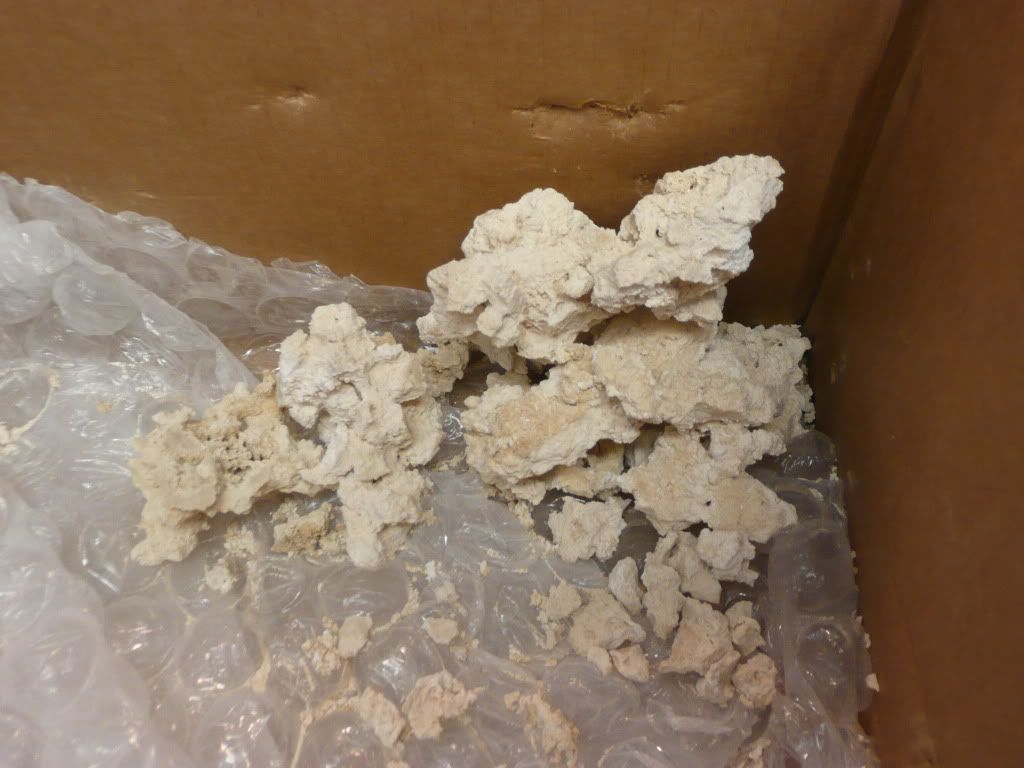 Here is all 50 lbs laid out after unpacking.
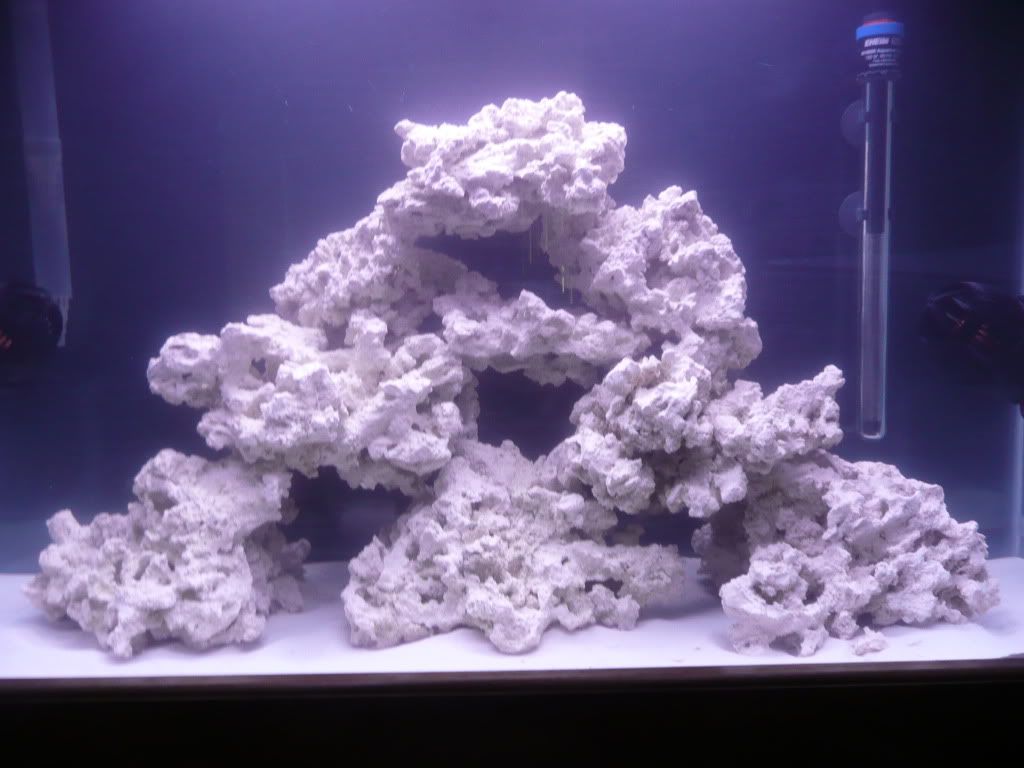
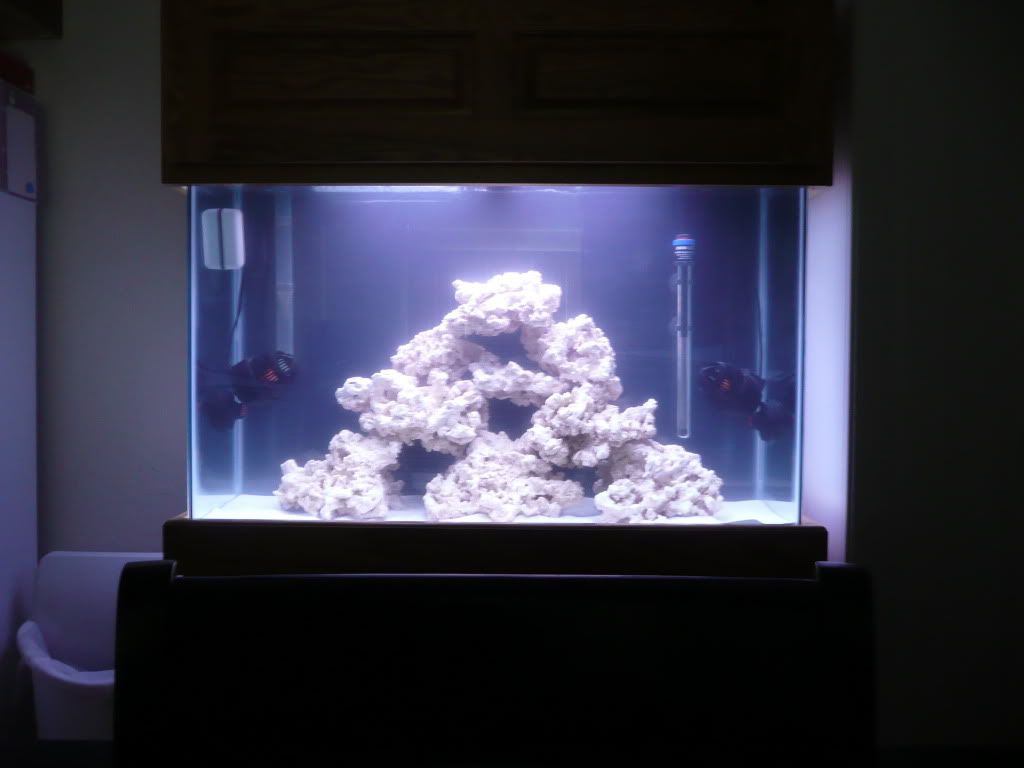
 I rinsed the rock in a 5 gallon bucket and began placing in the tank. It was a lot of rock!!!! Here is the final aquascaping. I am extremely happy with the way the tank has turned out so far!
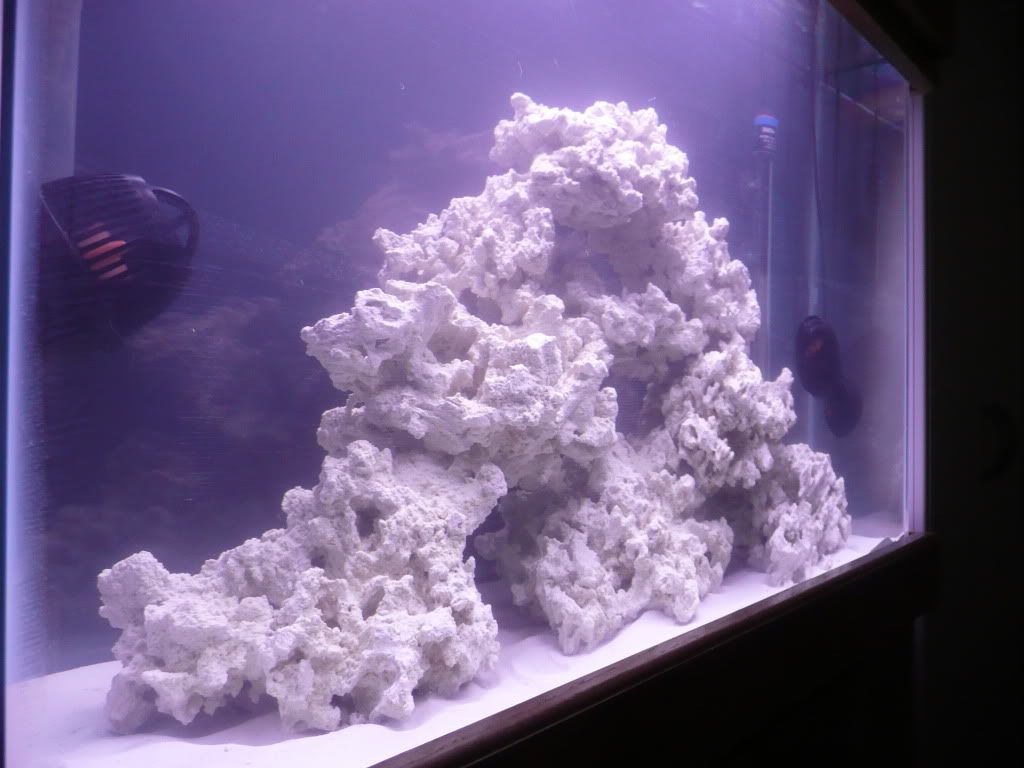
 I did have a little rock left over after aquascaping. I figure I have about 40 lbs of rock in the tank as it sits now. I will hang on to the left overs for another project or bigger tank down the road.
 Last night I was able to get to the grocery store to pick up a couple raw shrimp to get the cycle started. The guy at the meat counter looked at me extremely funny when I asked him for just two of the 71-90 count raw shrimp. It cost me a whopping 11 cents... Then as I proceded to the check out and the cashier wanted to throw the bag away after scanning it until he realized that there was still shrimp in it! lol! Now for the long wait as the cycle progresses.... I tested the water last night to get a baseline for the cycle. SG: 1.024 PH: 7.9 Ammonia: 0 Nitrate: 0 Nitrite: 0 Temp: 78 degrees And the waiting begins! |
Posted By: 08TRDOFFROAD
Date Posted: April 15 2011 at 11:21am
|
As of 3/30/2011...
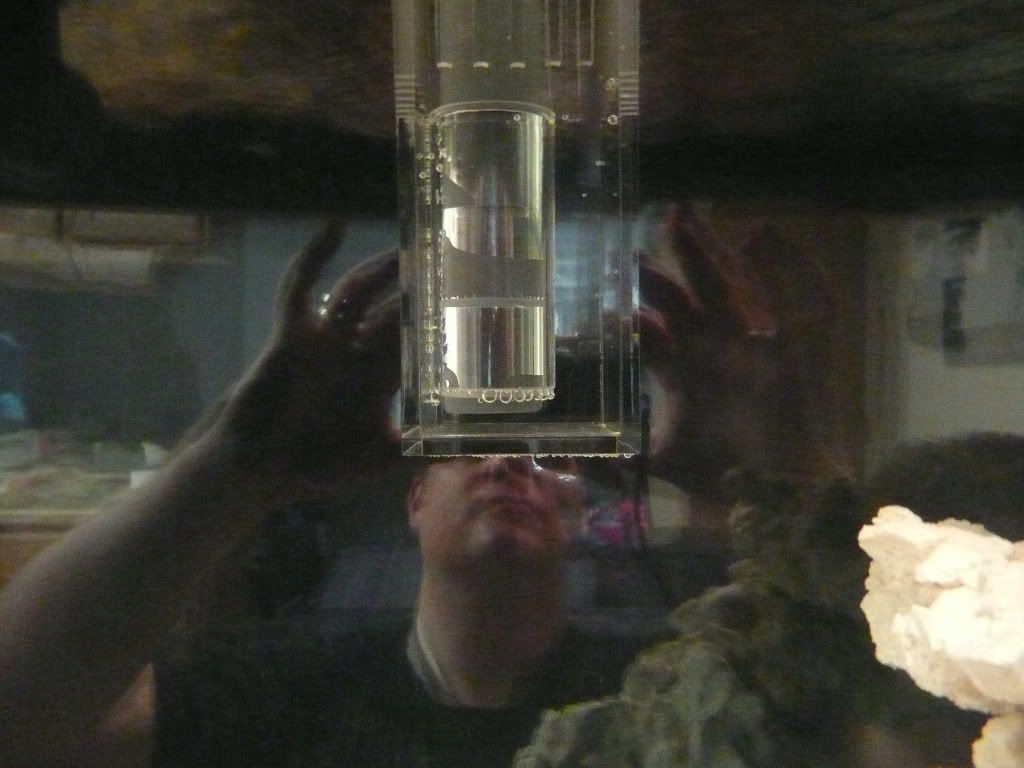
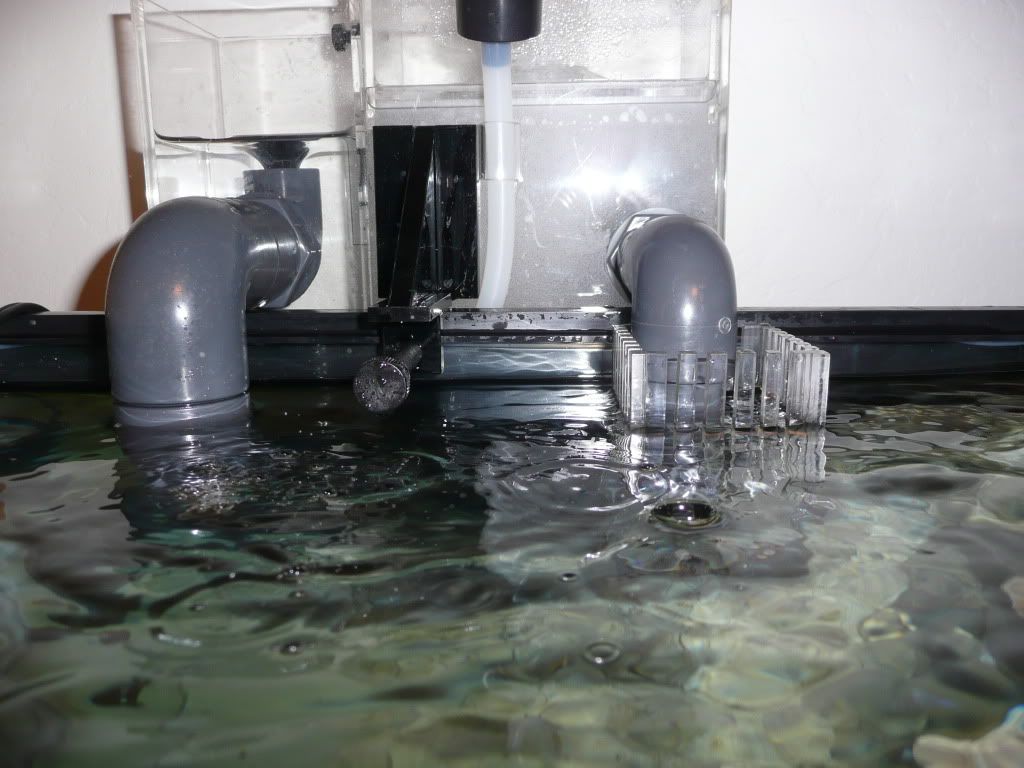
I was able to get the skimmer put together and placed on the tank Monday night.
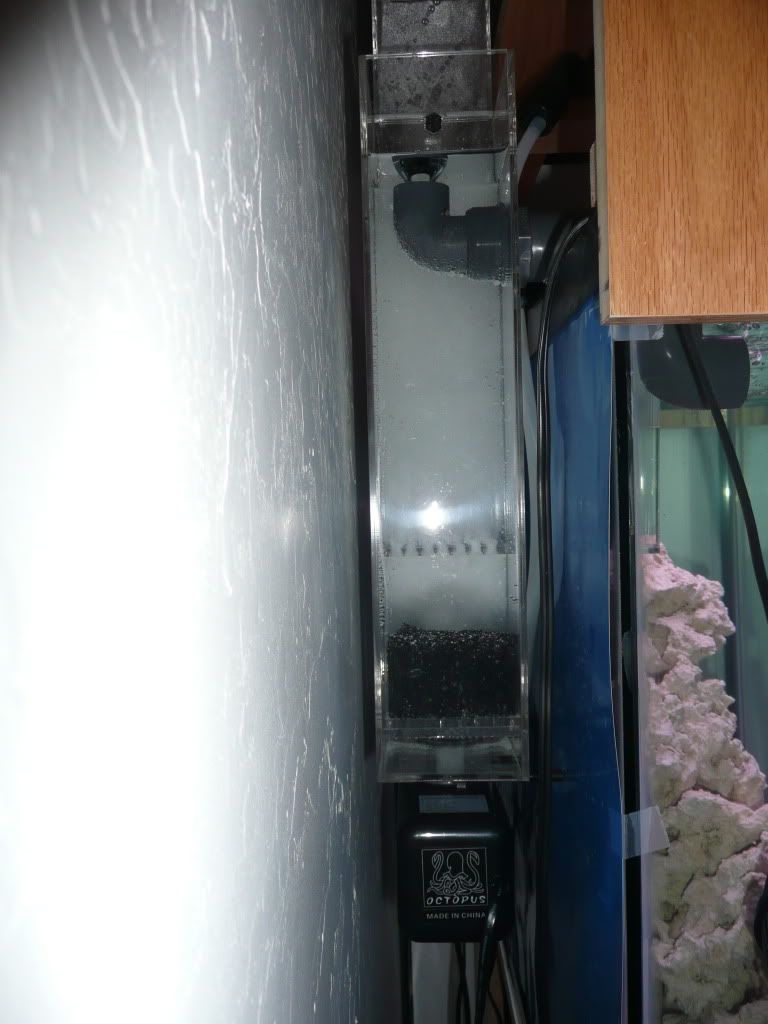
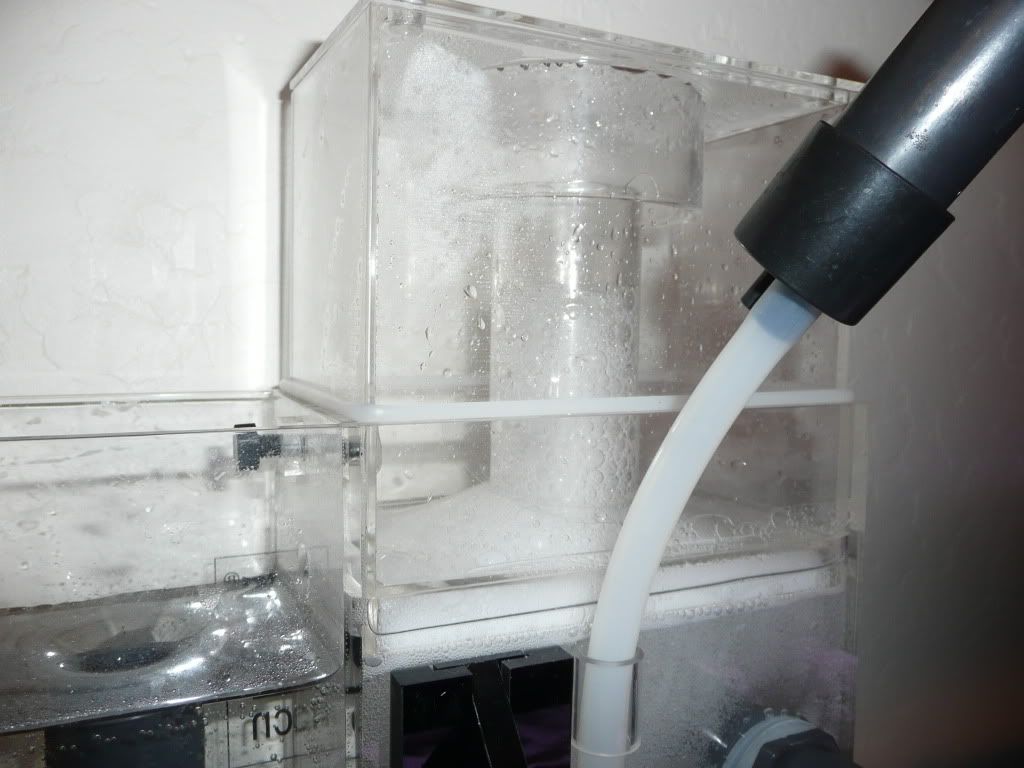 It has been on the tank about 36 hours and last night when I looked it had already produced some very light skimmate. Now on to the questions for those of you that are familiar with this skimmer. To say the manual/instructions that came with the skimmer were poor would be a HUGE understatement....Coralvue could really use a redo of their manual! I think I was able to assemble it correctly based on their diagram that makes up the majority of the instructions. On the intake side, there are four places for the o-rings that hold the overflow box at your desired water level. It came with them in the lowest two. I slide the overflow box on as far as possible, but it is still an inche below my water level.
 |
Posted By: Lewy
Date Posted: April 15 2011 at 11:22am
|
to get the 'cycle' going faster see if someone here will give you some LS, LR, or some chaeto. ------------- 40 gal w/ 20 sump |
Posted By: 08TRDOFFROAD
Date Posted: April 15 2011 at 11:24am
|
I am well past cycling, I am a new member and want to get involved in our local club, but the site won't let me post more than this for a minute, "spamming is not permitted" ha ha! My tank is already cycled and well on its way, I just haven't been able to post my further progress. |
Posted By: 08TRDOFFROAD
Date Posted: April 15 2011 at 11:24am
|
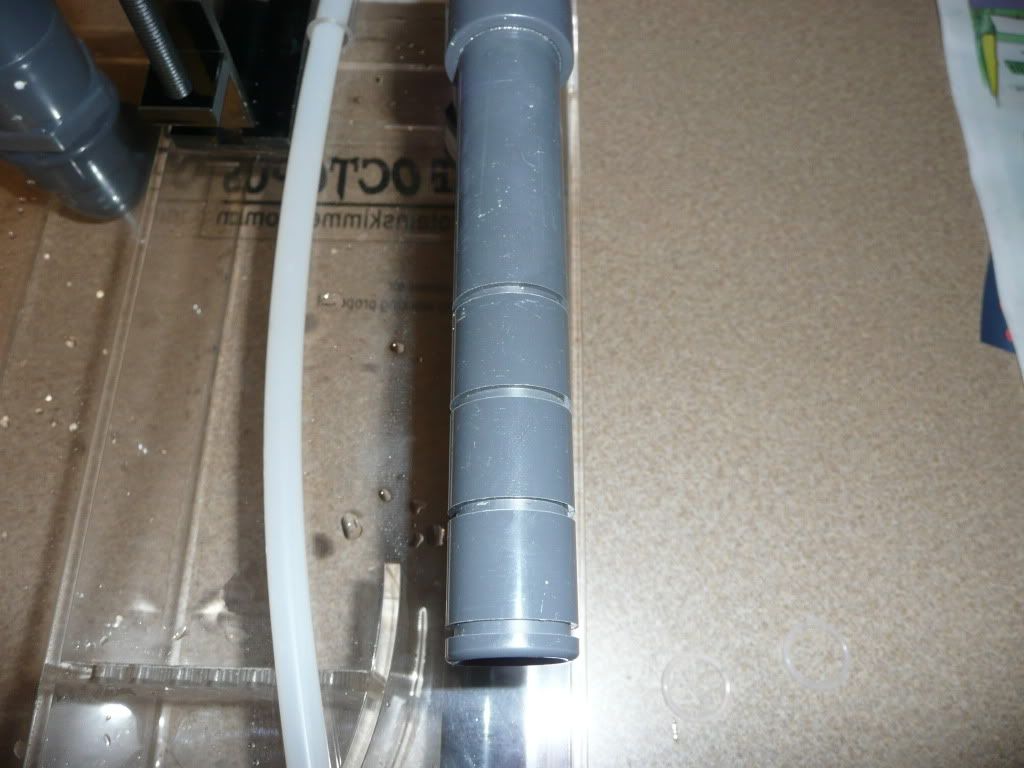
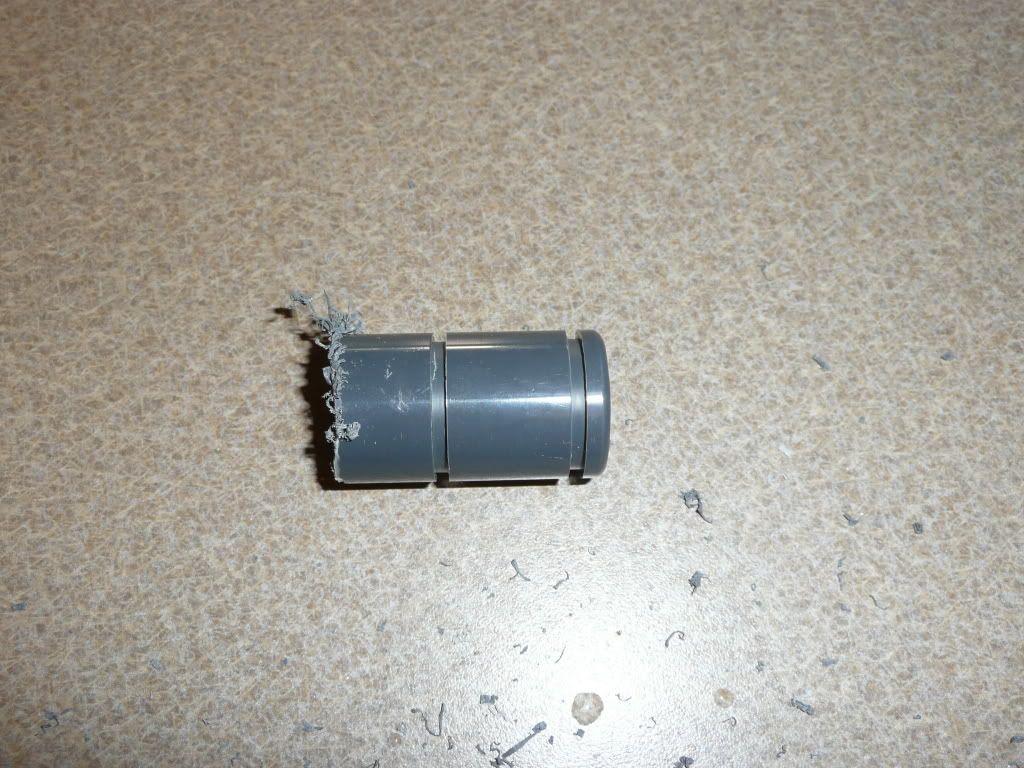
As of 3/31/2011, modified the skimmer!
Ok...Last night I spent some time working on the tank.
Over the last two days the skimmer was able to pull out a small amount of urine colored liquid, which is kind of surprising as there is really nothing in the tank to be skimming!

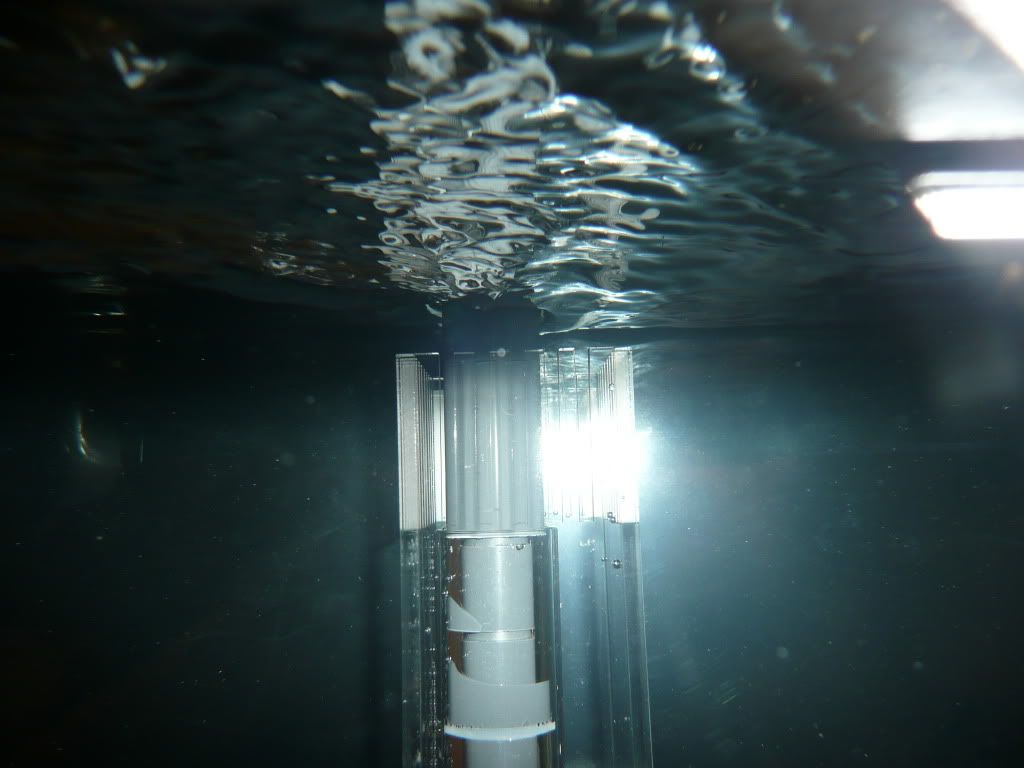
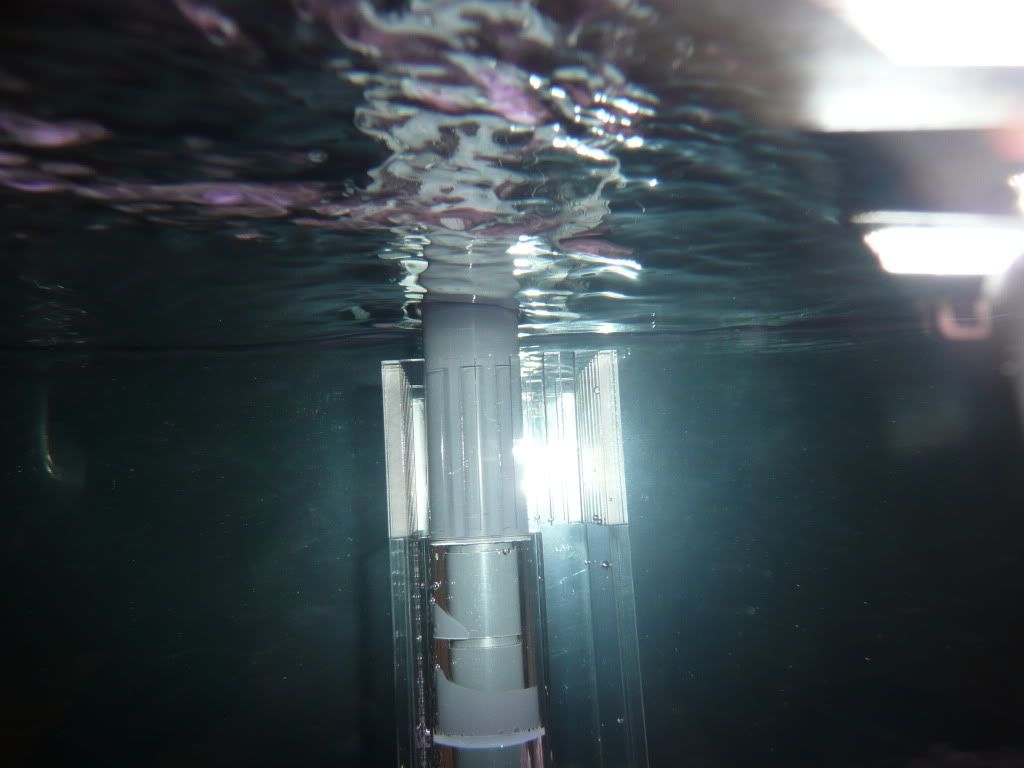
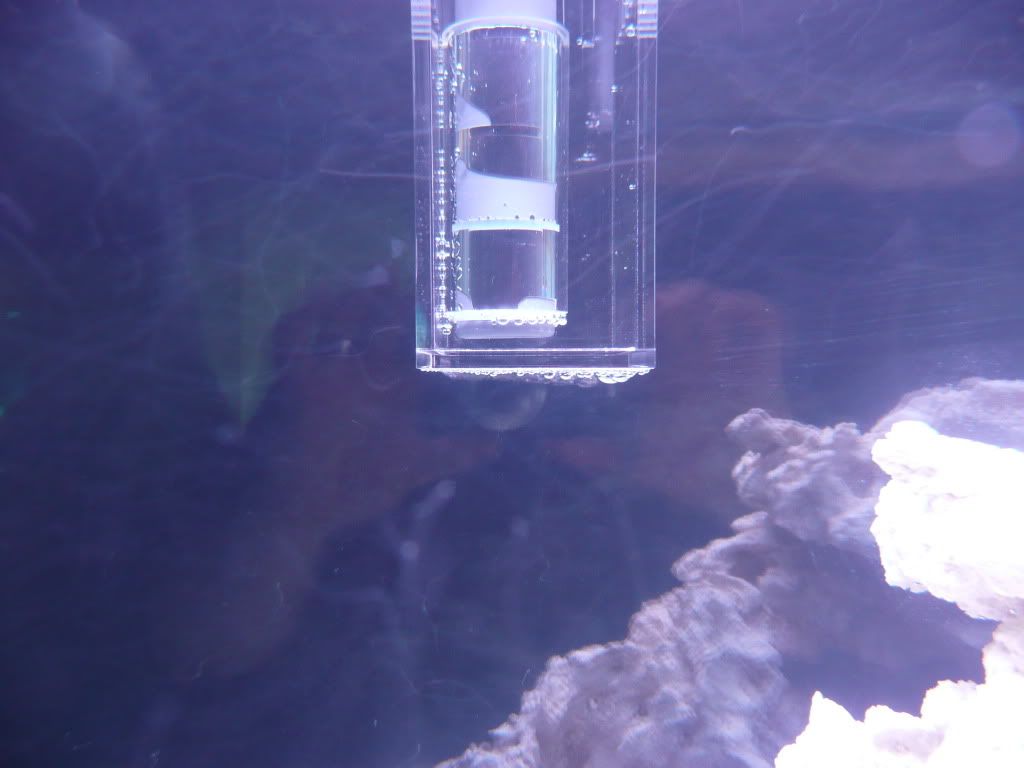
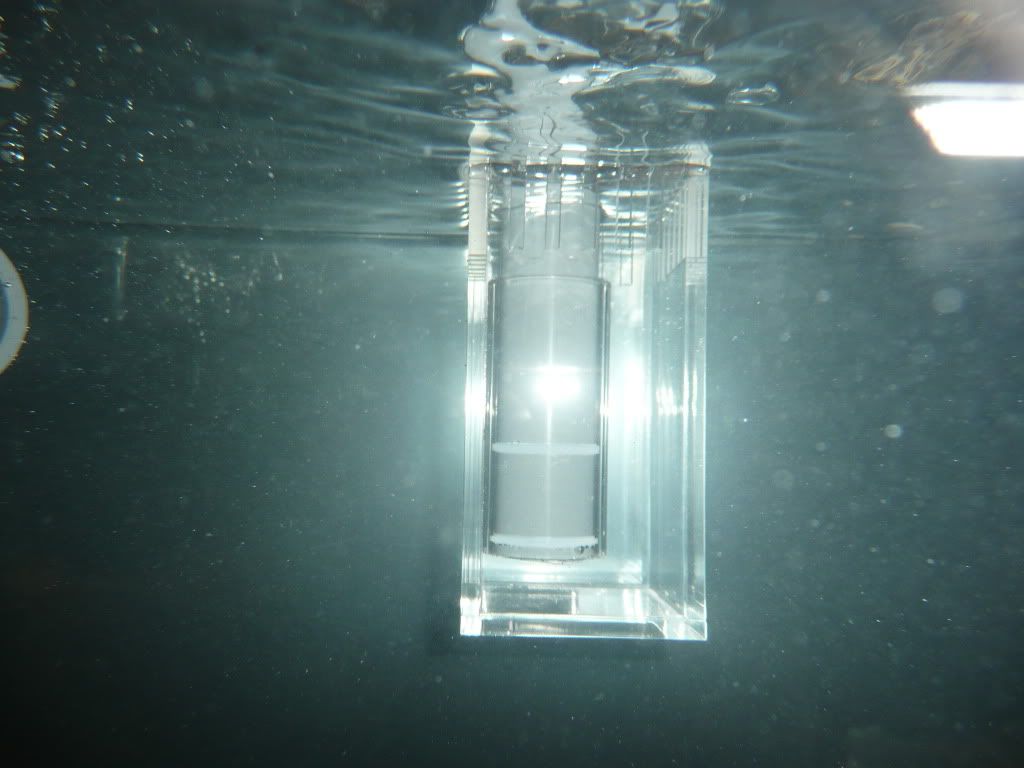
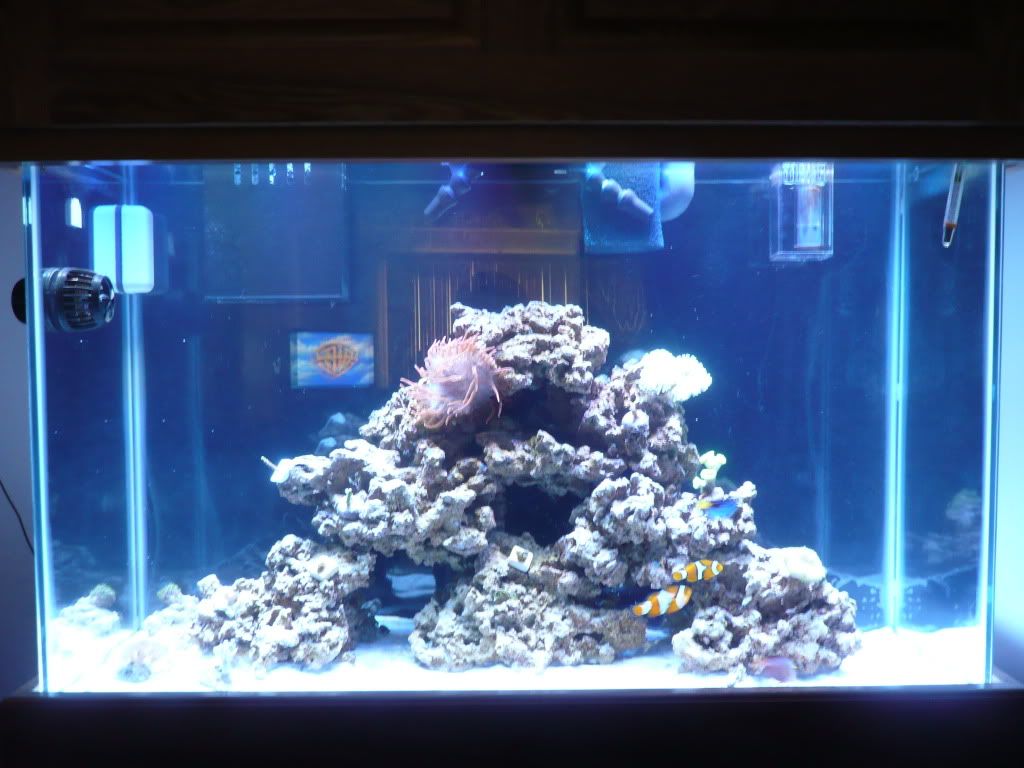
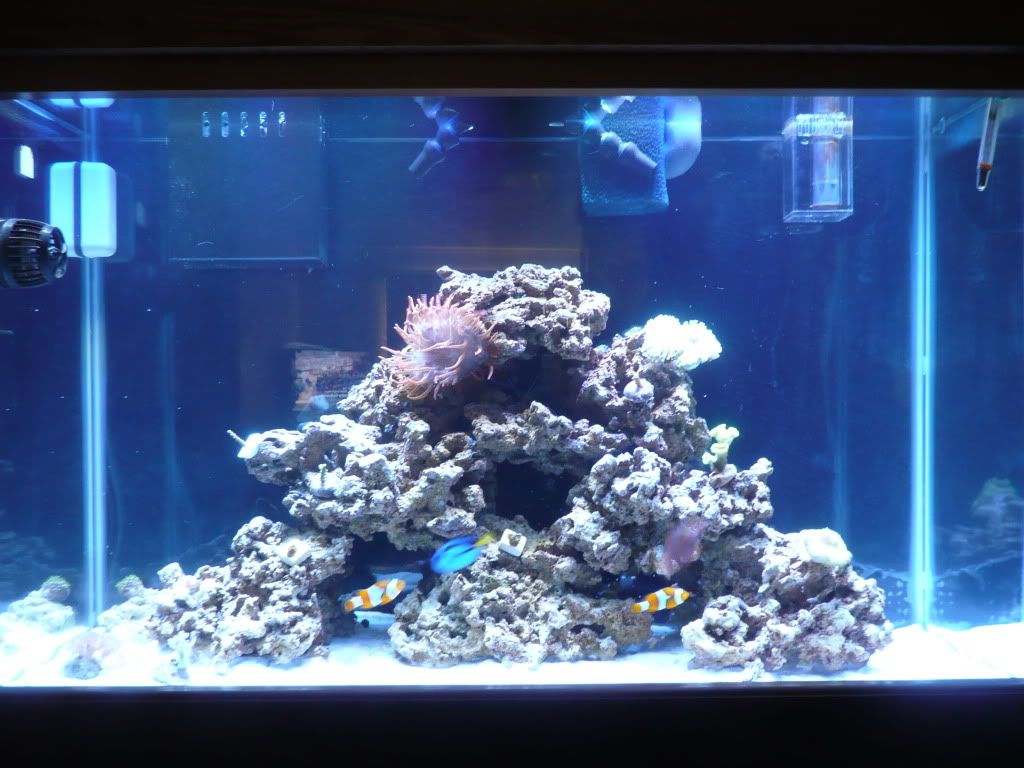
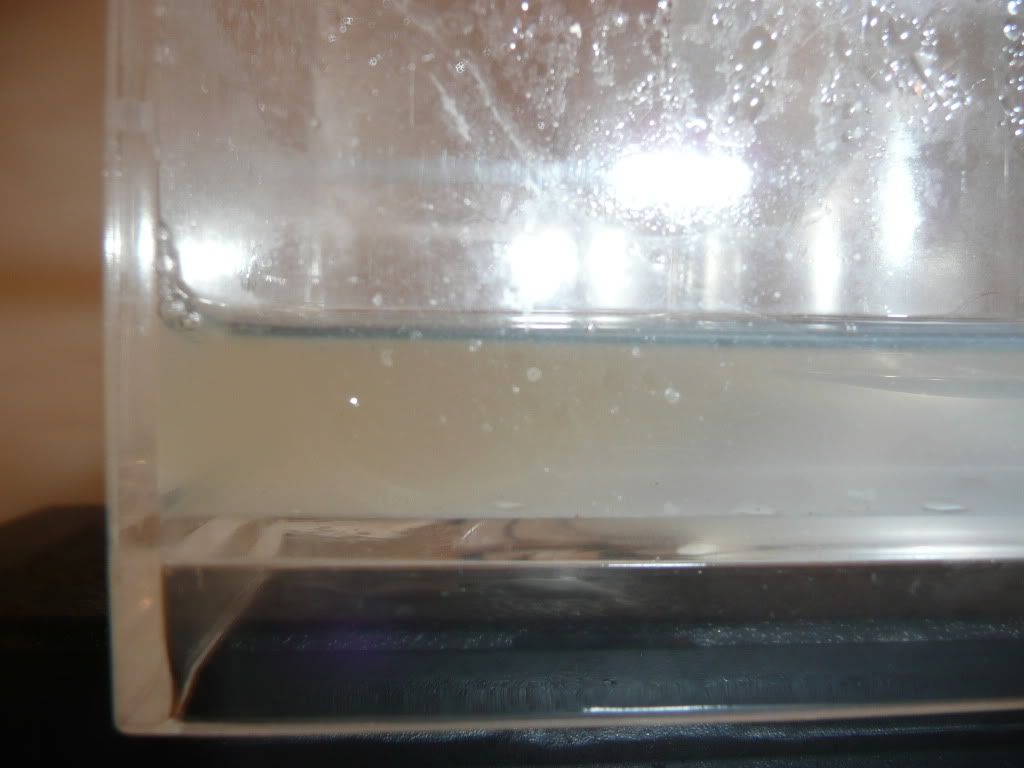 I was able to "modify" my skimmer, which is a fancy way of saying I hacked off about two inches from the intake pipe to get the skimmer box at the appropriate level...lol I took a few before pictures, and some of the final product.

 And of course a FTS to top it all off!

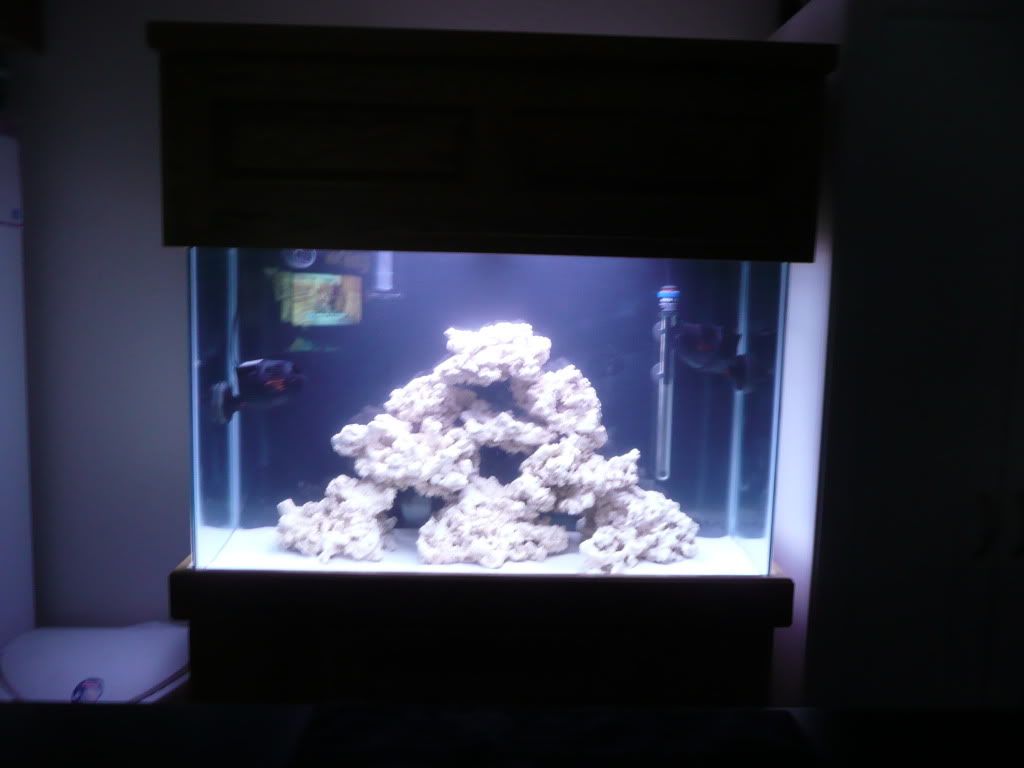 As you can see, I am still tinkering with powerhead placement...I just need to get a couple of the Nano 425 gph to replace these 4's. They are just too big for this tank! |
Posted By: 08TRDOFFROAD
Date Posted: April 15 2011 at 11:26am
|
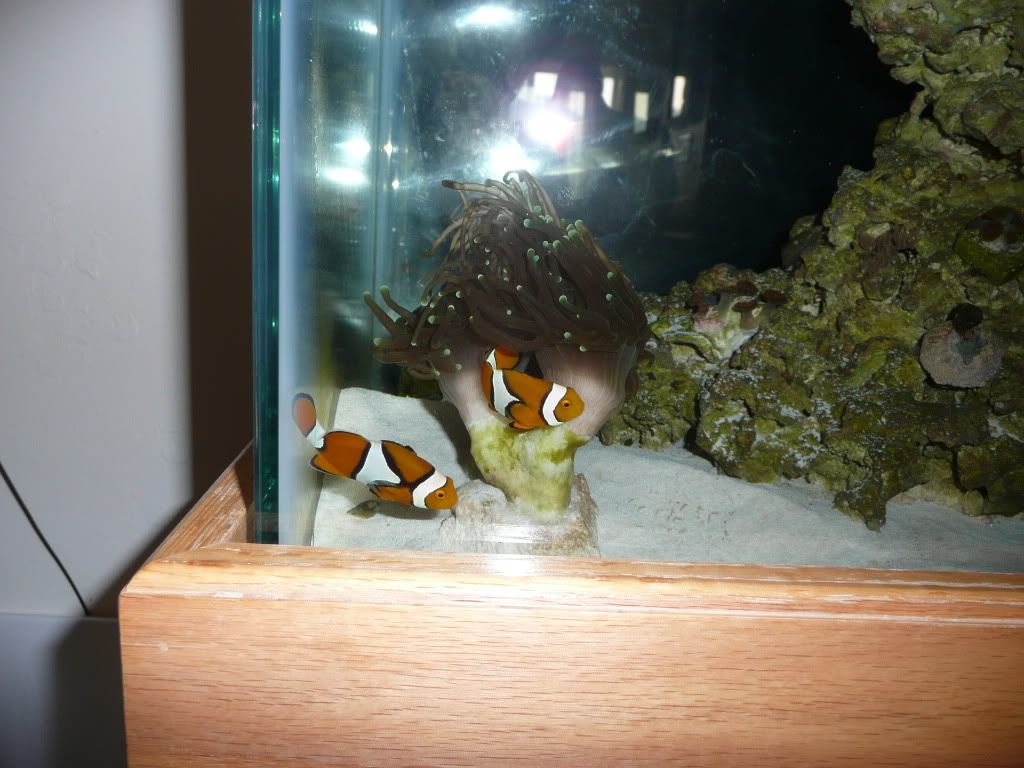
As of 4/6/2011...tank finished cycling, completed a 10 g water change and added my first inhabitants from Fish 4 U!
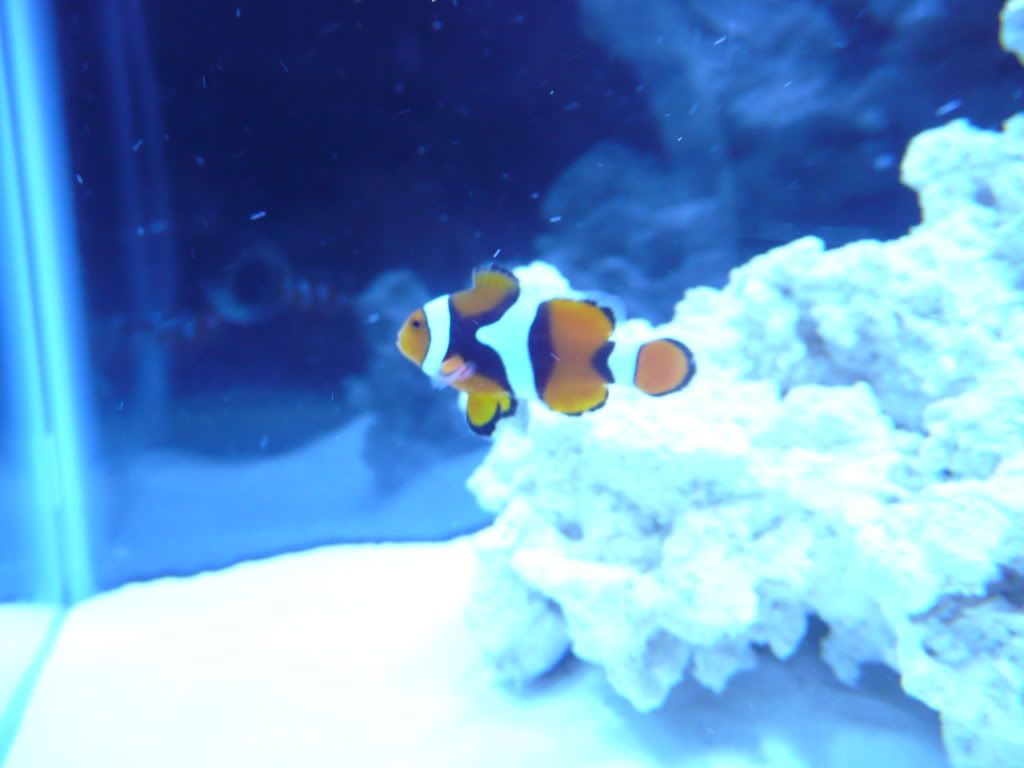
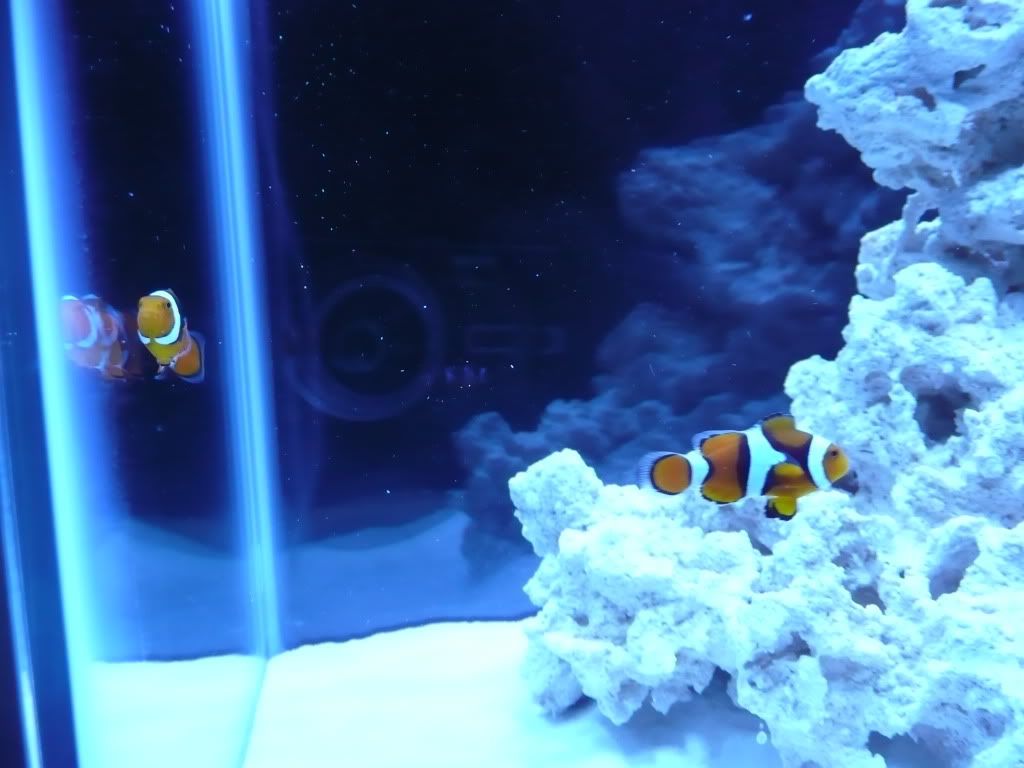
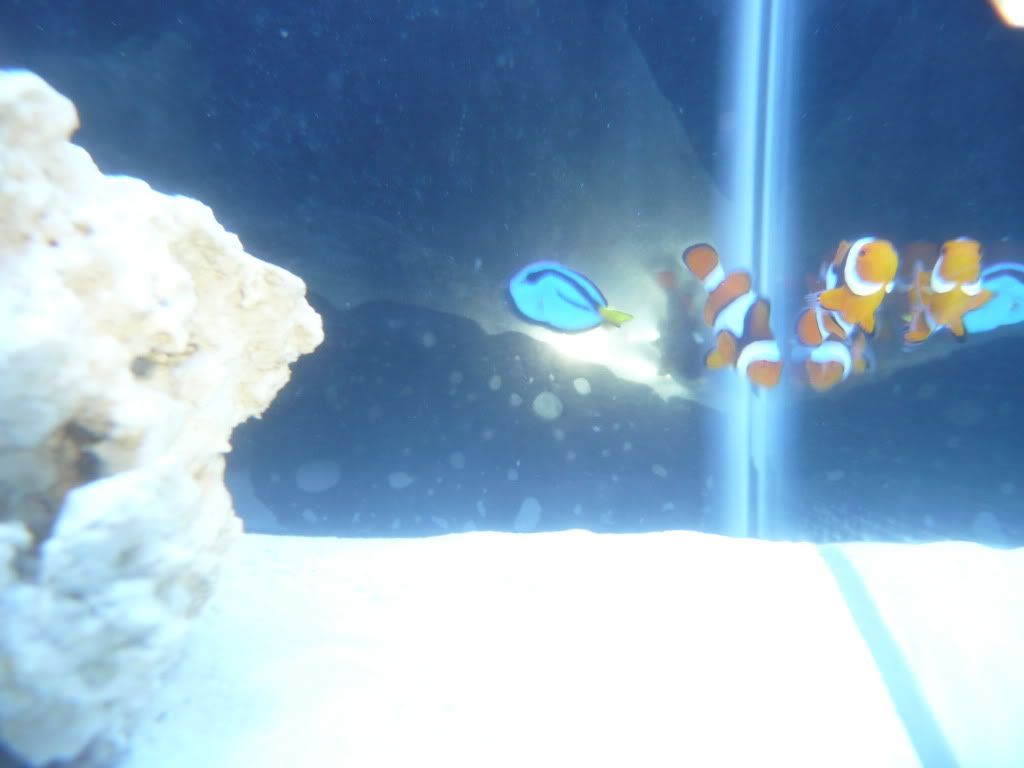
The tank is no longer just rock and water.... On Monday my water tests were: Salinity: 1.024 Temp: 79* PH: 8.00 Ammonia: 0 Nitrite: 0 Like I said before I don't have a nitrate test, but because my nitrite levels have fallen to zero I assumed my cycling is complete. I performed a roughly 10 gallon water change with freshly mixed SW to lower my nitrate levels and prepare the tank for it new inhabitants. My wife and I then set out on our first trip in which we could seriously shop for new fish for the tank. We ended up with two True Percula's as we had originally planned! These are some great looking little fish! Here they are floating
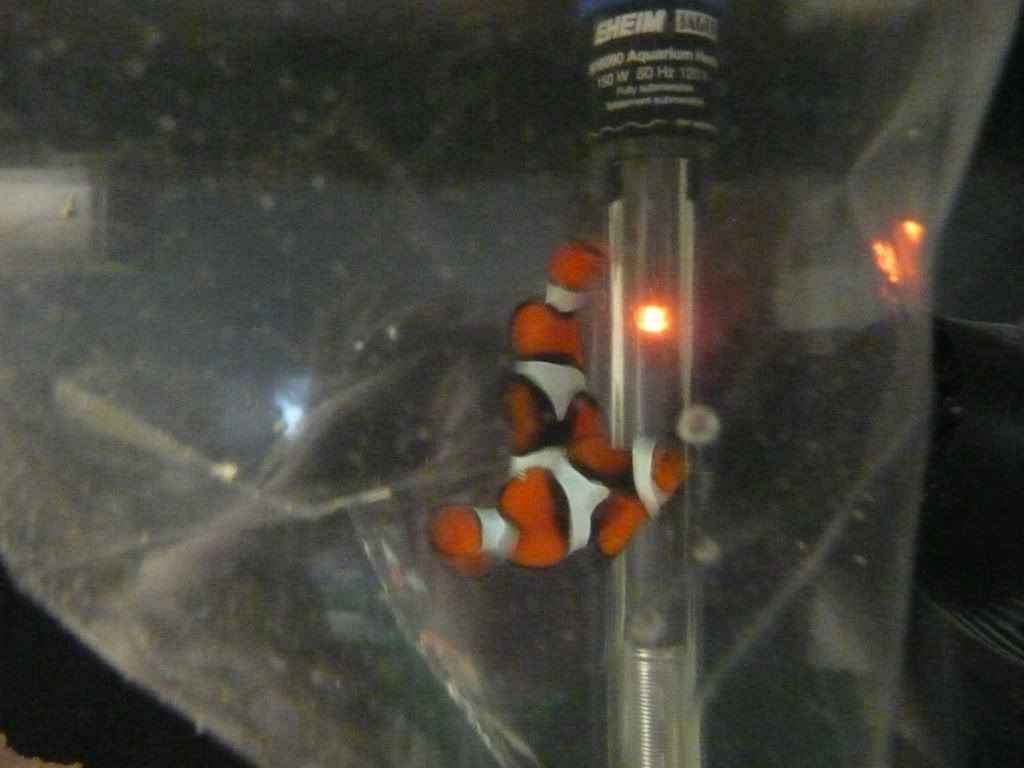 And these were taken yesterday (Tuesday) morning after they had an afternoon and night to adjust to their new surroundings without the lights on.
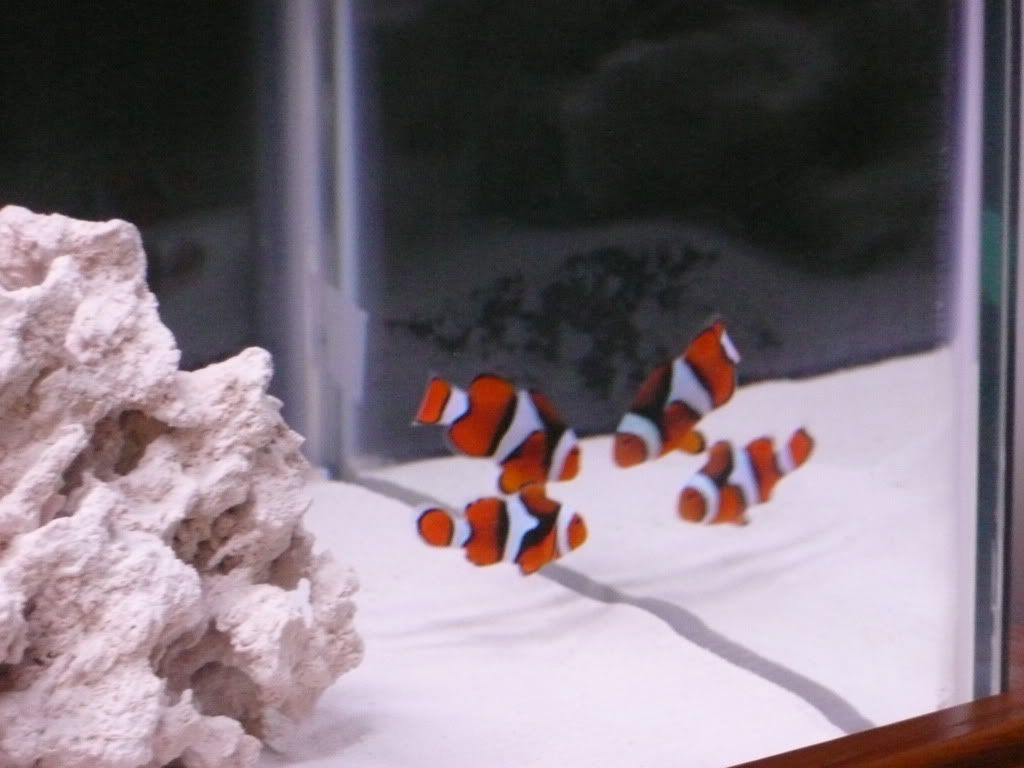
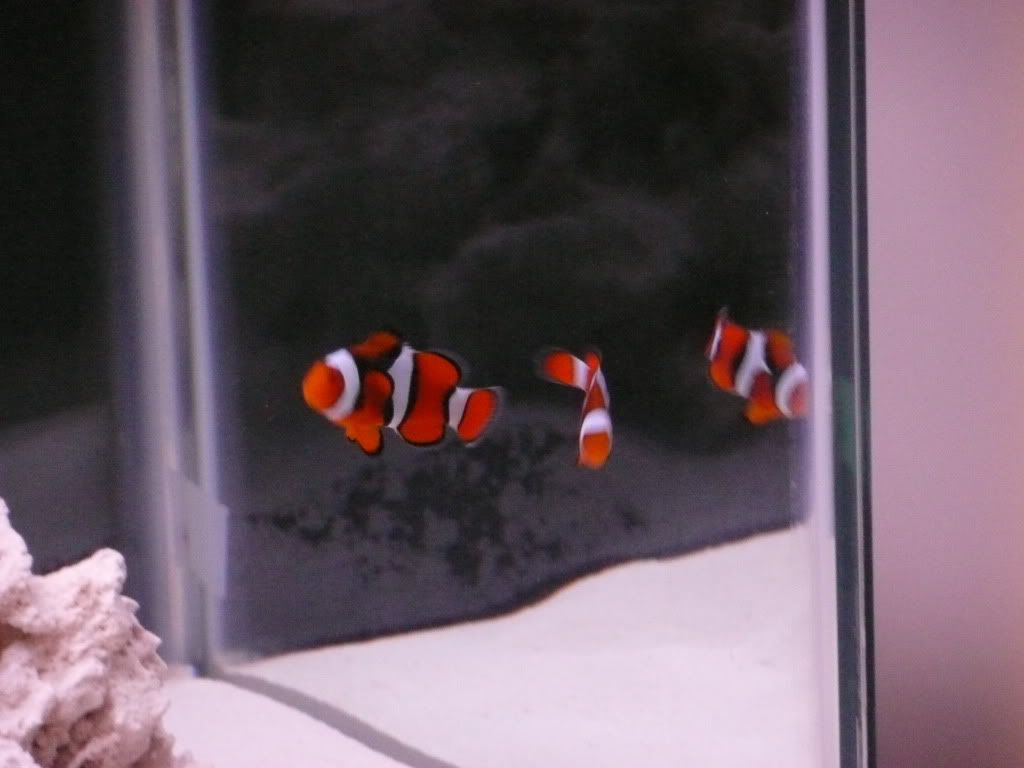
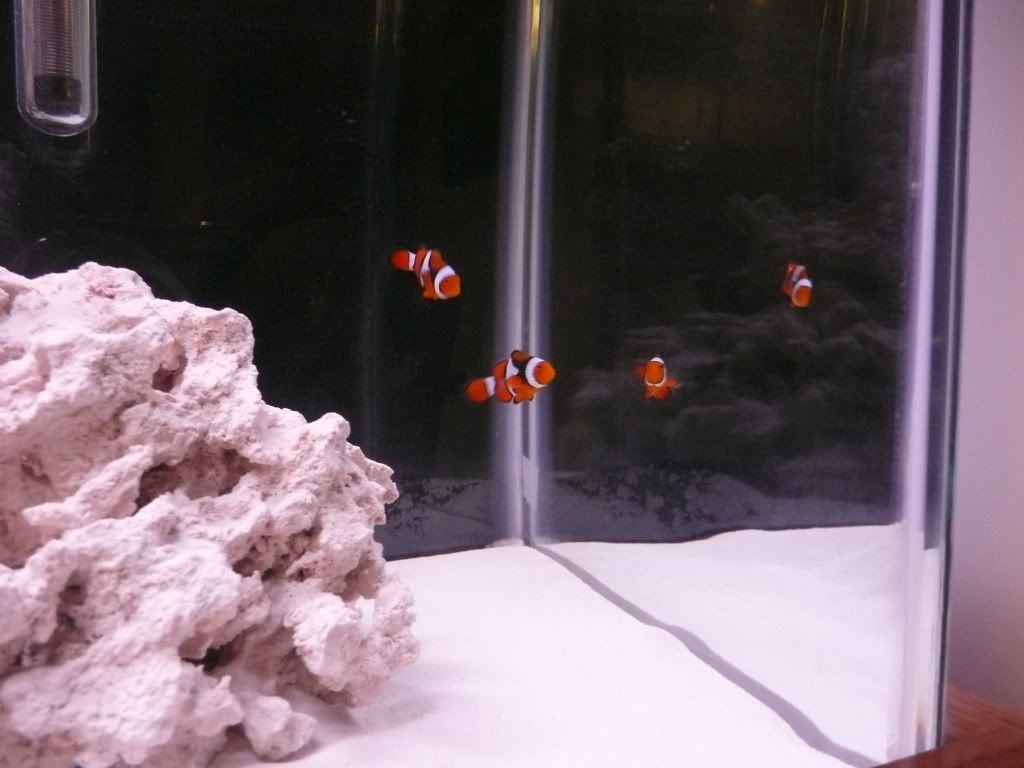
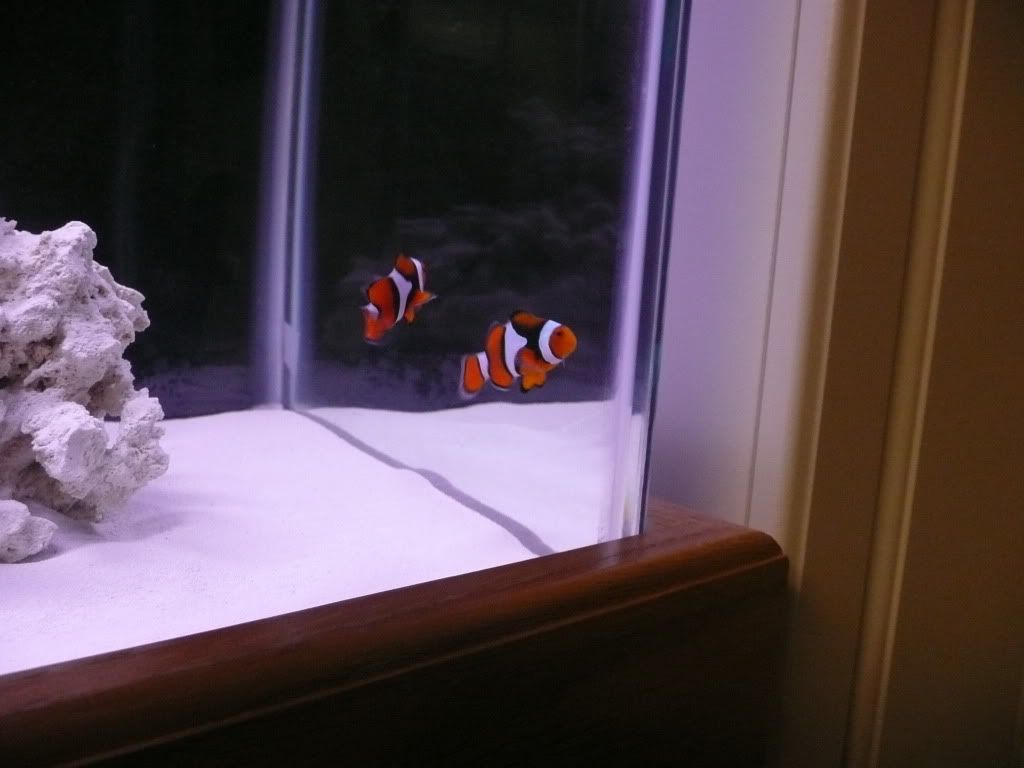 They seem to be settling in just fine. They ate some mysis and some 1 mm sinking NLS Thera A yesterday! |
Posted By: 08TRDOFFROAD
Date Posted: April 15 2011 at 11:29am
|
I think this is the last post and my progress will be current!
As of 4/13/2011
A few updates!
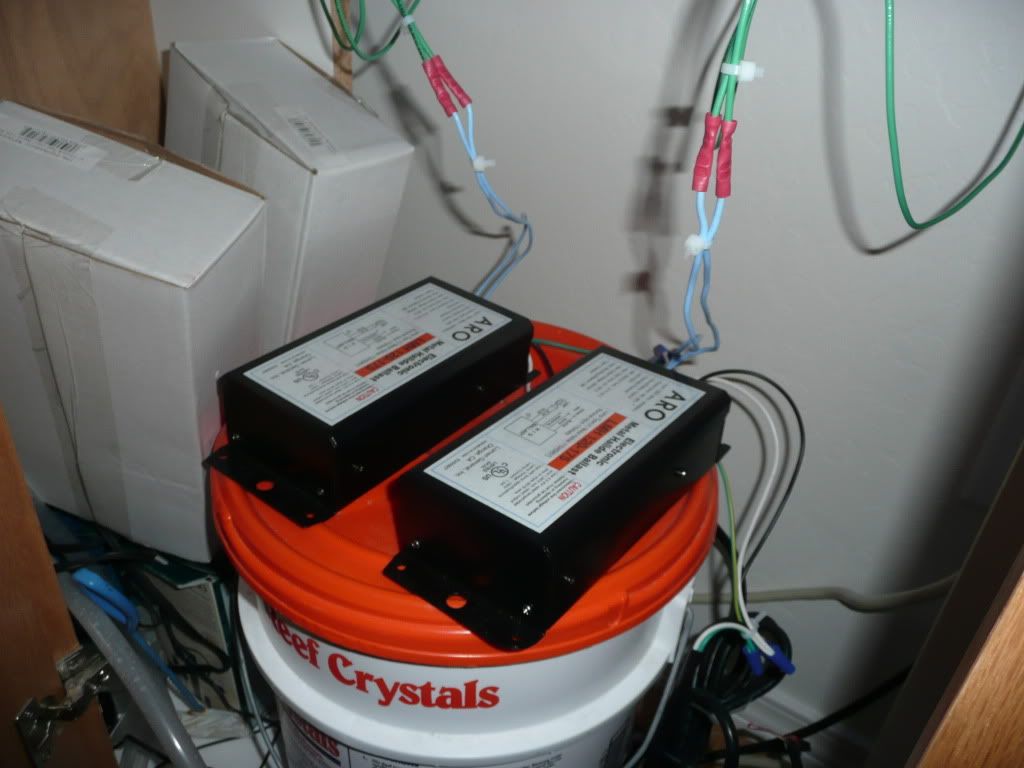
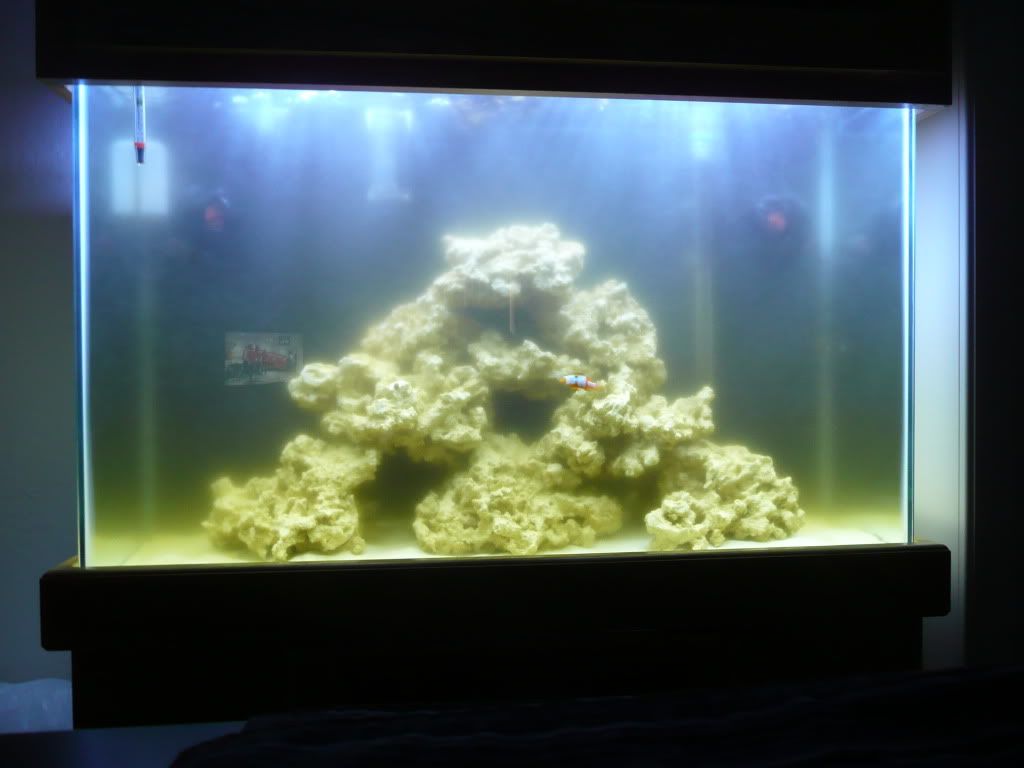
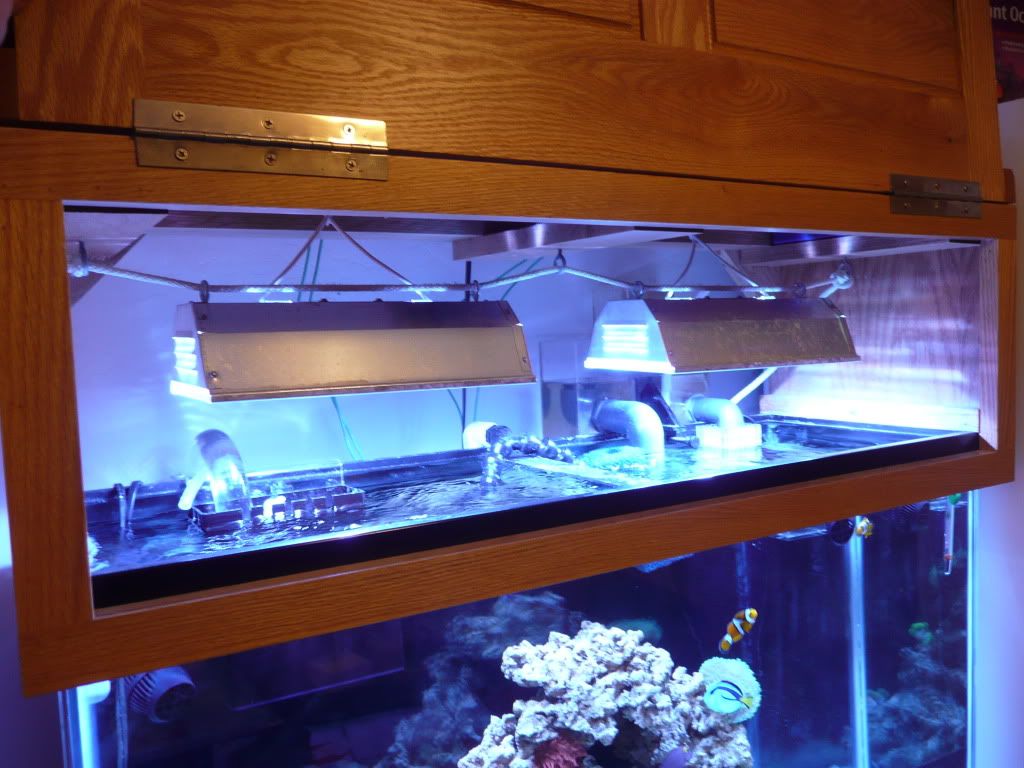
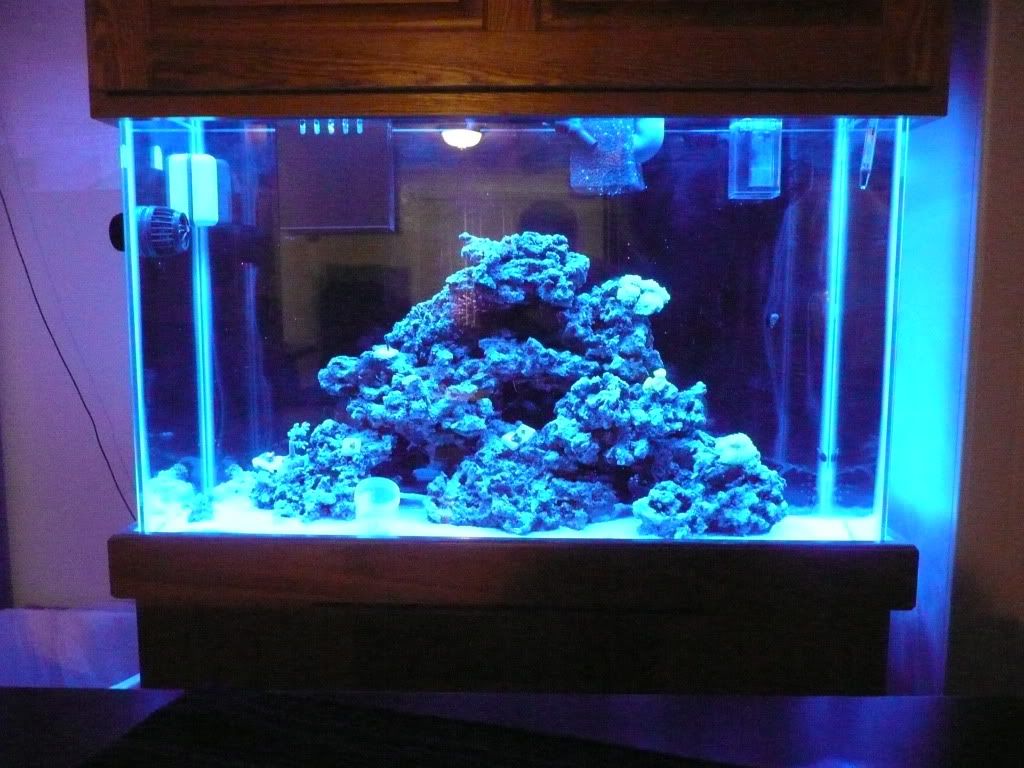
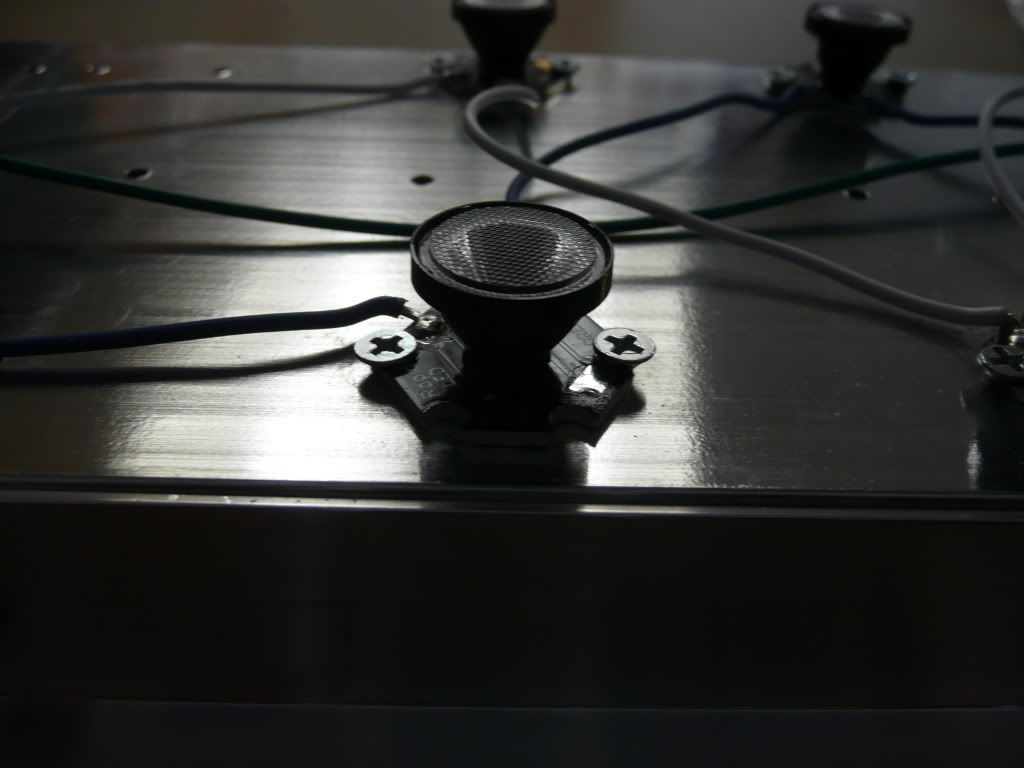
I added 5 small red leg hermits from Marine Aquatics to clean up after my clownfish. They seem to be doing a great job taking care of the few rouge pellets my fish may miss. Secondly, I got the lighing installed in my canopy. The quality of the kits from Hellolights is great!! If you haven't noticed, I love pictures, so here are a bunch of the installation and final set up. How they come packaged
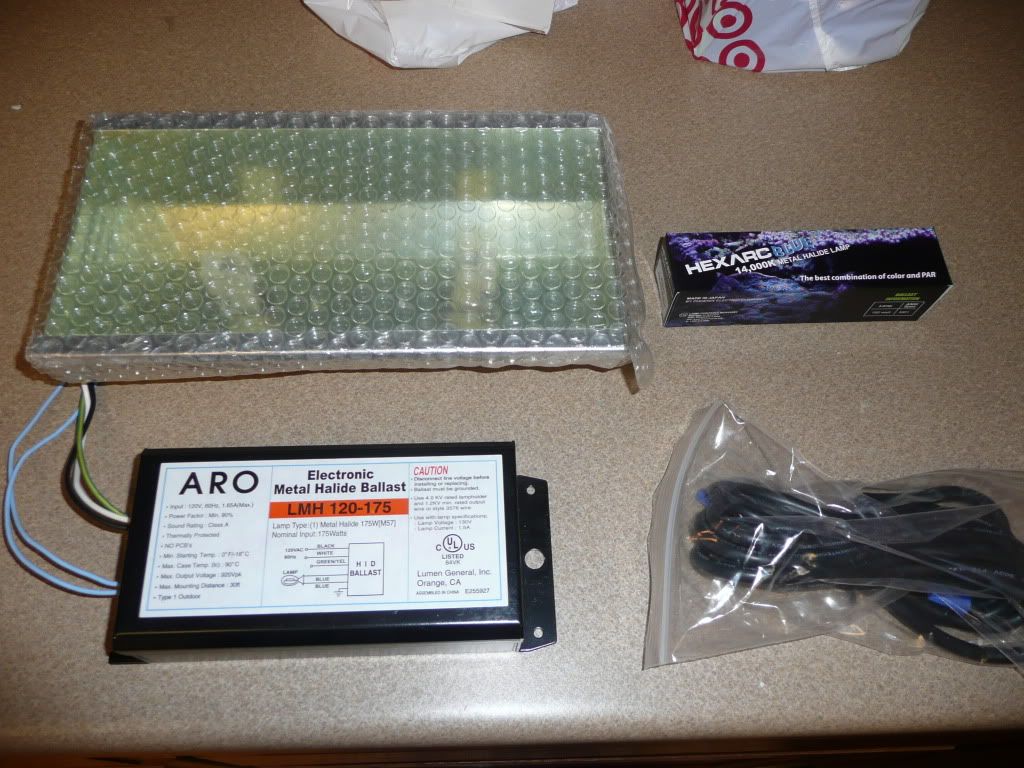
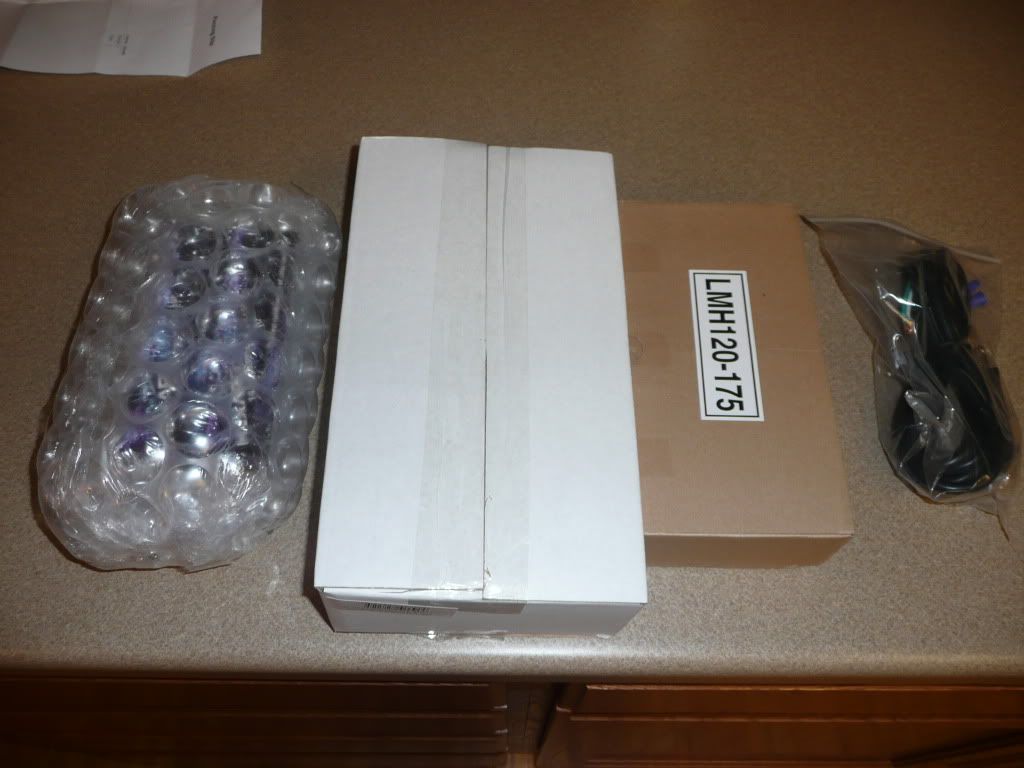 Right out of the box, of course this is just one of the two kits I purchased.
 Installed in the canopy
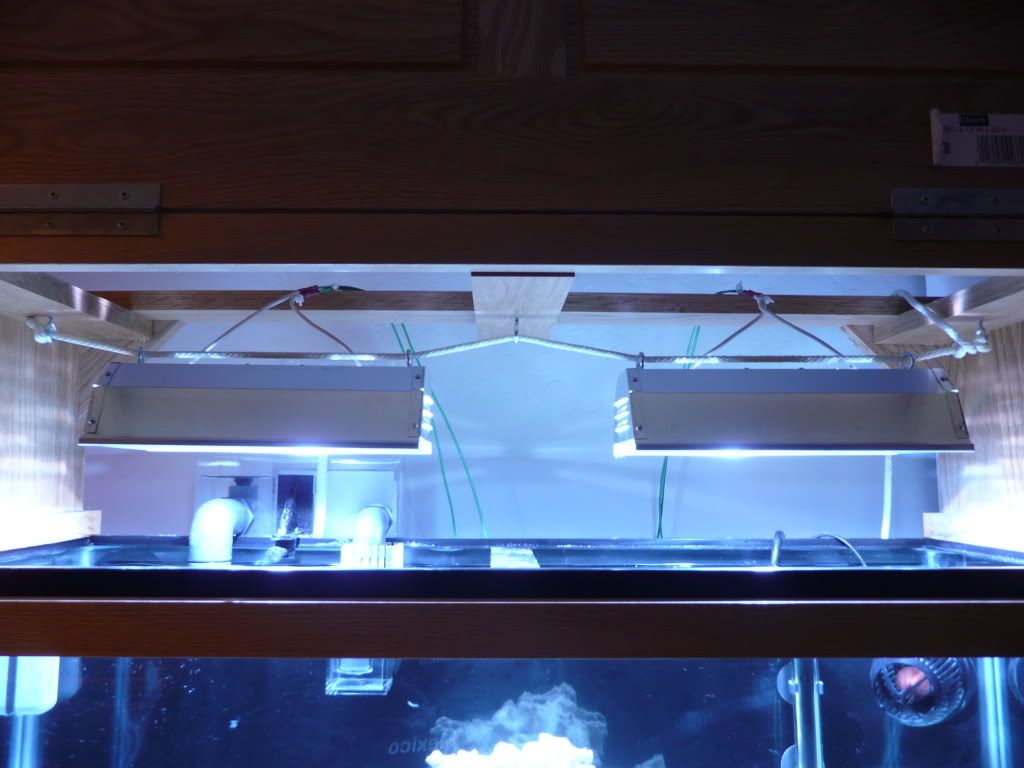
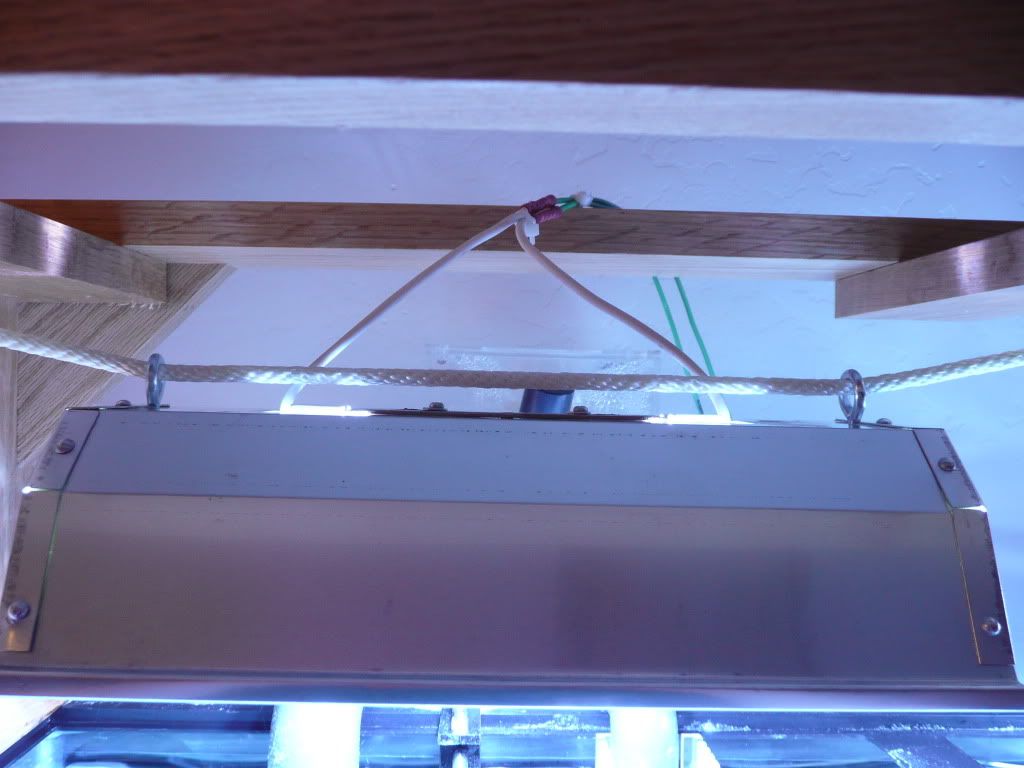 I am not sure that the way I mounted them will work because the eyelets get HOT! The lights were only on for an hour or so last night and the eyelets were too hot to touch, which worries me that they may melt through the rope. The temporary ballast location, until I can round up screws to mount them to the side of the stand. I also need to do something to water proof my connections. I bought heat shrink, but it turned out to be not quite big enough to go over my crimp connectors, also once the ballasts are mounted I will tidy up the wiring.
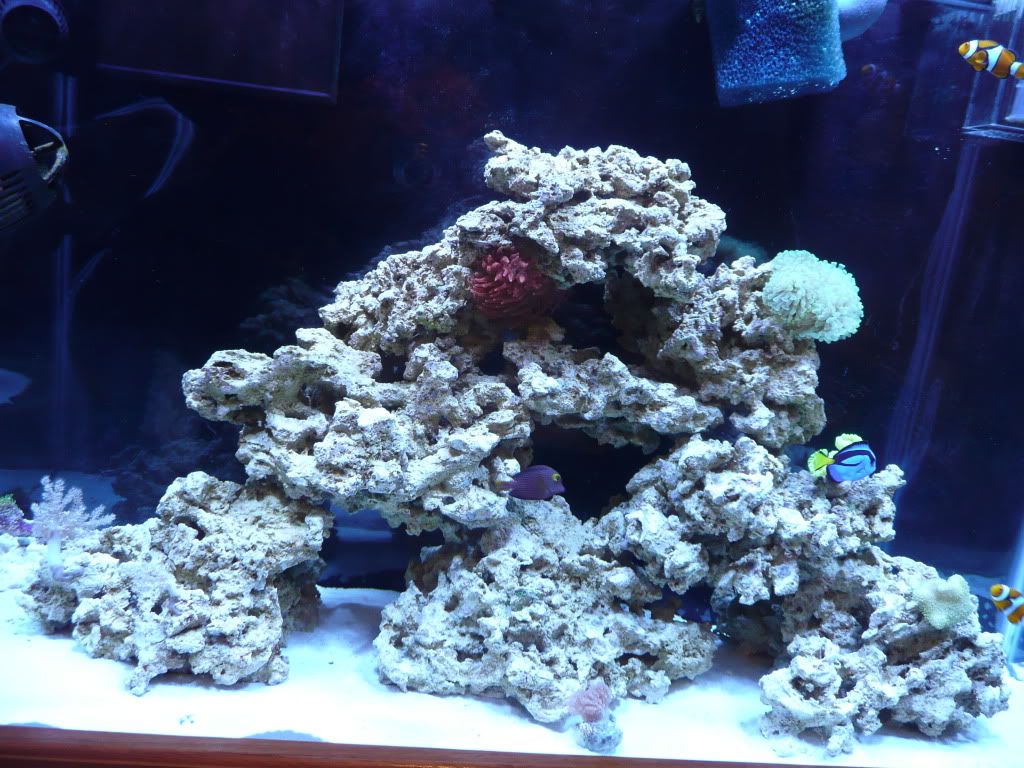
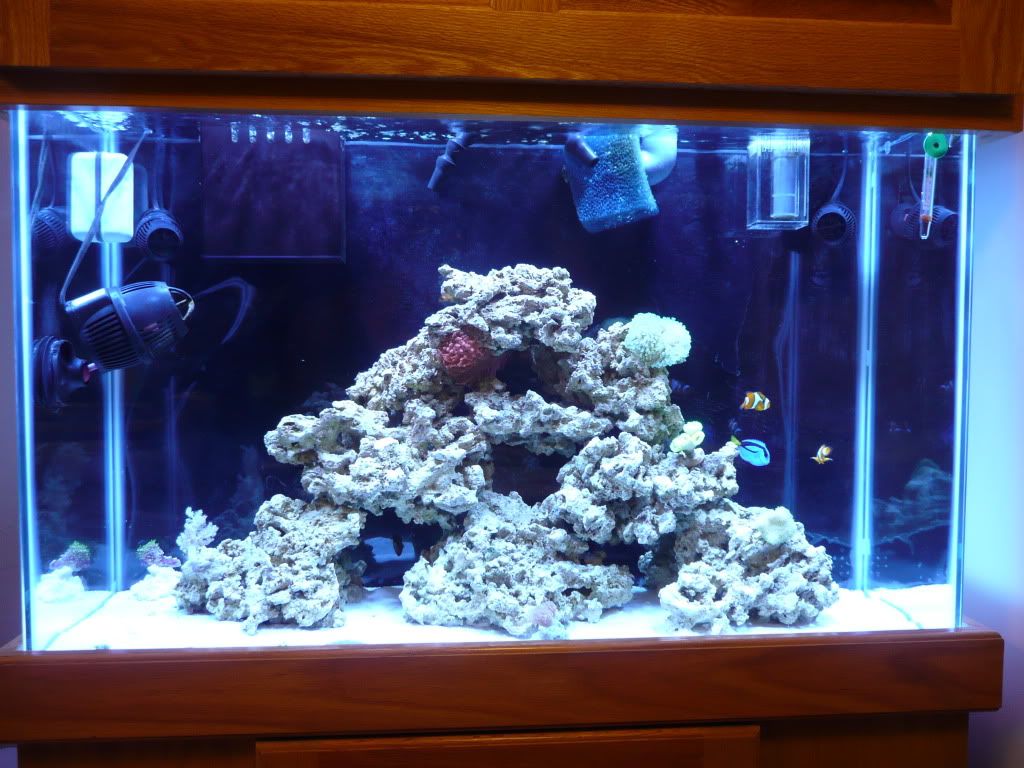
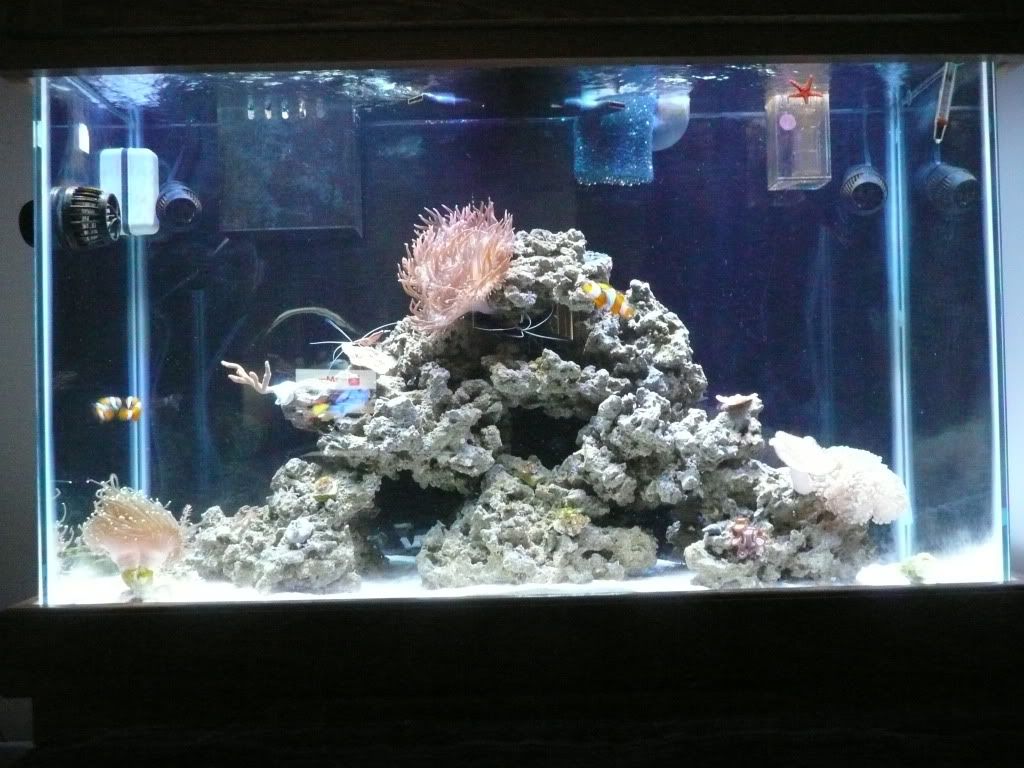
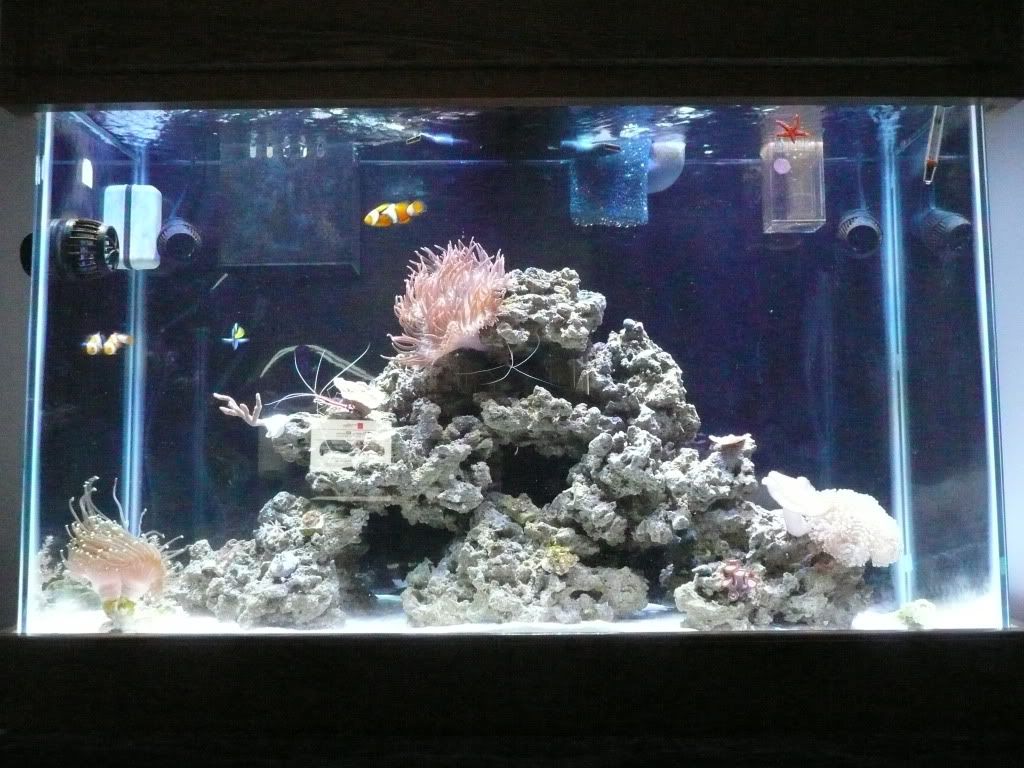
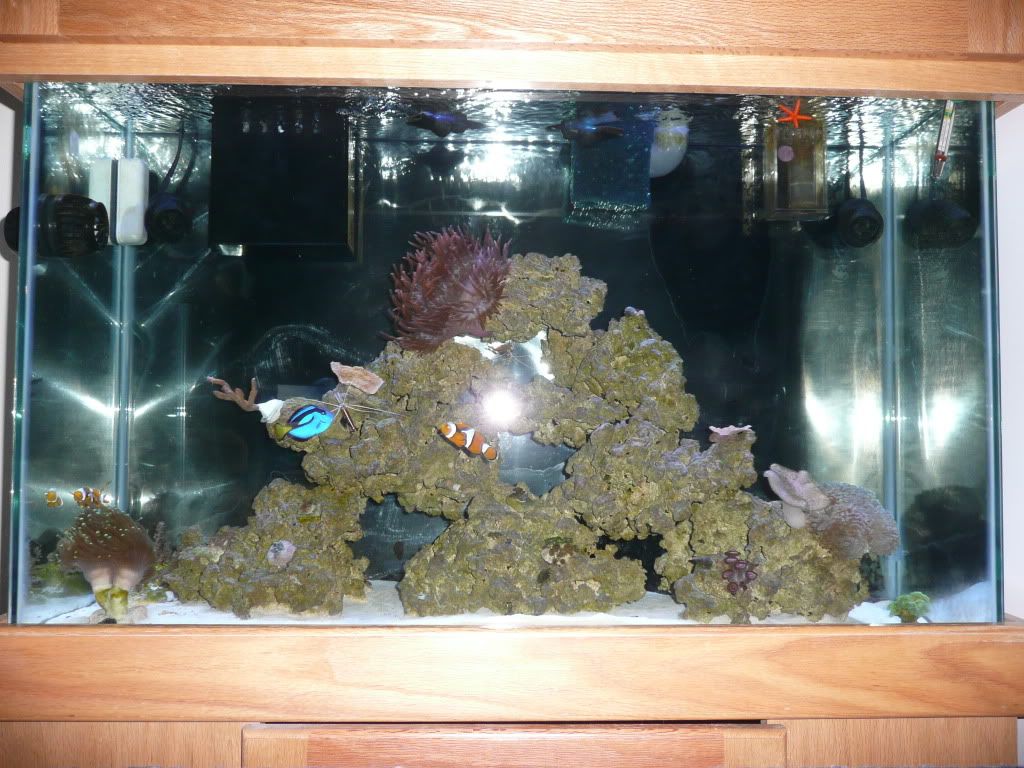
 A full tank shot
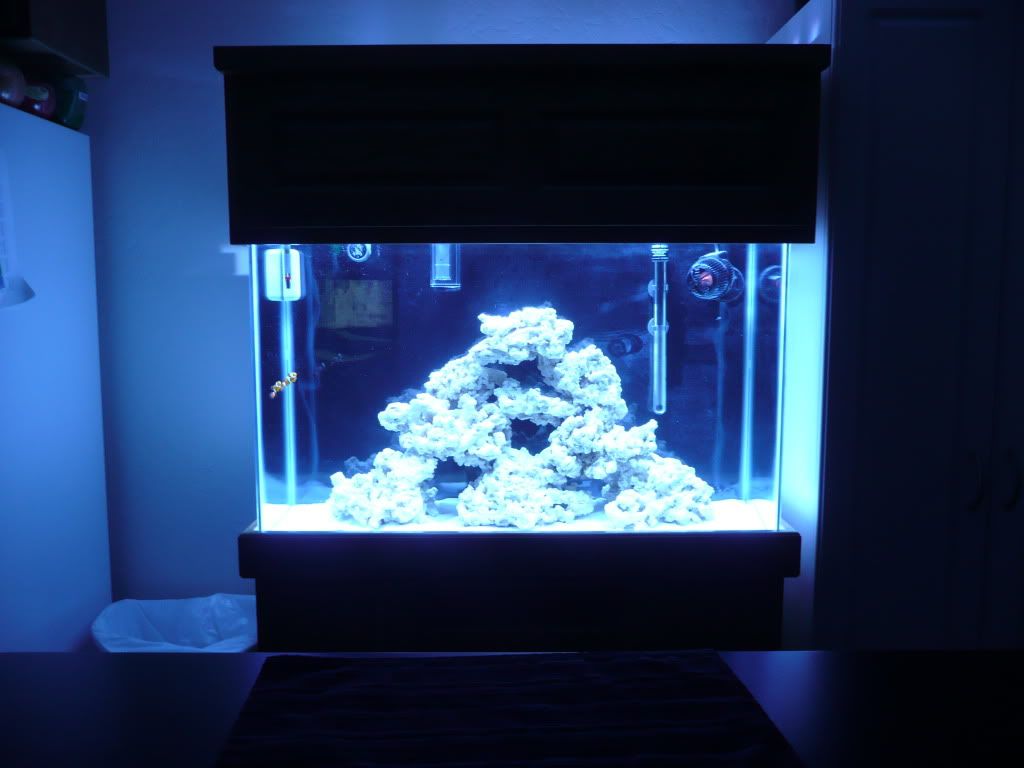 The only residents of the tank enjoying the new "sun."
 So far the bulbs are pretty blue...I am hopeing that as they burn in they will get a bit more white light to them. |
Posted By: Lewy
Date Posted: April 15 2011 at 11:29am
|
it looks good. I think you'll be real happy with your set up. ------------- 40 gal w/ 20 sump |
Posted By: 08TRDOFFROAD
Date Posted: April 15 2011 at 11:31am
| Thanks! It has been a process! Things will definitely be slowing down now, the cost of inital set up has drained my wallet...ha ha! I will be adding a few $5 frags and then it will be going on auto pilot for a while to give the "troops" time to regroup! ha ha! |
Posted By: Lewy
Date Posted: April 15 2011 at 11:34am
|
you should add your city in 'location'. That way people around you can know where you are and offer help. ------------- 40 gal w/ 20 sump |
Posted By: 08TRDOFFROAD
Date Posted: April 15 2011 at 11:43am
Done!
|
 Lewy wrote:
Posted By: Jeremyw
Date Posted: April 15 2011 at 11:45am
|
Looks great! Thanks for all the pictures! I enjoyed them! Also man those clowns look really really nice! Enjoy the ride once again! Glade to have you here and a part of this awesome group of people! ------------- Next meeting: |
Posted By: 08TRDOFFROAD
Date Posted: April 15 2011 at 11:48am
Thanks! Glad to be back!
|
Posted By: Kirklan
Date Posted: April 15 2011 at 12:17pm
|
I'd definitely get some picture hanging wire or cable at home depot instead of that rope. I'd also be worried about it melting and dropping your lights in the water. You could always smear some silicone around the connections to make your wiring water proof. ------------- SE Idaho 67G Rimless Reef |
Posted By: 08TRDOFFROAD
Date Posted: April 15 2011 at 12:54pm
|
Posted By: 08TRDOFFROAD
Date Posted: April 16 2011 at 8:32am
|
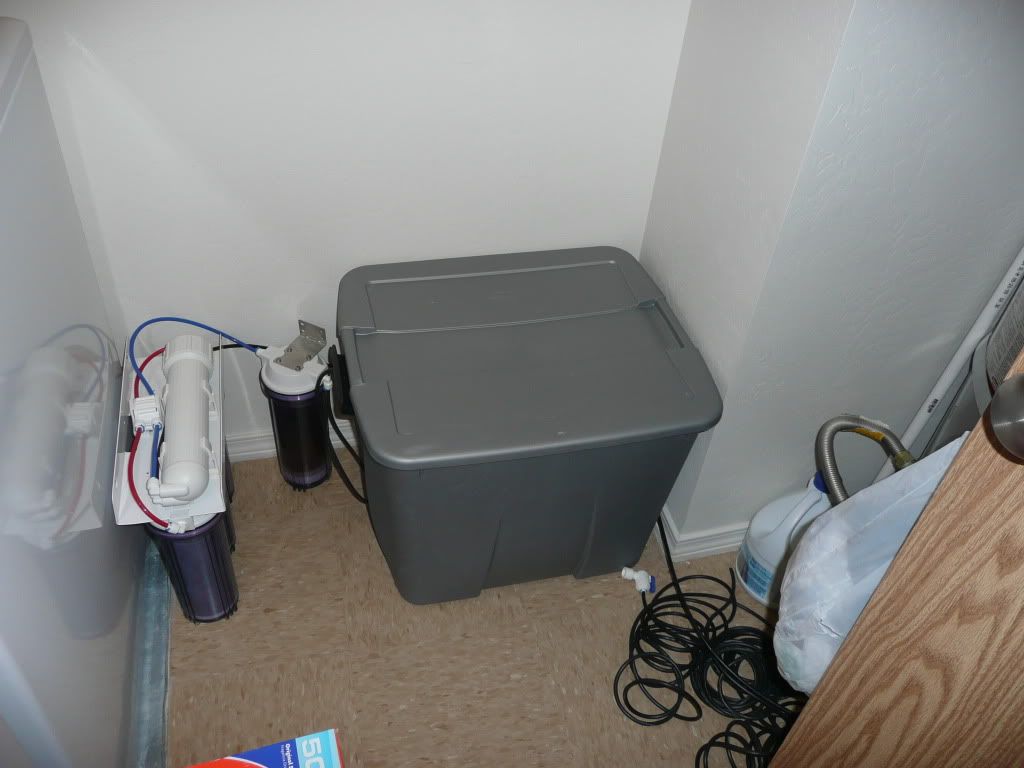
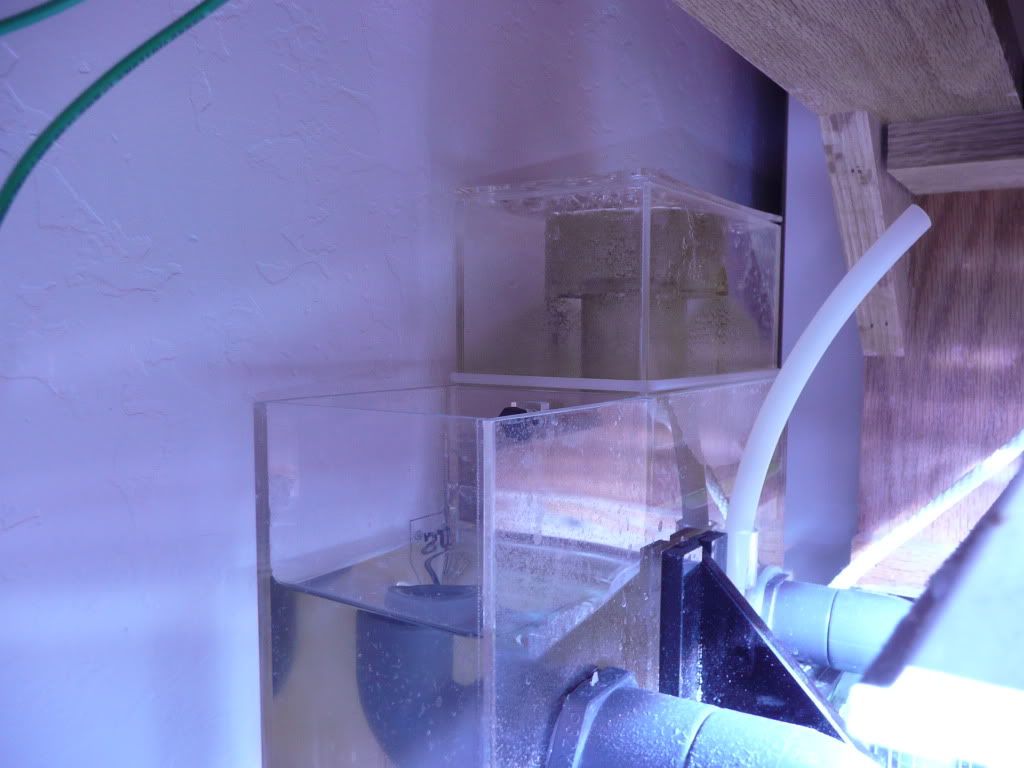
Spent part of the night last night getting my RO/DI unit partially hooked up. I got it to the point that I can atleast make water, but I haven't finished up my plans for the storage container.
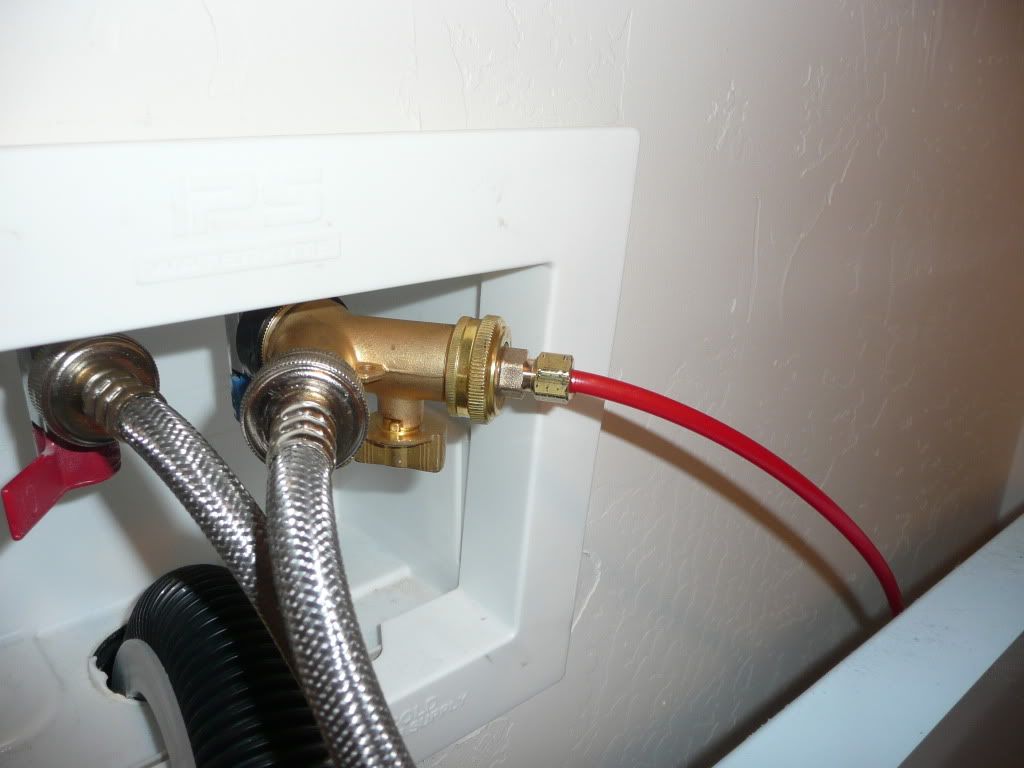
I hooked the unit up with a Y-adapter off the cold water in my laundry room.
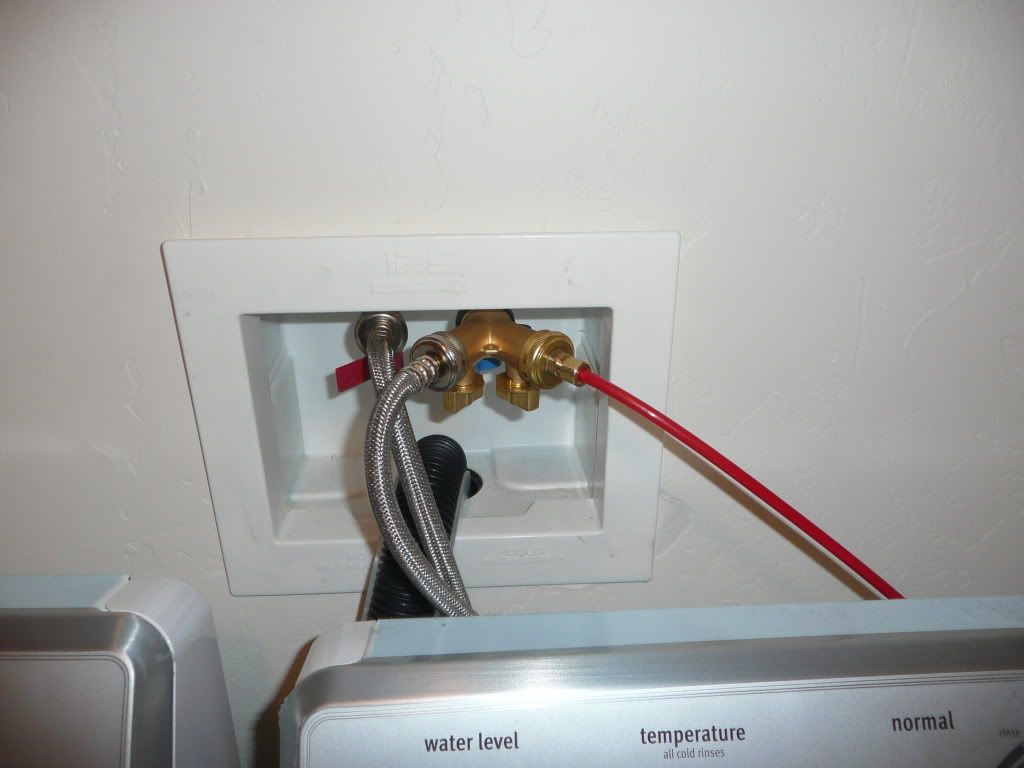 I used a brass garden hose to 1/4" tubing adapter that I picked up at Home Depot for around $5.
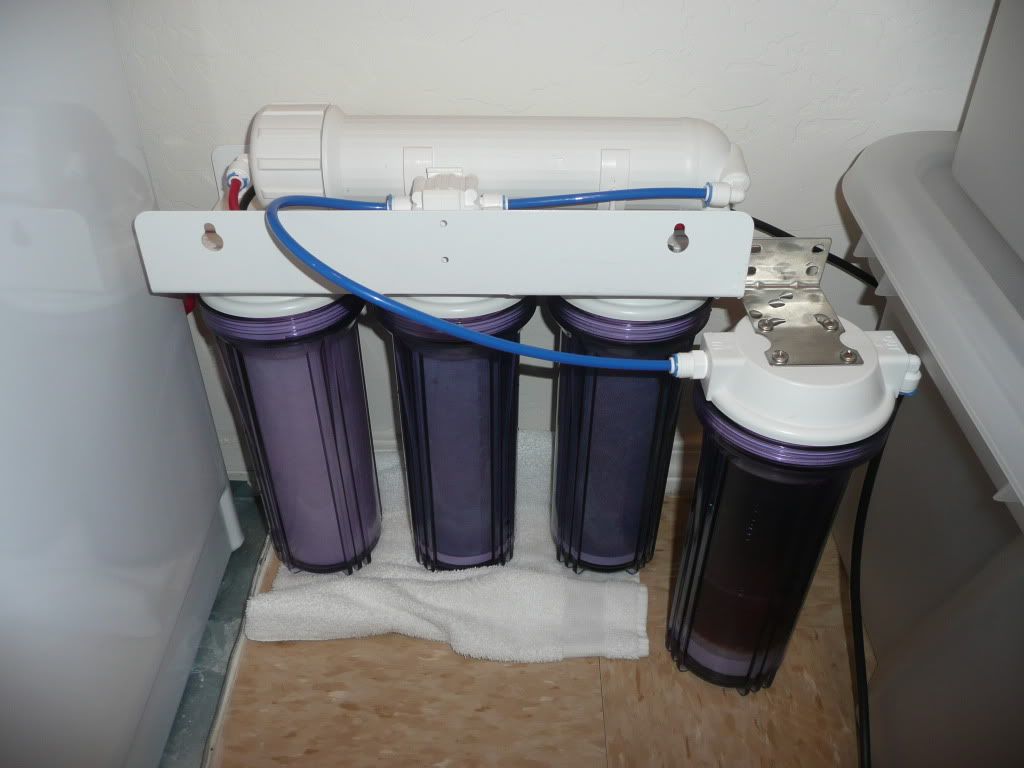
 This is a temporary location for the filter set up. I will likely hang it on the wall behind/above my washer as the permanent location.
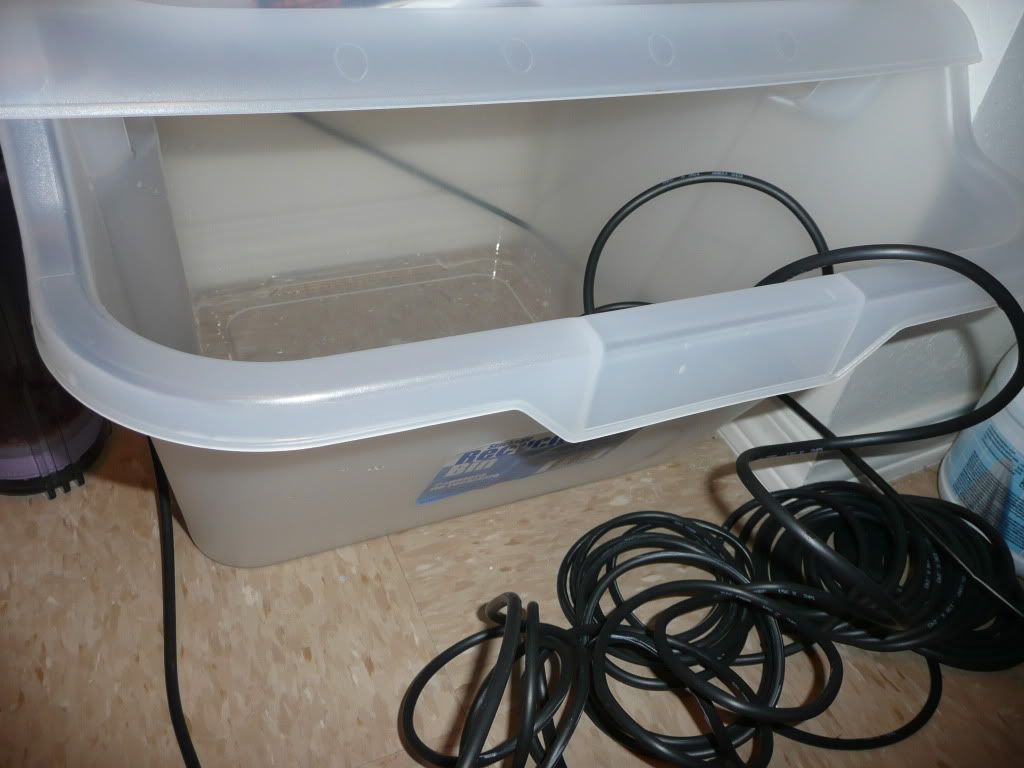
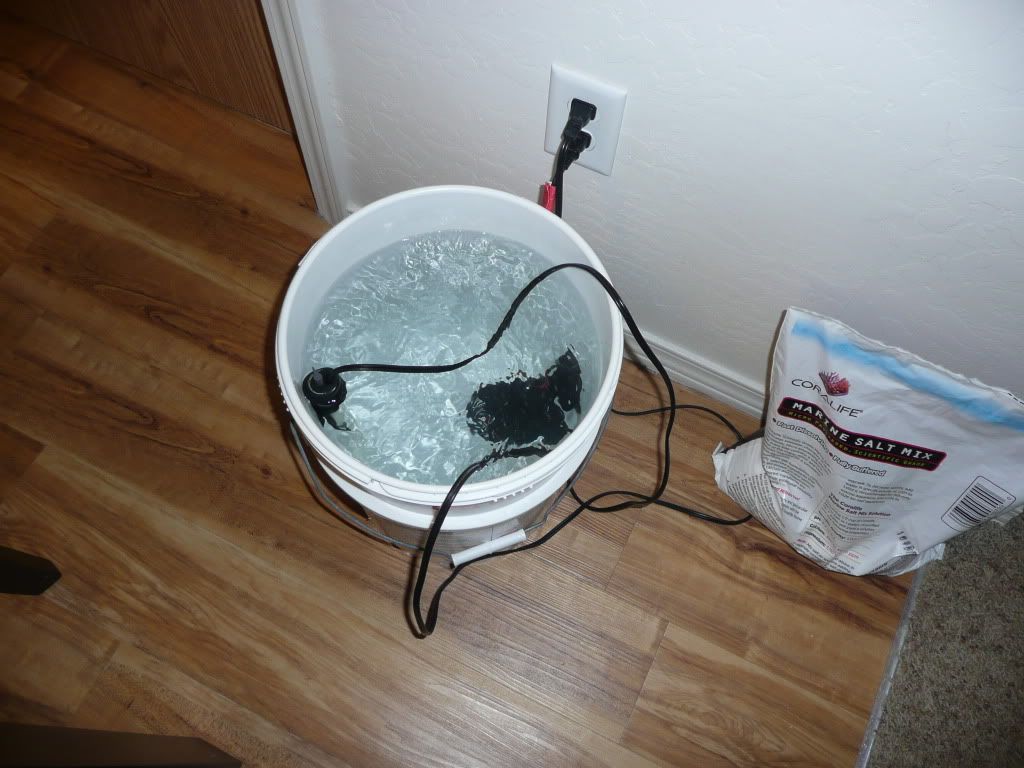
 This is my temporary holding container.
 The water pressure in my apartment is horrible. I will likely end up having to add a booster pump at some point to increase production. Right now, the best part is that my water bill is included in my rent! |
Posted By: jwoo
Date Posted: April 16 2011 at 10:02am
|
Looking good! I've got a 45 gallon as well and I like what you've done so far. ------------- None at the moment Soon: 72 Gallon Bowfront |
Posted By: 08TRDOFFROAD
Date Posted: April 16 2011 at 12:10pm
|
Posted By: kay181
Date Posted: April 19 2011 at 9:55pm
|
great looking tank good job ------------- day light scares me im going back under |
Posted By: 08TRDOFFROAD
Date Posted: April 21 2011 at 9:44am
|
Well, the uglies have arrived, I have diatoms every where!!!!! I can't even see the back of the tank the water is so cloudy, I assume this is a consequence of starting with tap water. I plan to do several waterchanges over the next few weeks now that I have my RO system up and running, I have also been topping off with RO water the last three days. Hopefully I can get this stage of ugly cleared up quickly so I can move on to the next. Any suggestions on what I should do to help ride it out?
Here are a couple pics, all though they aren't the best....I took them early this morning before I left for work, long before my lights came on. These pics don't even do the condition of the tank justice!

 I tried to take some "better" pictures last night with the lights on to show how truely bad the problem is. In the last two days, the skimmer has pulled out about two cups of dark nasty crap, which has me wondering if it is truely diatoms....
 Any suggestions on what I can do other than water changes to replace the tap water with salt/RO water mix...? |
Posted By: Adam Blundell
Date Posted: April 21 2011 at 10:08am
|
Add a couple cups of sand or water from someone else's tank.... wait 10 days. Don't panic. Adam ------------- Come to a meeting, they�re fun! |
Posted By: 08TRDOFFROAD
Date Posted: April 21 2011 at 10:32am
|
I don't think this is a cycling issue, the tank has completed the initial cycle and has had fish in it for almost a month....so I guess I am confused about how adding sand or water from another tank will solve the issue....
Could you explain?
|
Posted By: larhalli
Date Posted: April 21 2011 at 10:40am
|
I would do what Adam says as well. The live sand from another tank will give you the bugs and bacteria you need to help get rid of some of that ugly crap. Also maybe cut back on your lighting a bit till the diatoms clear up. Do you have any snails or crabs yet? Might help.
------------- Larry Halliday West Jordan |
Posted By: Mark Peterson
Date Posted: April 21 2011 at 10:51am
|
They are right and there is more. Please call me. It takes too long for me to type. Also look at what I have posted about setting up an affordable reef aquarium in the link below:
------------- Reefkeeping Tips, & quick, easy setup tricks: www.utahreefs.com/forum/forum_posts.asp?TID=9244 Pay it forward - become a paid WMAS member 
|
Posted By: 08TRDOFFROAD
Date Posted: April 21 2011 at 11:34am
How much can I safely cut back the lighting with fish in the tank? I have been running my lights for less than six hours the last few days. I only have five red leg hermits. There is not really anything other than a stray pellet or two in the tank to justify a larger CUC.
|
Posted By: Mark Peterson
Date Posted: April 21 2011 at 12:16pm
|
Well, I have time to write. My work website is down right now. Actually if you add some Macroalgae and some LS from a good tank, the lights can be turned on longer and the whole thing will speed up and go away quicker. As you know the brown algae is normal.* This is all part of the process that a new tank goes through. Feel free to call me. Another new hobbyist just did and now he feels better about what to do for his tank. * Actually it's only normal for the typical ways that hobbyists set up their tanks. But it doesn't have to be that way. The tank I recently set up did not have any trace of diatomaceous/dinoflagellate brown algae. The difference was some LS from another tank, a few pieces of good LR from another tank, an extra large bunch of Chaetomorpha and lights on 16 hrs/day. This eliminated the dreaded "cycle" altogether. 50 SPS frags went in that tank within a month. Now, 3 months later, everything is still doing excellent. During almost 20 years in this hobby, I've seen some amazing changes in the way we do our tanks. This is one of them.  Oh and to answer your ?'s, Fish don't need light and if you add some Macroalgae you'll want to increase the photoperiod anyway to make the brown algae disappear quicker. Snails eat algae so I would add about 30 snails now and no more Hermits. "Chad" here on this forum sells Snails at a ridiculously awesome price. ------------- Reefkeeping Tips, & quick, easy setup tricks: www.utahreefs.com/forum/forum_posts.asp?TID=9244 Pay it forward - become a paid WMAS member
|
Posted By: 08TRDOFFROAD
Date Posted: April 21 2011 at 12:21pm
Thanks! I will give you a call after 4 p.m. today when I get off work.
My question now is, how can I add Macroalgae and keep it from over running the tank without a sump?
|
Posted By: Mark Peterson
Date Posted: April 22 2011 at 9:22am
|
What? overrunning the tank? Sounds like misinformation to me. Feel free to call and even come see my tanks to help clear it up.
------------- Reefkeeping Tips, & quick, easy setup tricks: www.utahreefs.com/forum/forum_posts.asp?TID=9244 Pay it forward - become a paid WMAS member
|
Posted By: 08TRDOFFROAD
Date Posted: April 22 2011 at 10:03am
|
I planned on calling yesterday, but forgot to put your number in my phone before I left work...I don't have the internet at home so I had to wait until I came back to work to get on and get it. |
Posted By: Lewy
Date Posted: April 22 2011 at 10:26am
|
the macro won't over run your tank especially if you have herbivores in the tank. Or cut and thin it out. I have a ball of chaeto in my 12 gallon tank and it hasn't ever over run the tank, and I don't even have a skimmer on mine. in fact it's given a great place for some of the smaller critters to grow to help clean the tank. There are all kind of worms and bugs in there. Someone close probably has some they would give you. ------------- 40 gal w/ 20 sump |
Posted By: 08TRDOFFROAD
Date Posted: April 22 2011 at 11:10am
|
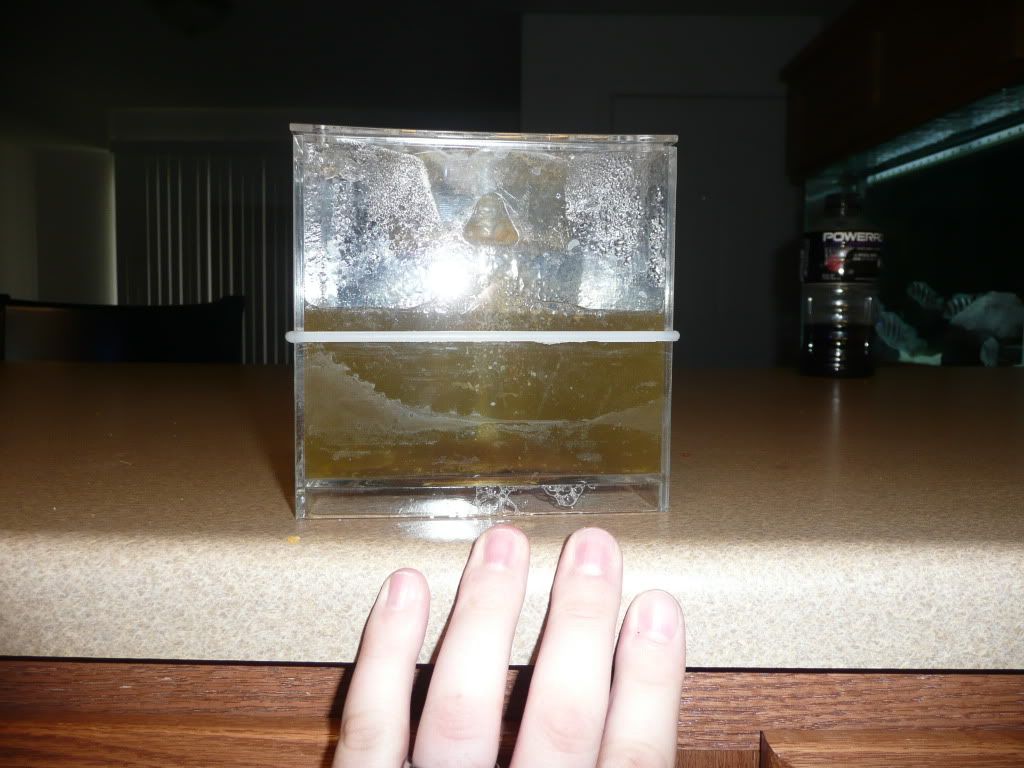
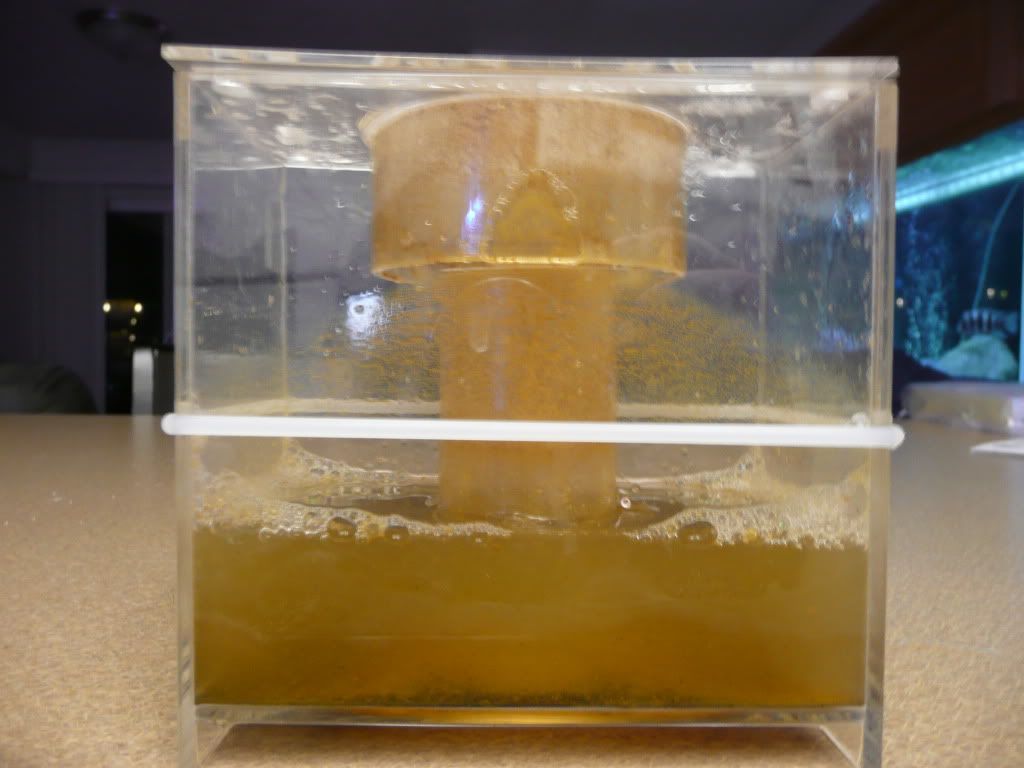
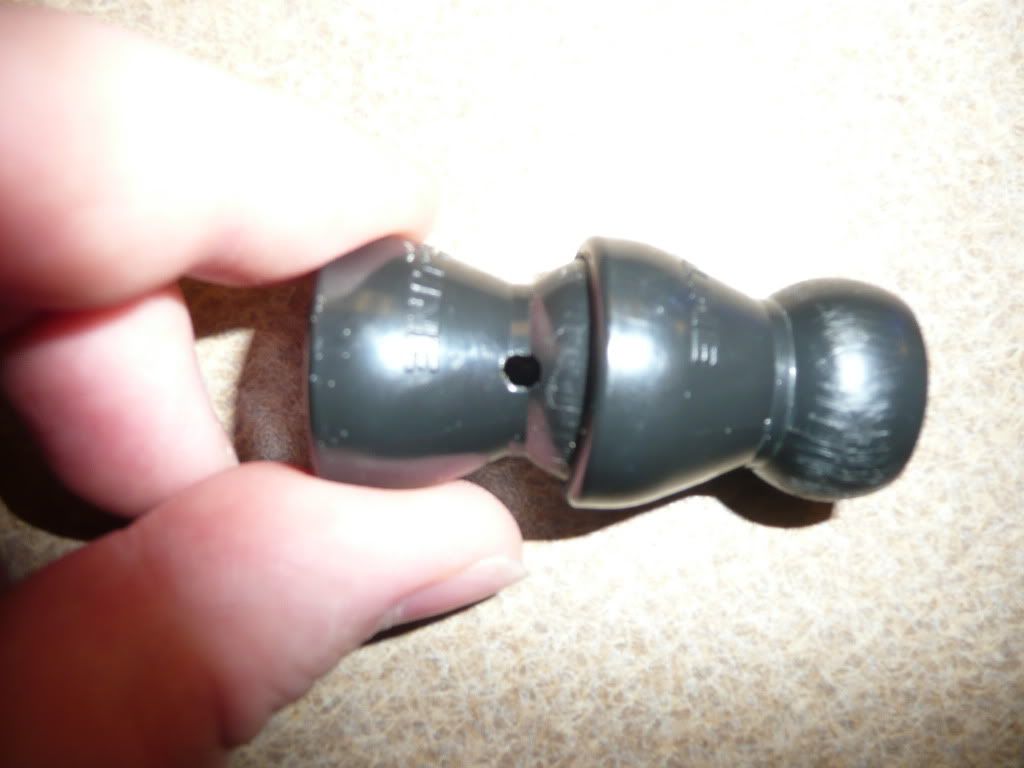
This is what my skimmer has pulled out of the tank in about the last fourty eight hours...
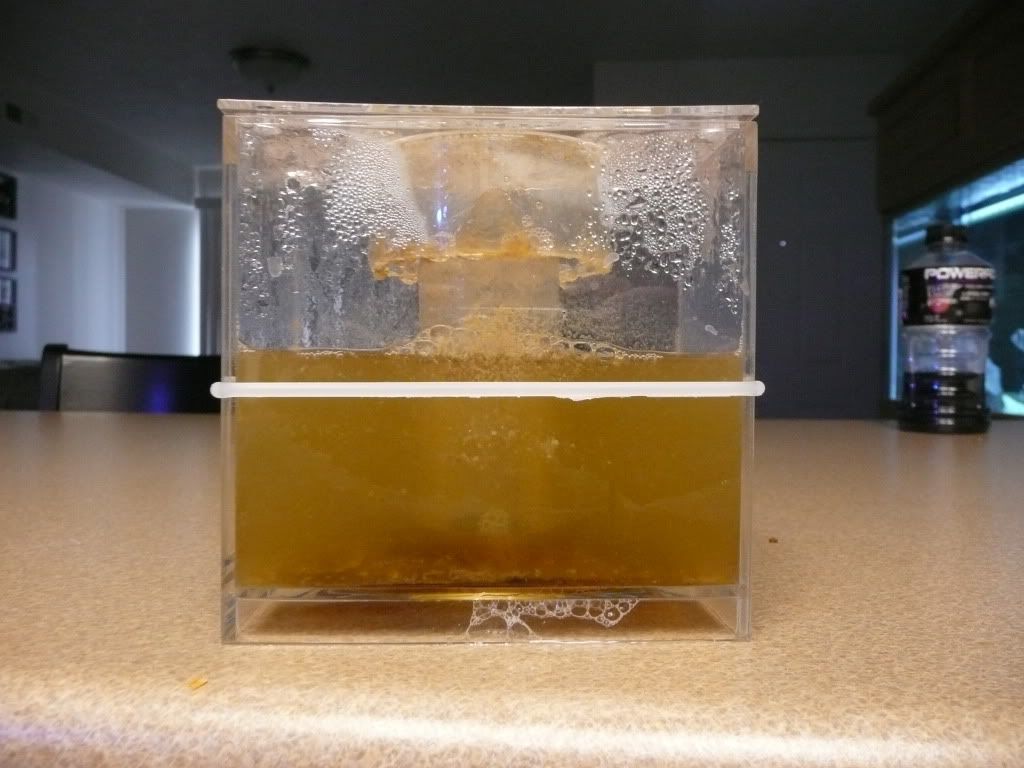 My hand for size comparison to the collection cup.
 |
Posted By: ejcatmul
Date Posted: April 22 2011 at 3:32pm
|
This may be one of many cycles your tank goes through. Using dry rock and dry sand will elongate the process. Just wait till the hair algae comes, don't get discouraged and throw in the towel just yet. I have had my set up for just over 6 months and feel like my system is just starting to mature and maintain itself. You may want to look into a media reactor and run some GAC and GFO to help with water clarity and remove phosphates before the hair algae sets in too much. It's all part of the hobby. Once you get over one hurdle there is always another in front of you. Good Luck your on the right track, all you need is time. ------------- "Noob" |
Posted By: 08TRDOFFROAD
Date Posted: April 23 2011 at 8:32am
|
The tank is finally starting to clear up! I could actually see my fish in the back corner of the tank last night. My skimmer was nearly full of the skimmate again last night, over the last 72 hours it has probably pulled 4 cups of the foulest smelling nastiness out of the tank. Now I am left with the typical thin layer of brown diatoms on the sand and parts of the rock work. But, even it seems to be receding. Hopefully that will disappear in the next few days. I am just glad to see the tank is clearing up!
__________________
|
Posted By: 08TRDOFFROAD
Date Posted: May 04 2011 at 9:30am
|
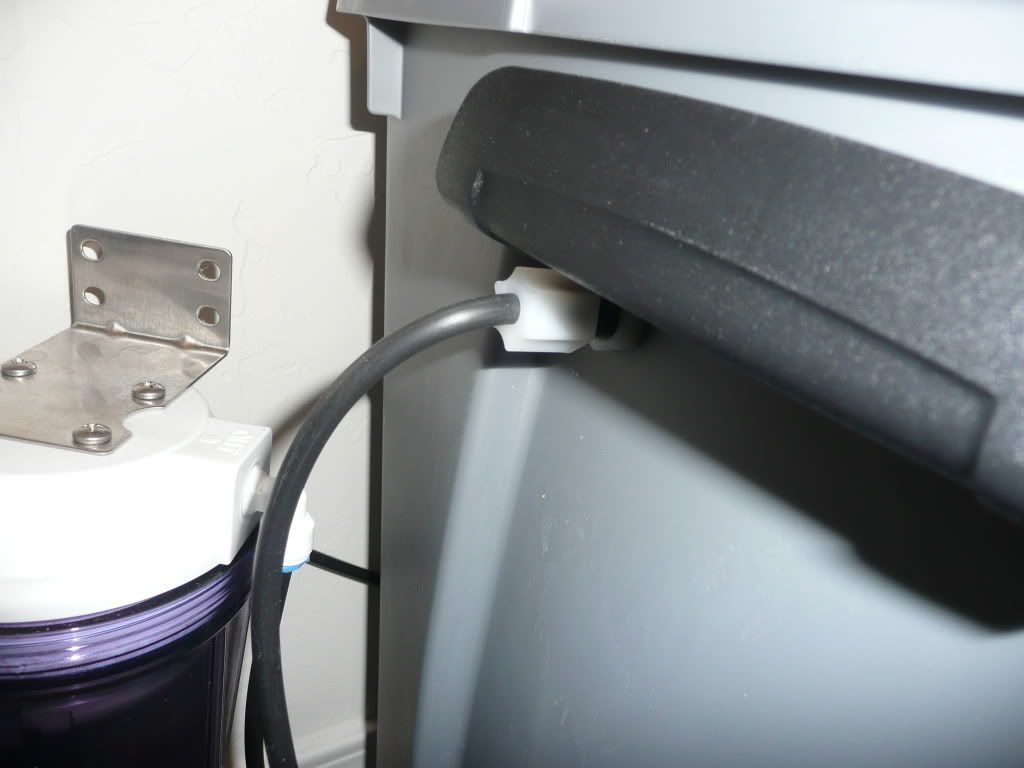
I finally got my RO/DI storage system finished up. I ended up using a 20 gal sterilite container that I picked up at Targer on sale for $7. Here it is!
 The connection through the container to the float valve I picked up from bulk reef supply
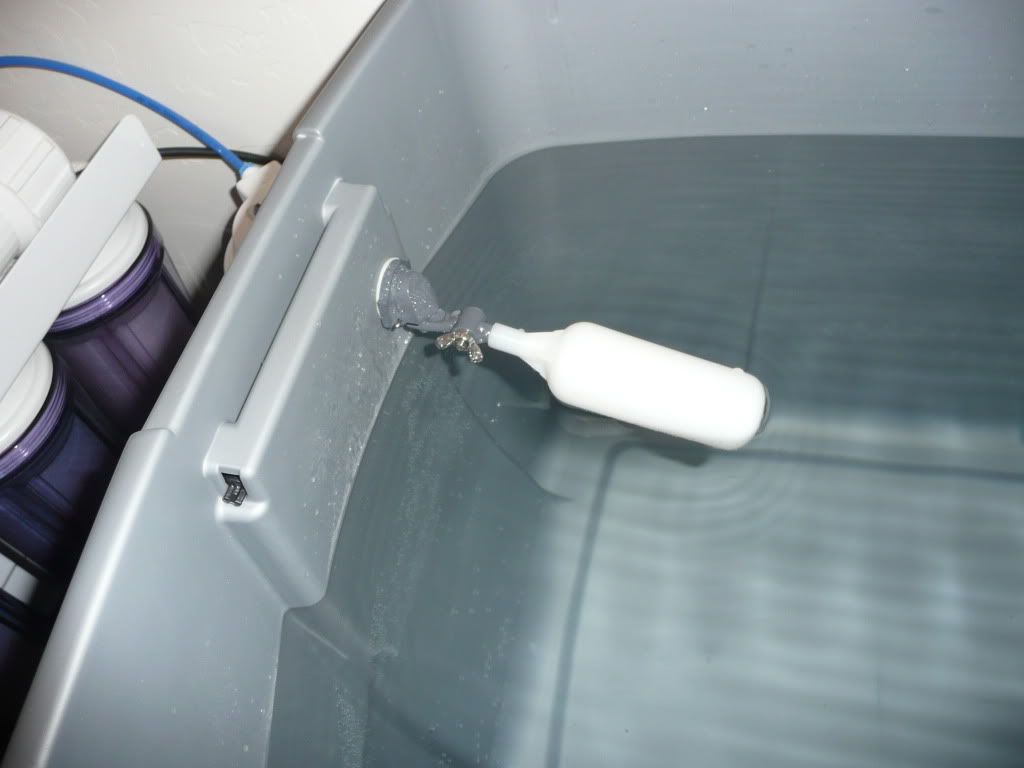
 The float valve inside the container full of fresh RO/DI water
 |
Posted By: 08TRDOFFROAD
Date Posted: May 04 2011 at 4:42pm
|
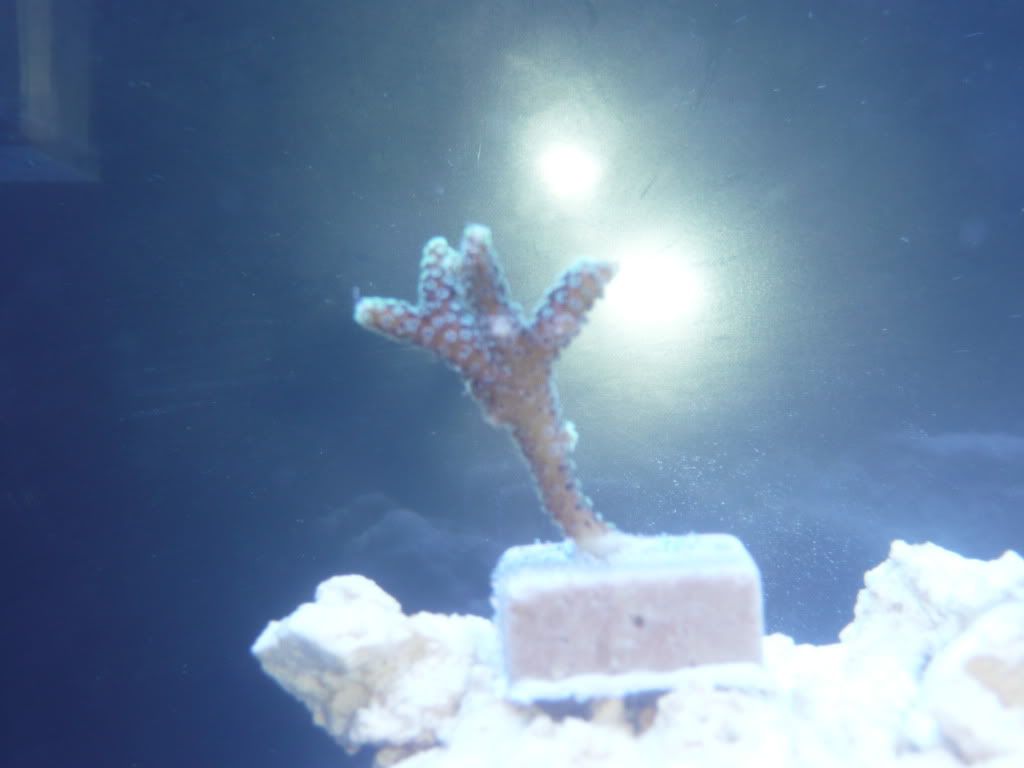
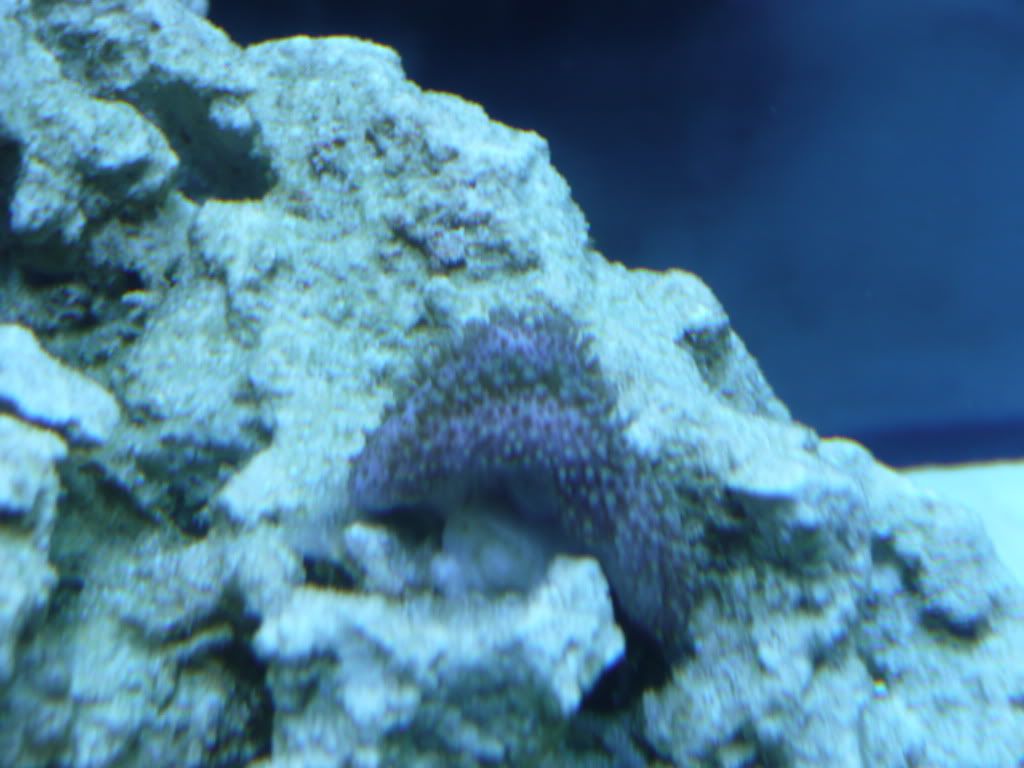
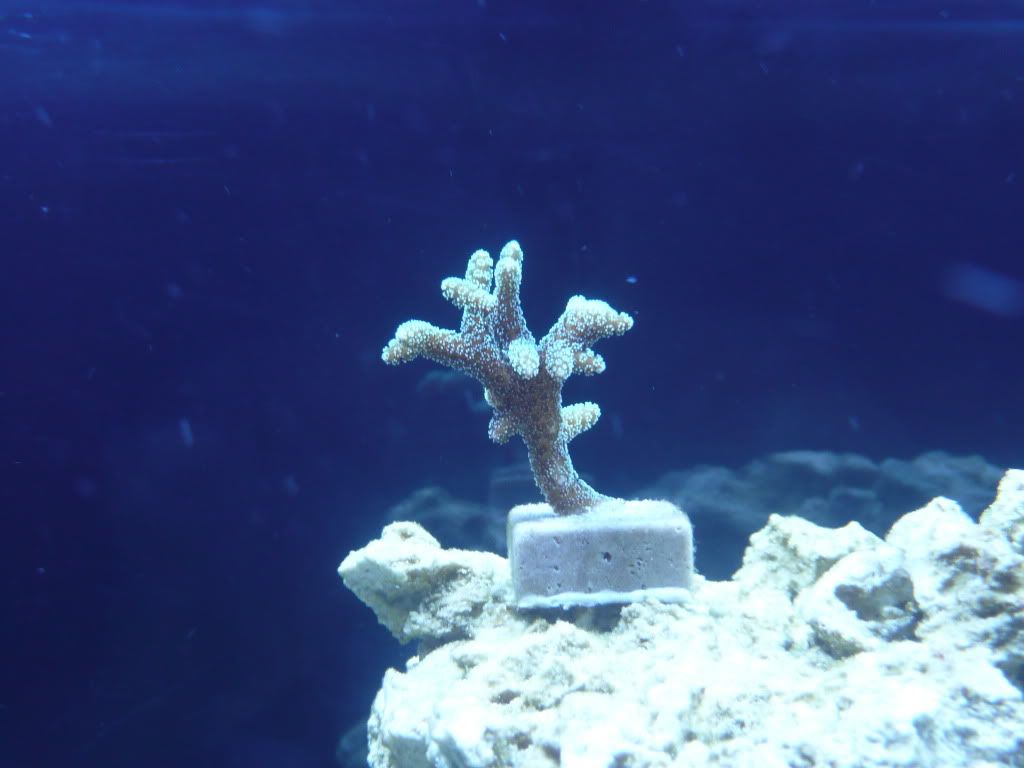
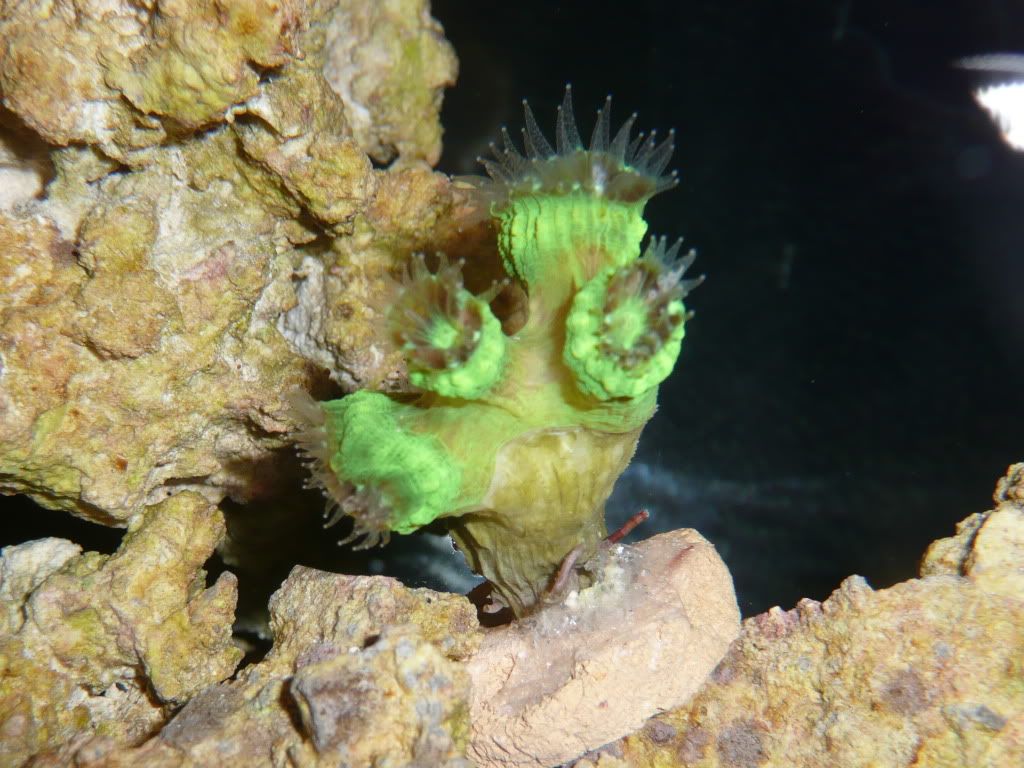
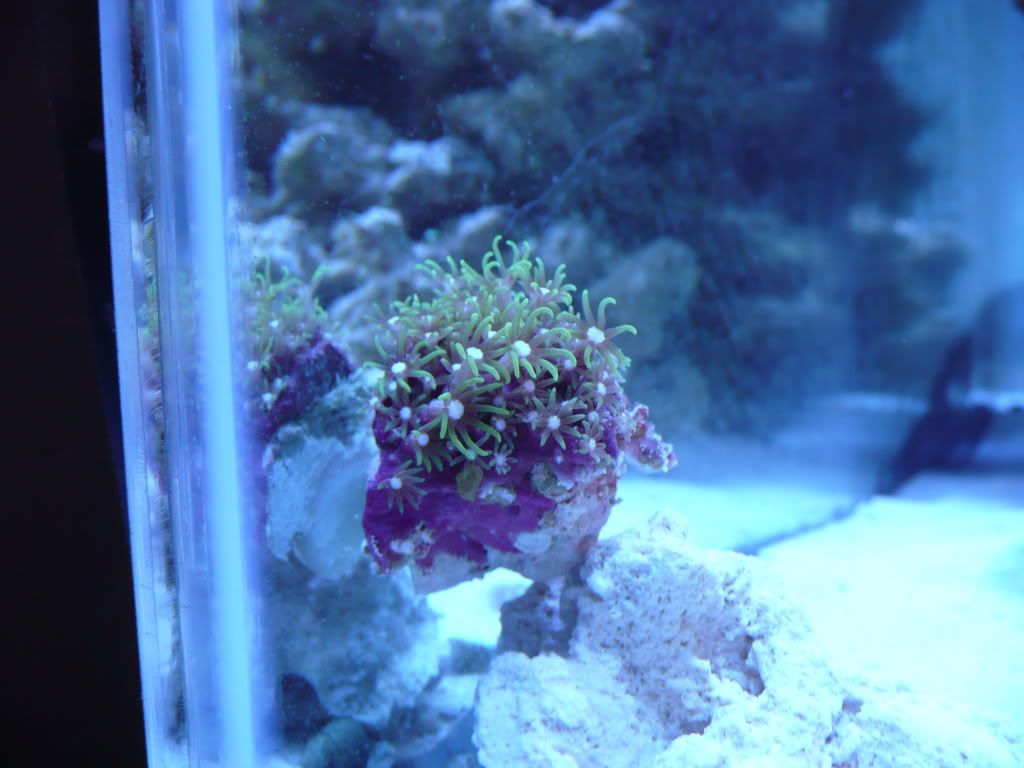
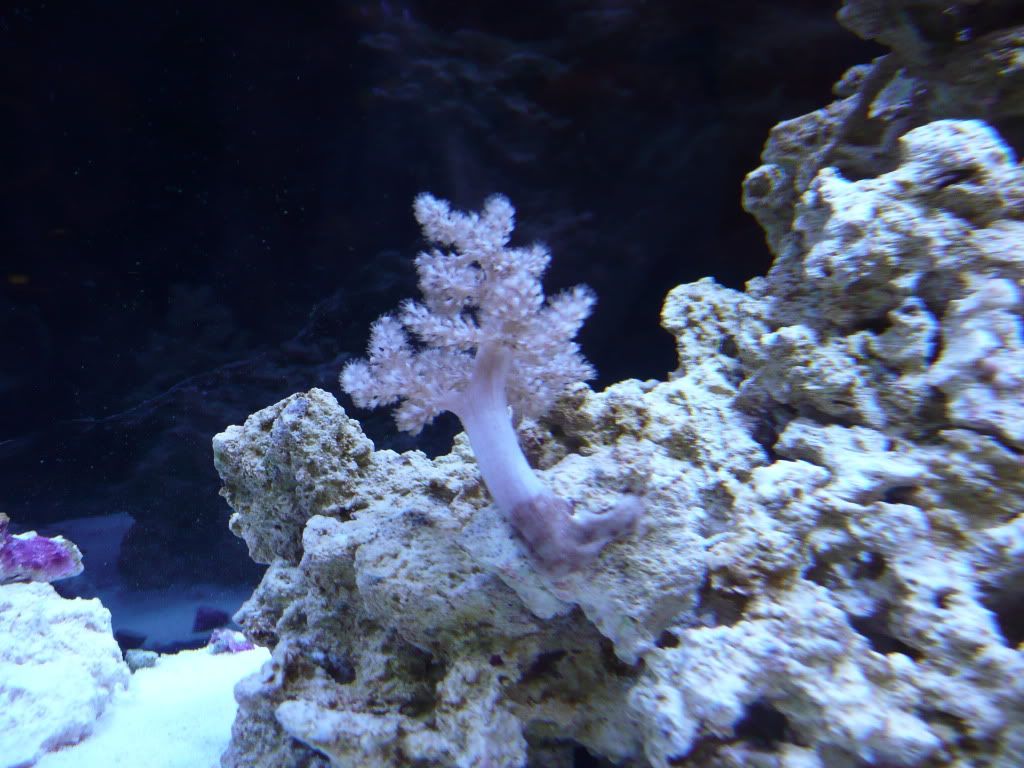
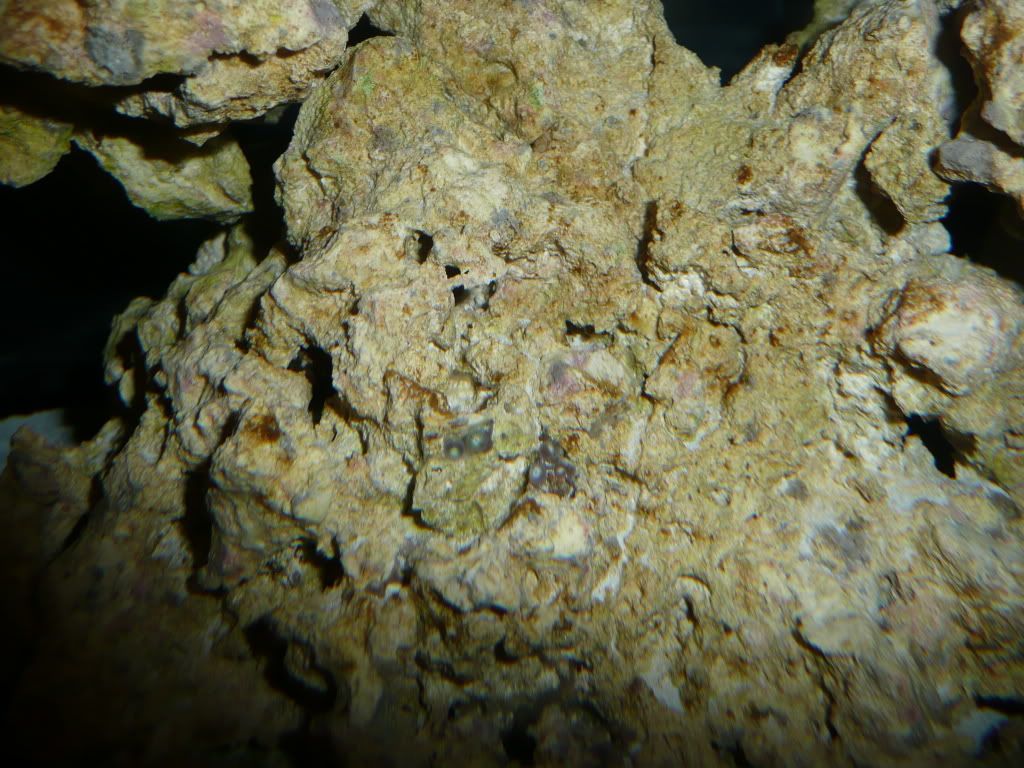
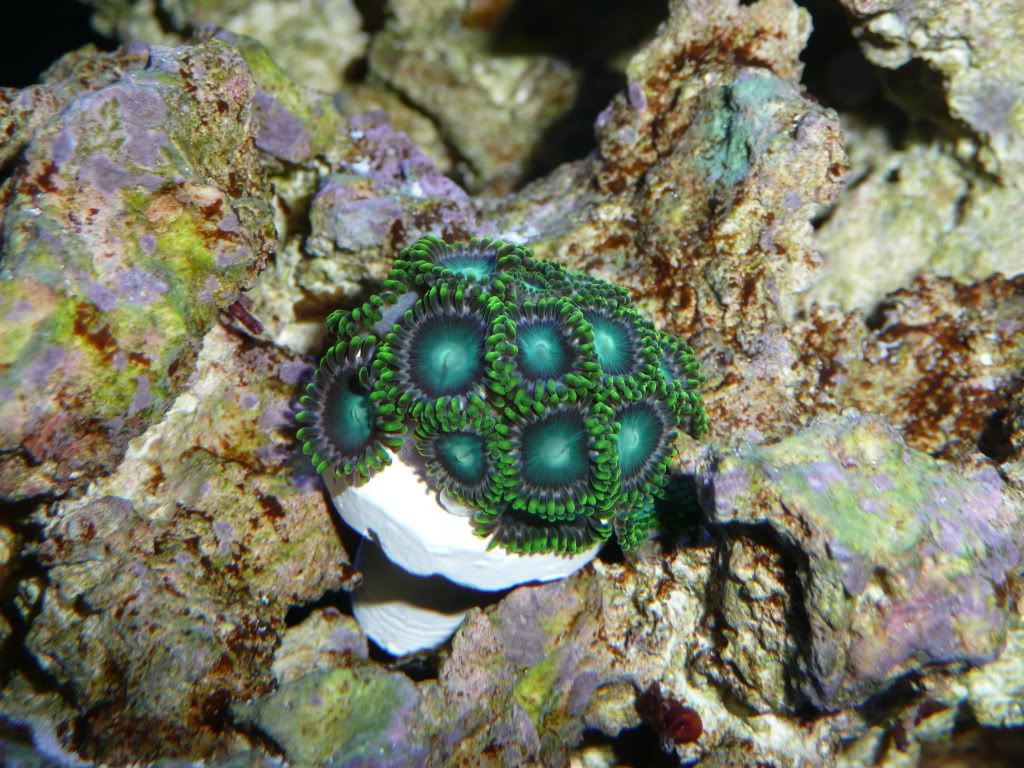
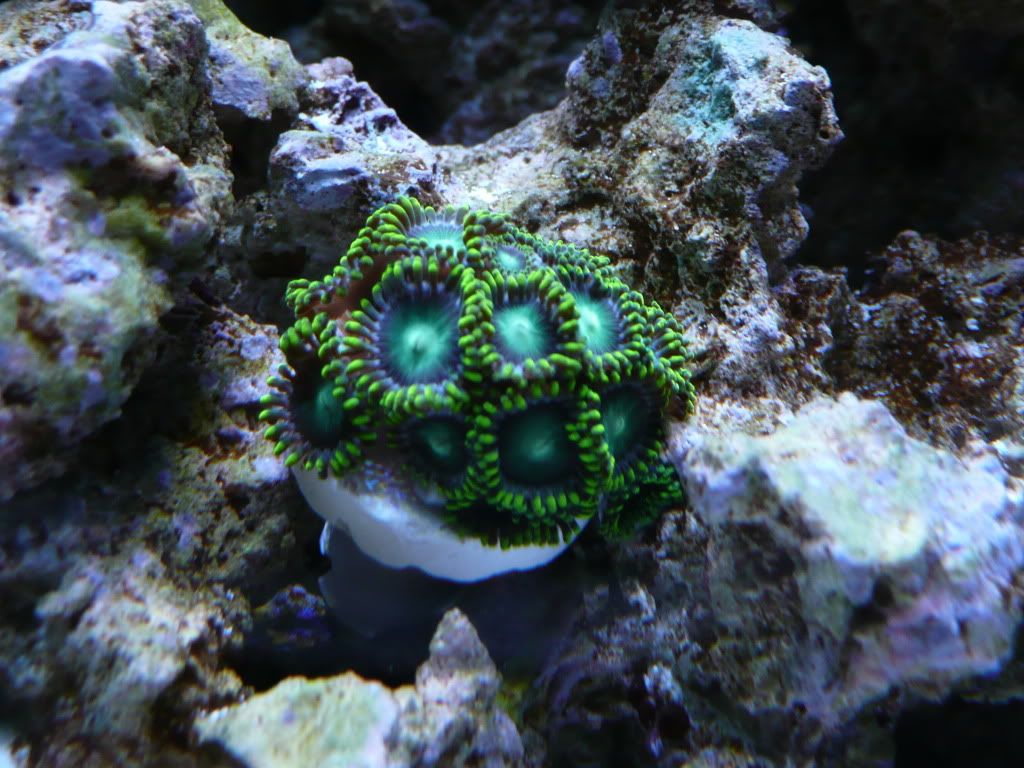
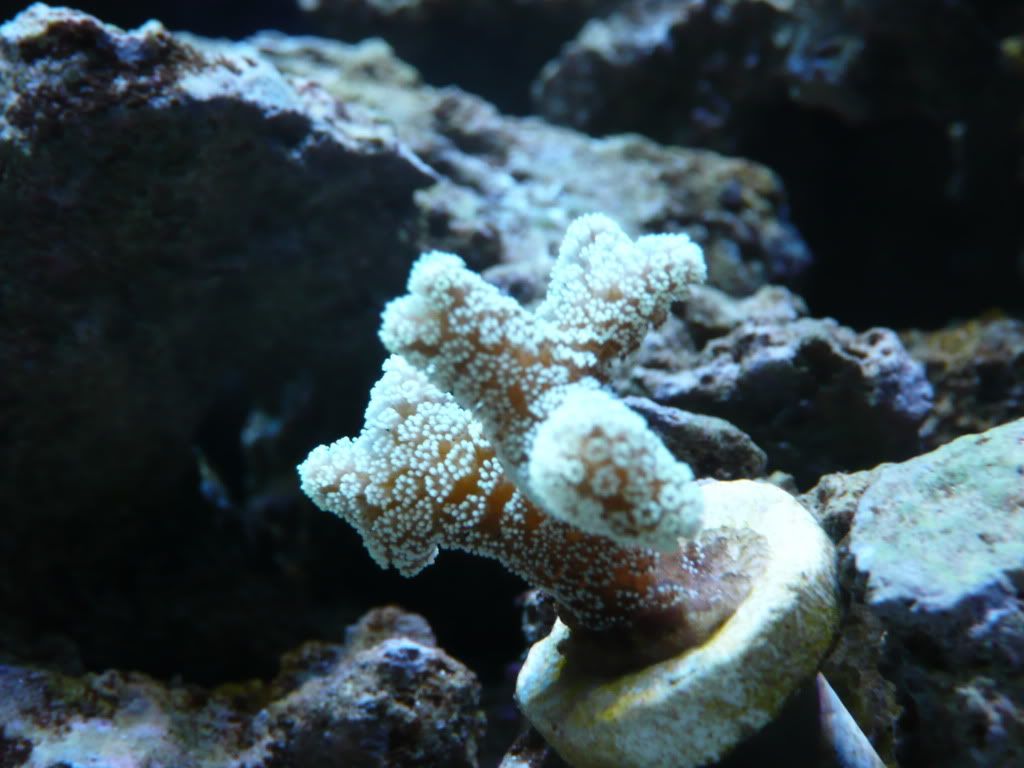
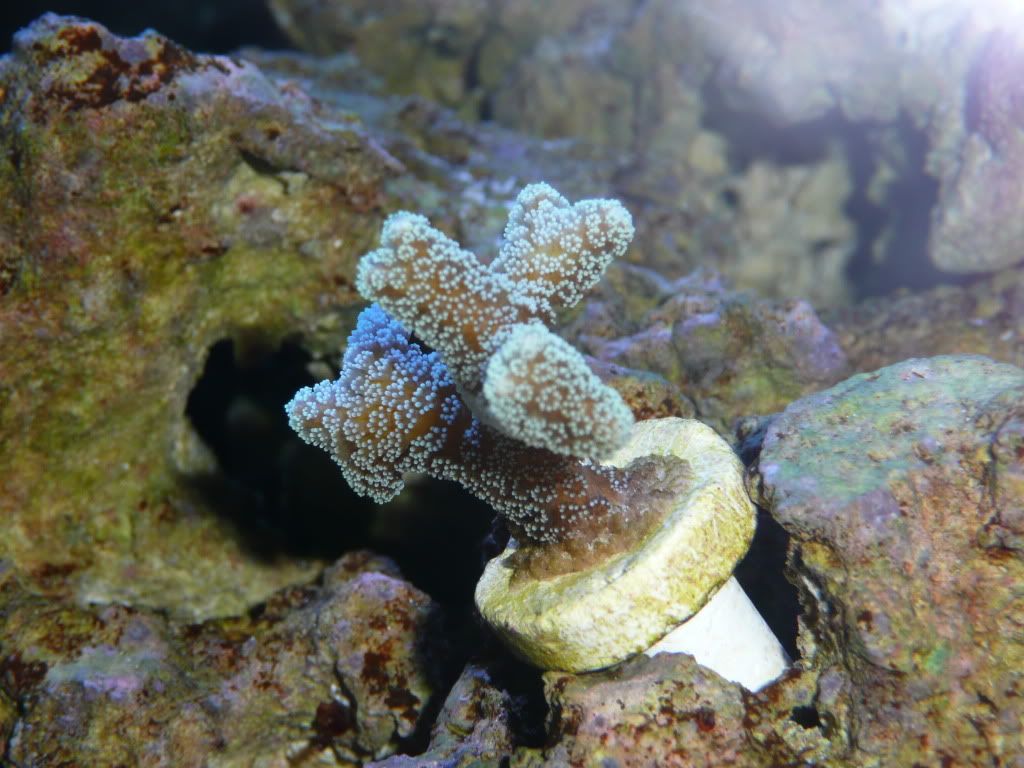
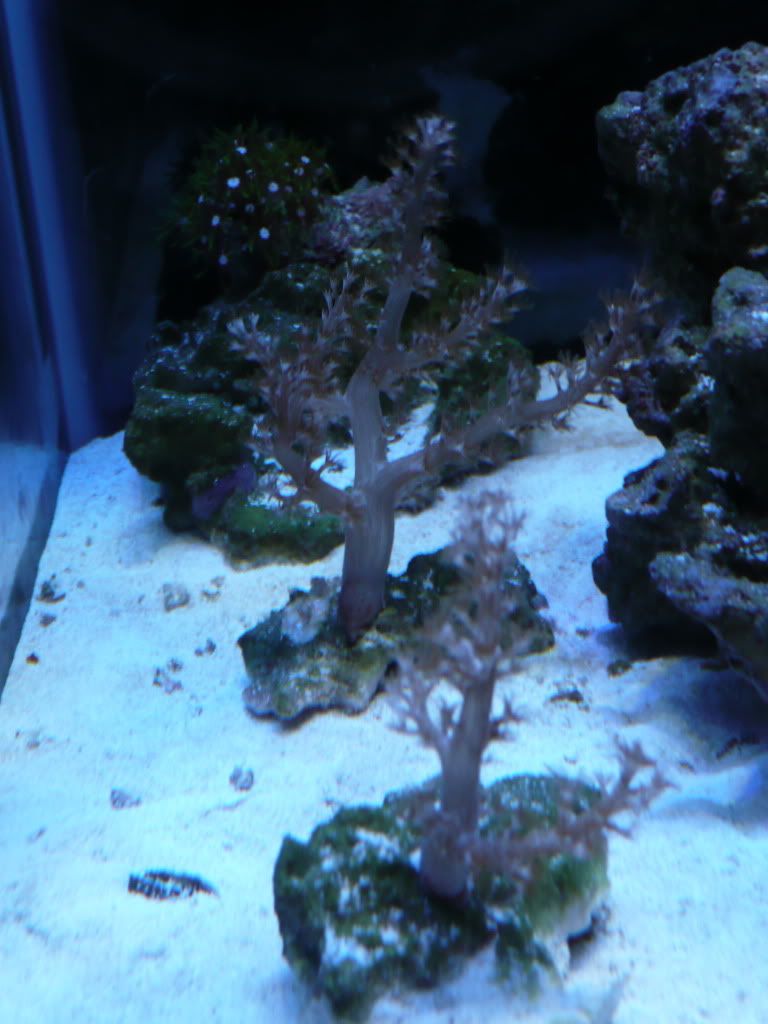
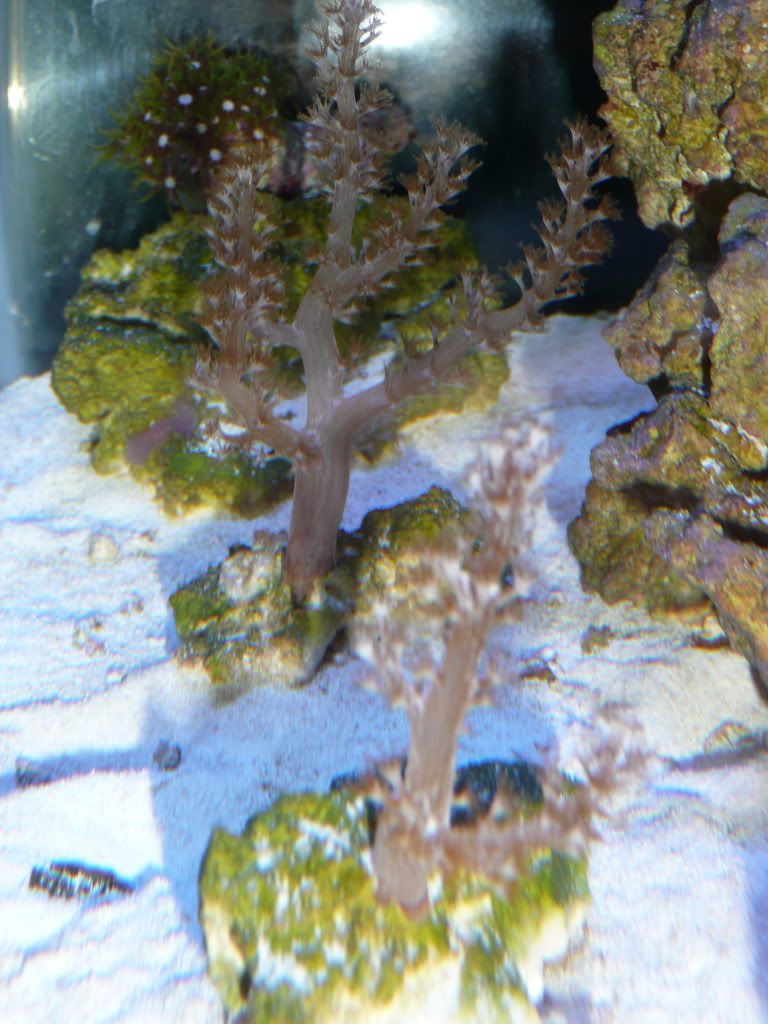
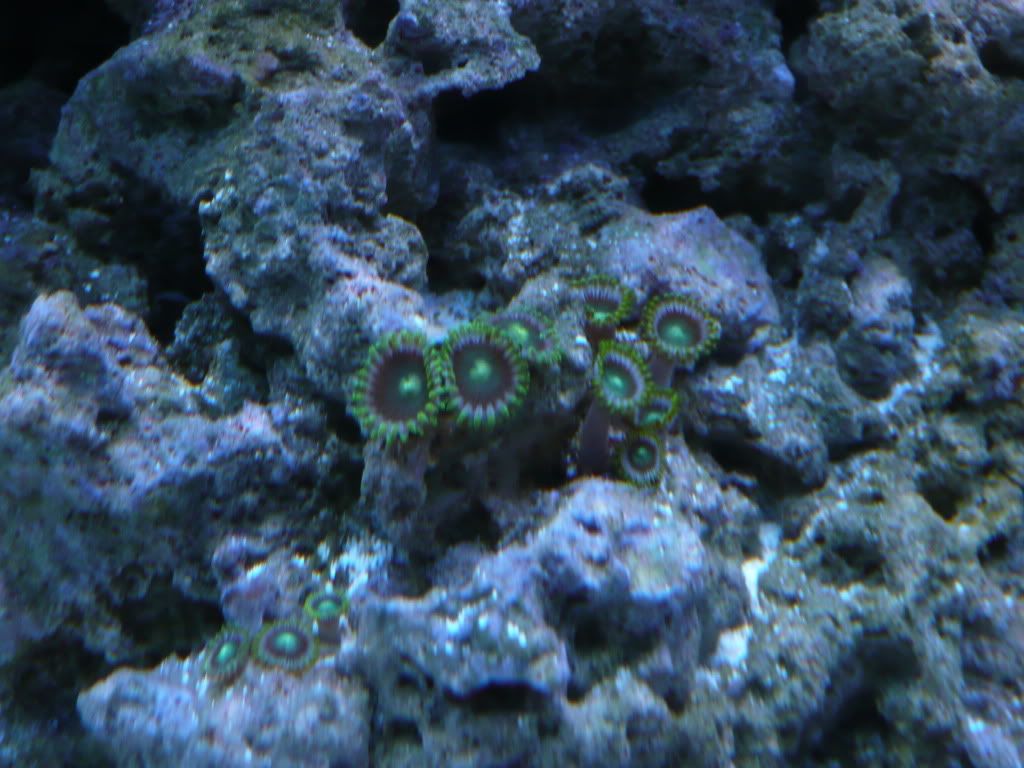
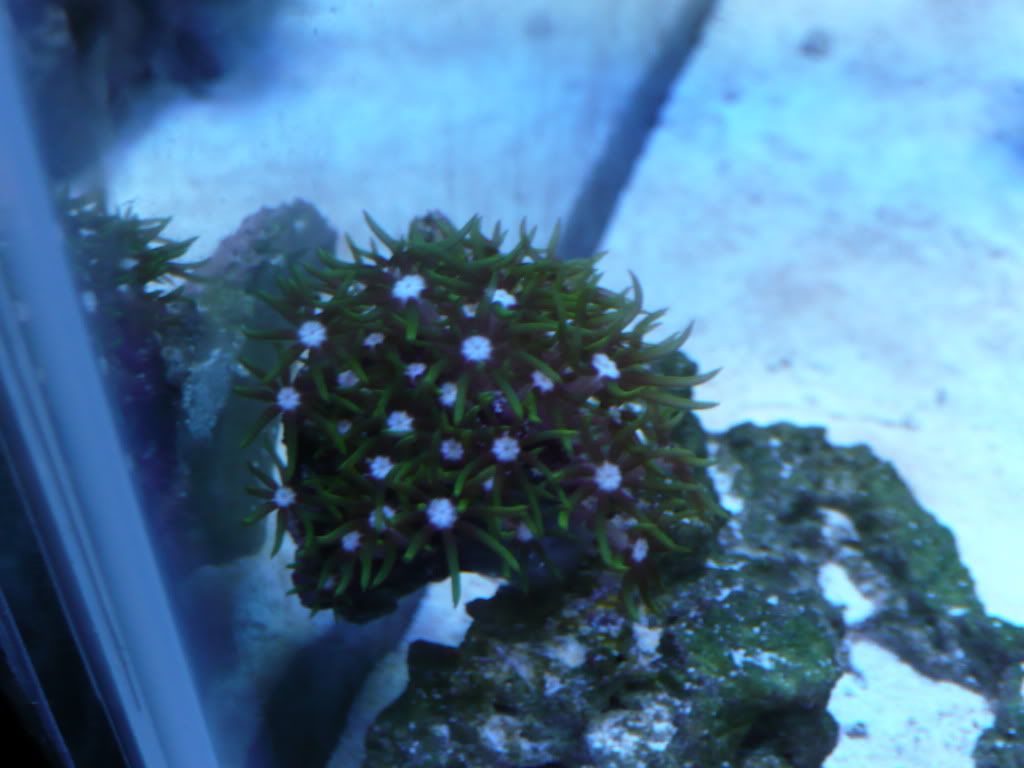
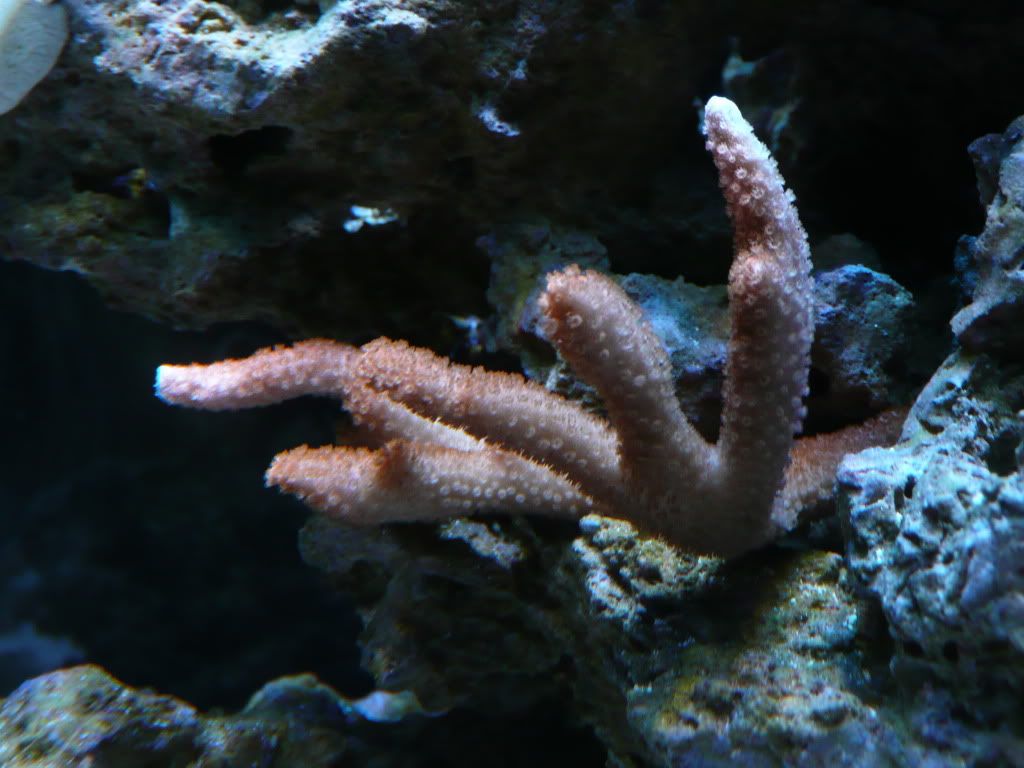
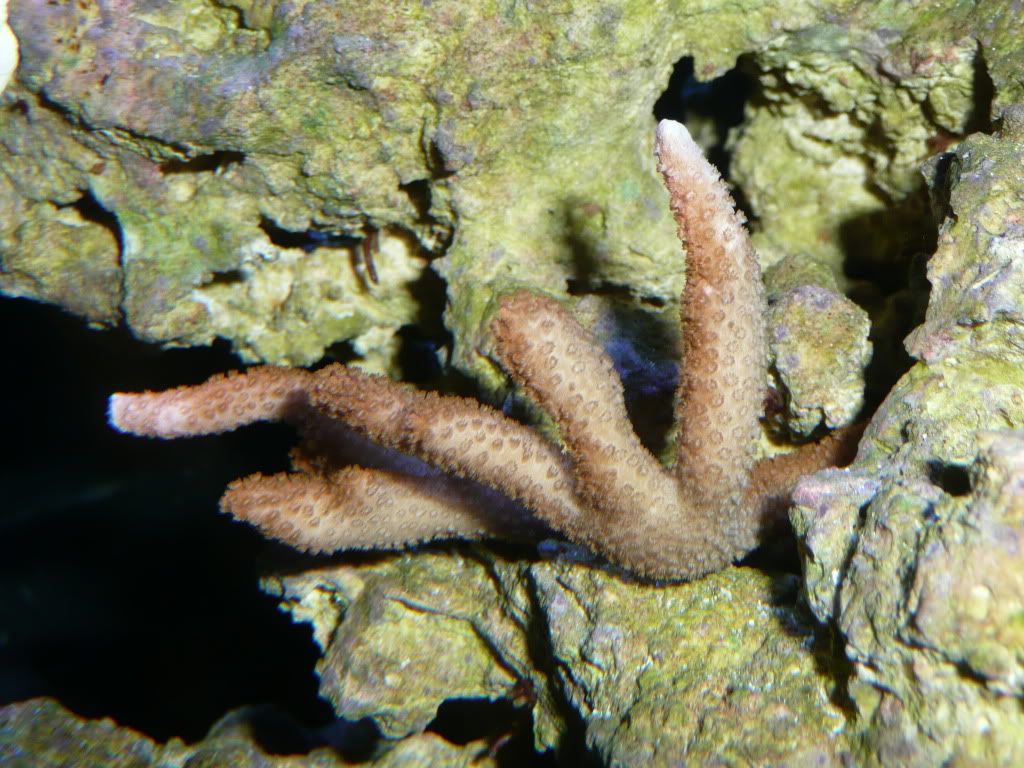
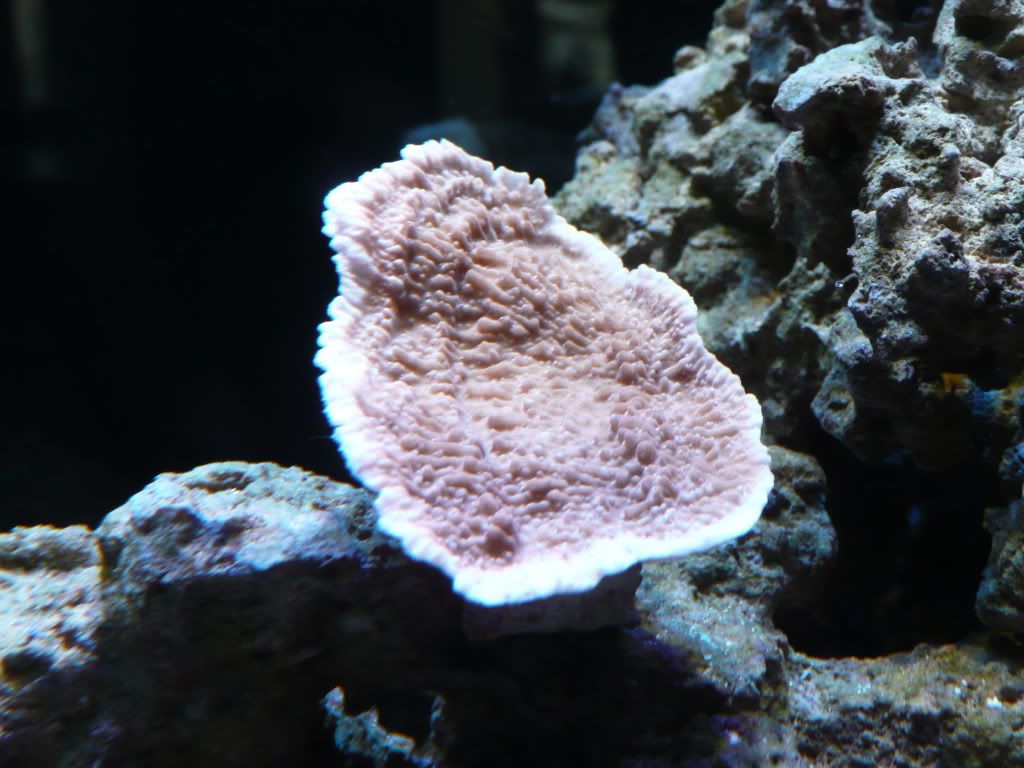
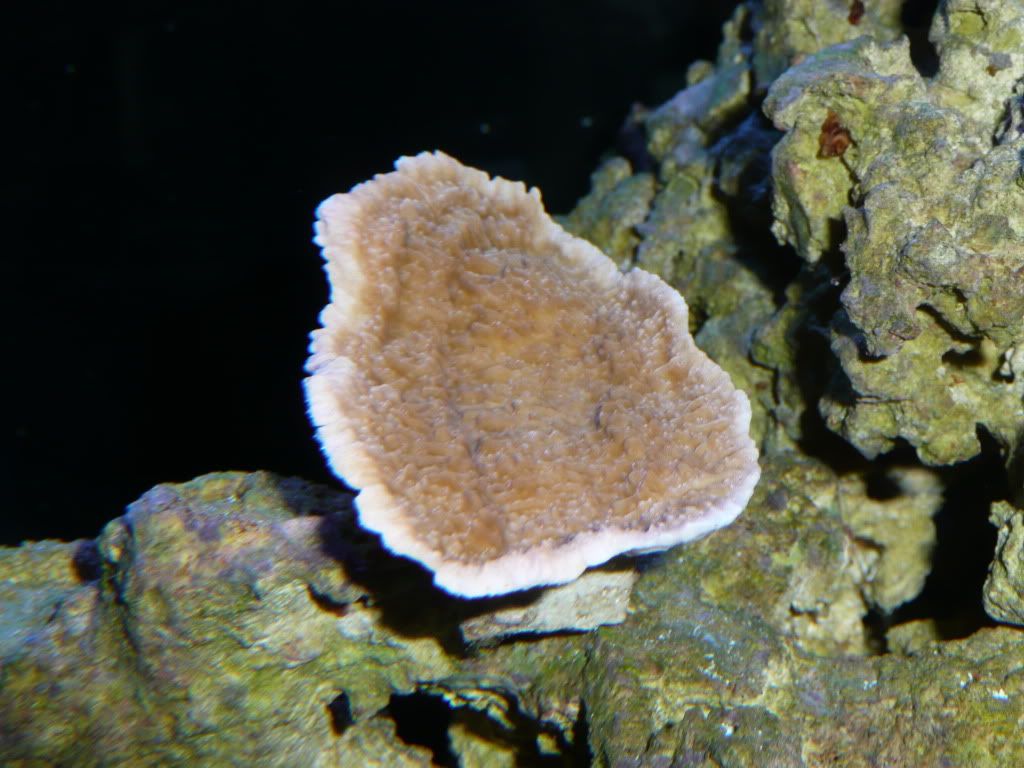
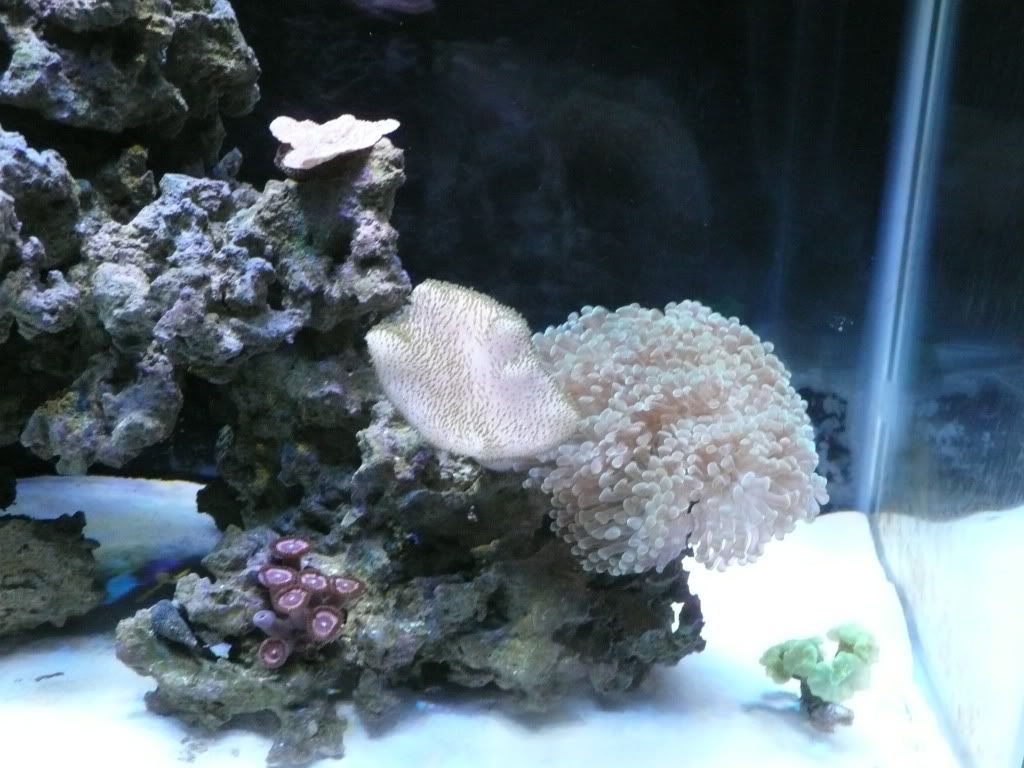
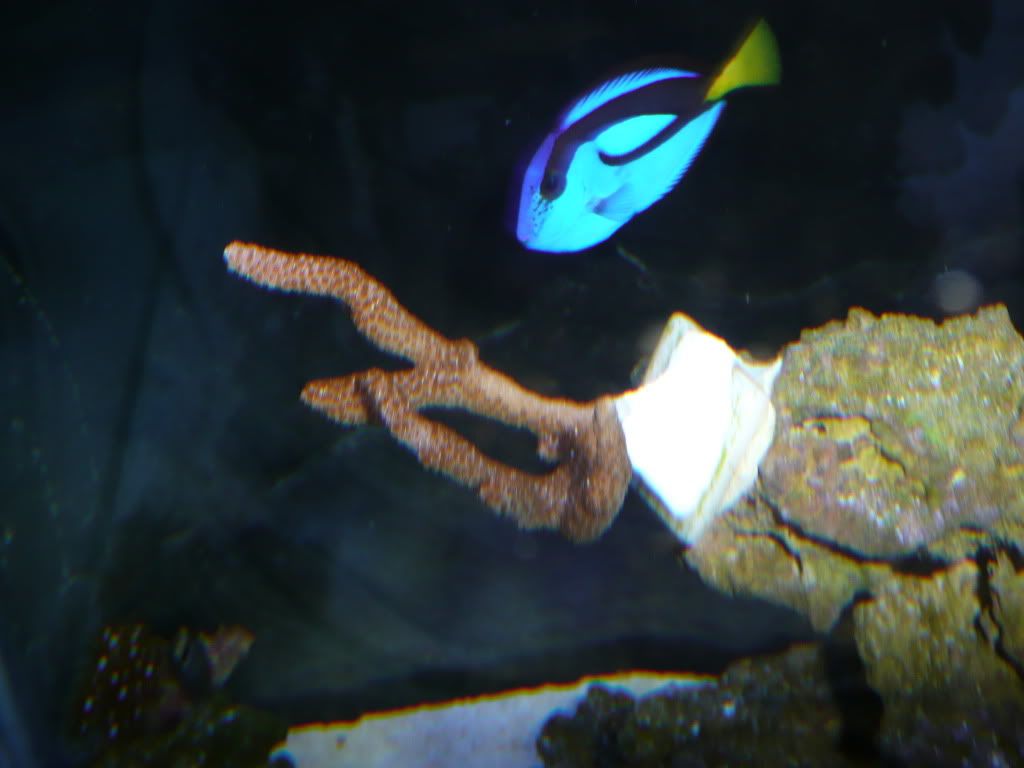
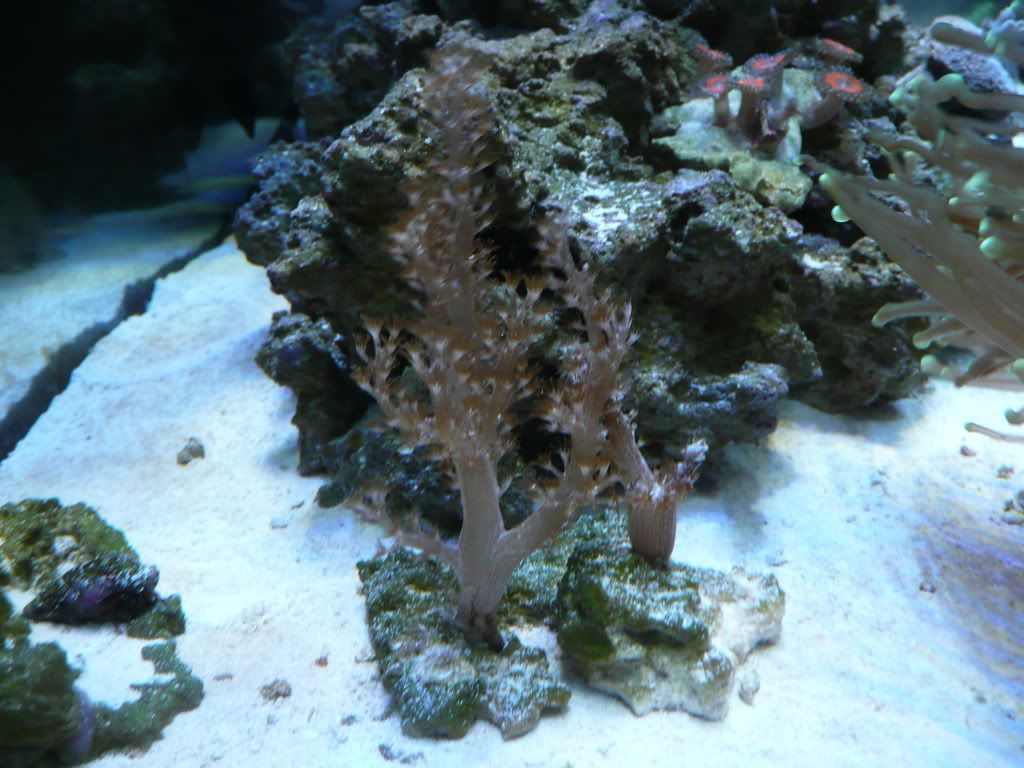
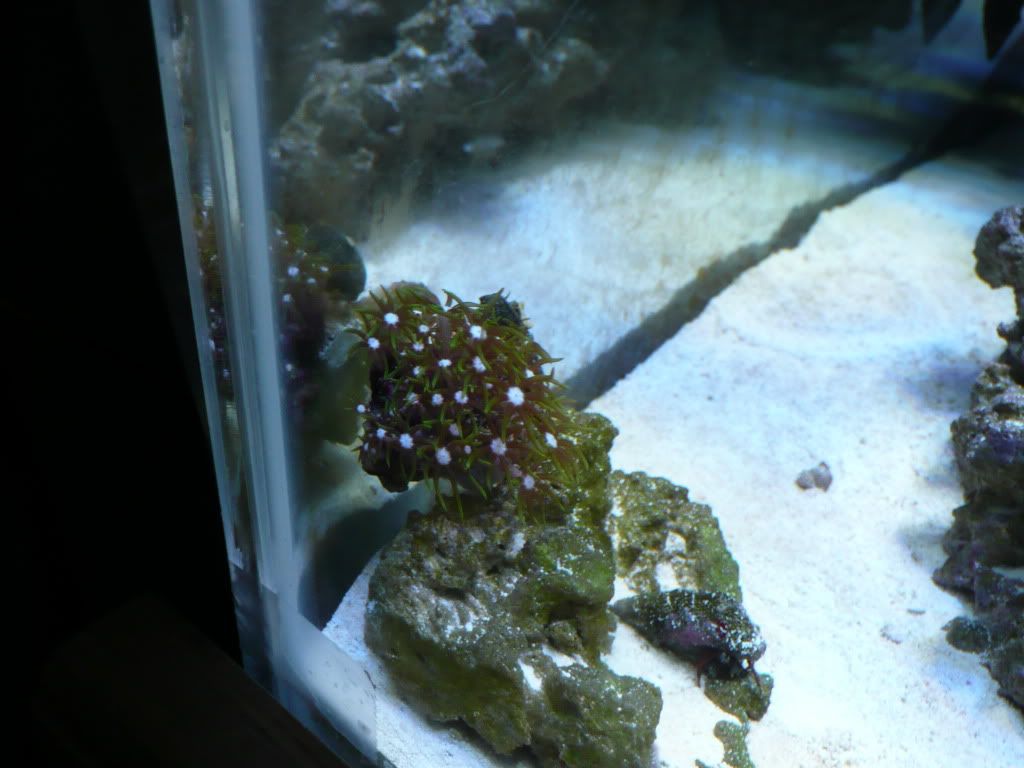
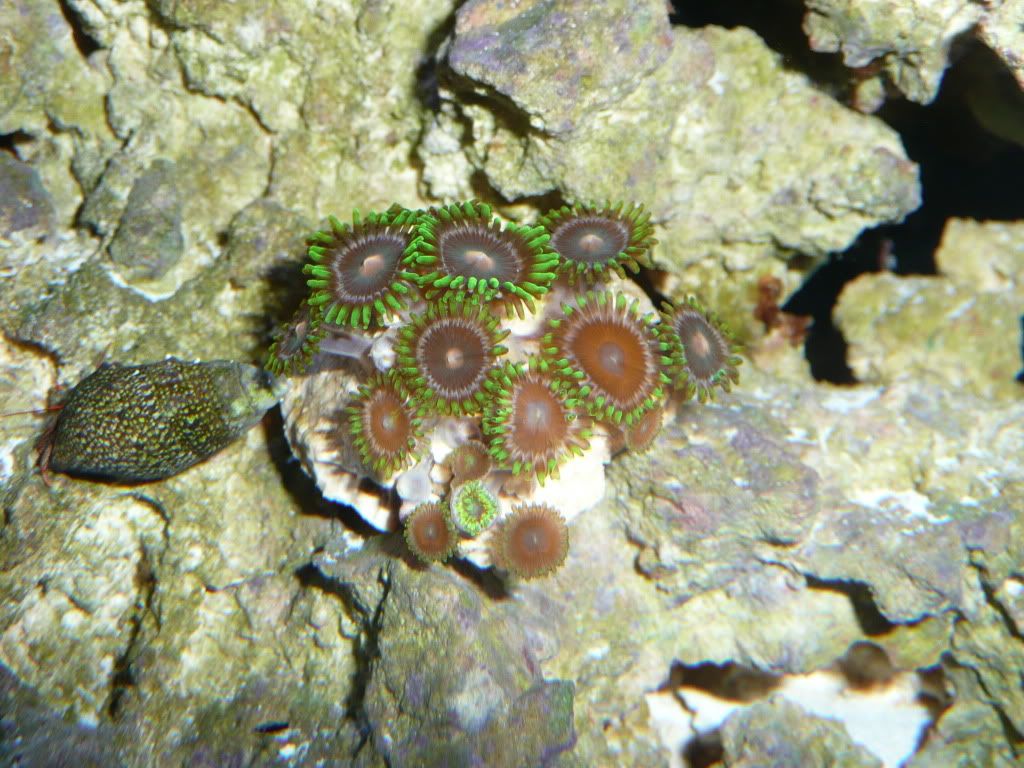
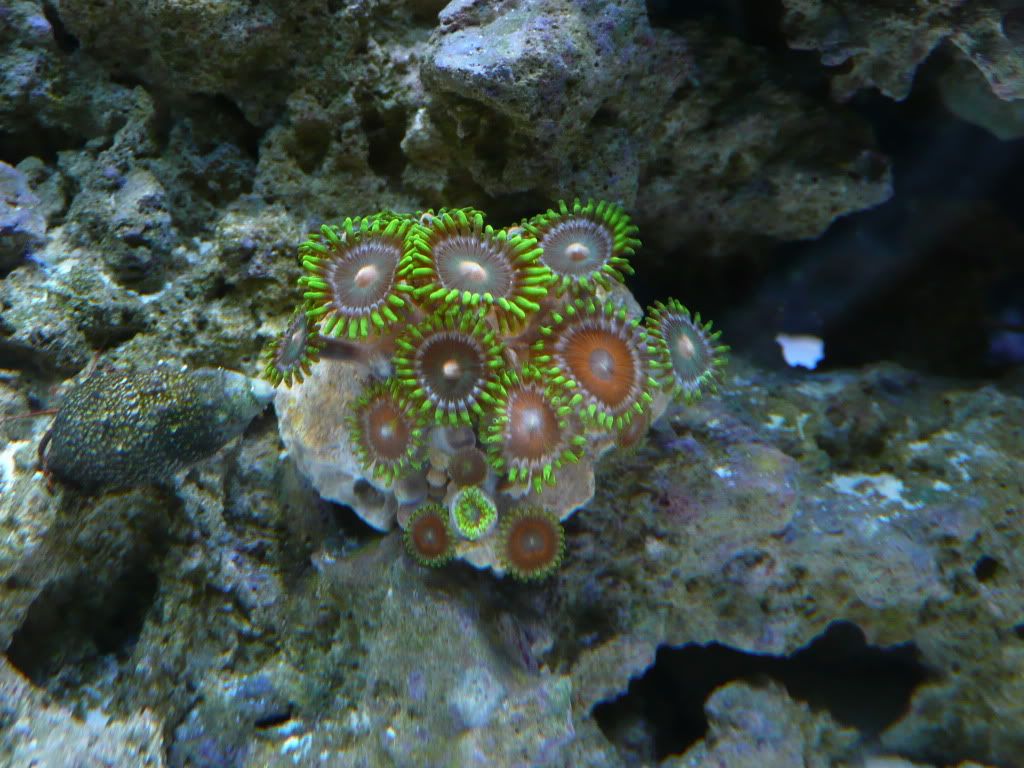
I also picked up a few frags over the last few weeks, some from the Aquarium, and some from Marine Aquatics. Here they are Green Birdsnest
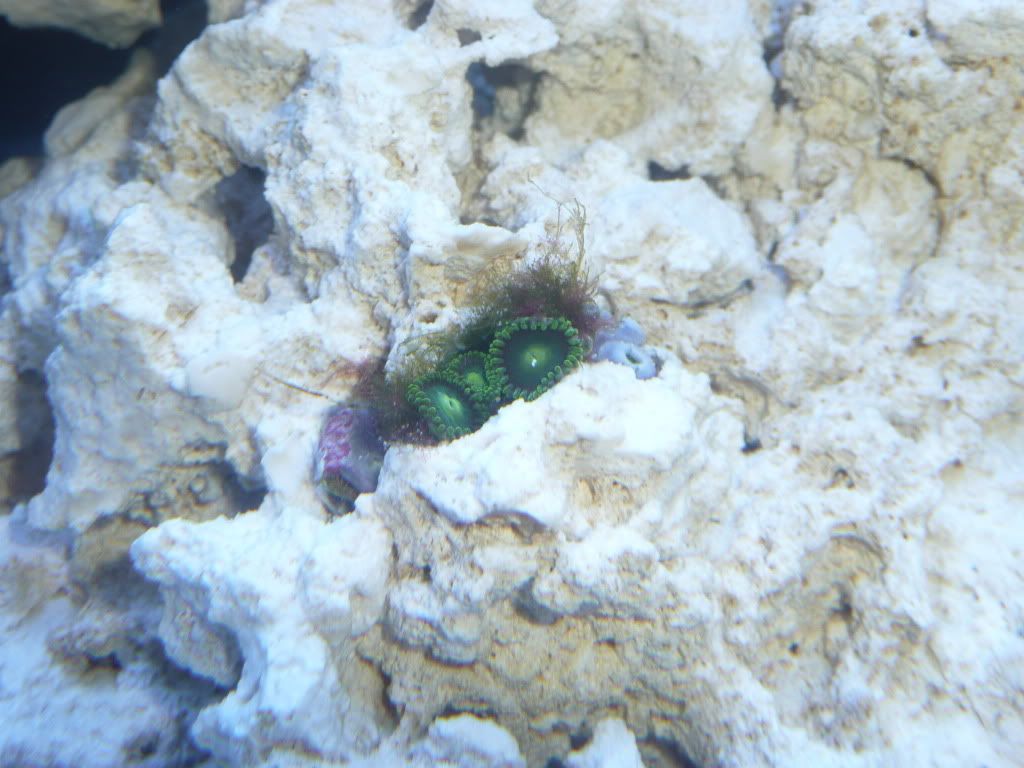
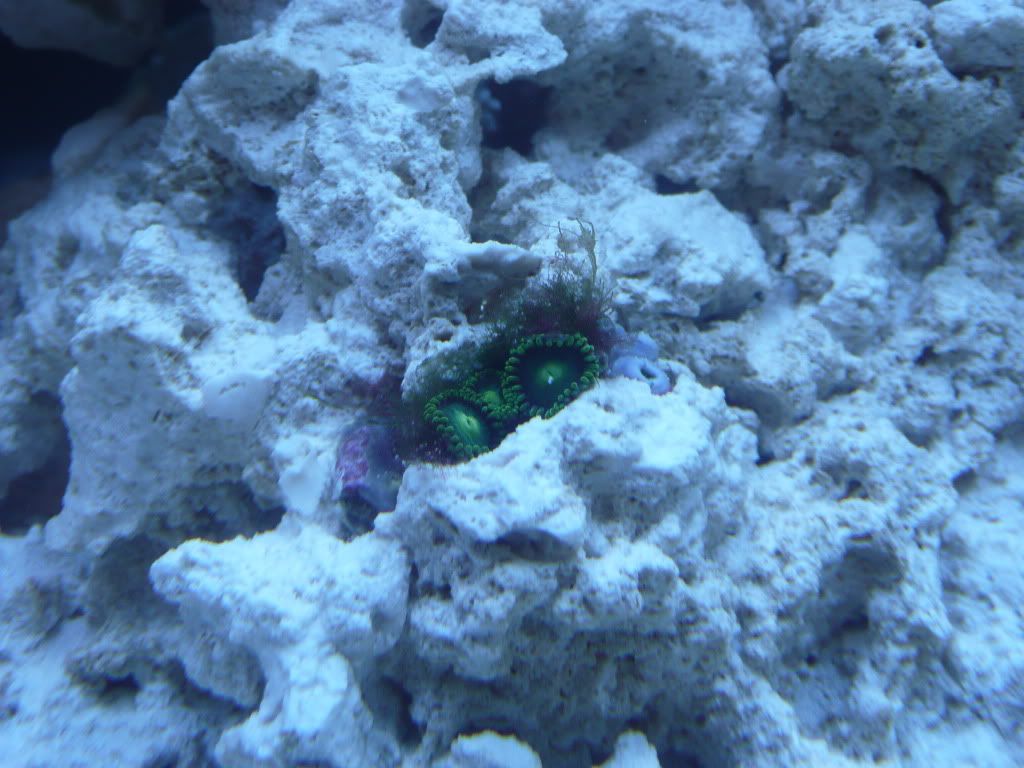
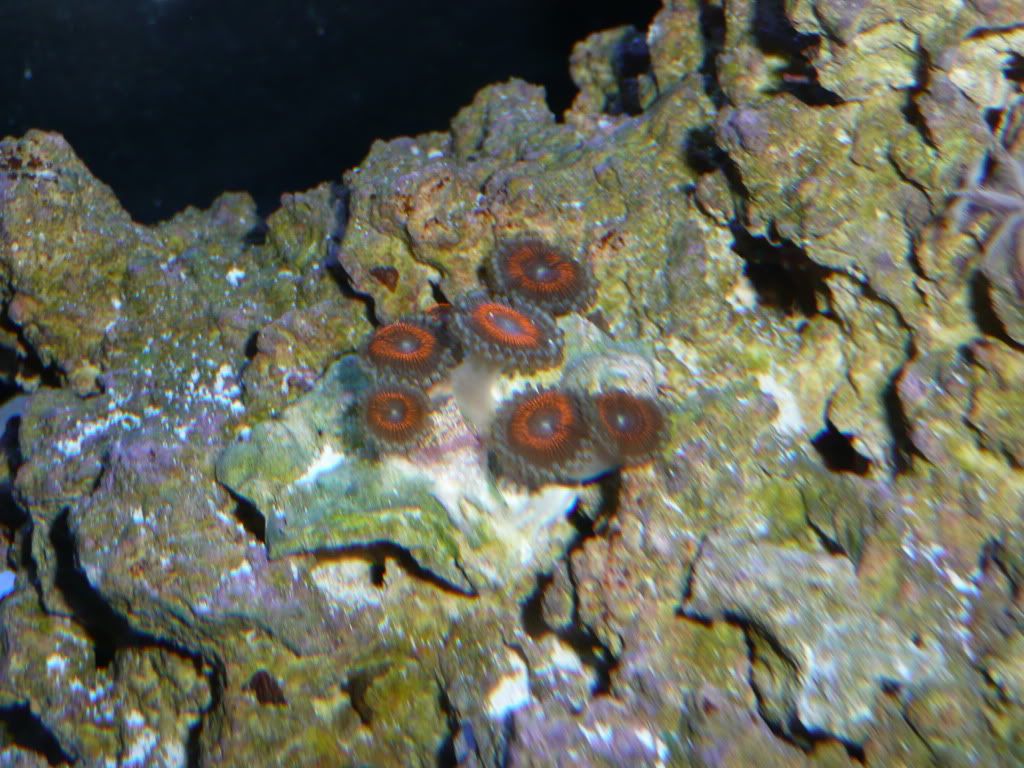
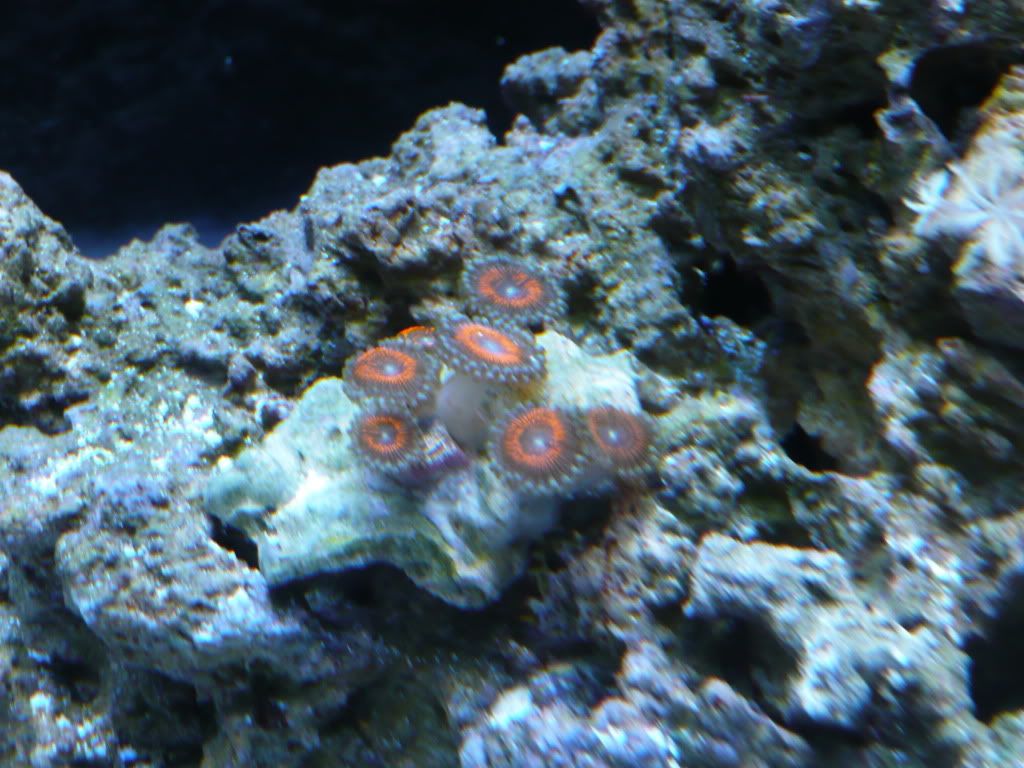
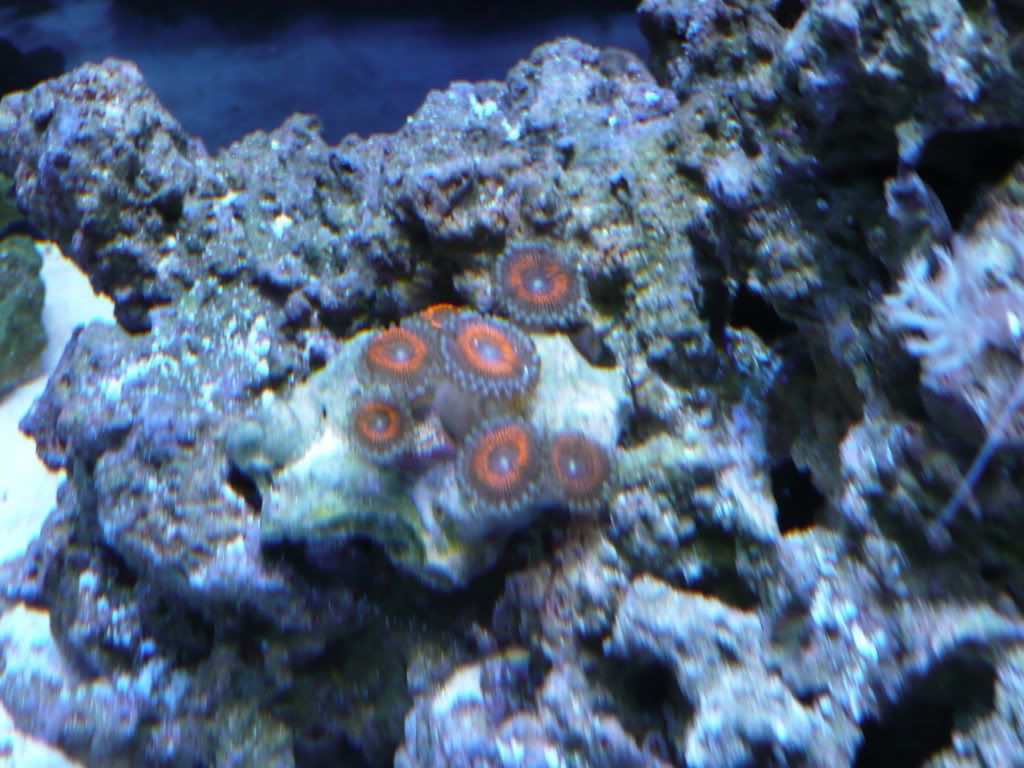
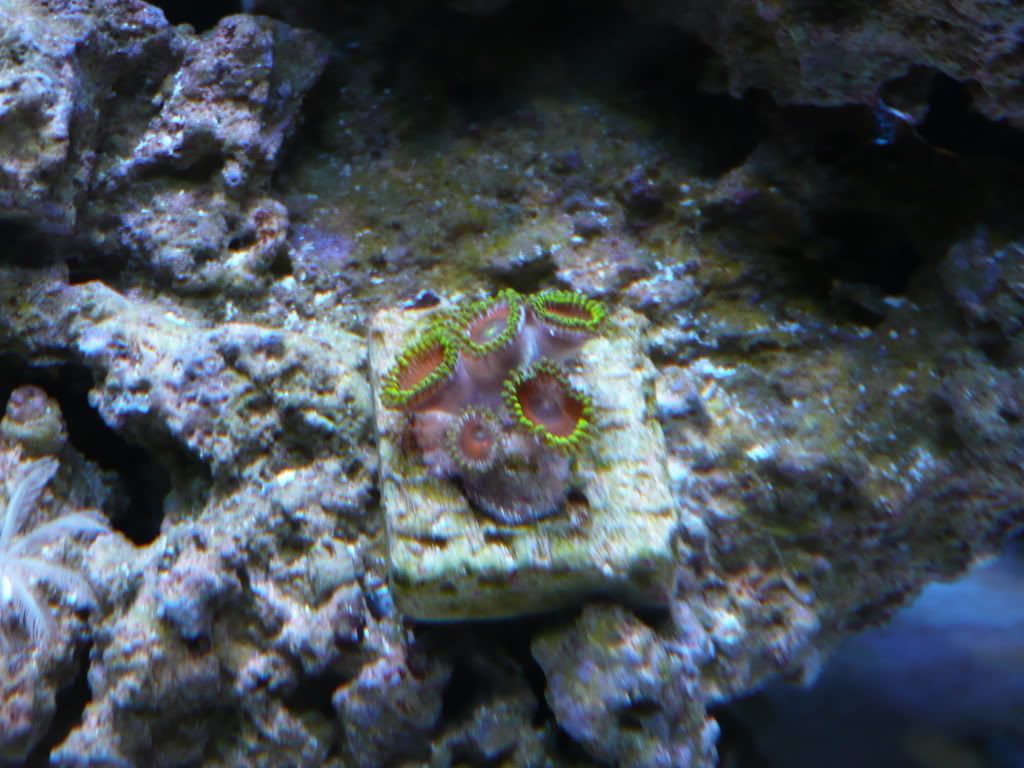
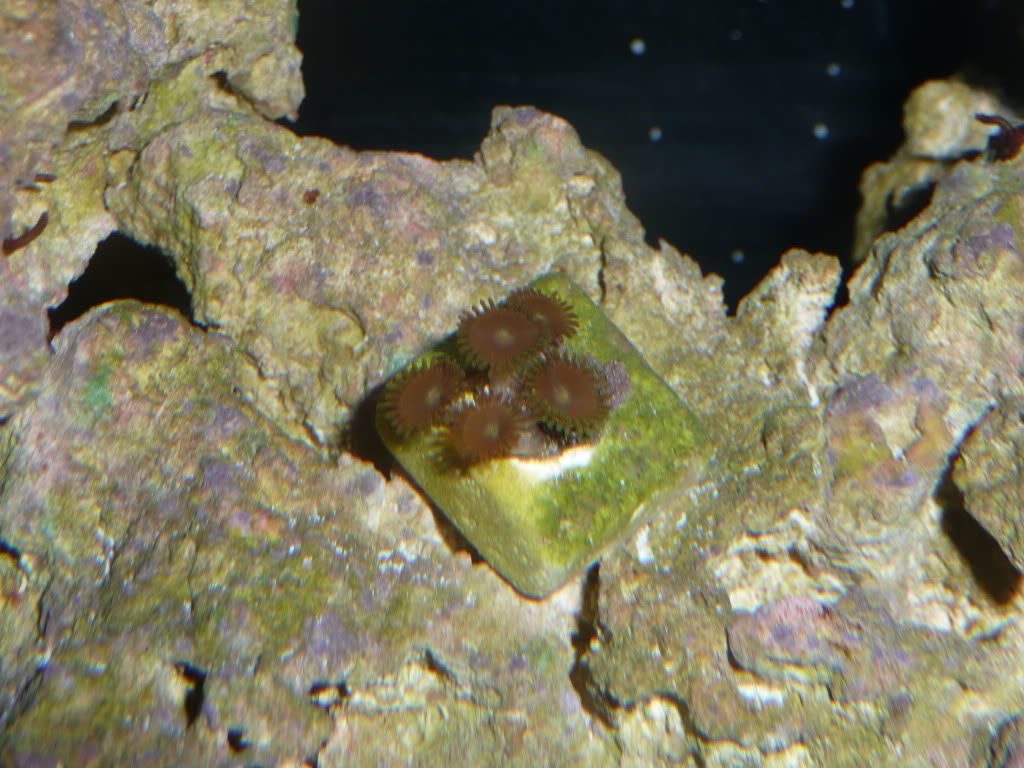
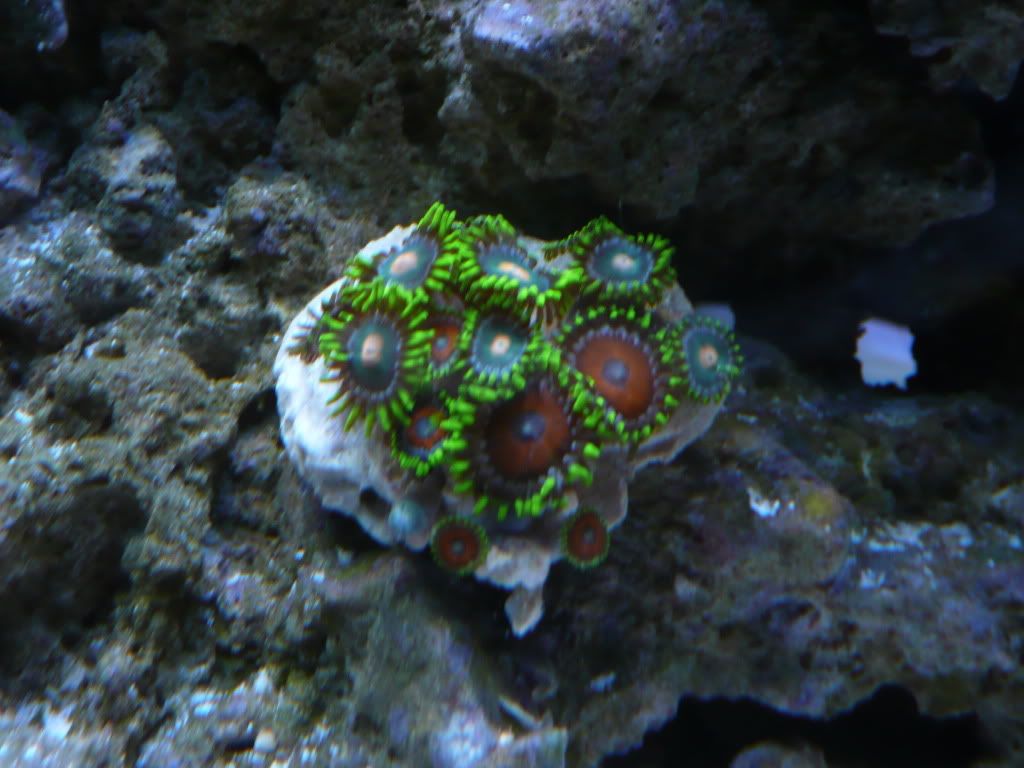
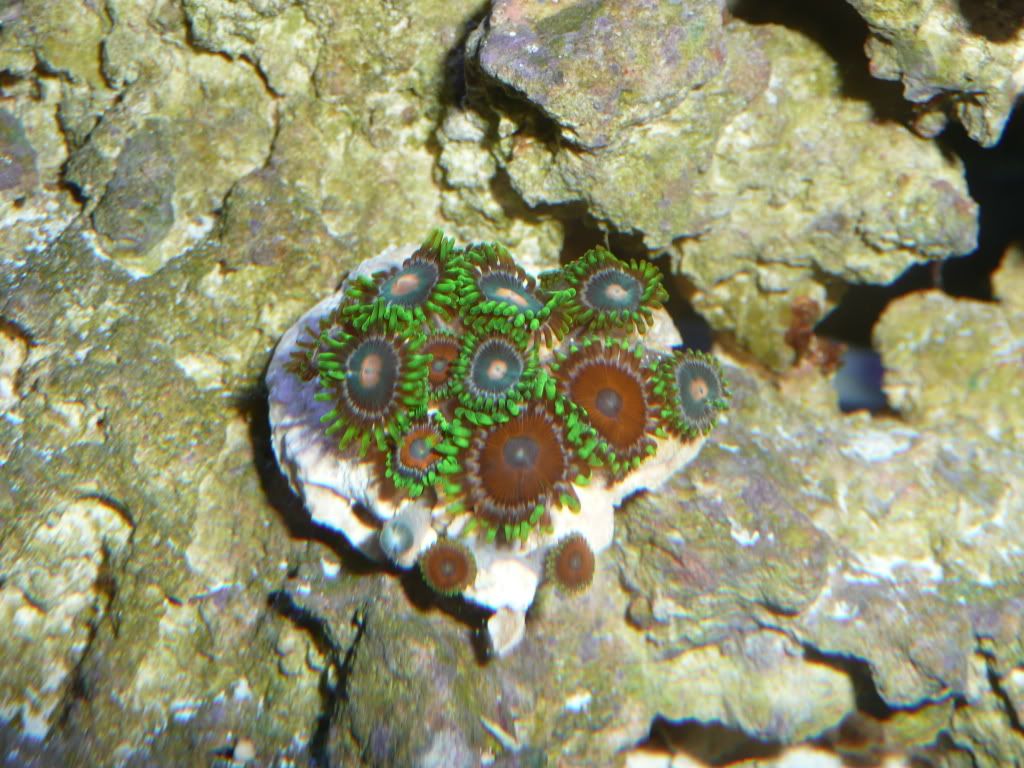
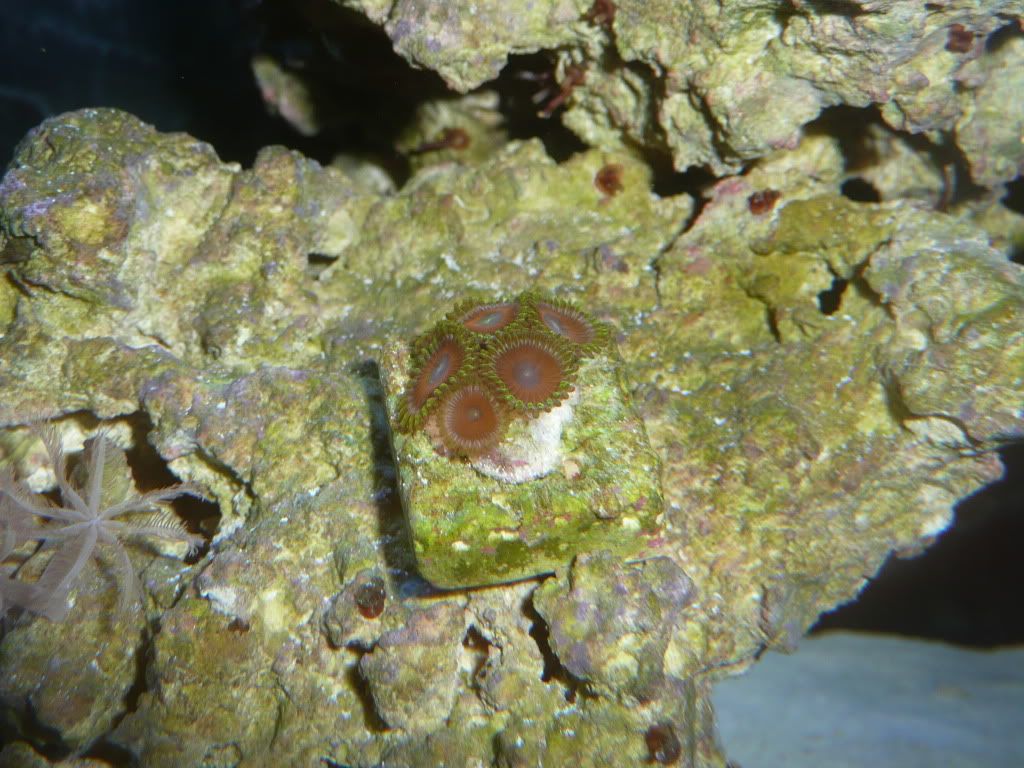
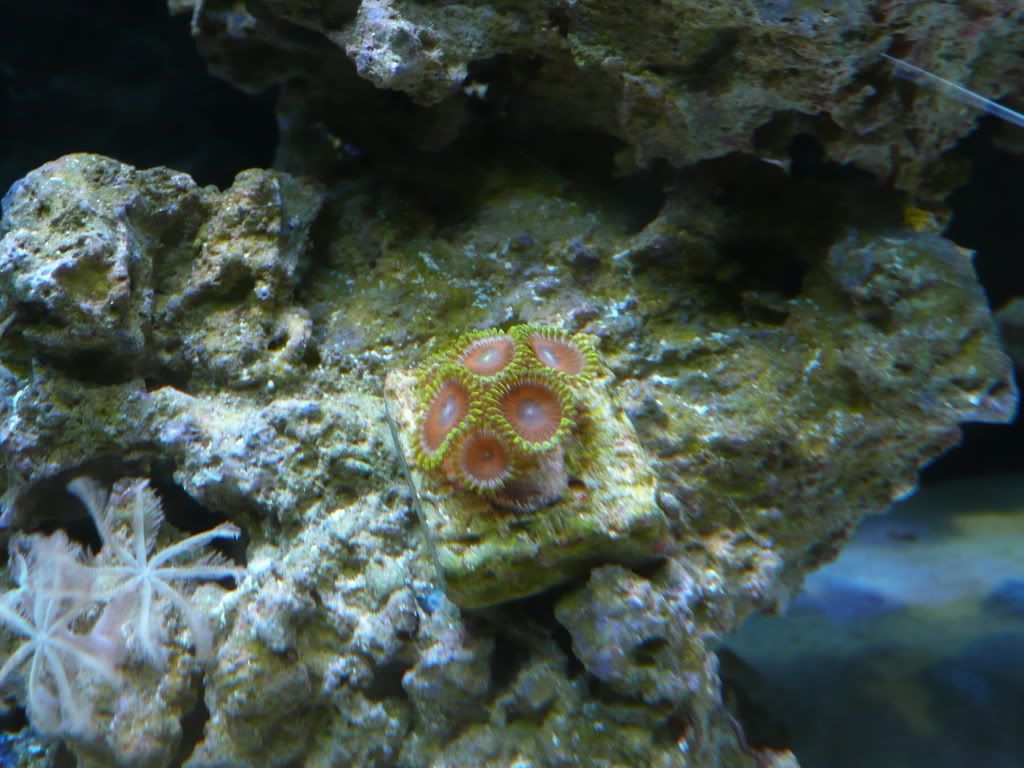
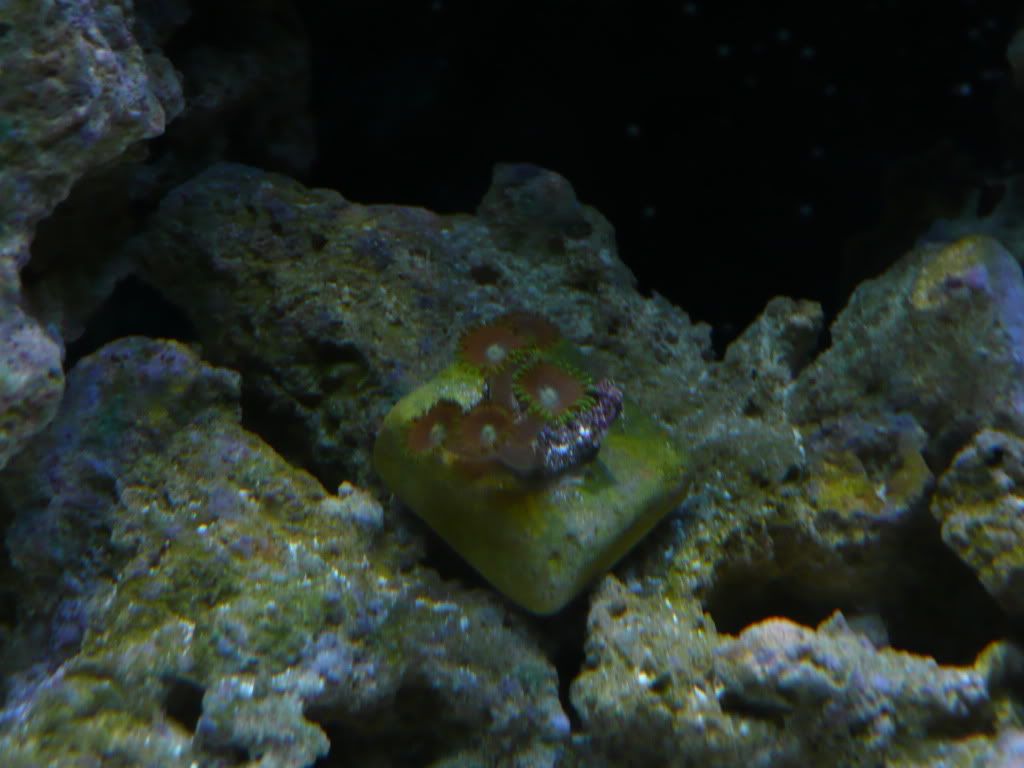
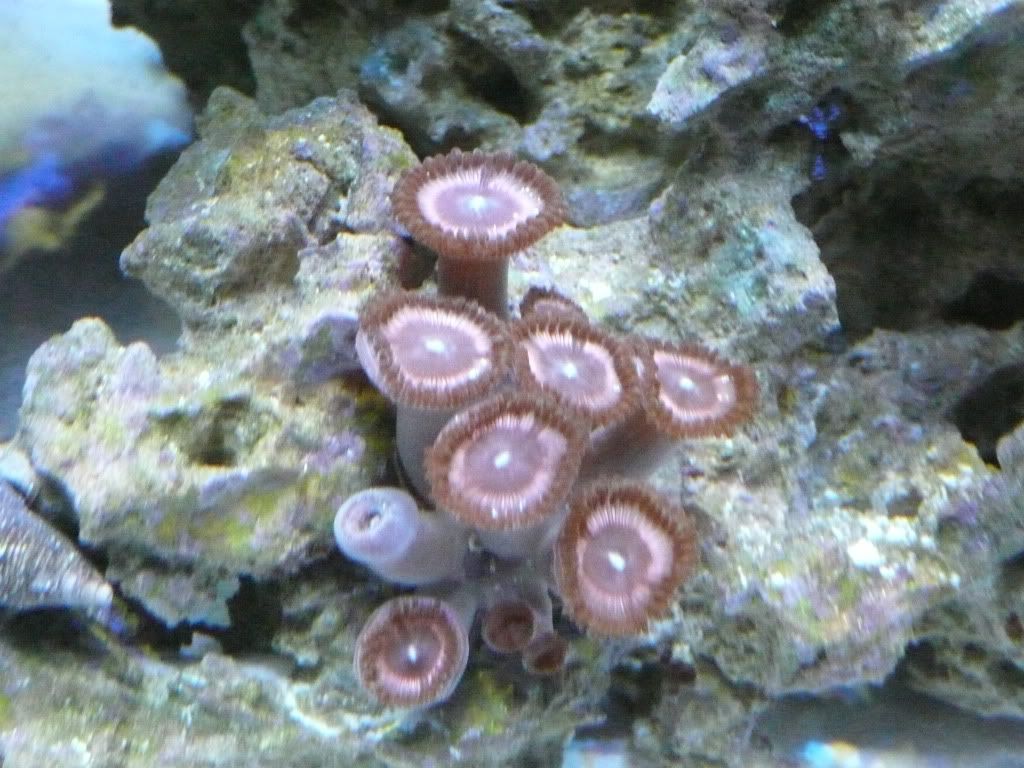
 Unidentified Green Zoas....if anyone has an ID on these please chime in and let me know.
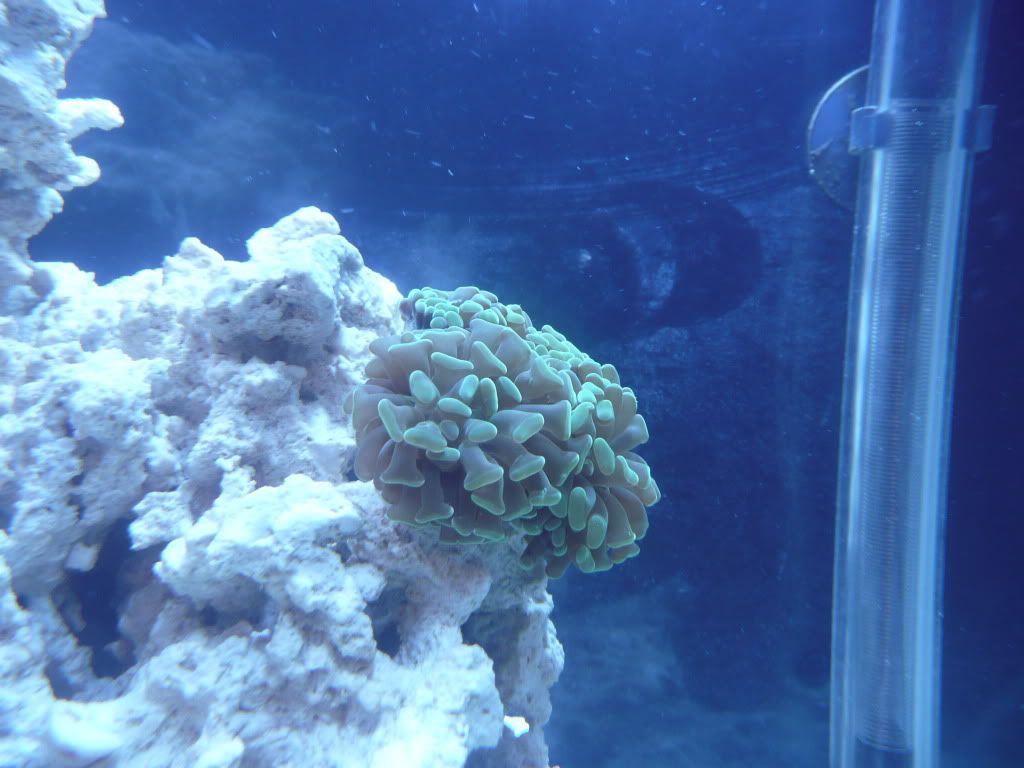
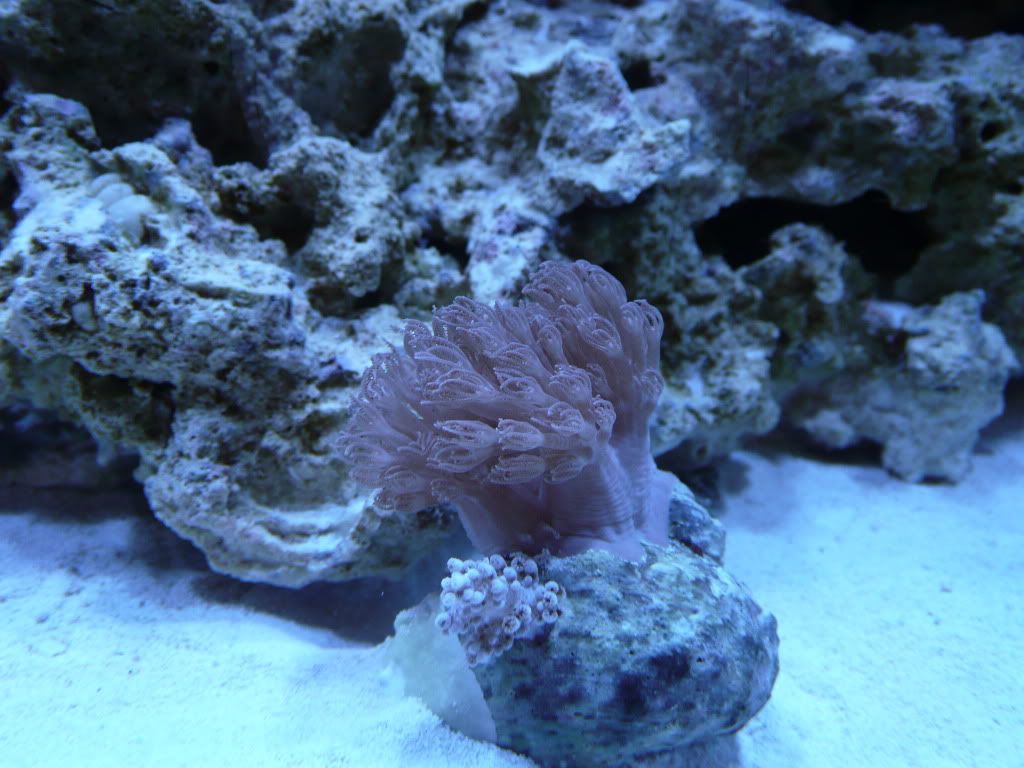
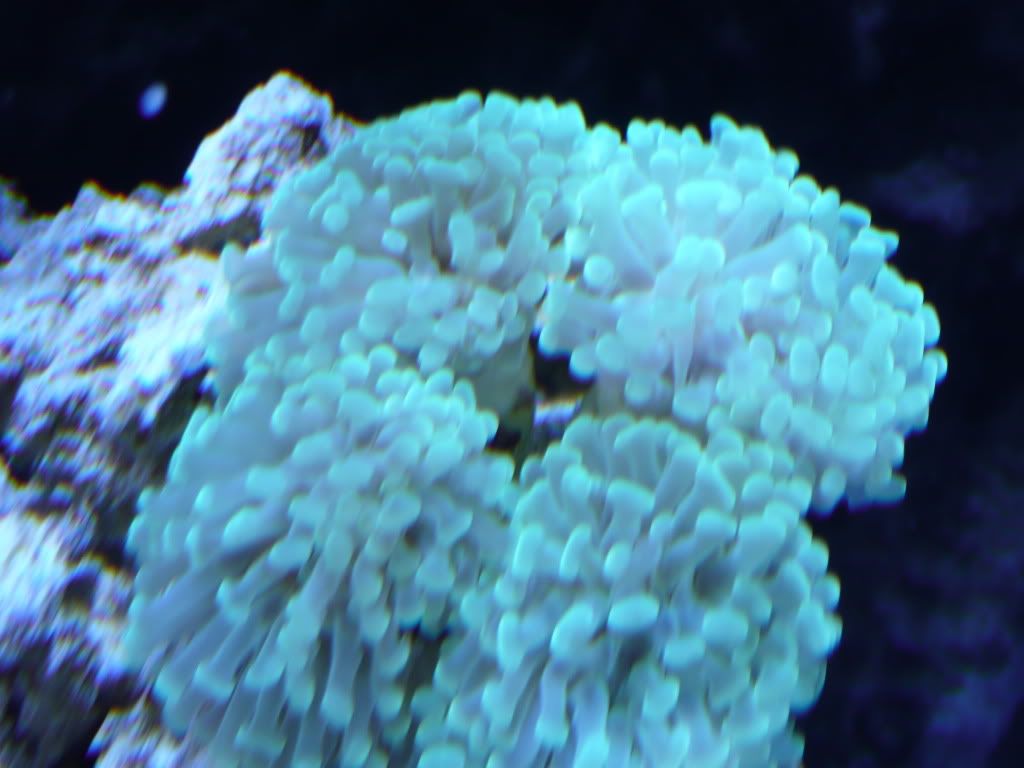
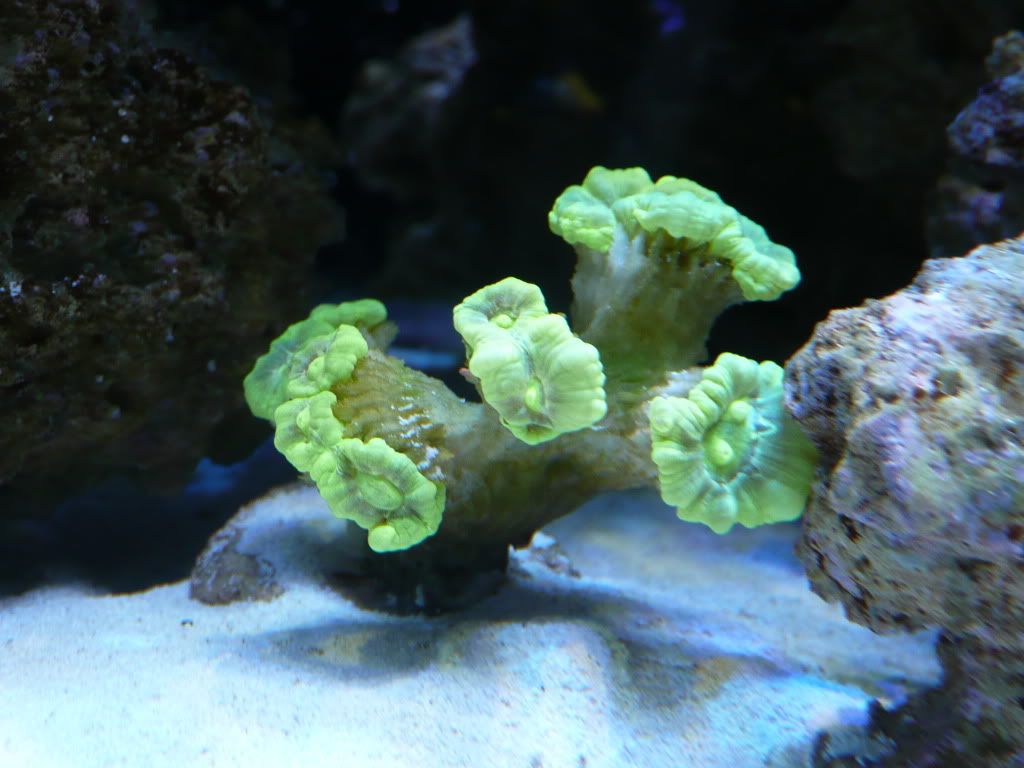
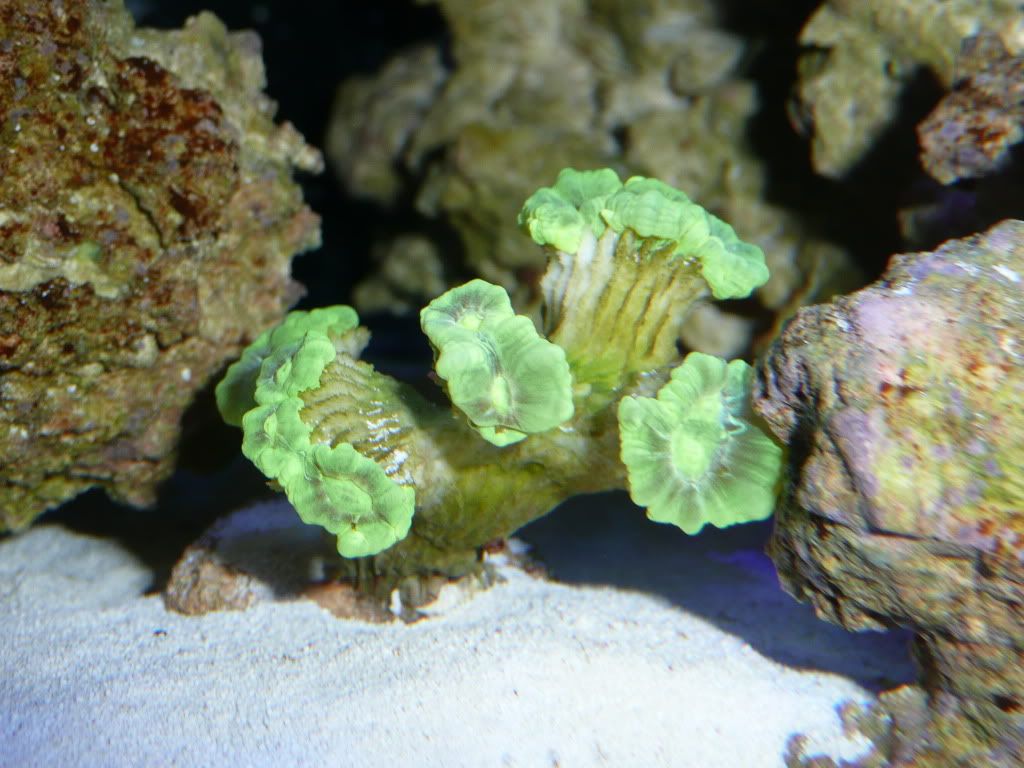
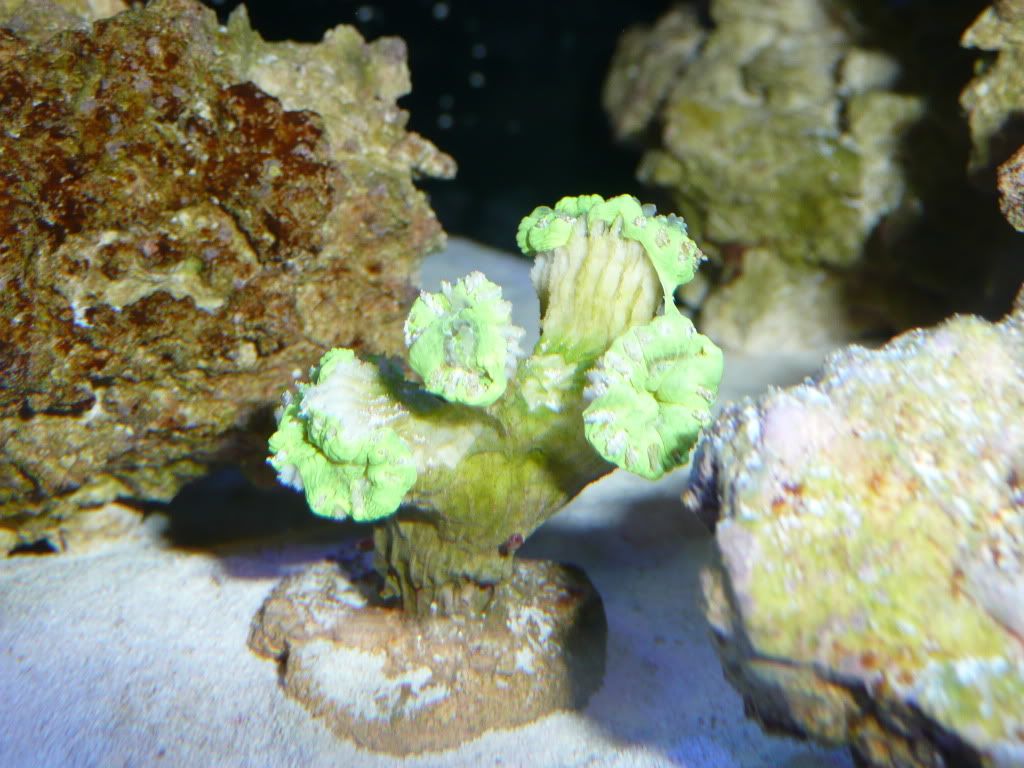
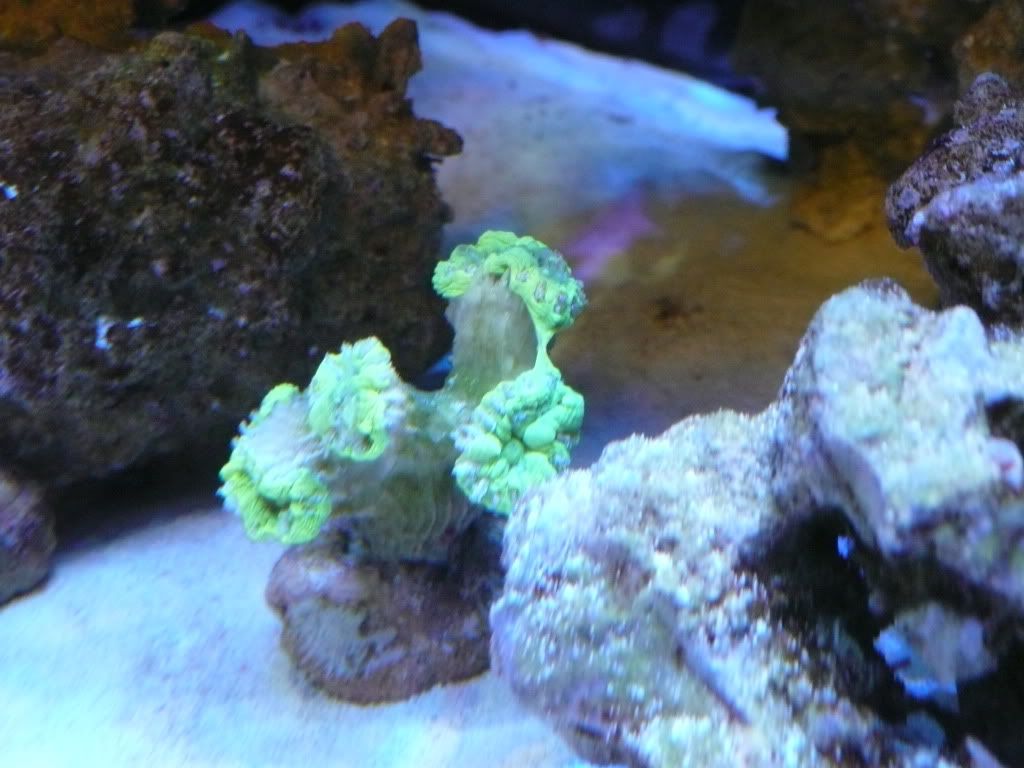
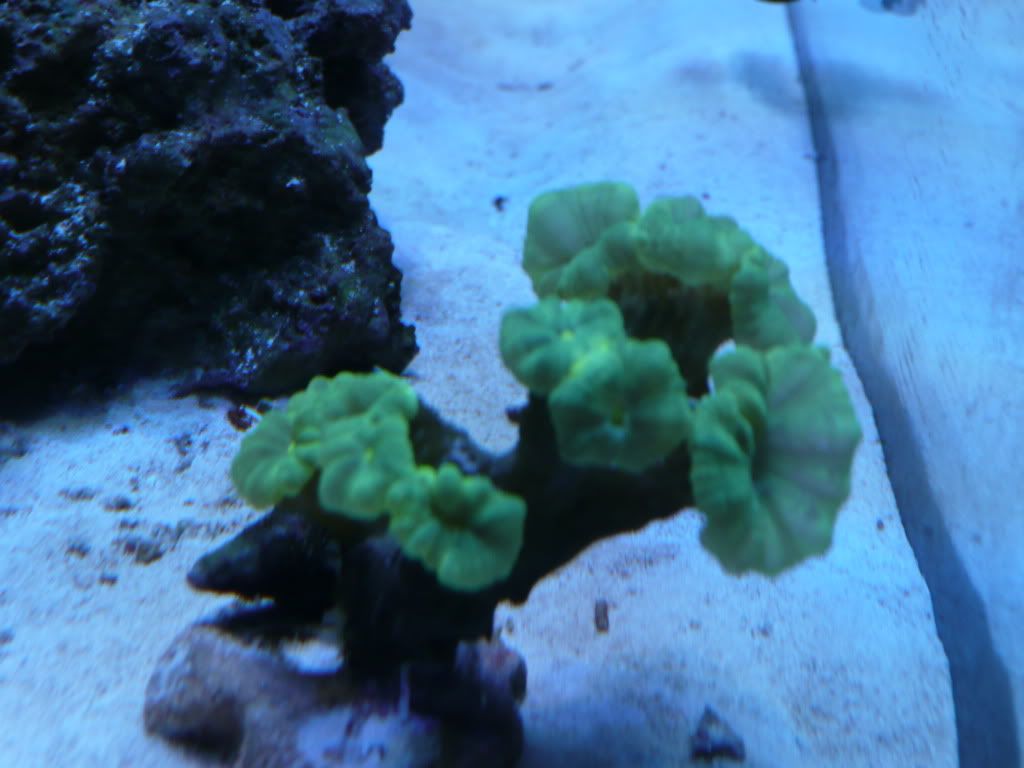
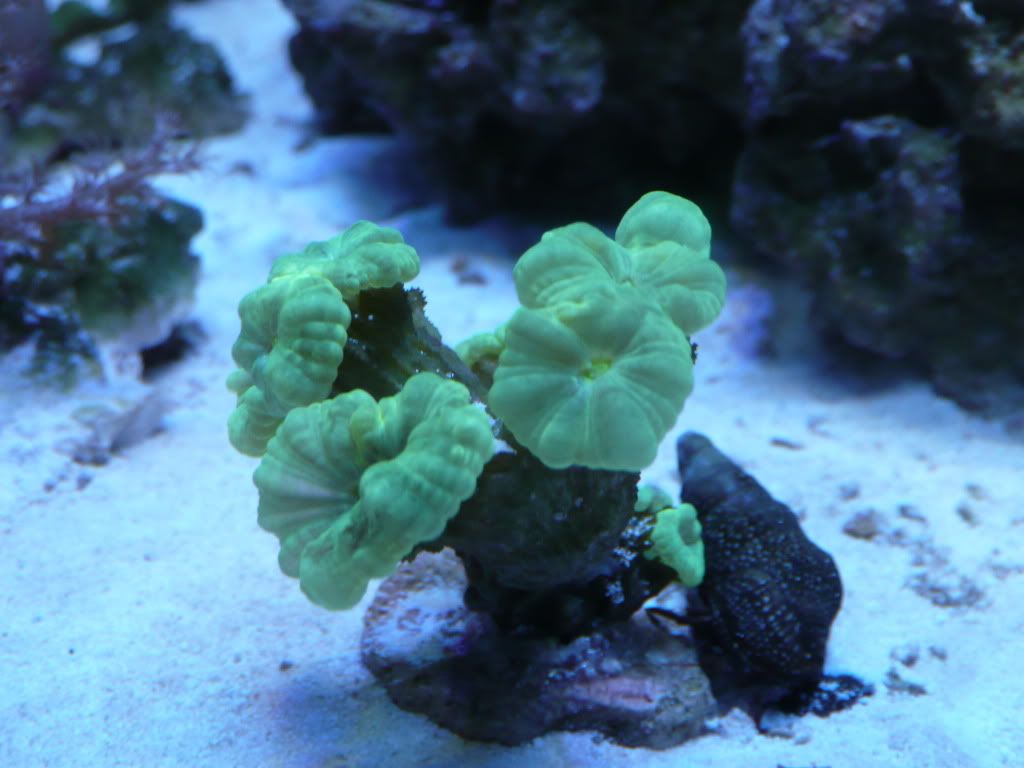
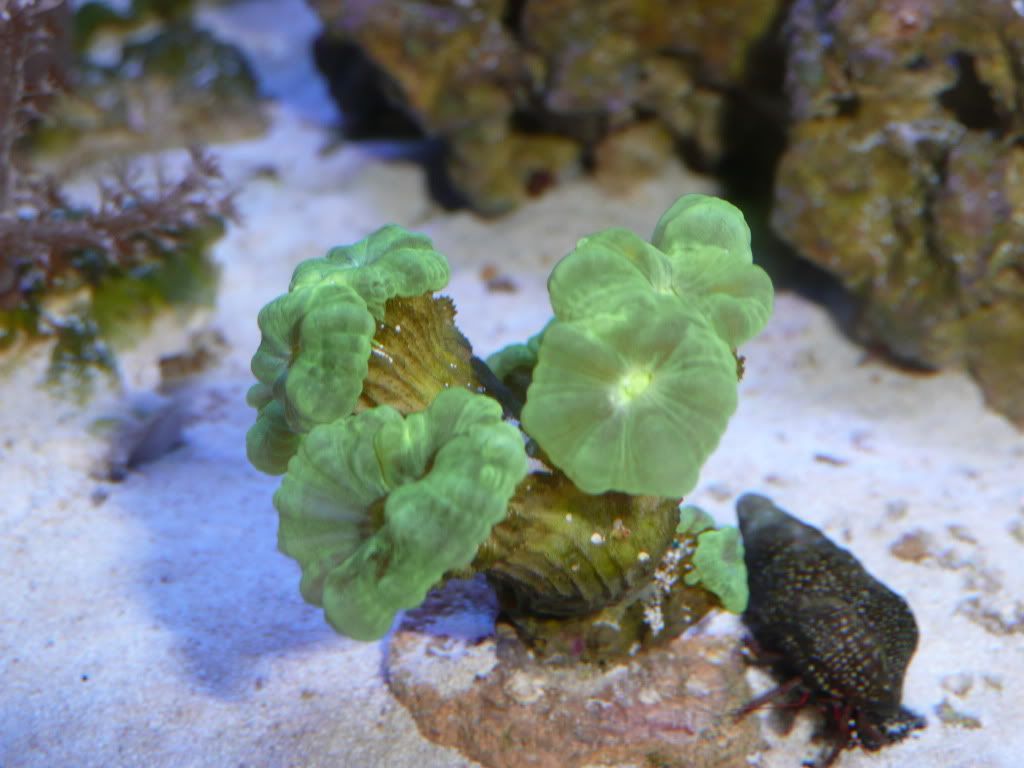
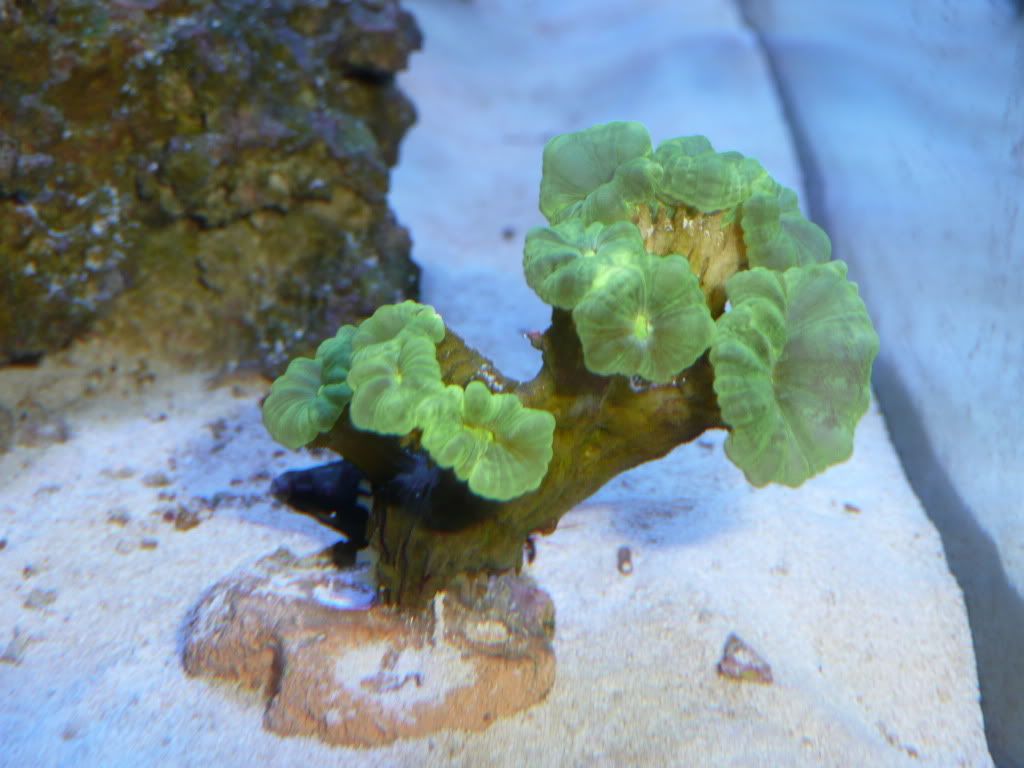
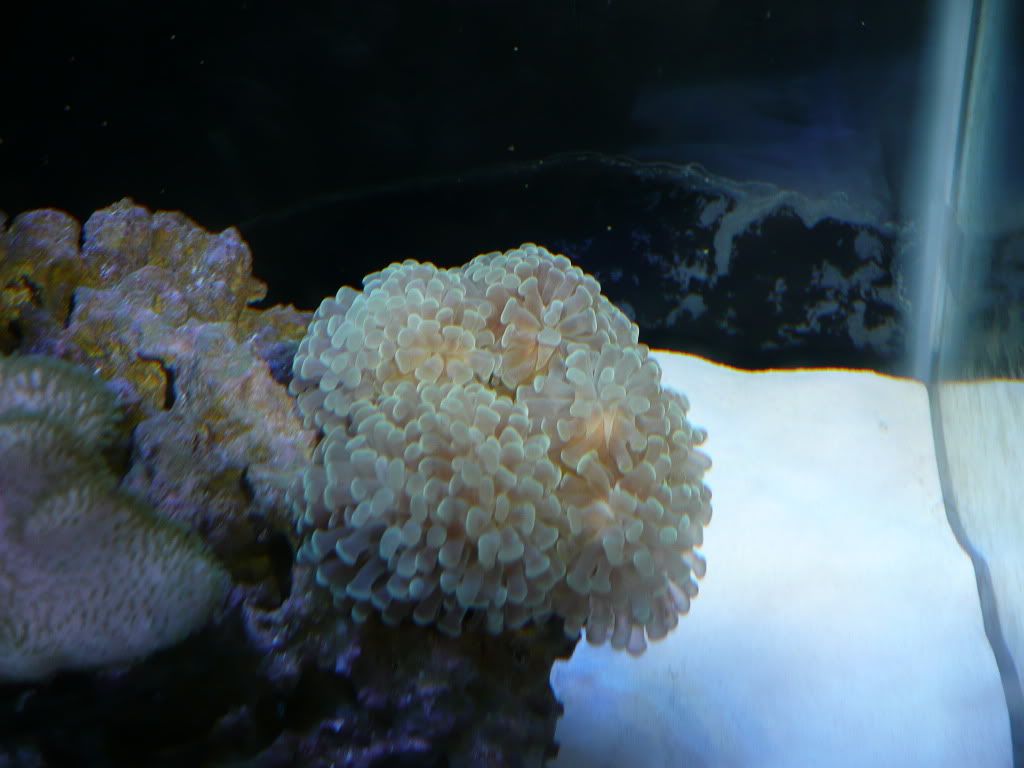
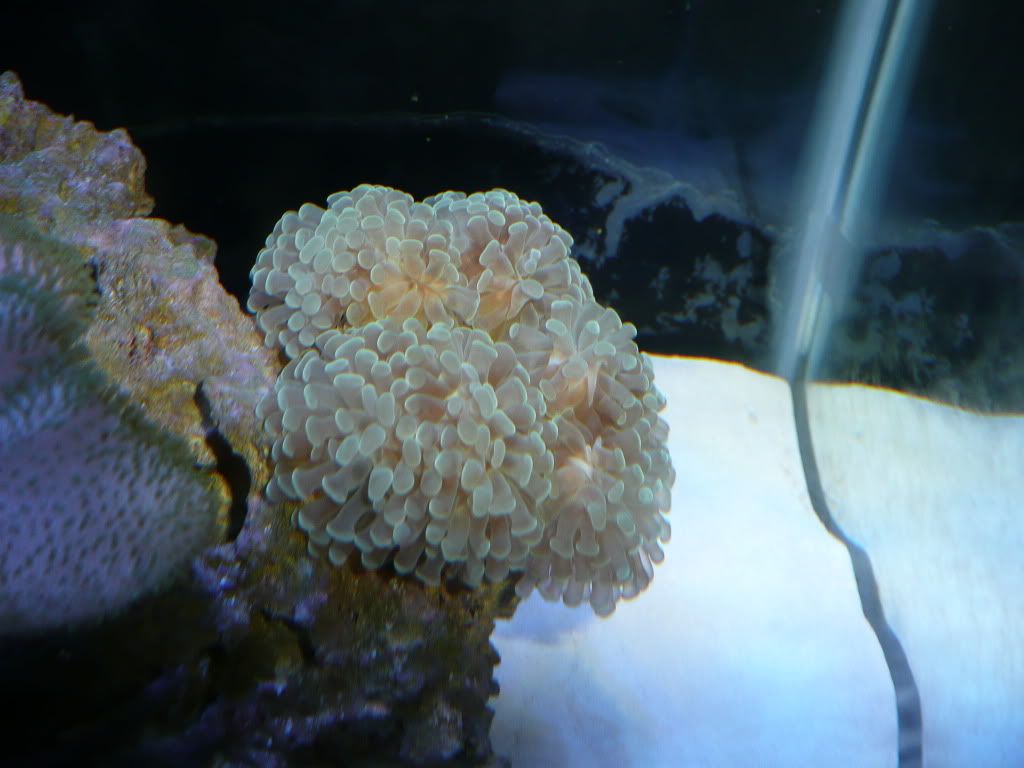
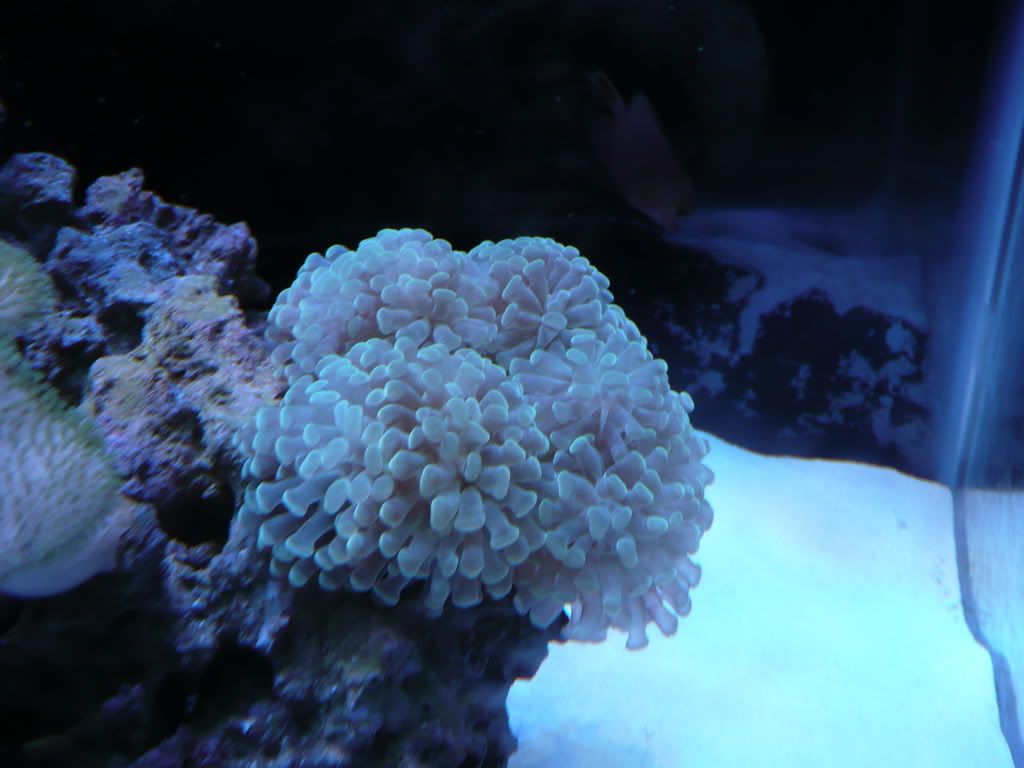
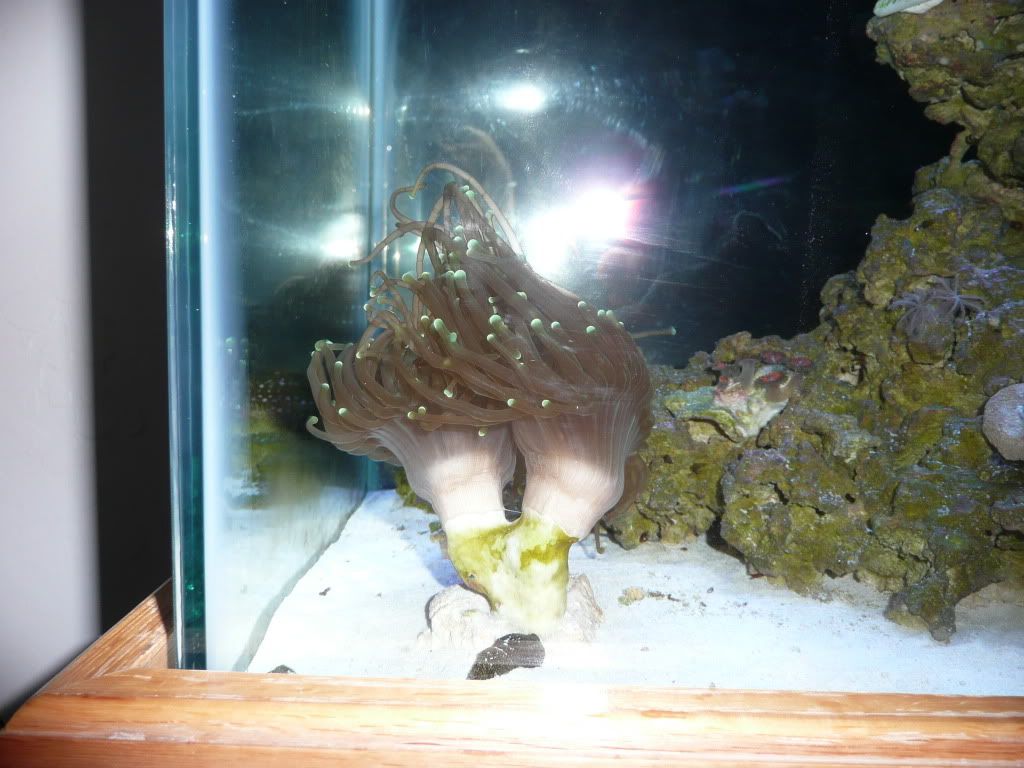
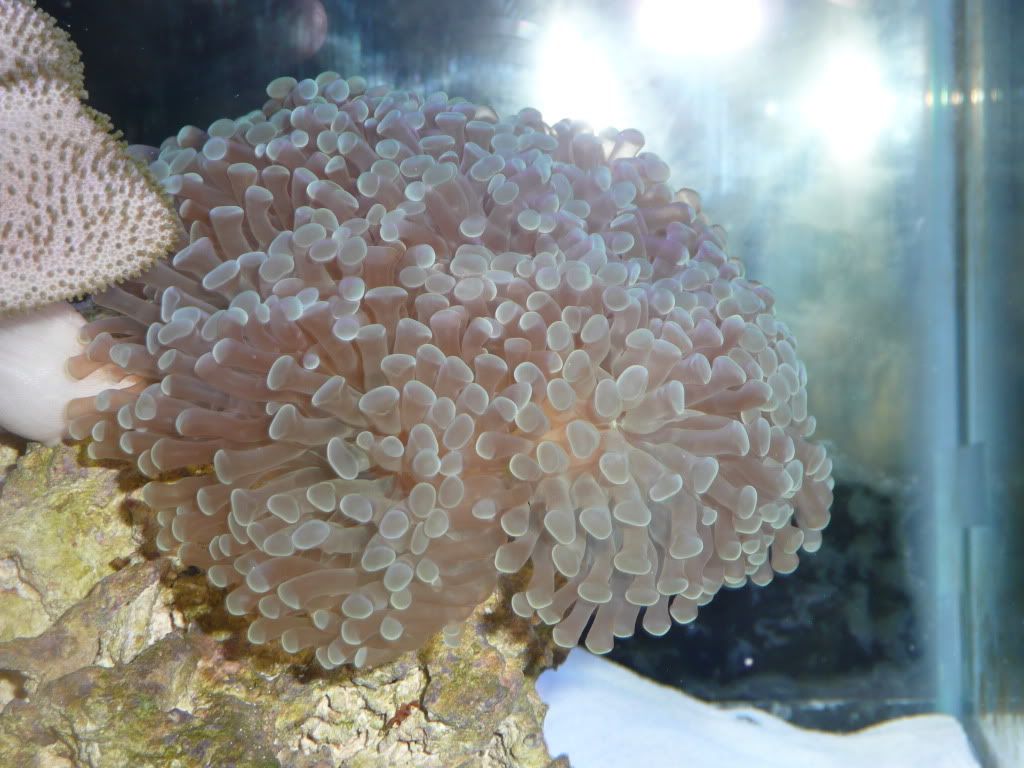
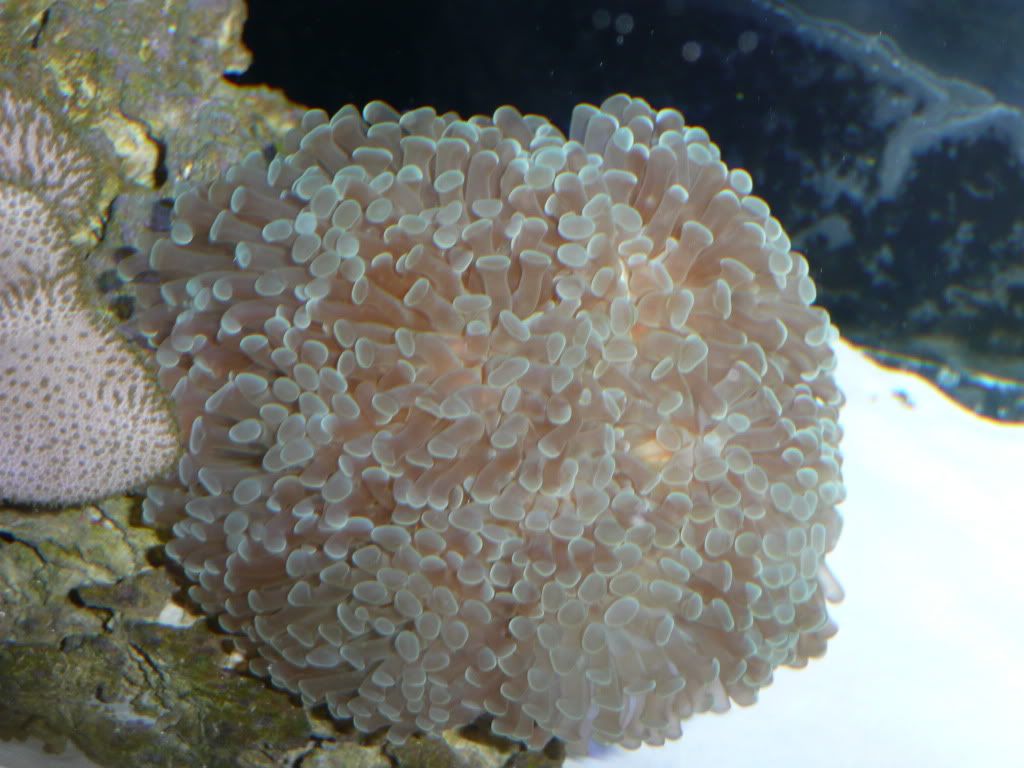
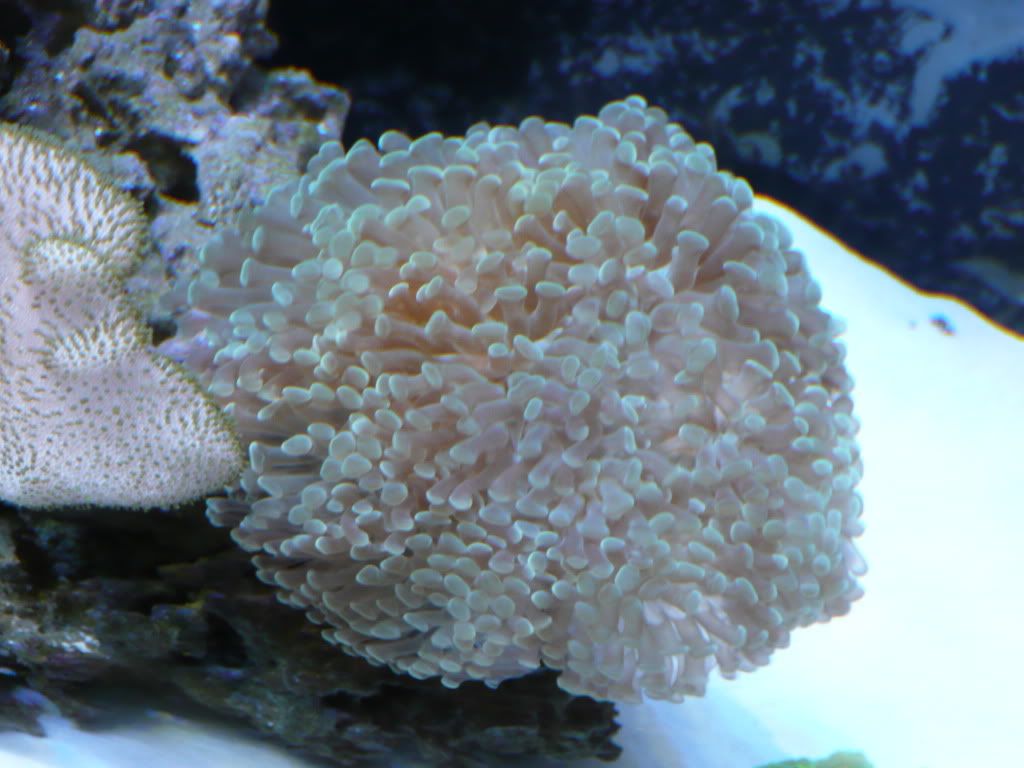
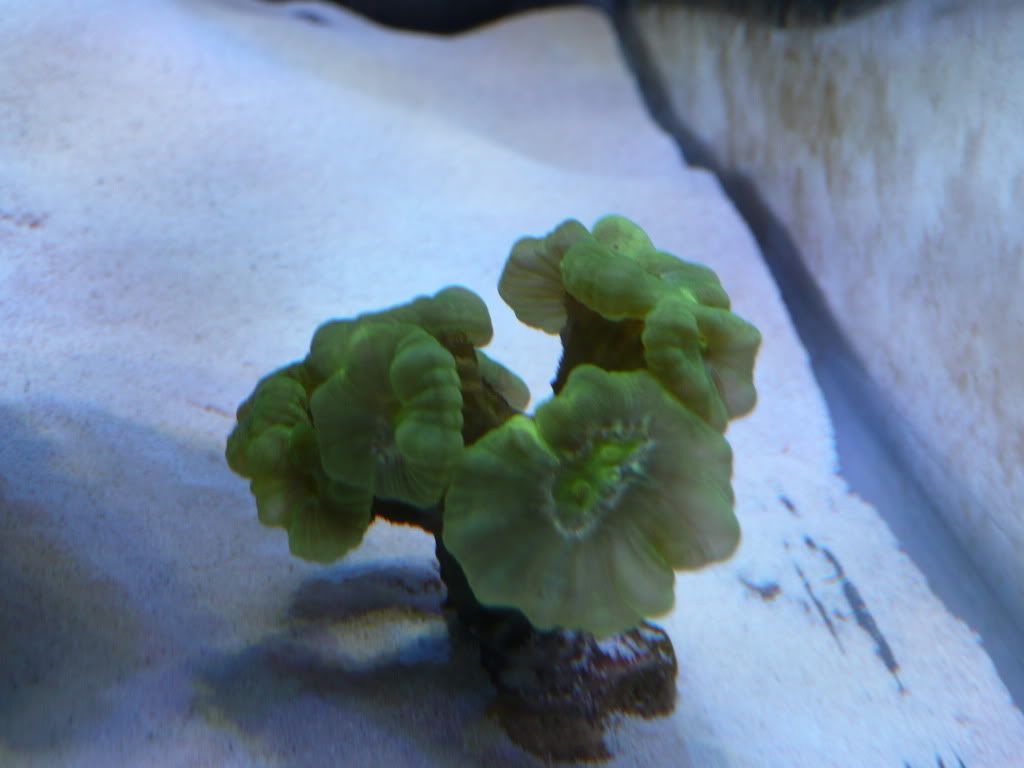
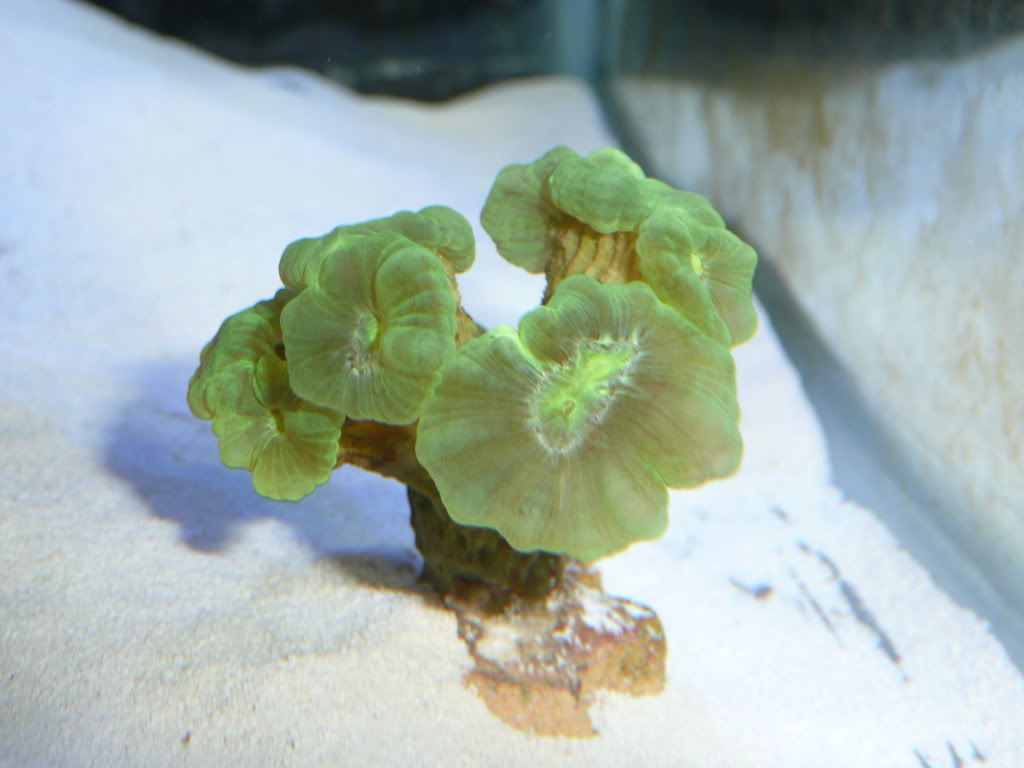
 Four nice heads of Hammer Coral
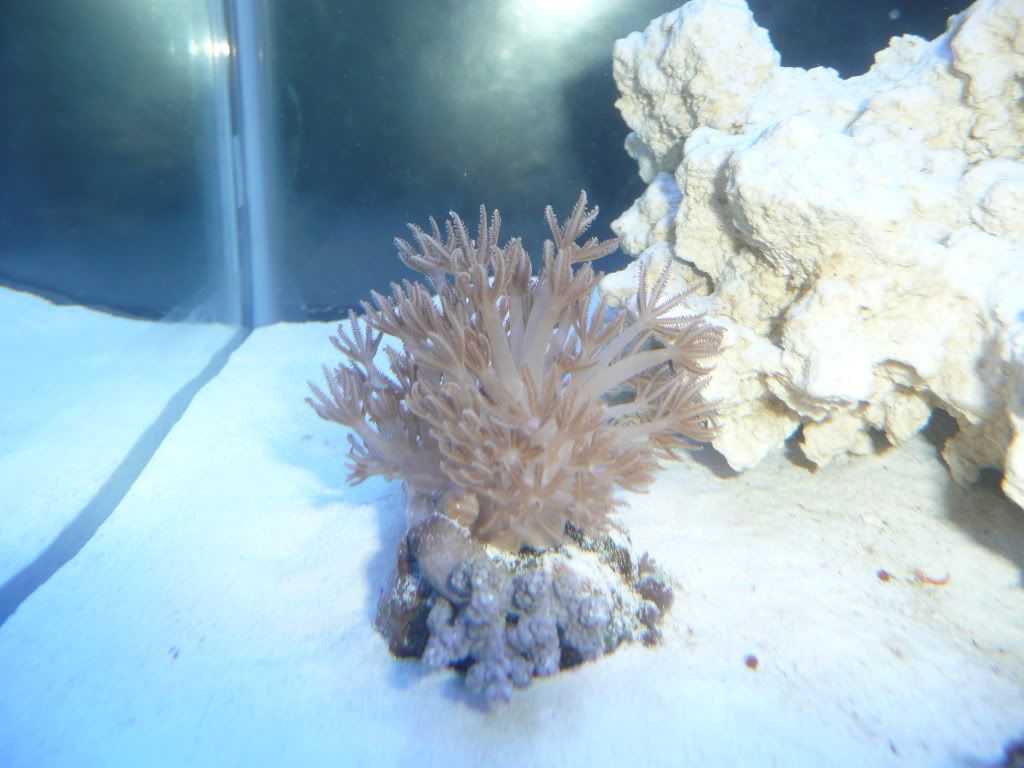
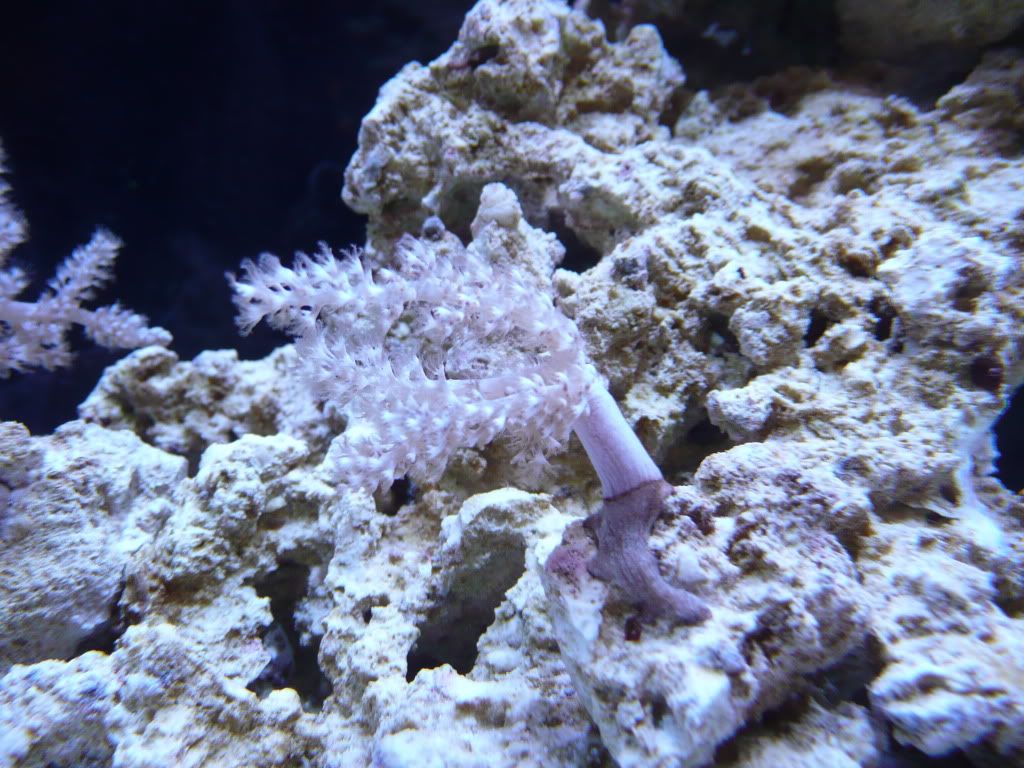
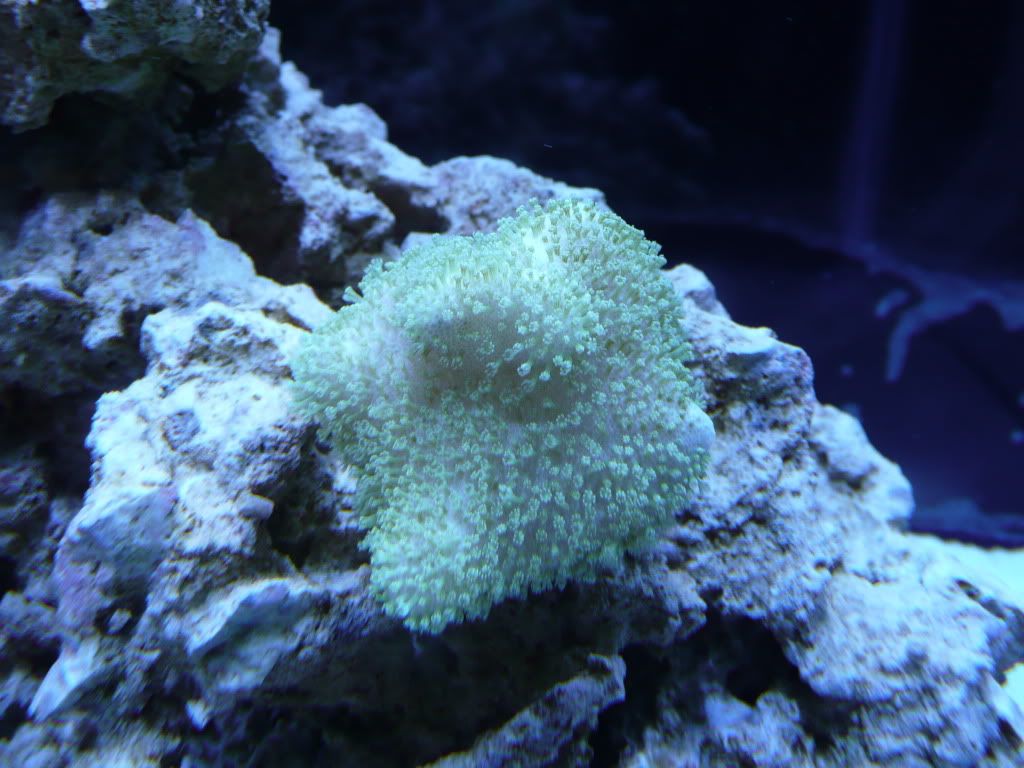
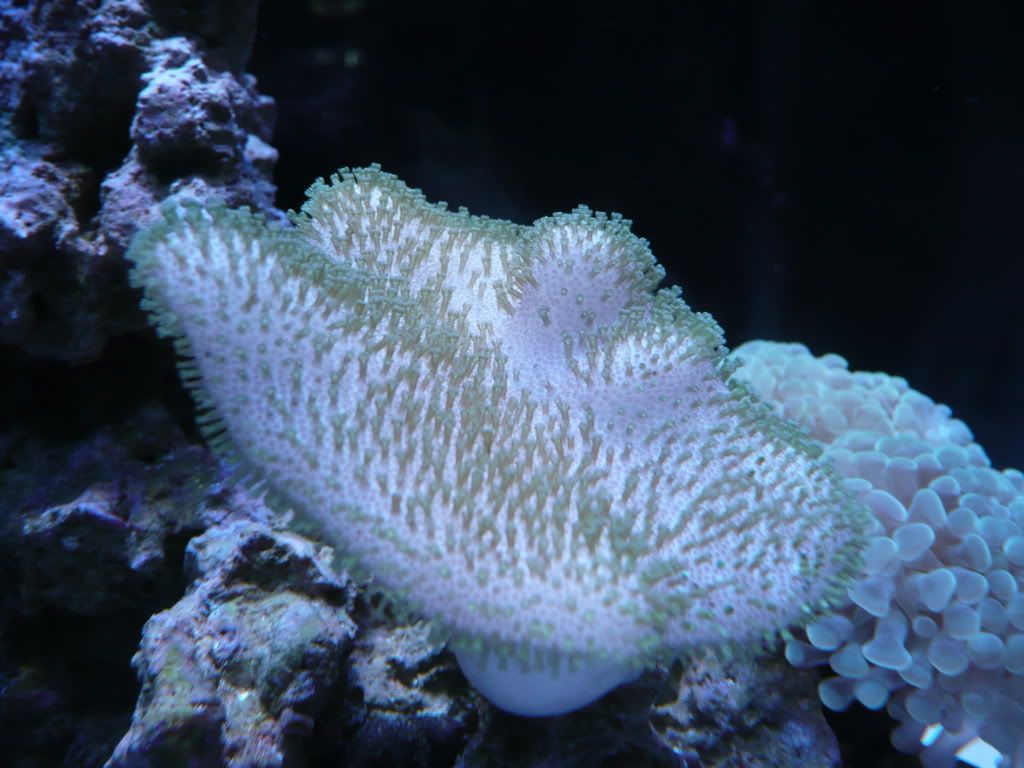
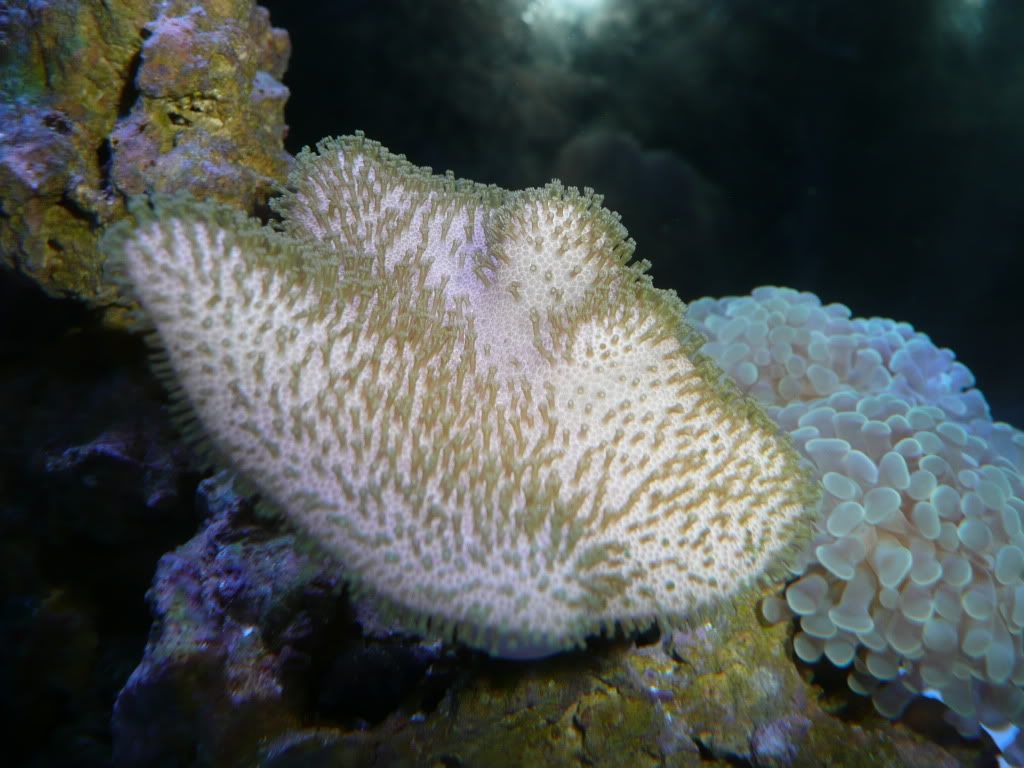
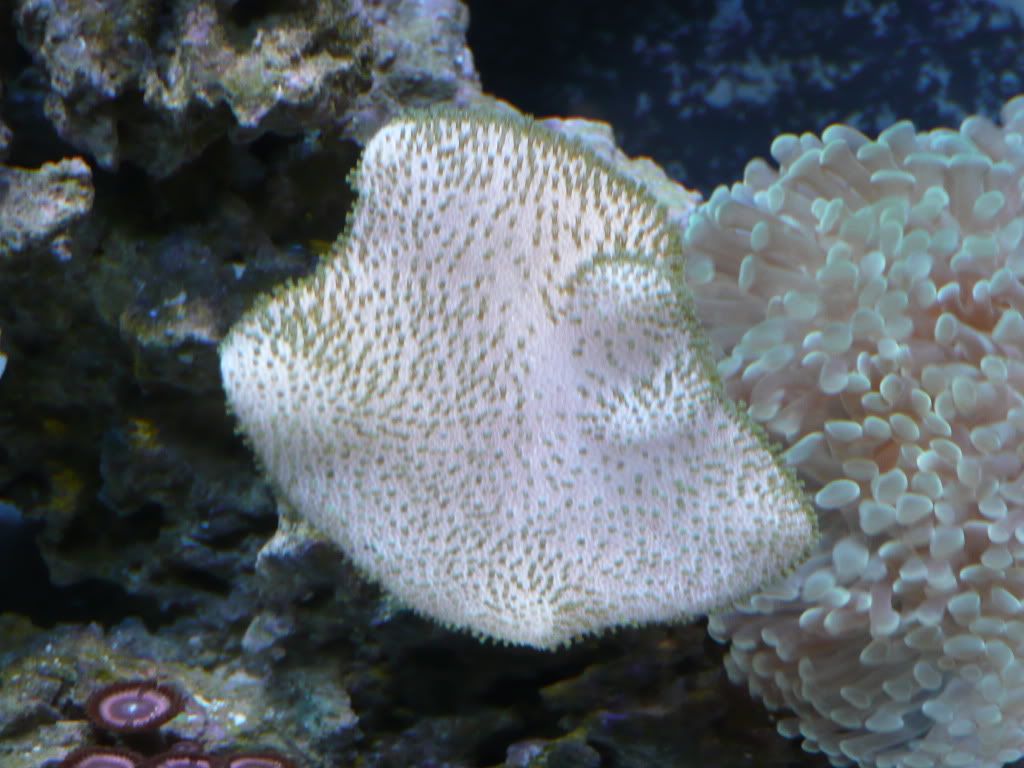
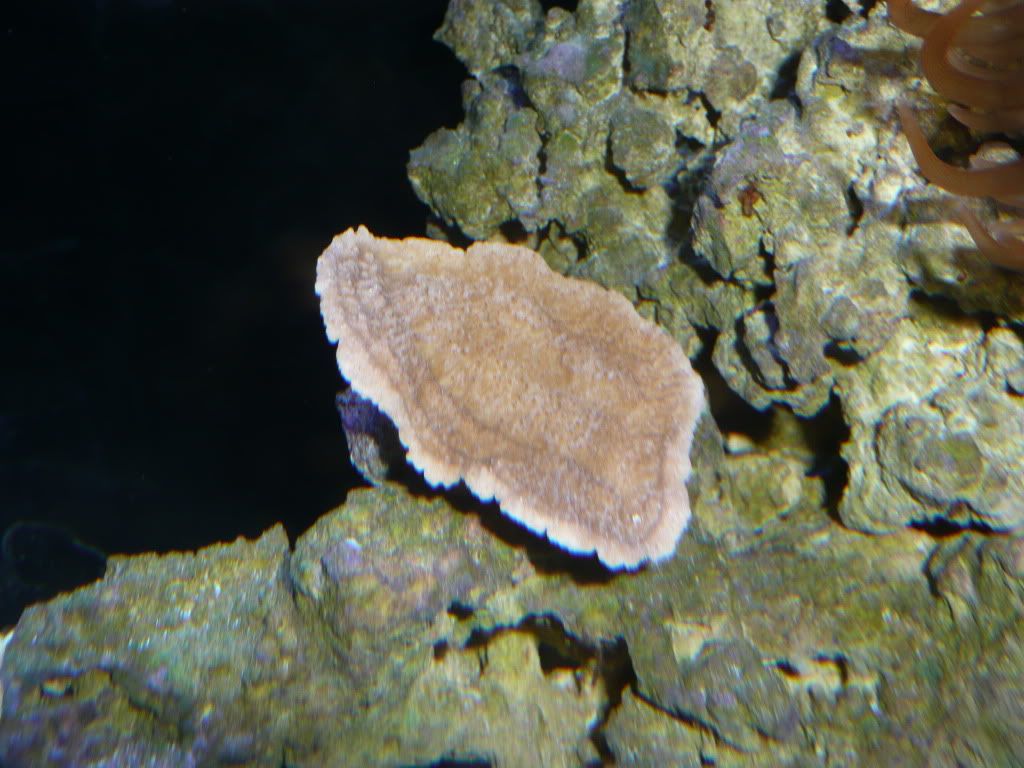
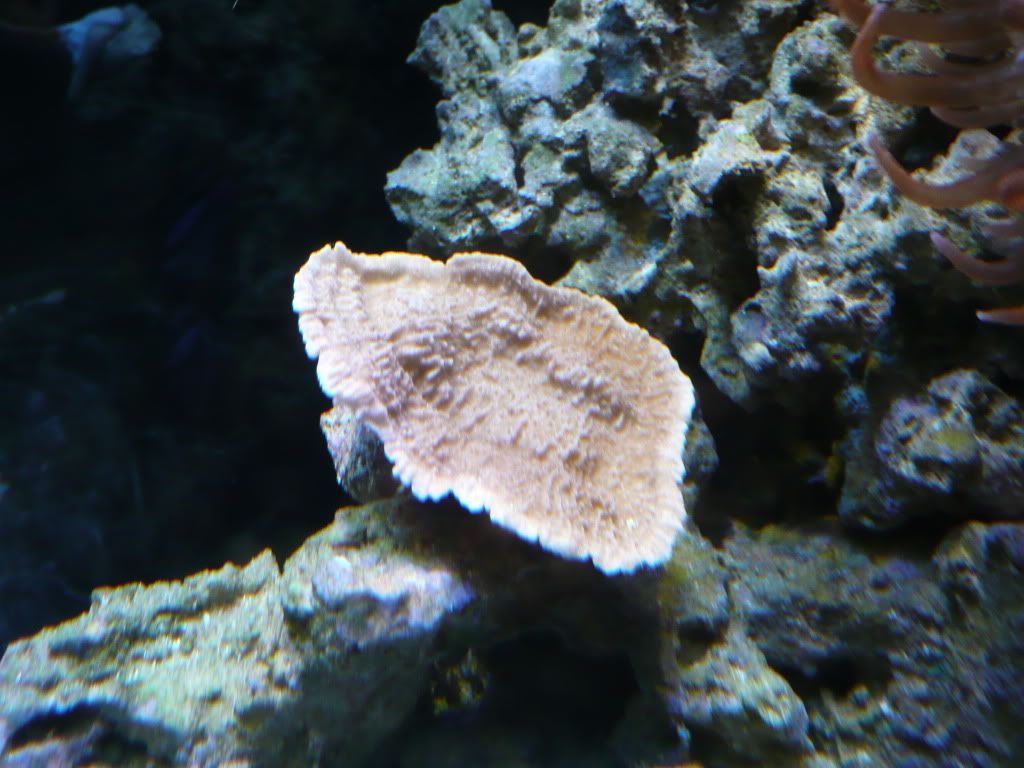
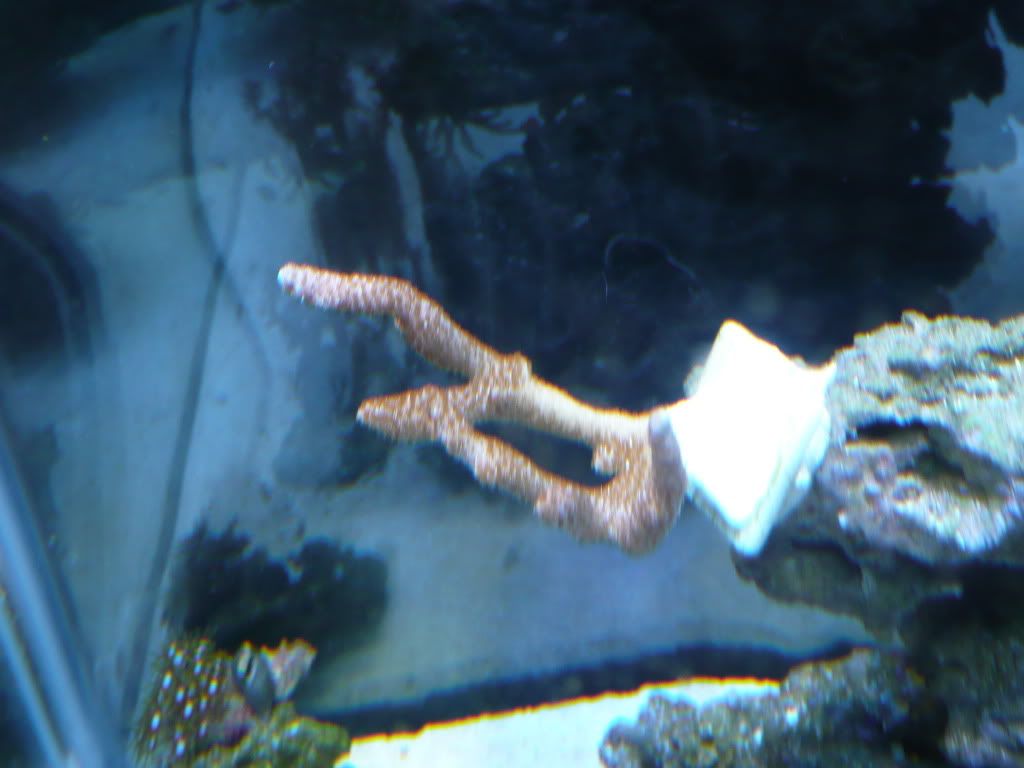
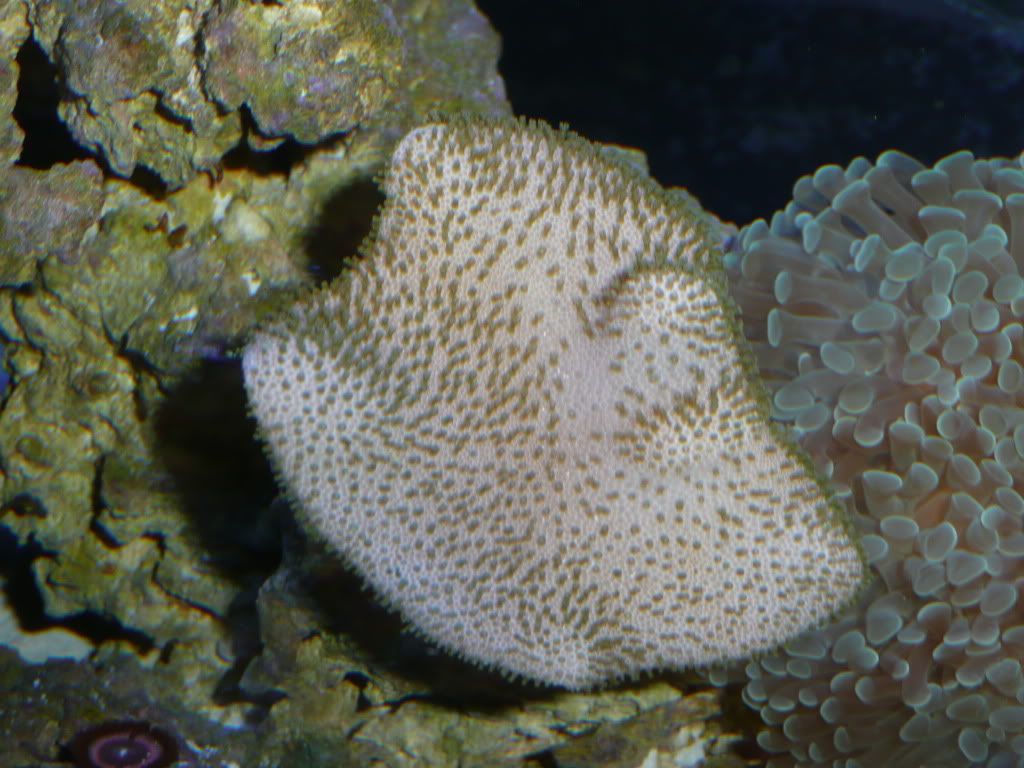
 Green Toadstool Leather....it hasn't really opened much since adding it to the tank...I moved it to a new location and it started to open again last night, I will wait a few more days and post better pictures of it once it is fully open.
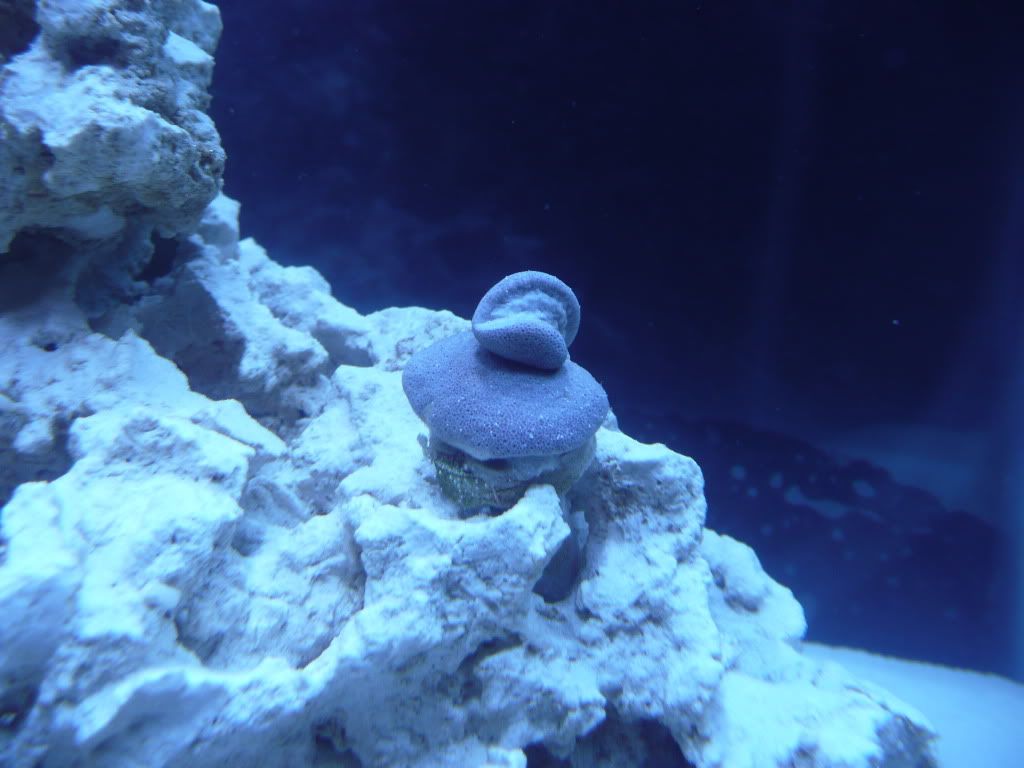
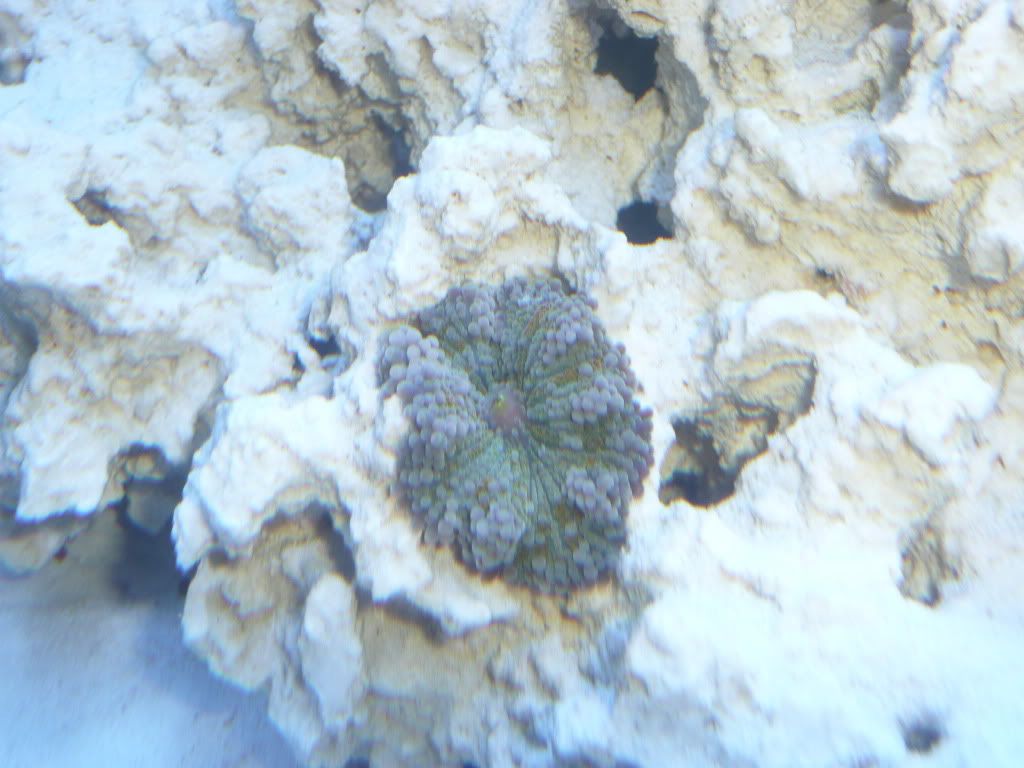
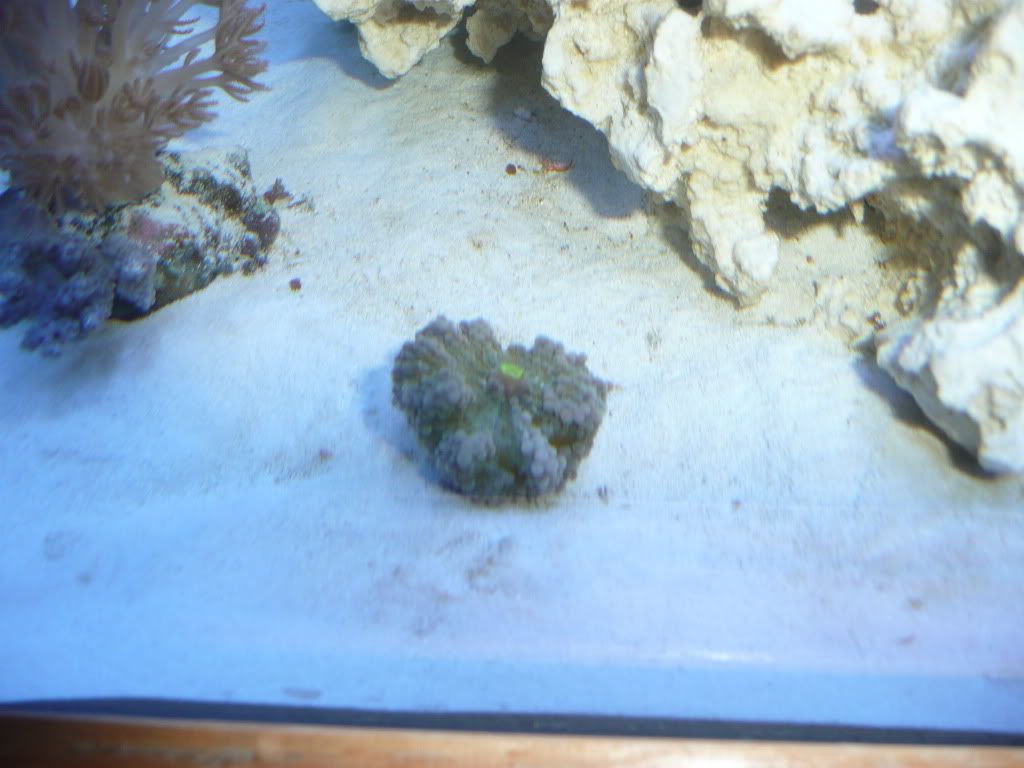
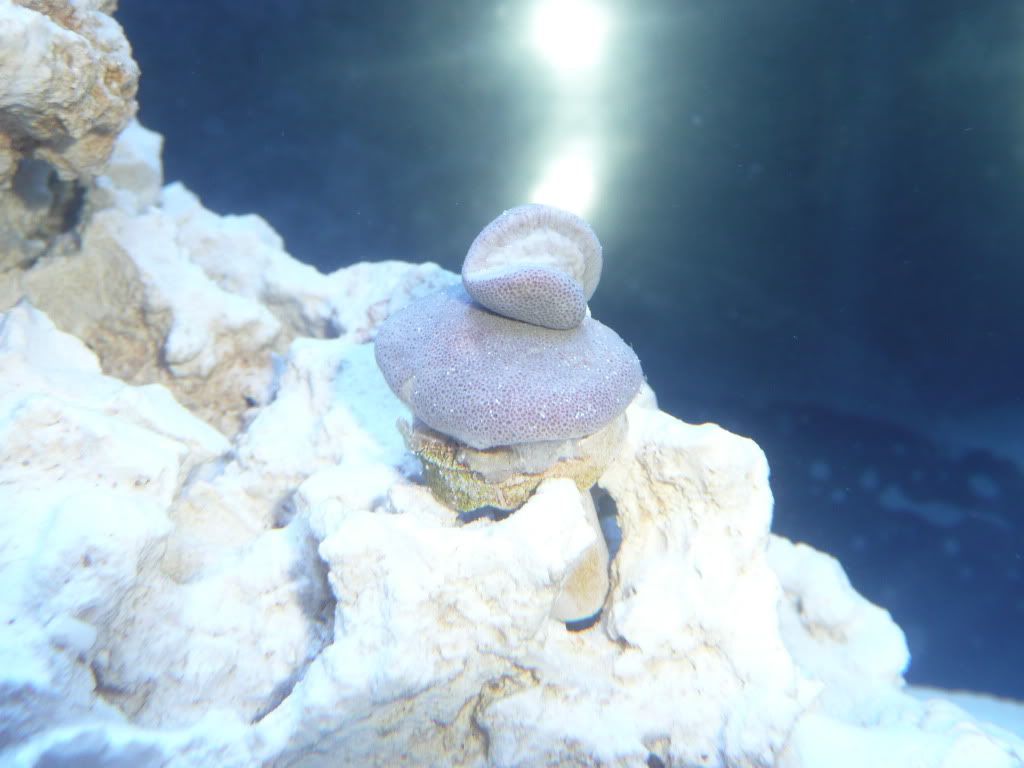 Unidentified Ricordea Mushroom, again if anyone has an ID on this please chime in!
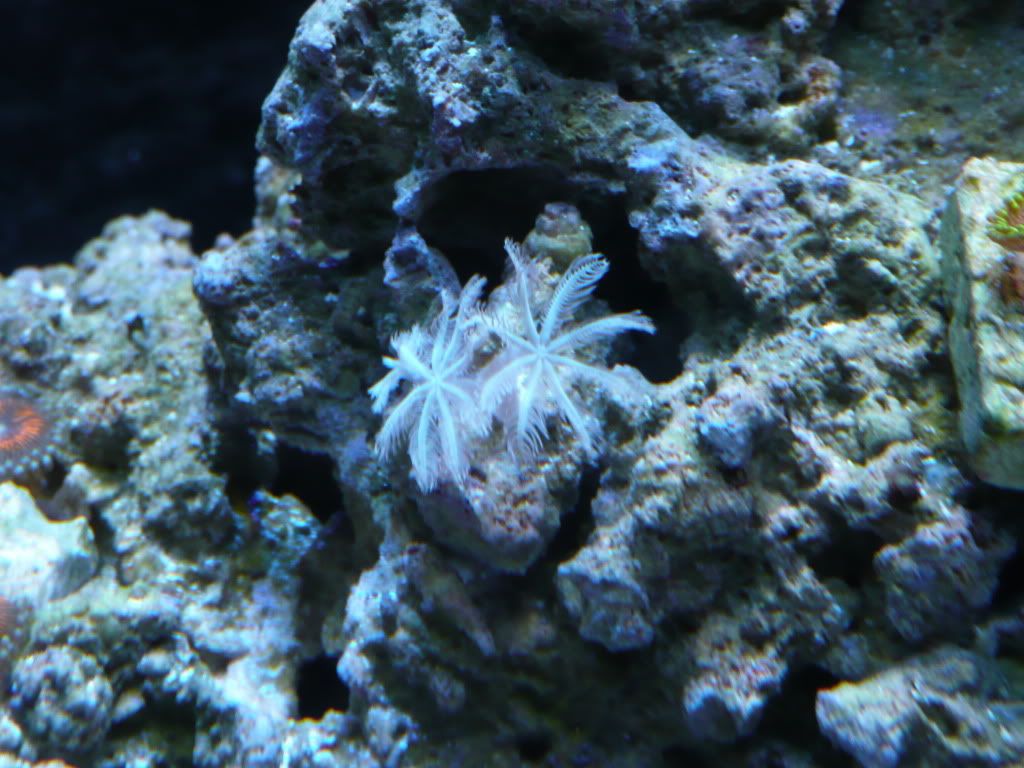
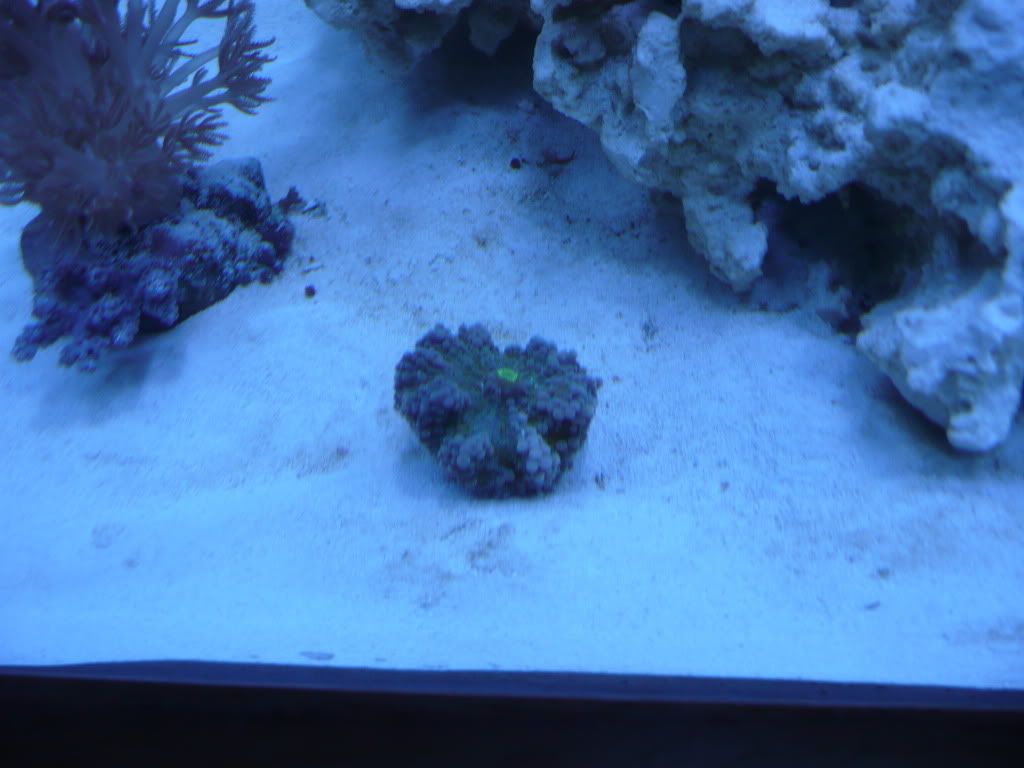 Pulsing Xenia...I swear I have already seen noticable growth in this frag since adding it
 I think I got it all! 
|
Posted By: ejcatmul
Date Posted: May 05 2011 at 3:12am
|
Not sure about the name if the green zoos but it looks like bryopsis around it. I got a bunch in my system now too. Those are some sweet corals. Good job on the selection, I never know what to get when I go up there. So much to choose from. ------------- "Noob" |
Posted By: 08TRDOFFROAD
Date Posted: May 05 2011 at 9:25am
|
Posted By: 08TRDOFFROAD
Date Posted: May 05 2011 at 9:27am
| The Green Toadstool is looking better and better every day. For a few days I thought I had lost it. Last night it had the most polyps partially extended that I had seen since I saw it in the frag tank at the Aquarium and had them bag it up. Hopefully I will be able to get a good picture of it posted before the weekend! |
Posted By: 08TRDOFFROAD
Date Posted: May 05 2011 at 11:18am
|
Now I am trying to figure out flow. I had two koralia 4's in there which was obviously too much. I have since unplugged them and added a power sweep 212 that is 125 gph, and Mini jet 404 pump that is 108 gph. This is almost enough but not a broad enough flow pattern.
I am looking at the Koralia nano, 225 or 425's. I will add two of them. Which of the two would be the best option for my tank. The 225 gph or 425 gph times two? Jerry at Marine Aquatics seems to have the best price in town on the Koralia's...$34.99 a piece. |
Posted By: 08TRDOFFROAD
Date Posted: May 11 2011 at 10:29am
|
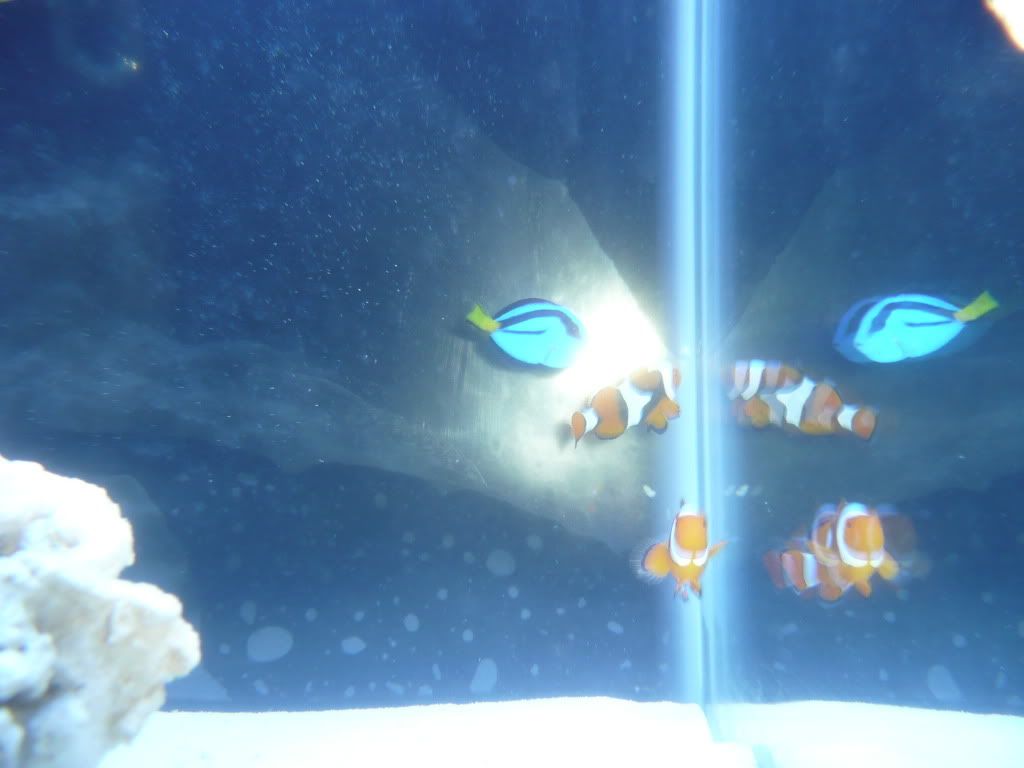
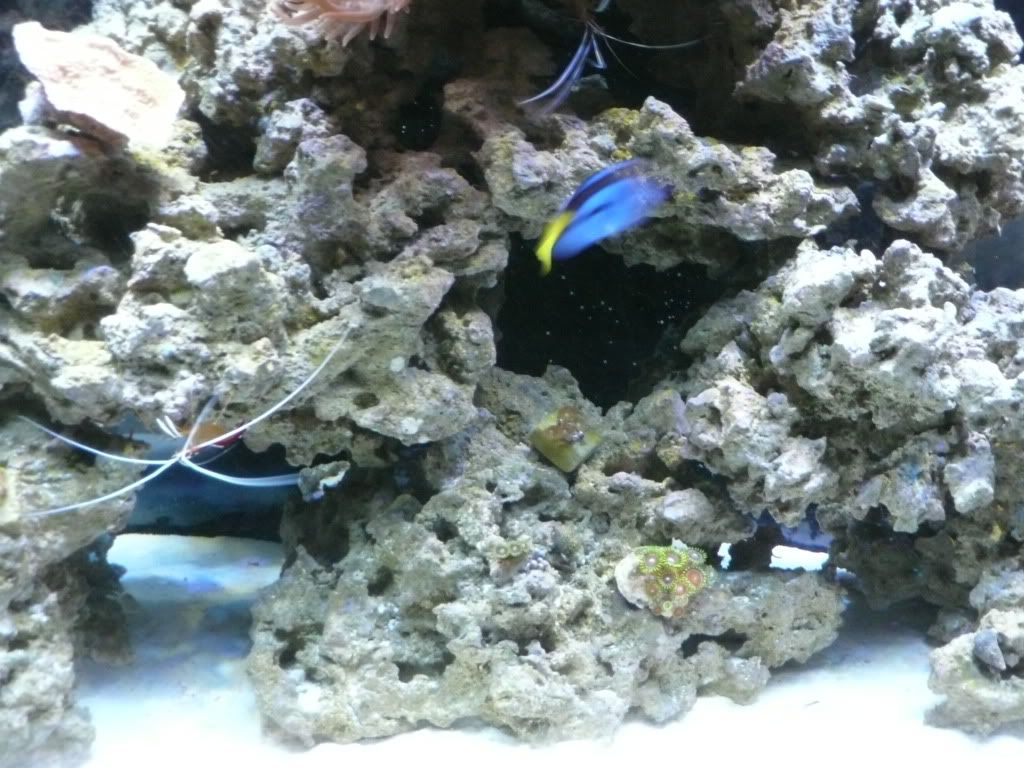
The Toadstool seems to be coming around. The polyps have been extending further and further each day. I also picked up a TINY Hippo Tang yesterday from Jerry at Marine Aquatics (smaller than a quarter)! I can't tell you how impressed I am with the quality of fish Jerry brings in! I tried to get a picture of it this morning, but it is better at hide and go seek than I am. It was tucked into a nook in the rock so I just couldn't get a decent picture of it! I will try to get some tonight when it is out and about. |
Posted By: 08TRDOFFROAD
Date Posted: May 12 2011 at 10:24am
|
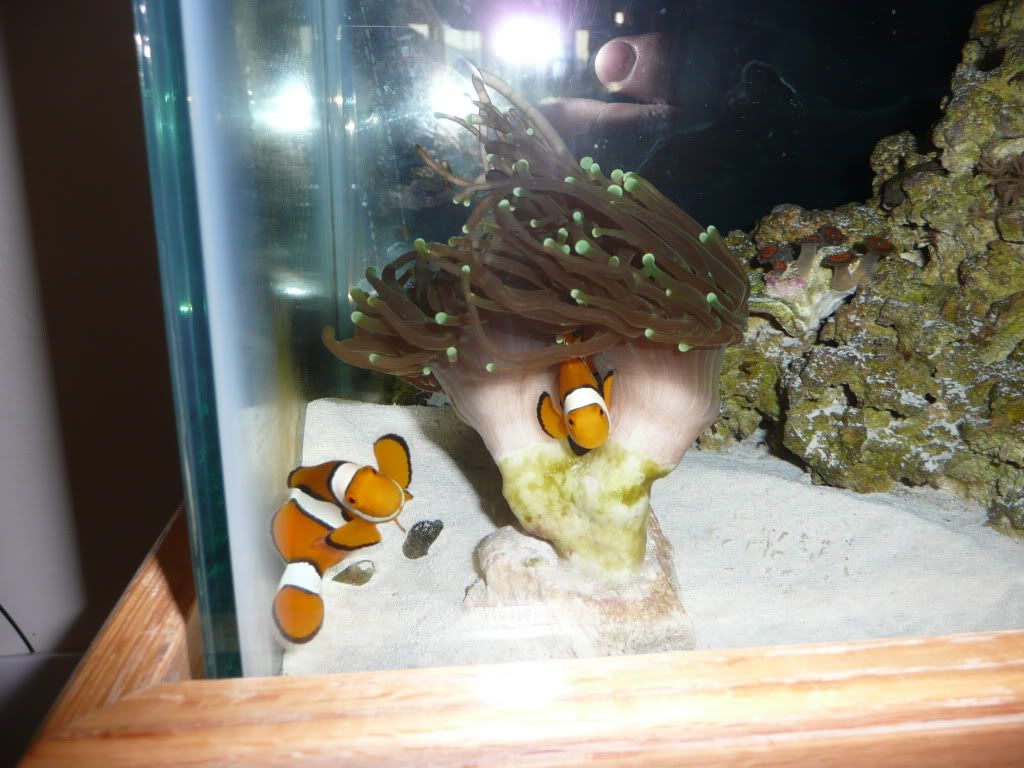
Here are the pictures of my new tang as promised. It is so small, as you can tell from its size compared to clownfish in the tank.

 __________________
|
Posted By: MadReefer
Date Posted: May 12 2011 at 10:37am
| I have some birdsnest I'm selling. I found that my tiny blue tang loved to hide in the birdsnest and I think it helped him relax. |
Posted By: 08TRDOFFROAD
Date Posted: May 13 2011 at 8:35am
|
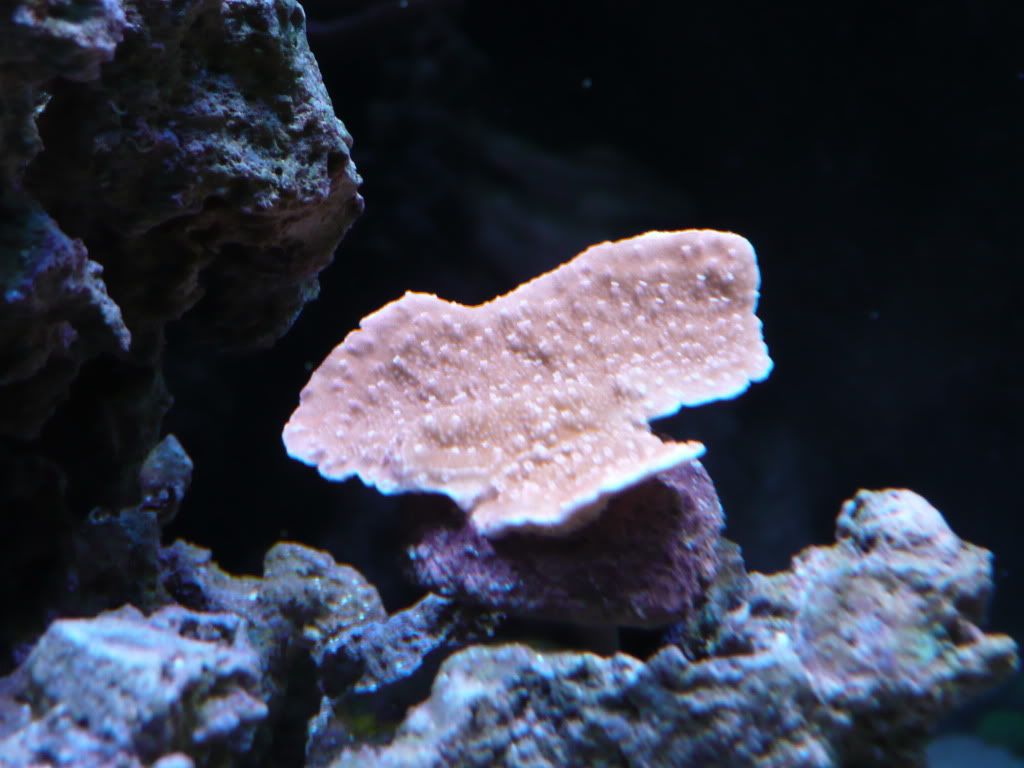
I just wanted to throw up some of the growth pictures of my Green Birdsnest...Seems to really be taking off in my tank!
As of 5/2/2011 As of last night, 5/12/2011 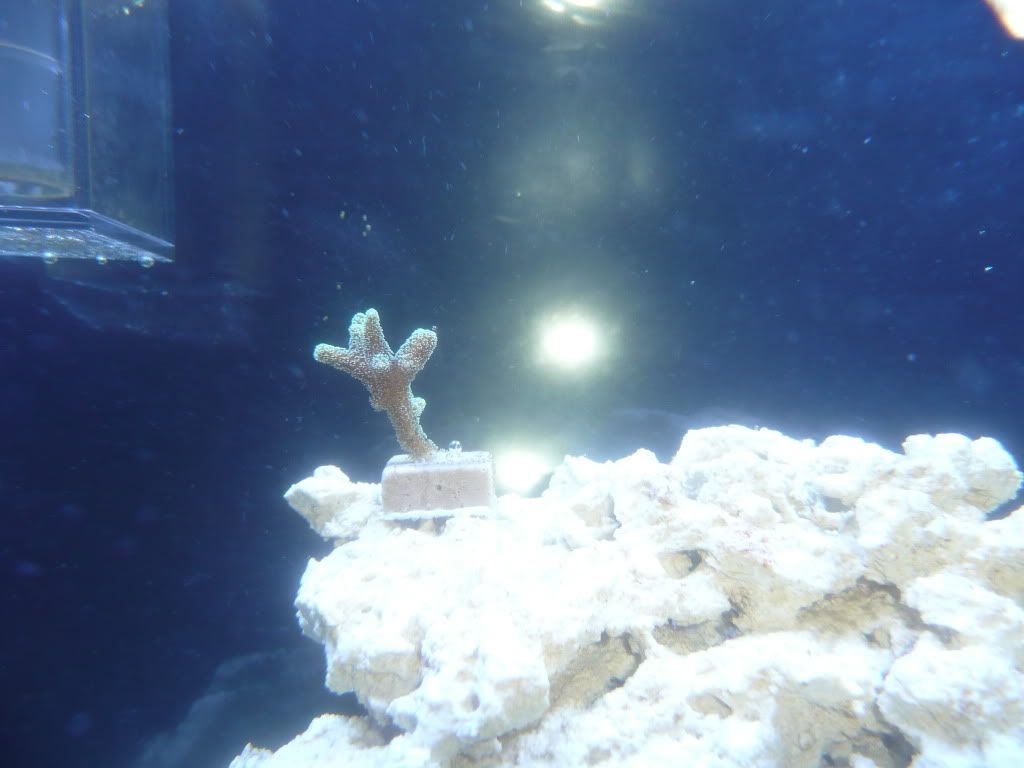 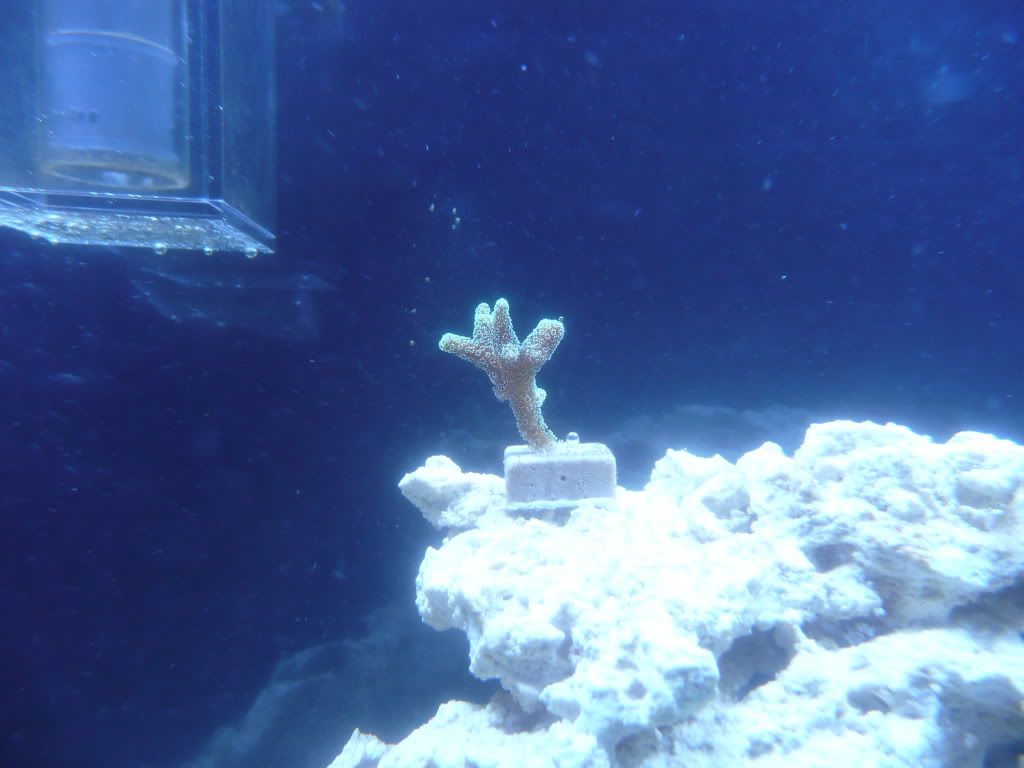 |
Posted By: 08TRDOFFROAD
Date Posted: May 25 2011 at 8:56pm
|
Well I just wanted to throw some new pictures up.
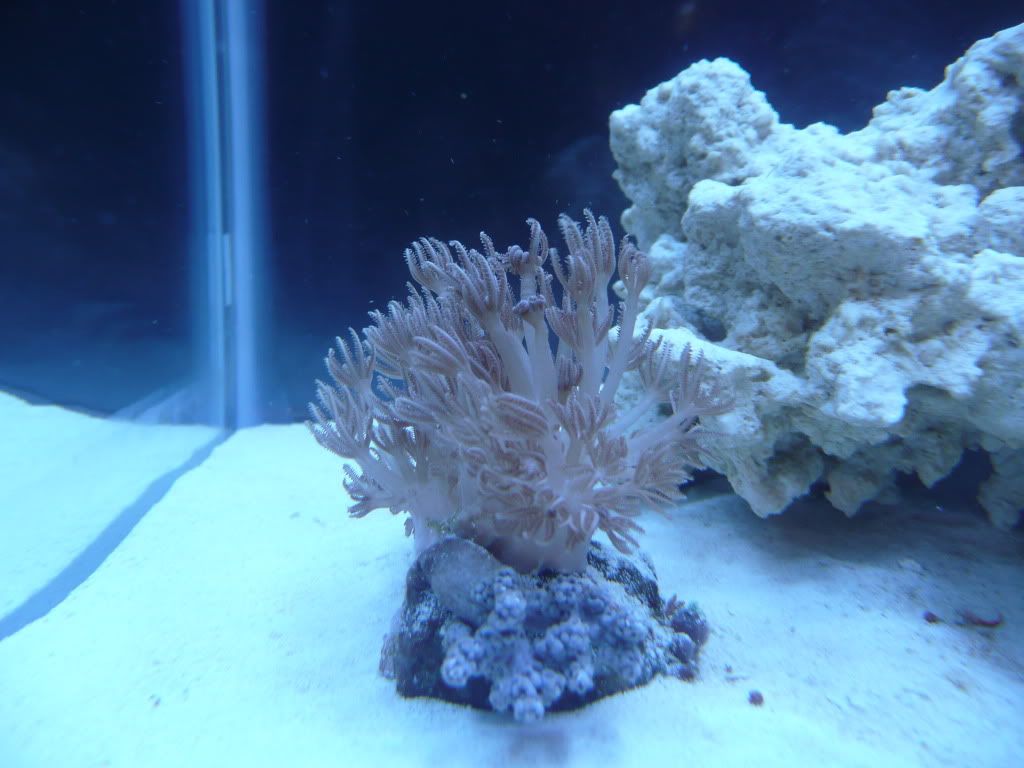
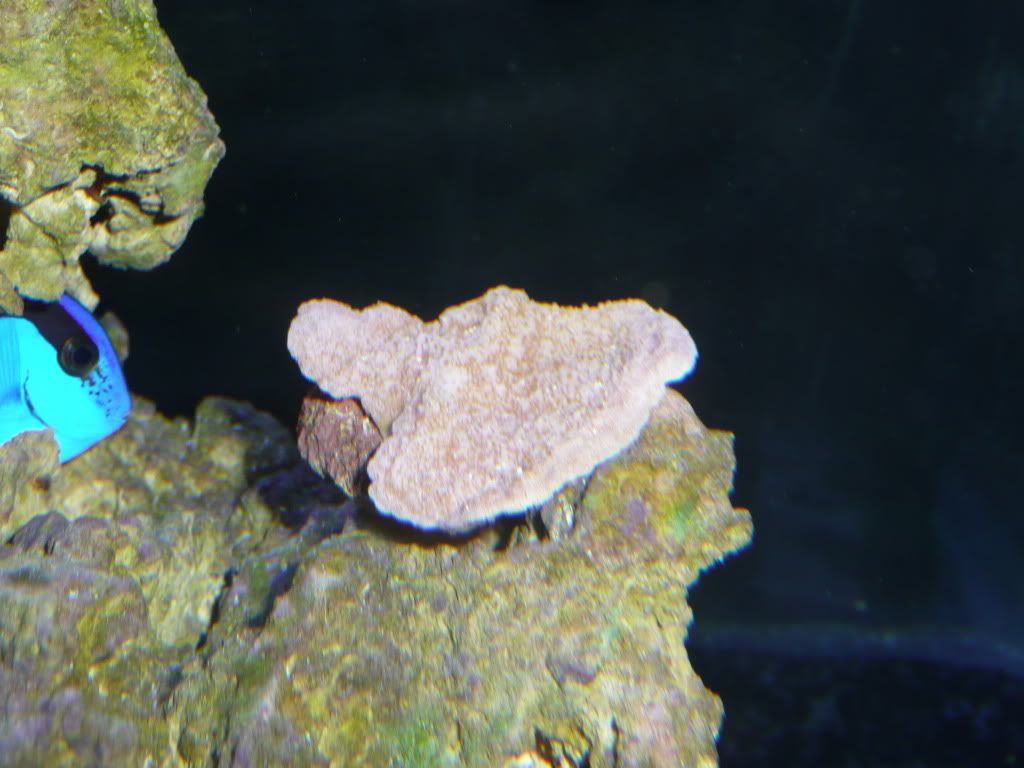
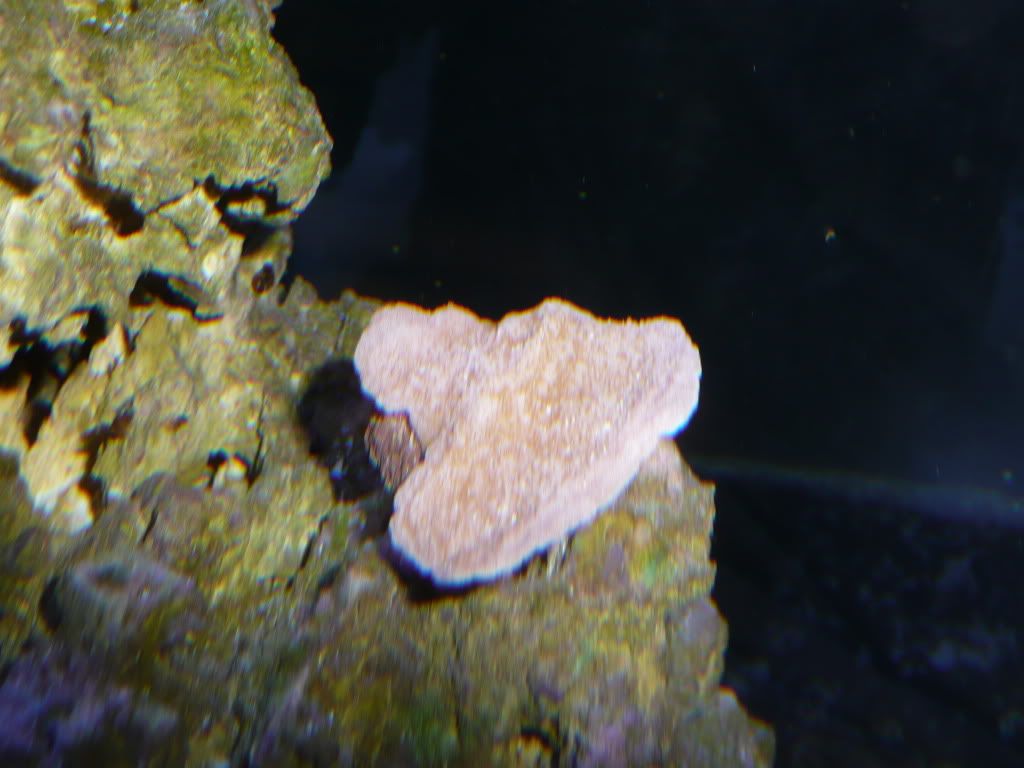
Here are a couple of my Green Toadstool Leather, it has finally started opening up regularly.
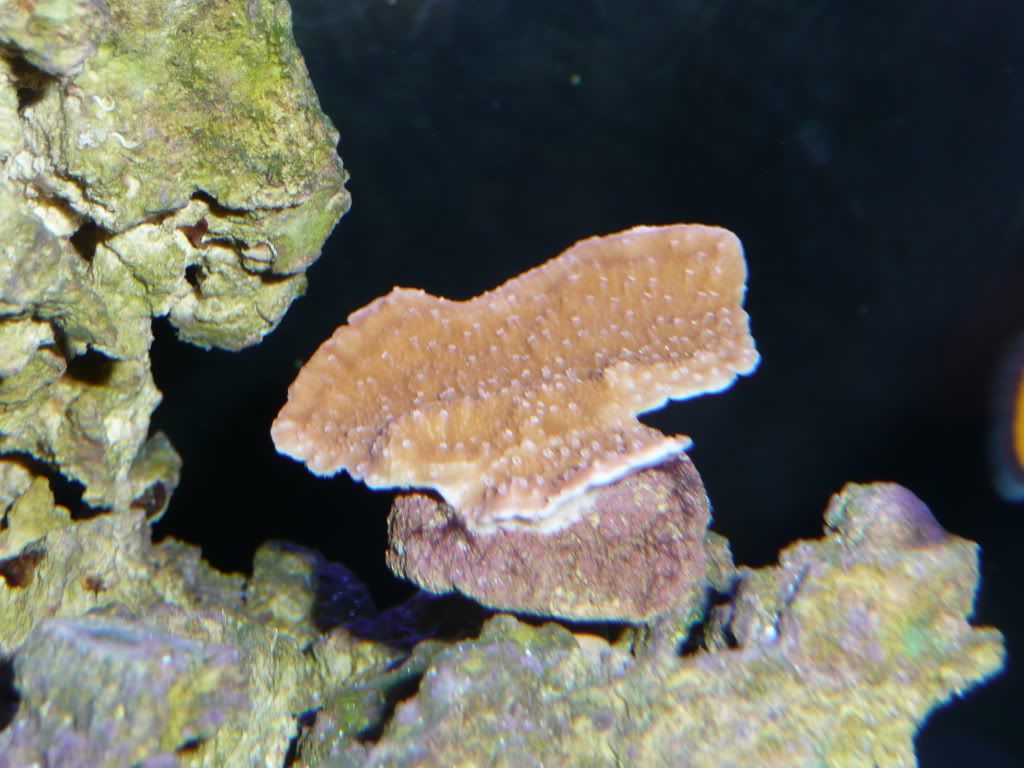
And now some more growth shots of the Green Birdsnest! I cannot believe the amount of growth I am seeing out of this frag!
As of 5/12/2010...
As of this morning!
|
Posted By: 08TRDOFFROAD
Date Posted: May 28 2011 at 6:04pm
|
Well, over the last couple days I have noticed that my xenia is not open and pulsing, it is balled up and not looking the greatest, but my other corals look great and are growing (well at least the birdnest). What could be causing this? I know I am probably due for a water change, but would like some input as to what else might be causing this.
|
Posted By: 08TRDOFFROAD
Date Posted: June 01 2011 at 5:44pm
I added two Koralia nano 425's to the tank and I have to say I am pretty disappointed with their output. Their GPH rating is very misleading. My Maxi Jet 1200 that is rated at 295 gph pushes much more water then they do! I kind of feel like I wasted $60. I am hoping that once I get the sump up and running the added 300 gph offow will be adequate with the nano's...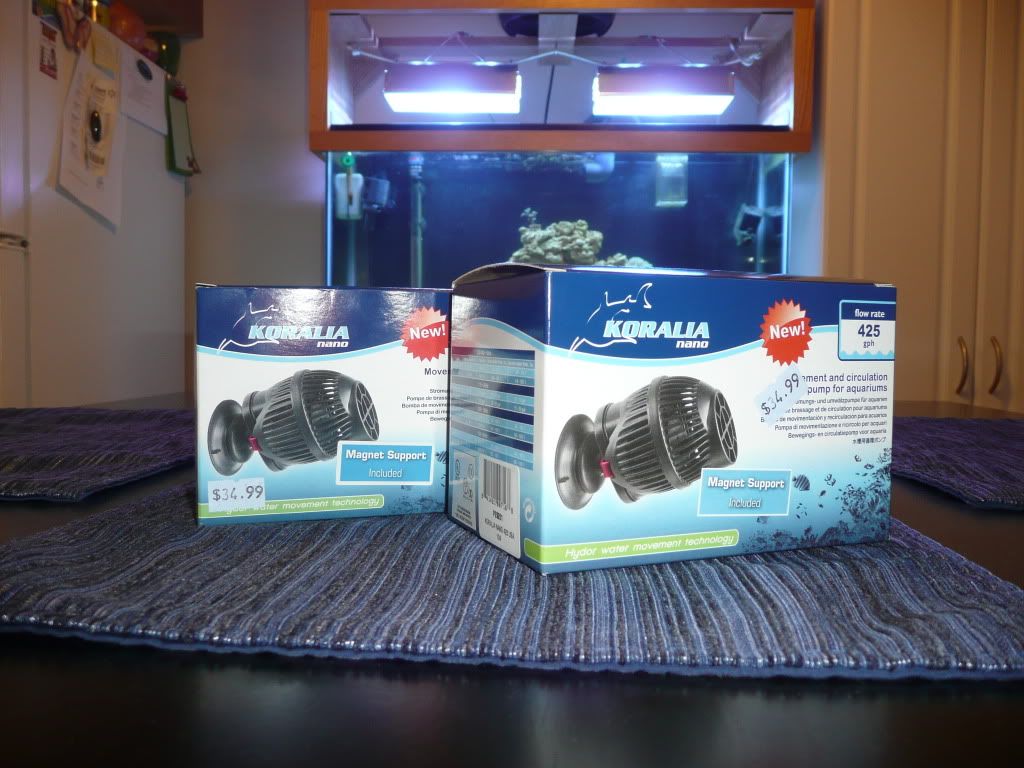 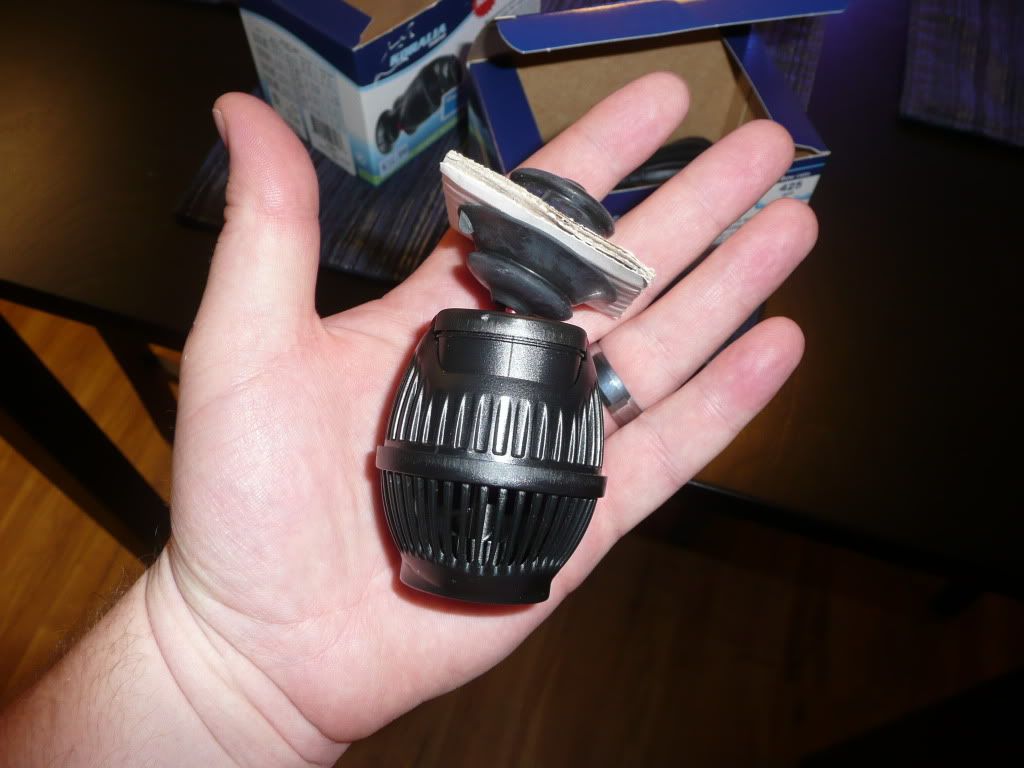 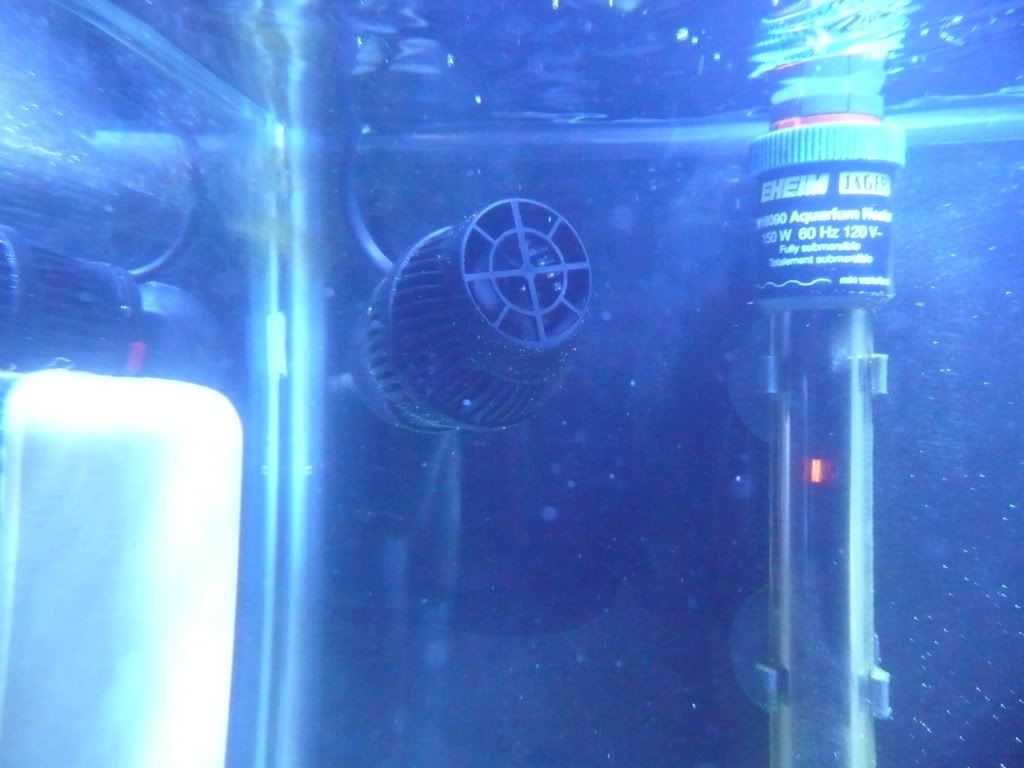 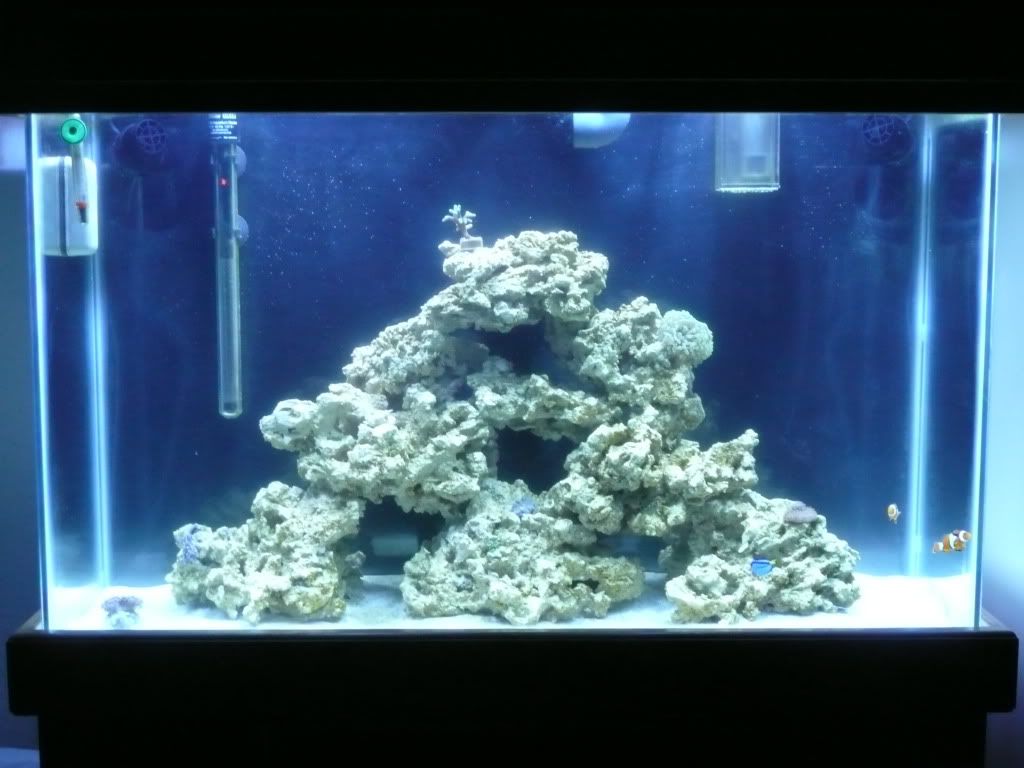
|
Posted By: 08TRDOFFROAD
Date Posted: June 02 2011 at 8:25pm
|
Well, this morning before work I tested my water...
Temp: 79 degrees Salinity: 1.025 DKH: 4.8 Alk: 1.713 meq/l PH: 7.7 Ca: 400 mg/l It appears that my PH, Alkalinity and Calcium are low...the alk is about half of what it should be according to my test kit. I have a hard time grasping water chemistry so I am going to need some help fixing it. How do I go about raising PH, and Alkalinity? I looked in Drs Foster Smith magazine and found that Kent Tech CB part A and b will raise Calcium and buffer the system. Is this an appropriate suppliment or is there something out there that is better or cheaper??? Help!! |
Posted By: 08TRDOFFROAD
Date Posted: June 04 2011 at 7:45pm
|
Well, I just placed a big order with Drs Foster and Smith, BRS, and Aquacave!
I am throwing the kitchen sink at this tank! If what I ordered doesn't solve my issues I am selling everything and getting out of this hobby for good!
My Aquacave order includes: ~Sicce Syncra 3.0 pump
My DFS order includes: ~Eshopps PH-300 Overflow box
~Various Loc line parts for my return line ~Filter Media Bag ~Carbon These will make up the large part of my 10 g sump that is in the works. My order from BRS includes: ~New RO membrane ~Flow restrictor to match new membrane ~New 5 Stage RO prefilters with Color changing DI ~Refillable 10" DI cartridge ~BRS Dual GFO and Carbon Reactor ~BRS Bulk GFO-1 lb Hopefully this stuff will come in the next week and I can get this tank cleaned and cleared up! I am at my wits end with this dumb tank! If I can't get the water to clear up and get a grip on the algae I don't know how long I will keep fighting with it! I will end up breaking it down and selling it off and sticking to FW in the future...maybe dabble in FW rays a bit....who knows.... |
Posted By: Lewy
Date Posted: June 04 2011 at 8:37pm
|
I hope this works for you. I would hate for you to leave the hobby because of this experience. I noticed you didn't get any help with Alk or PH question before, just use baking soda. Don't go spending tons of money on special suppliments. Make sure to take your time increasing it. ------------- 40 gal w/ 20 sump |
Posted By: bur01014
Date Posted: June 05 2011 at 2:24am
These purchases will for sure make your tank and life much easier.....however, I feel your pain and the frustration that comes with a tank that we spend hours on, only to not be up to par.....(algae, dying fish, disease, pests, etc.) The best advice I can give you, is don't fret over it so much that it drives you to almost leave the hobby. I have learned when my frustration peaks over a tank problem, its time to take a break. Don't worry about your tank for a few weeks. Keep your hands out of the tank and give it a rest. Heck, skip water changes. Just keep/get ALK, CAL, and MAG in order and let it ride. Sometimes, time is all the tank needs to figure itself out on its own. Plus time away from the tank also keeps us all sane, especially when it just isn't how we want it! Keep your build thread going, and good luck! |
Posted By: sunflashx
Date Posted: June 05 2011 at 9:33am
|
Those things aren't going to cure a tank problem, those are maintenance items. Do what has already been suggested. Get live sand and macro algae from someone and leave it alone for a month. What made you think the old Koralias were too large? ------------- http://www.utahreefs.com/forum/forum_posts.asp?TID=46633" rel="nofollow - 90G Display, 75G Basement Sump, "DIY" Avast Skimmer, DIY LED Array |
Posted By: 08TRDOFFROAD
Date Posted: June 08 2011 at 7:40pm
The tank has long finished cycling and at this point has a well established biological filter. Live sand will do nothing for me. And I am in the process of finishing up my sump to be able to run macro algae if the GFO doesn't resolve my algae issue.
The fact that it looked like a snow globe in my tank with them on made me think that the Koralia 4's were too large!!
|
Posted By: 08TRDOFFROAD
Date Posted: June 08 2011 at 8:37pm
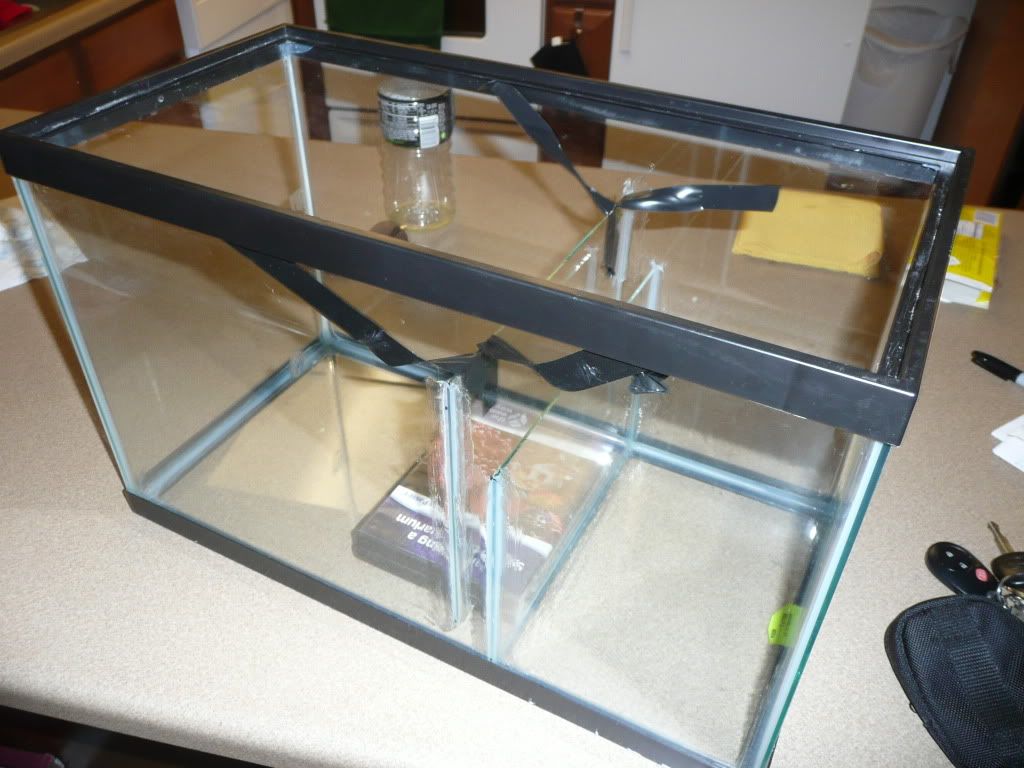
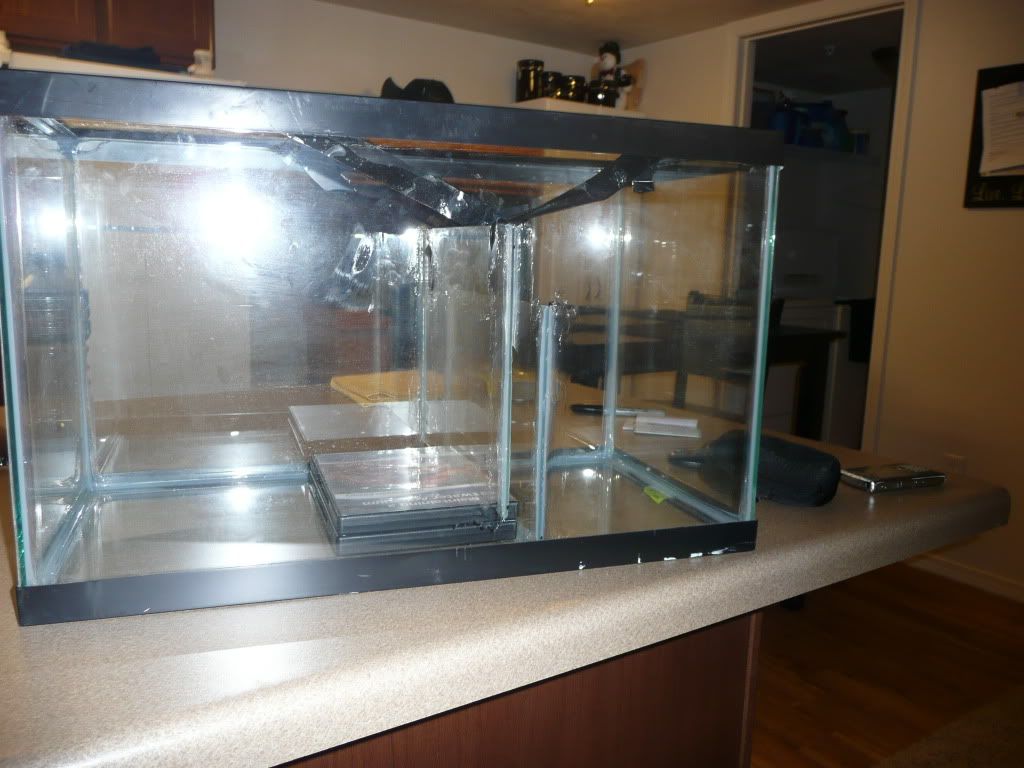
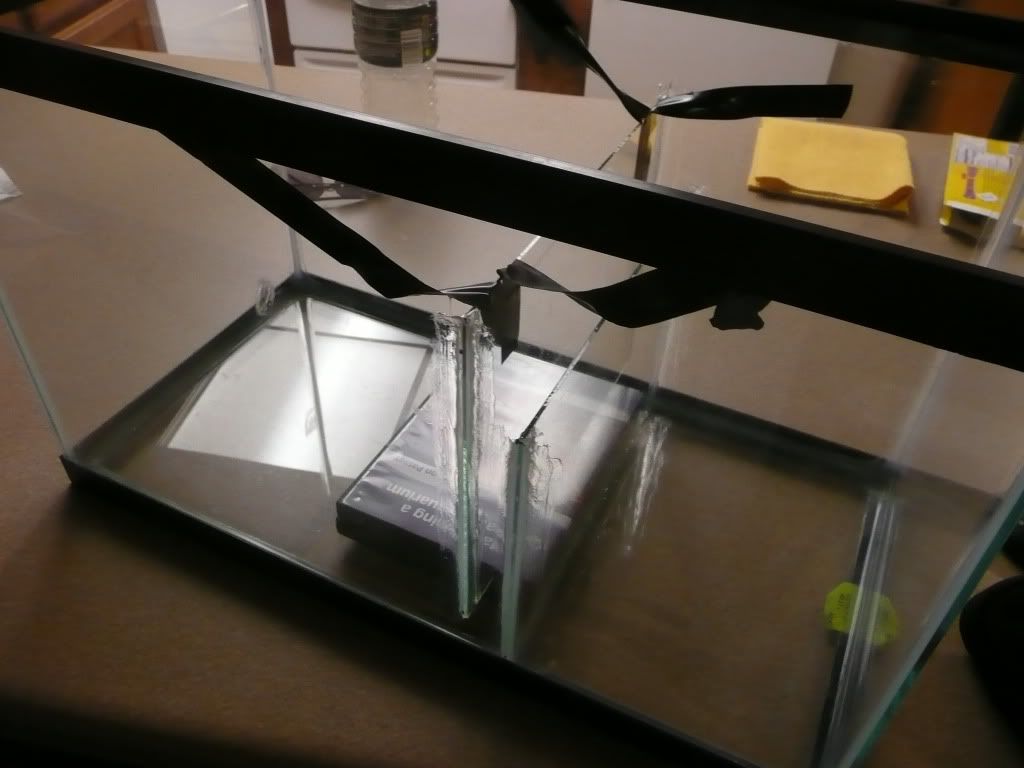
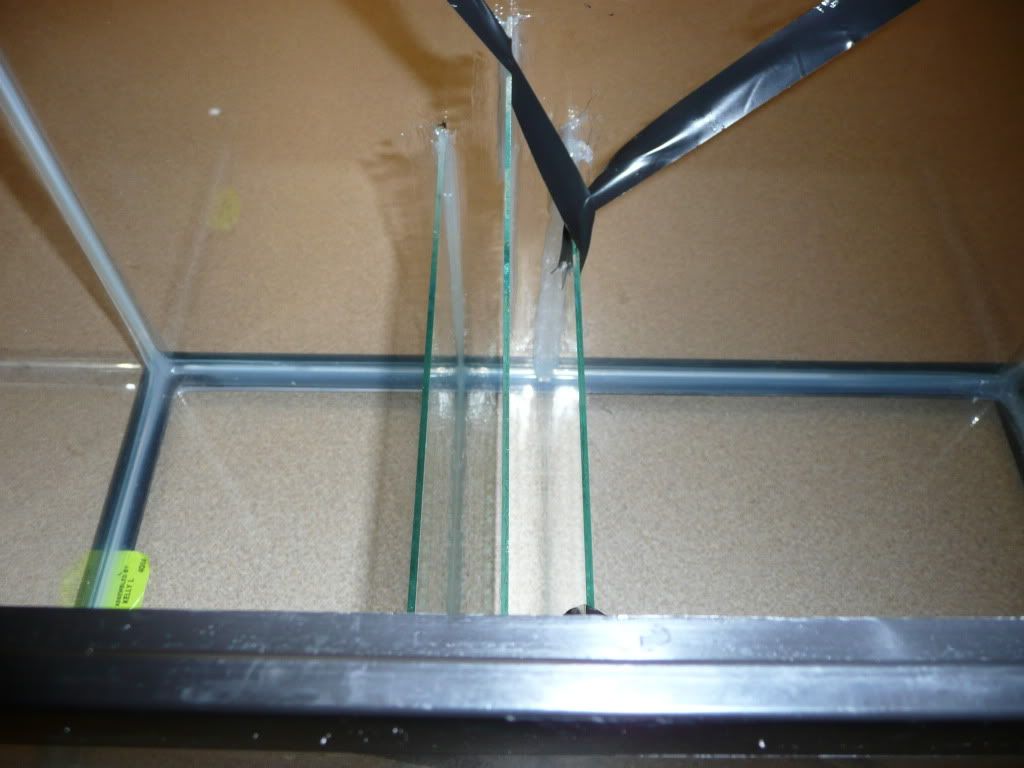
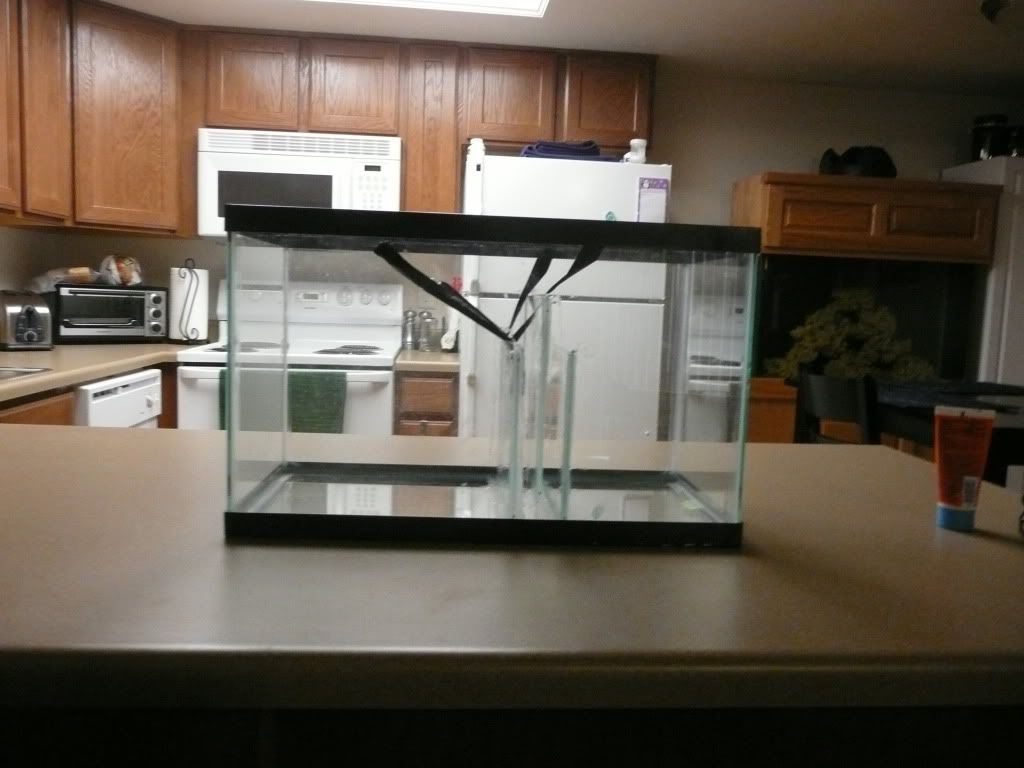
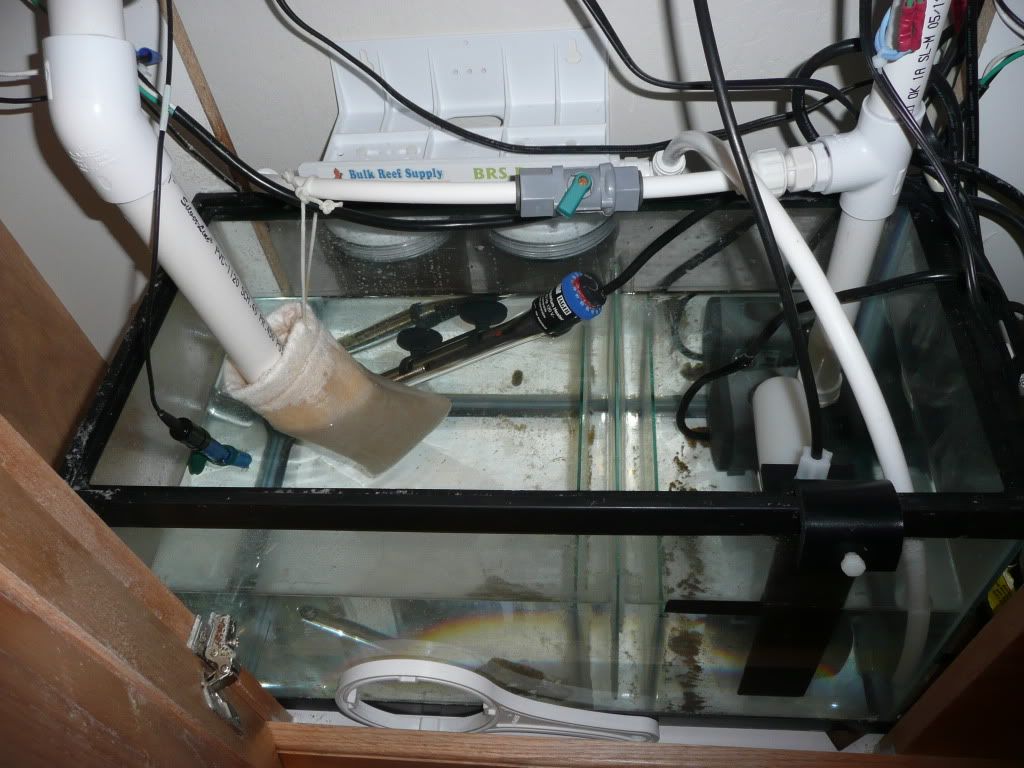
|
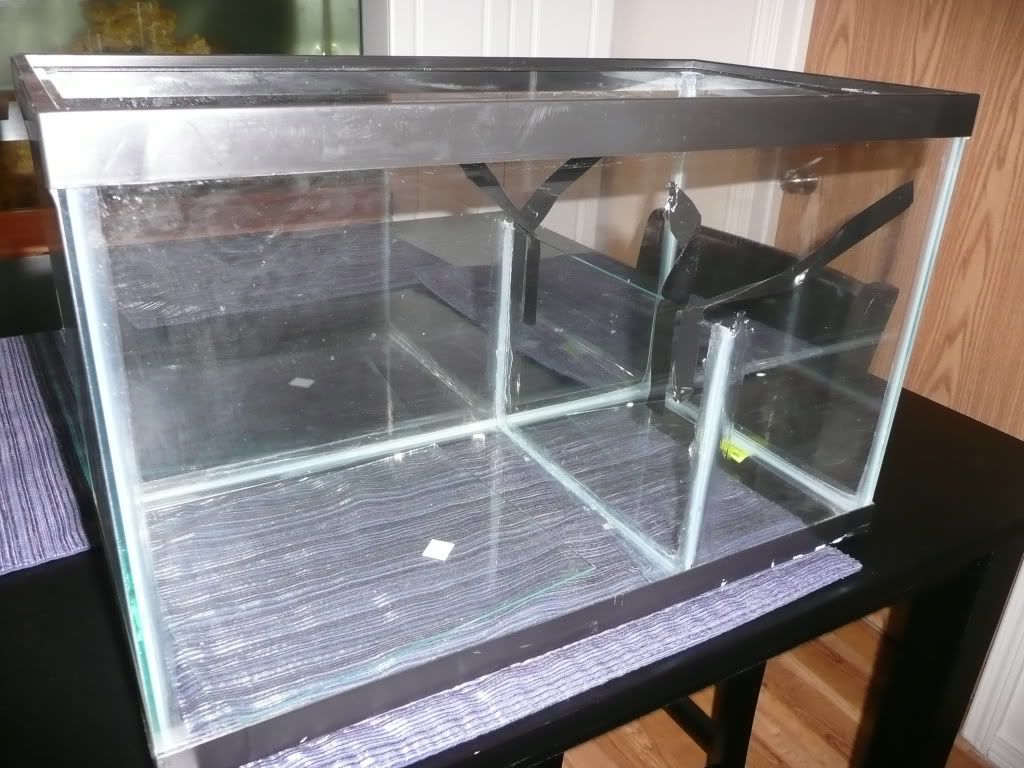
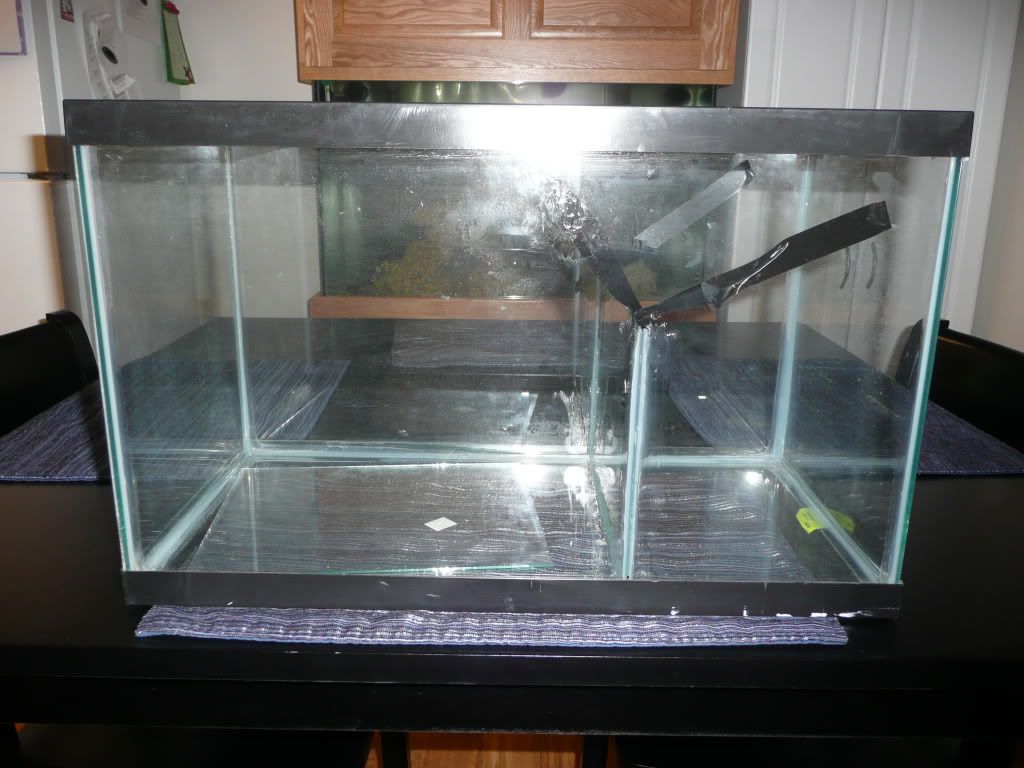
I have been working on my sump the past few days while I wait for the rest of the equipment to show up. It is still a work in progress. I have to silicone at least one more baffle in. I have been siliconing one baffle in at a time. I will try to get the last one glued in tonight after work or tomorrow before. I am using glass I purchased several years ago during my first DIY sump attempt (at the conclusion of which I ended up having a glass shop cut me 1/4" instead) and glass from a picture frame I bought cheap at the DI, since one of the pieces I had on hand broke wrong when I scored it. The first one I siliconed in yesterday...
The second one I did this morning before I left for work.
|
Posted By: 08TRDOFFROAD
Date Posted: June 09 2011 at 5:18pm
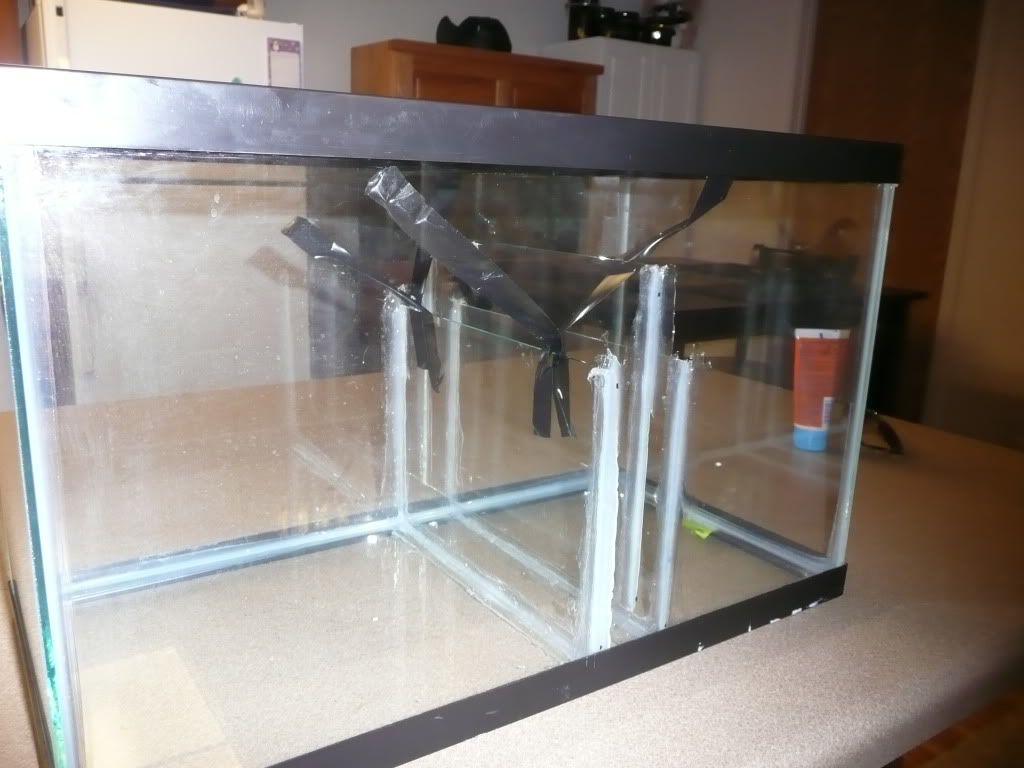
|
I finished up my sump this moring before work! Good thing because UPS dropped off a big box right after I left for work...the rest of the stuff I ordered should be here tomorrow.
Dimensions of the sump are as follows. Standard 10 g tank 20"X10"x12" It is divided as follows: Refugium 11"x10"x7 inches of water, bubble baffles are 7" high on the outer sides and the inner is 8" with a 1.25" gap underneath, return section is 7"x10"X7" which leaves me roughly 2 gallons of water in the return section. |
Posted By: 08TRDOFFROAD
Date Posted: November 02 2011 at 2:48pm
|
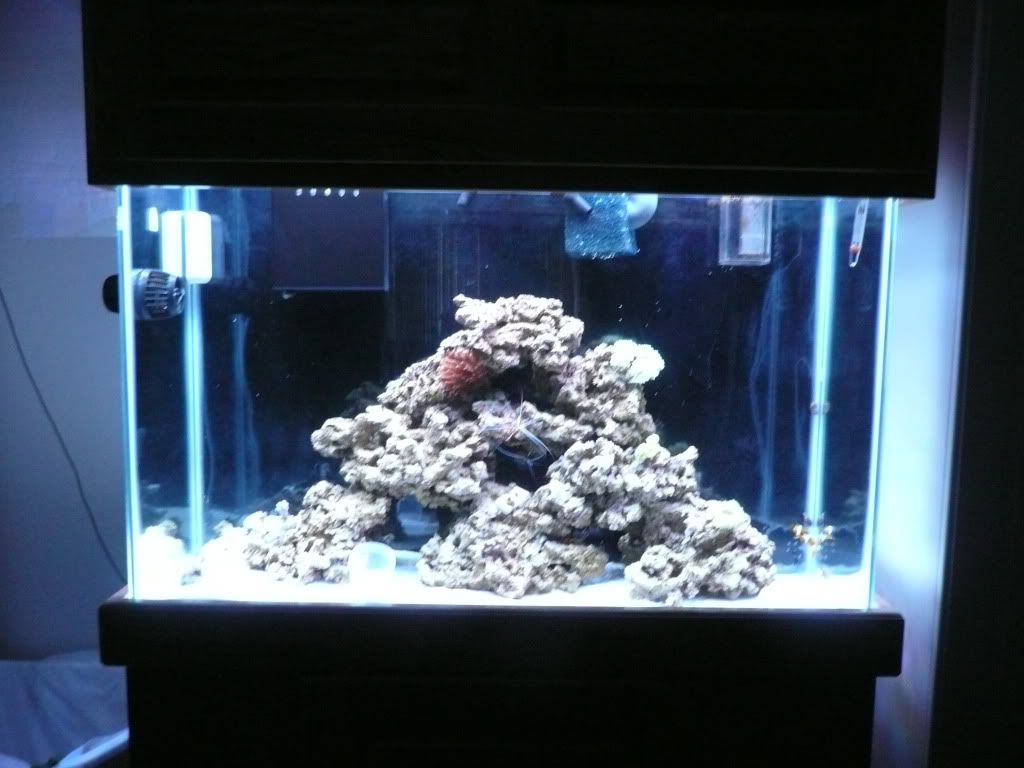
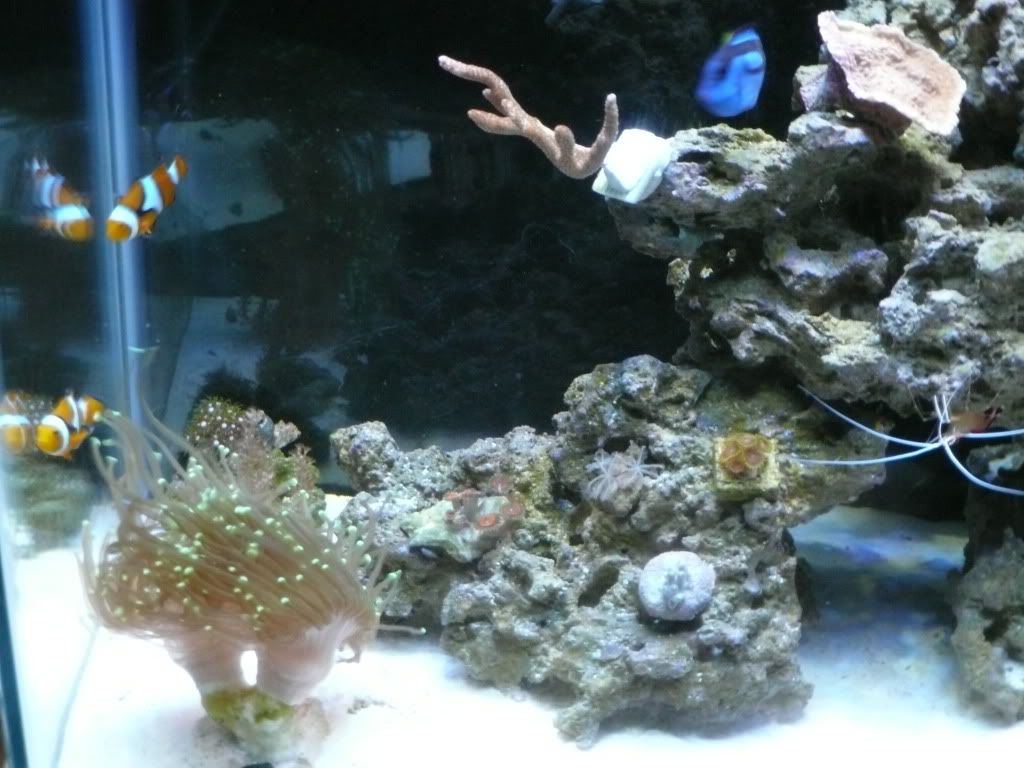
Wow. I haven't updated this in a while! I finally got the water clarity issue resolved and the tank has been crystal clear for months now. I plumbed in an ATO to take care of top off and picked up an awesome tiny Kole Tang from the Aquarium. The tanks has kind of been on cruise control for the last little while. I did have an issue with some bubble algae, but I purchased an Emerald Crab and my manual removal seems to have gotten on top of it. After my swamp water issues my birdsnest bleached out, but I think it is coming around!   My Toadstool seems to be growing!  Xenia  Kenya Tree's   My Hammer Coral, I started with four heads, I know how 5.5 (one hasn't completely split yet)!  My zoa's were choked out by hair algae and bubble algae, which I got aggressive with and removed. They seem to be recovering nicely.    My Kole posing for a pic! He is quickly becoming a favorite!  The rest of the fish randomly     And of course, a few FTS's!   Yes, I am watching Deadliest Catch on DVD in the background! |
Posted By: 08TRDOFFROAD
Date Posted: November 09 2011 at 7:54am
|
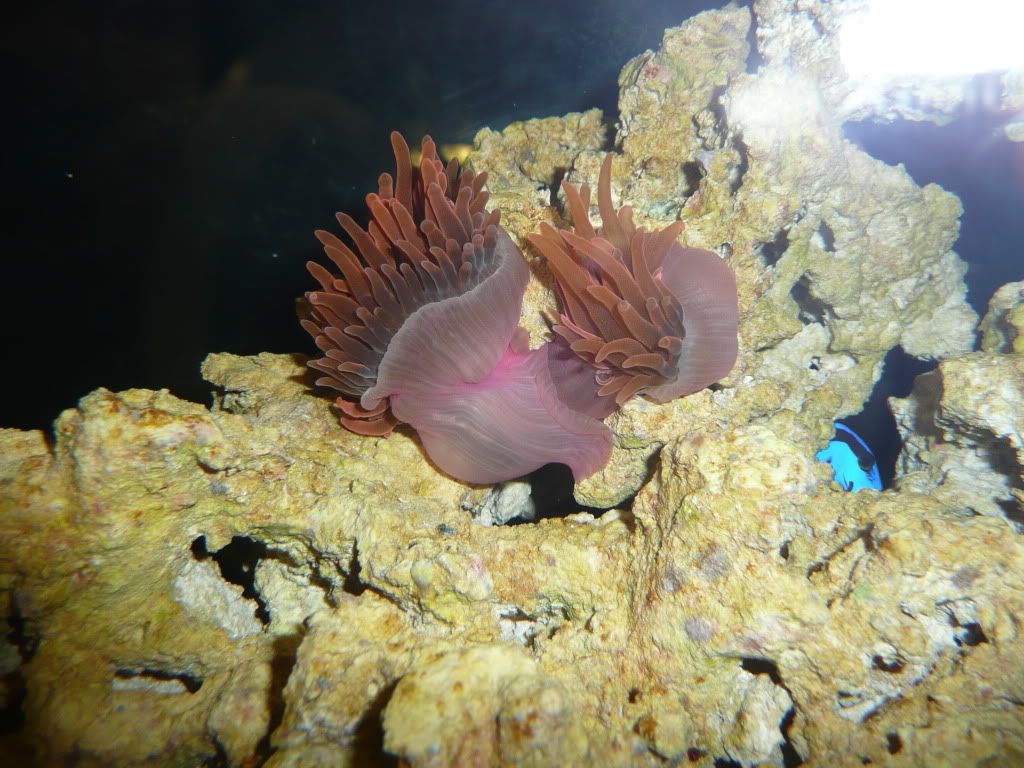
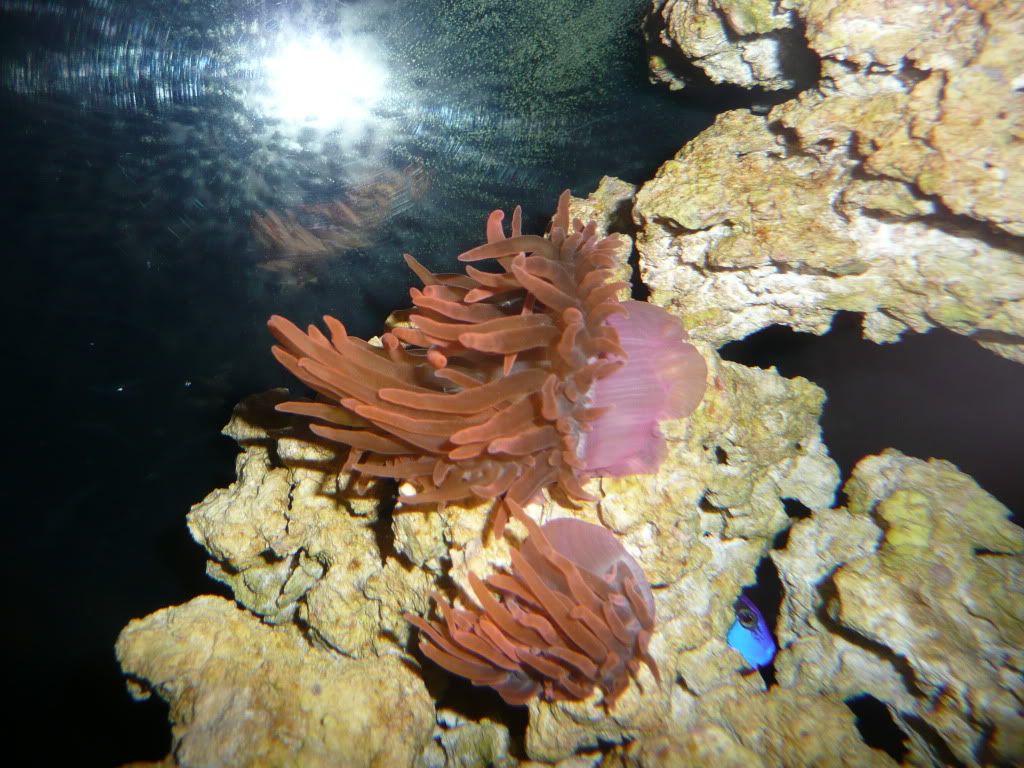
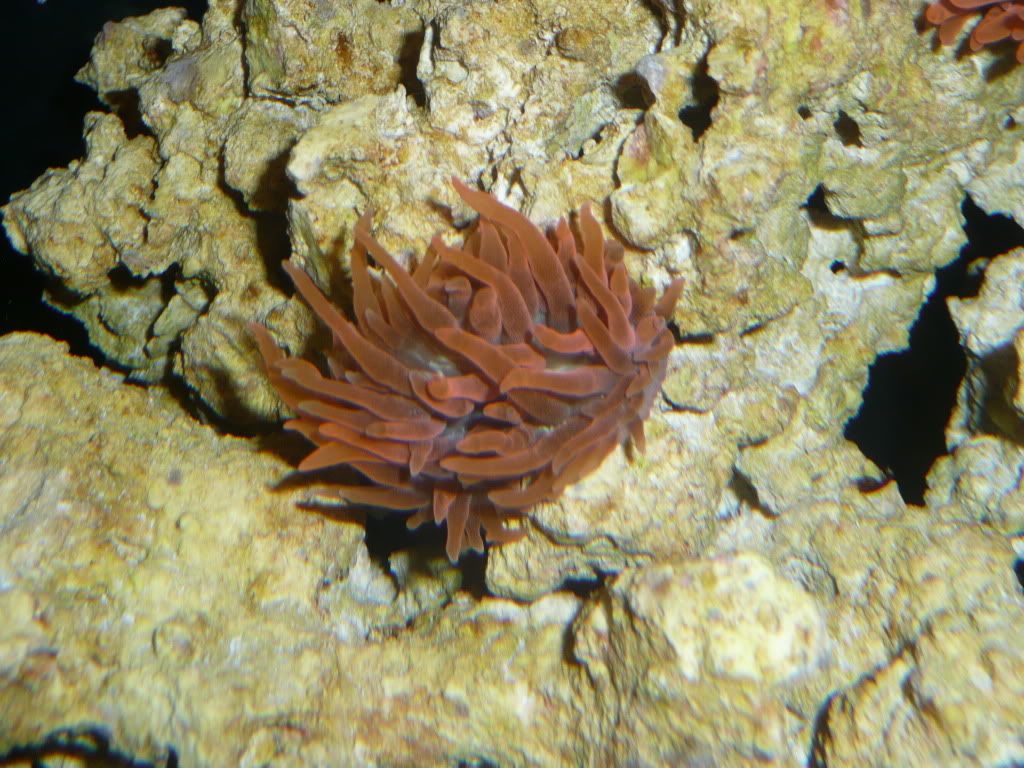
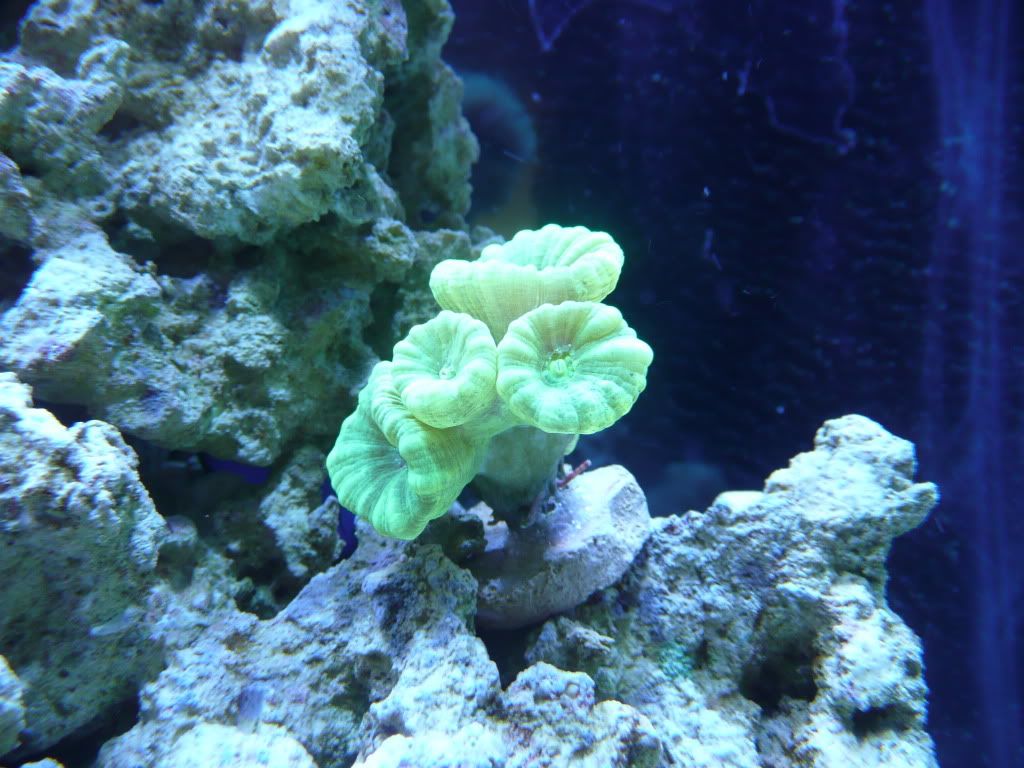
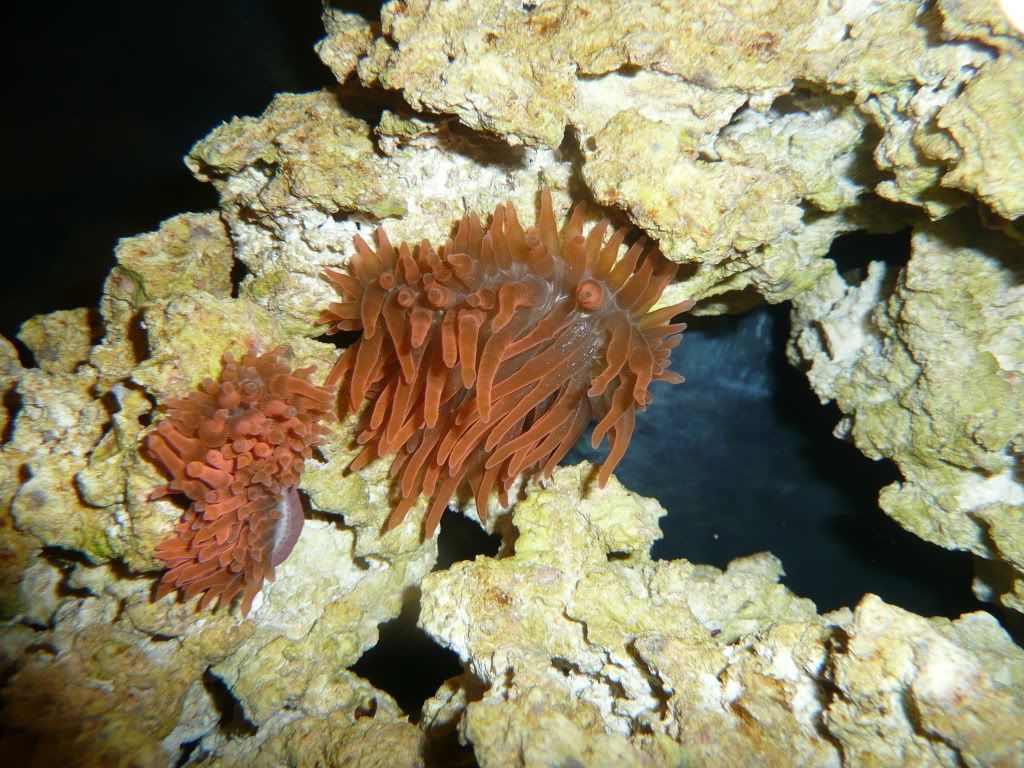
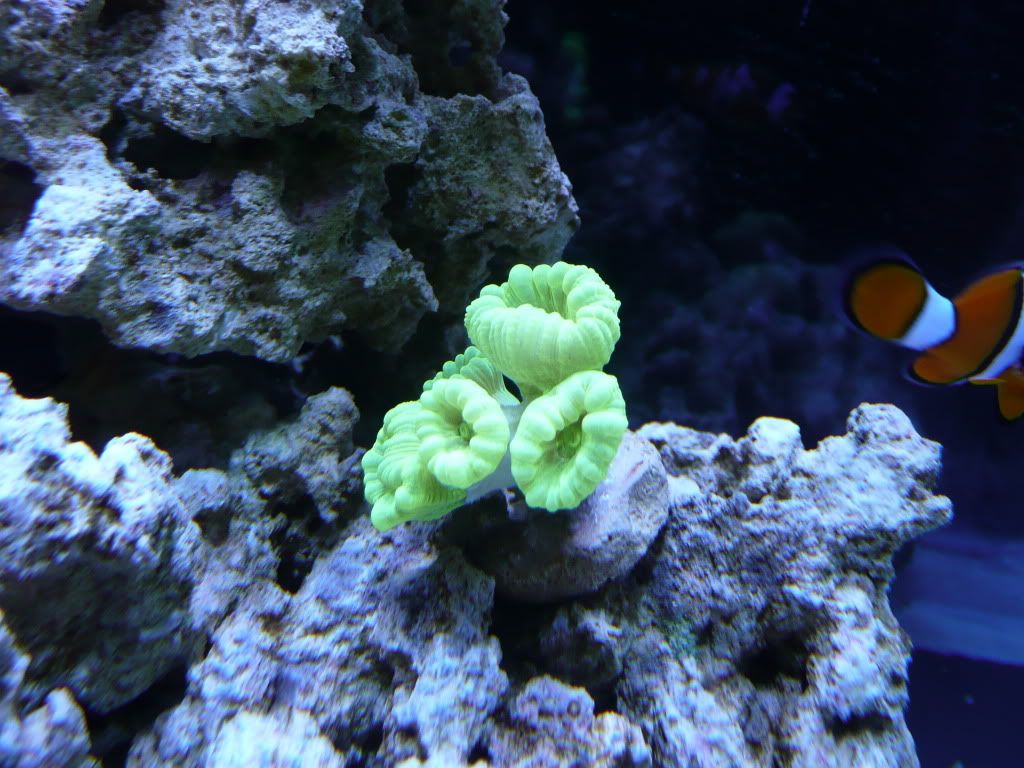
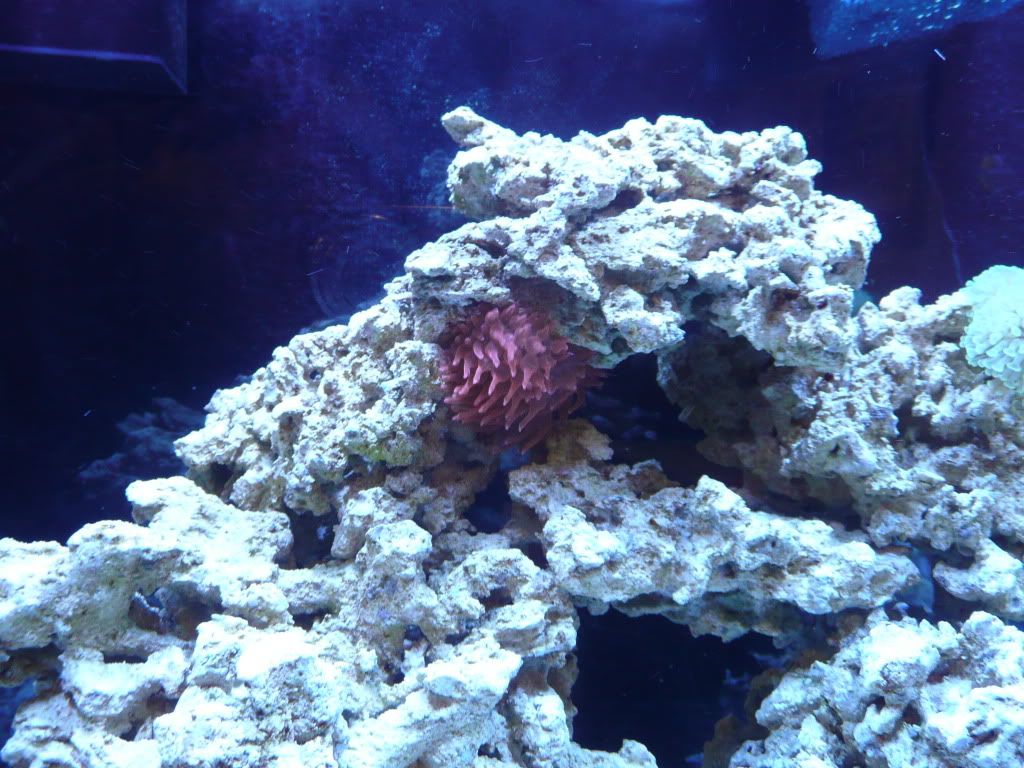
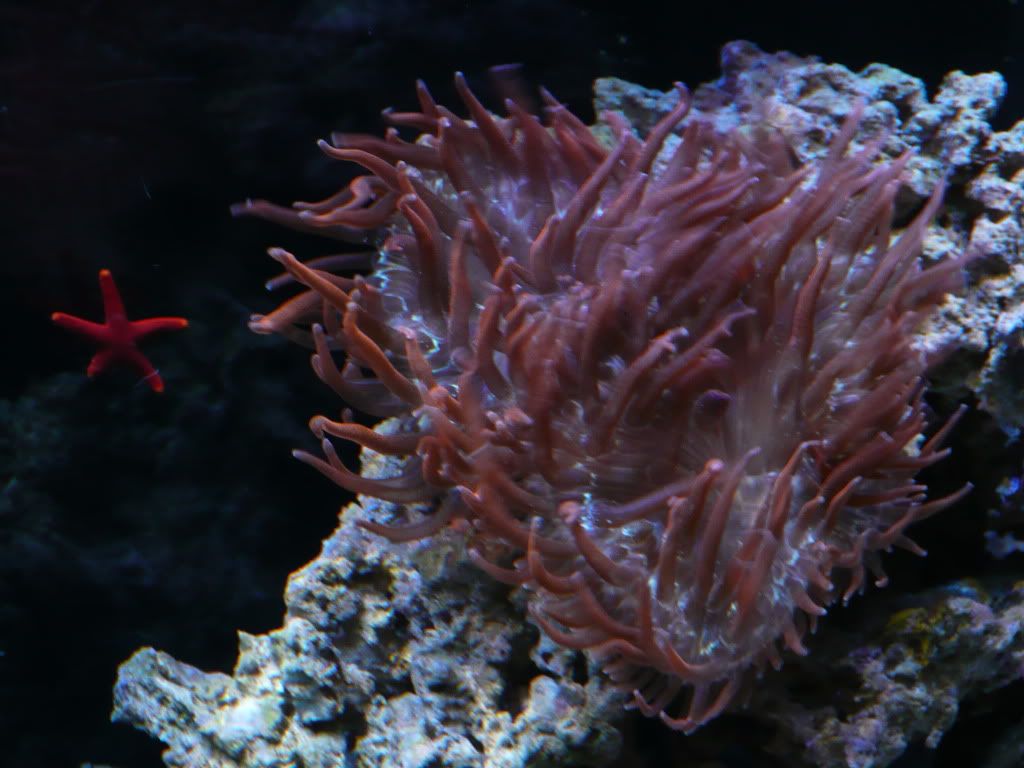
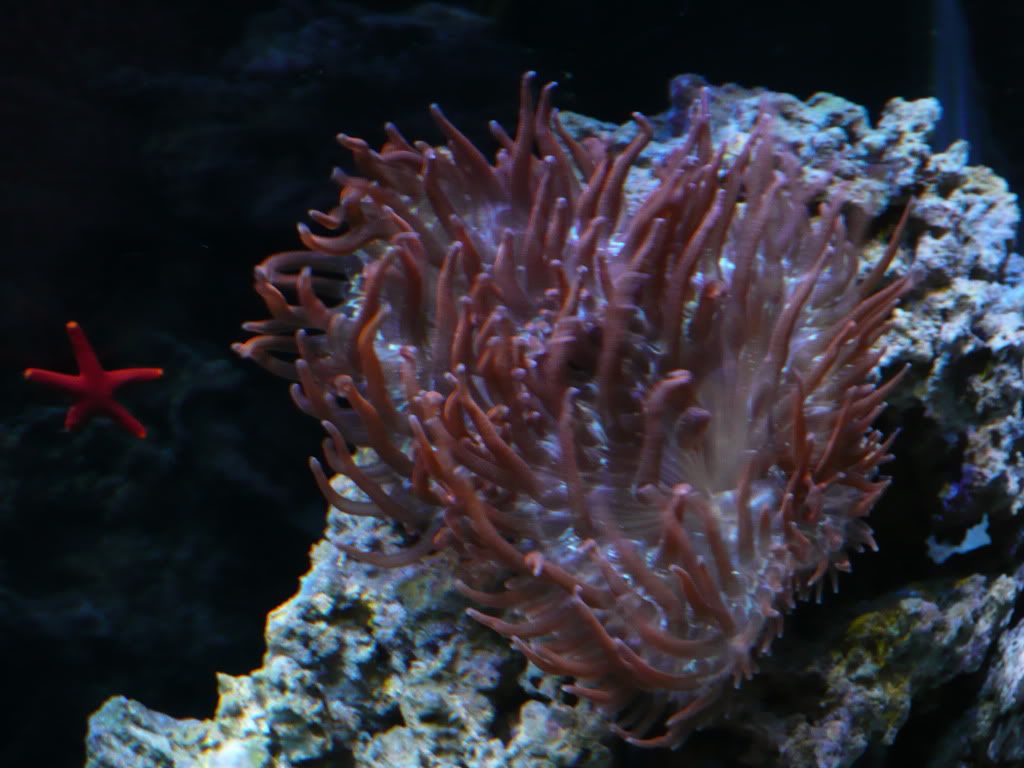
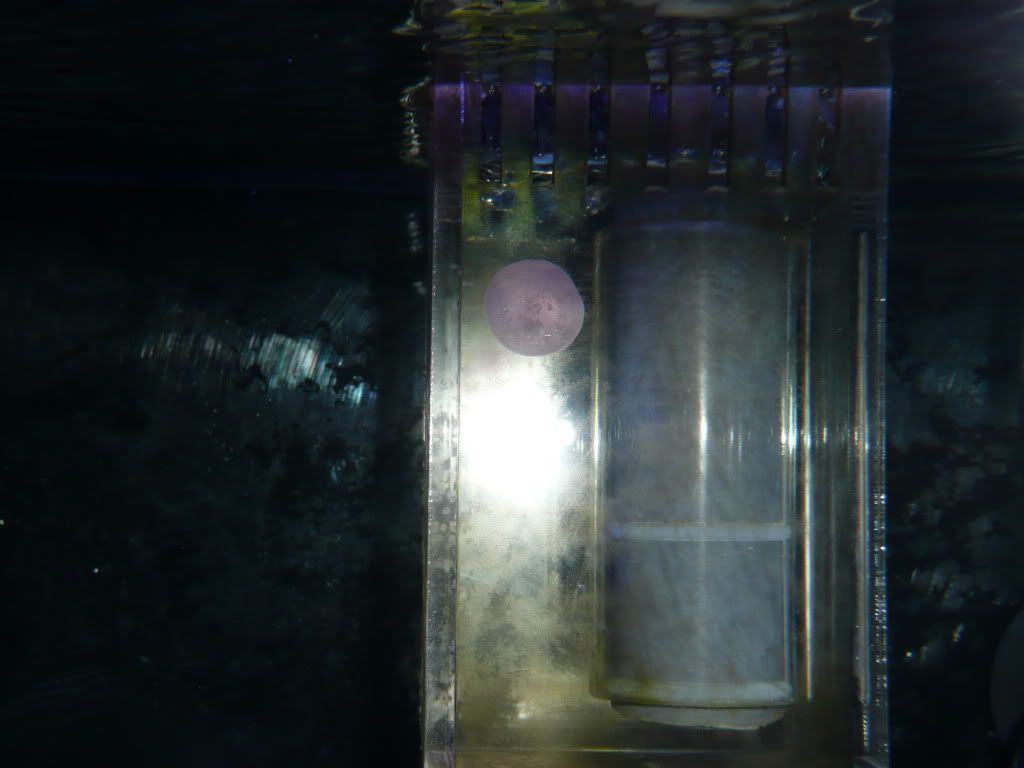
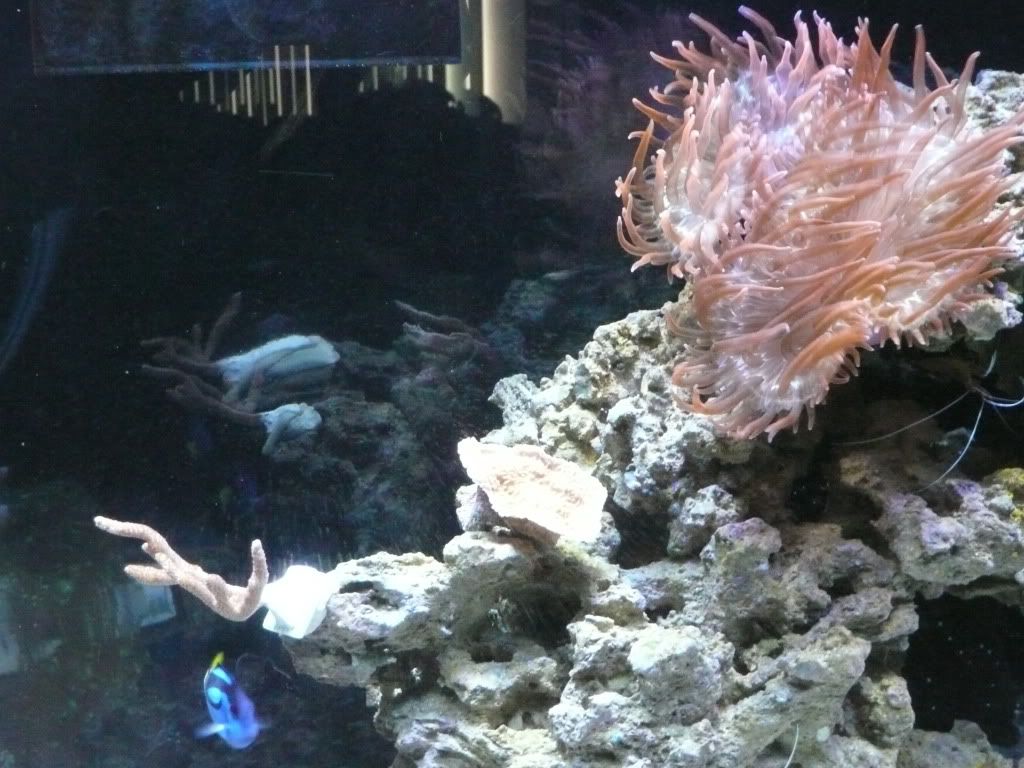
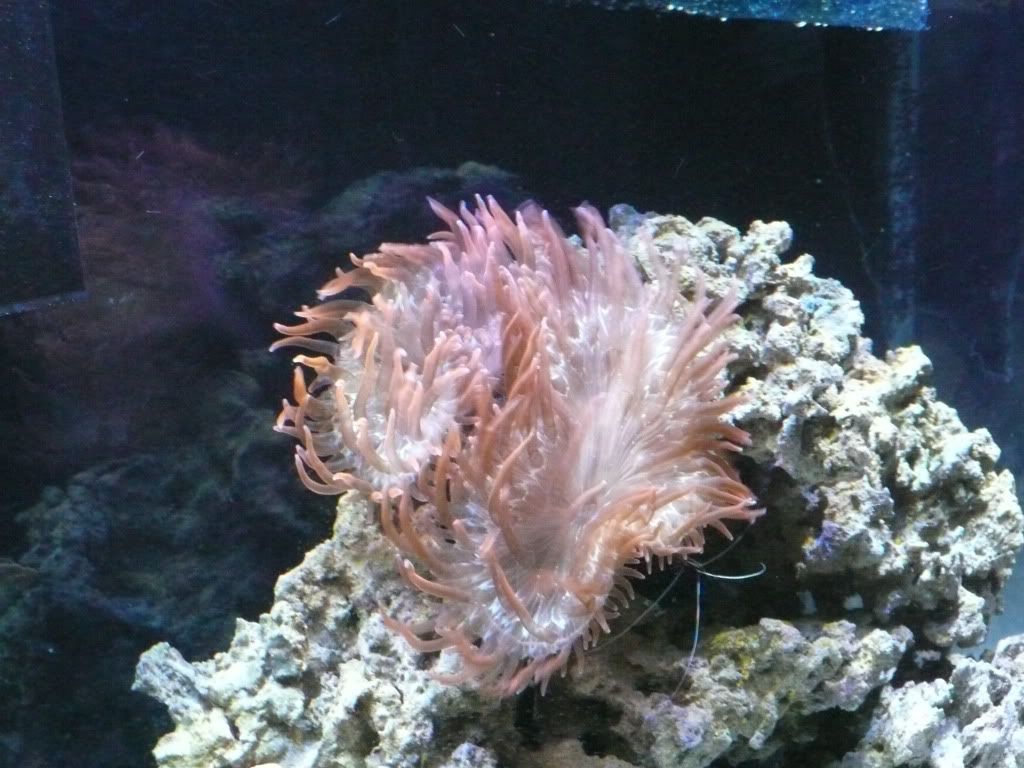
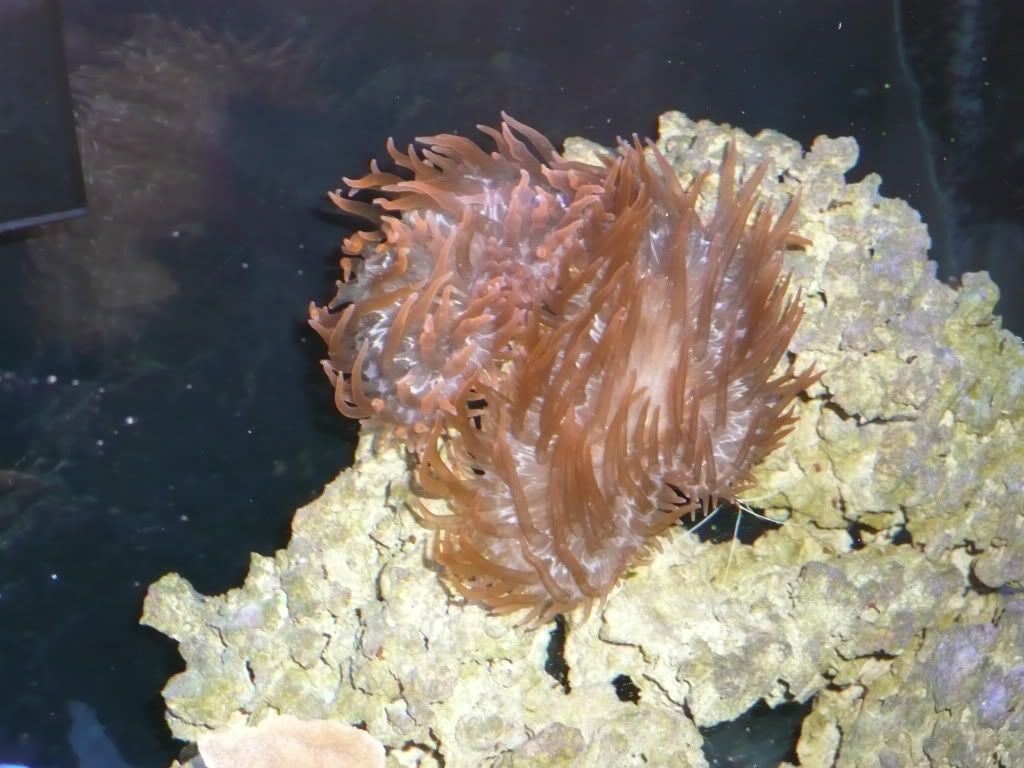
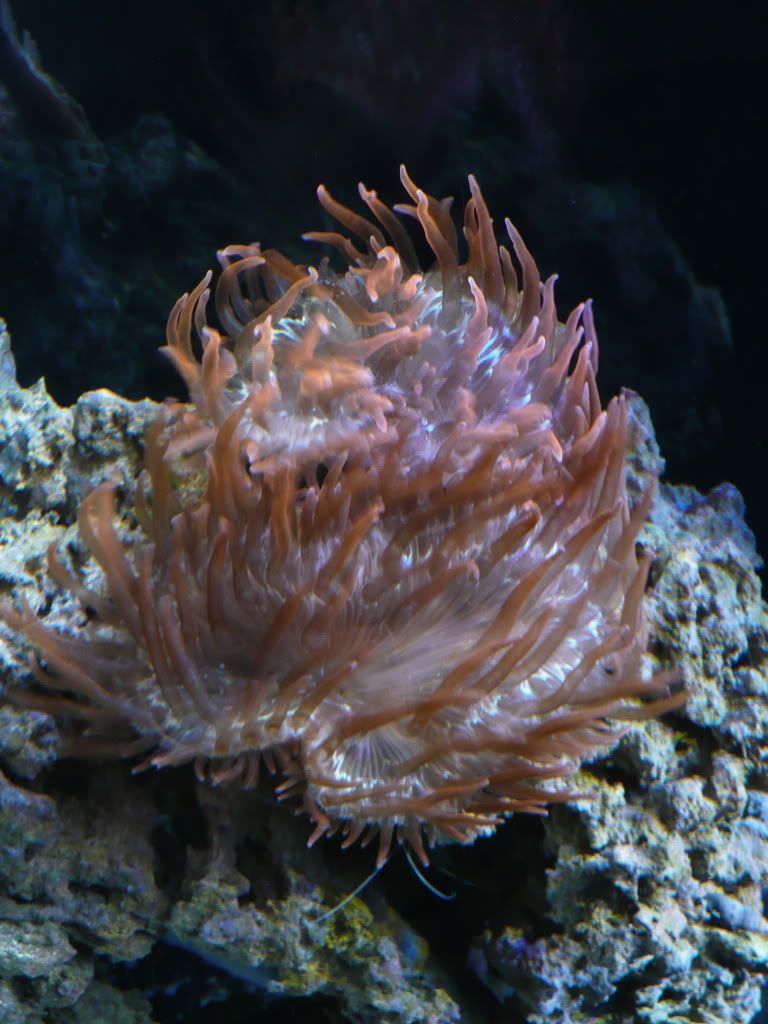
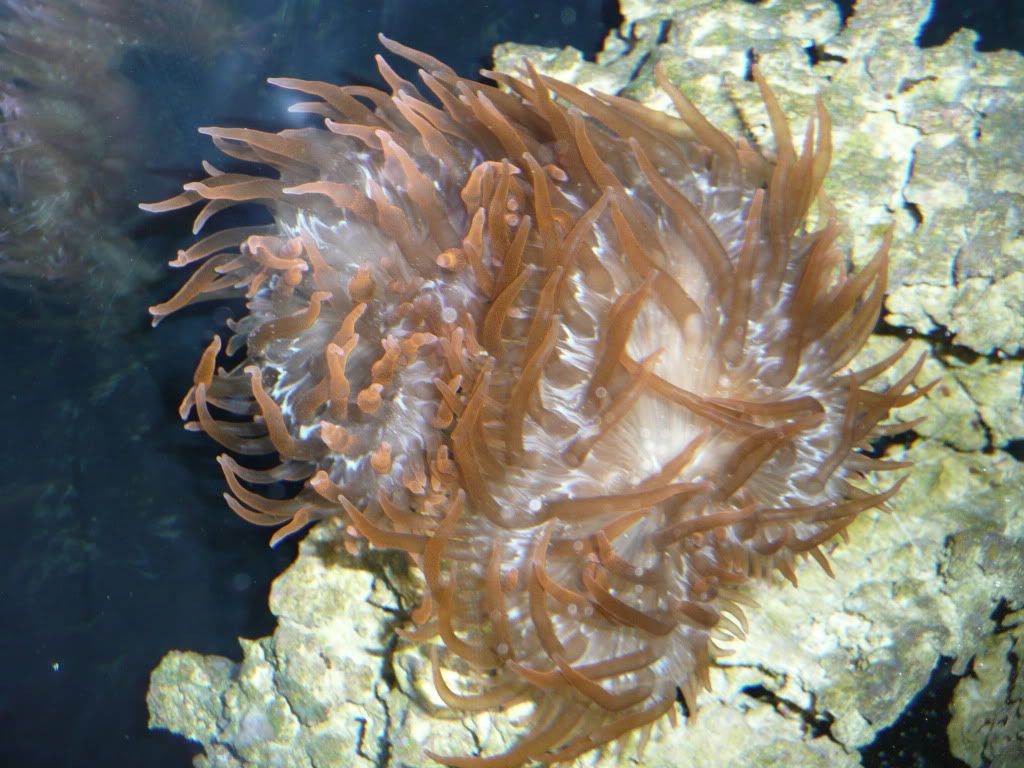
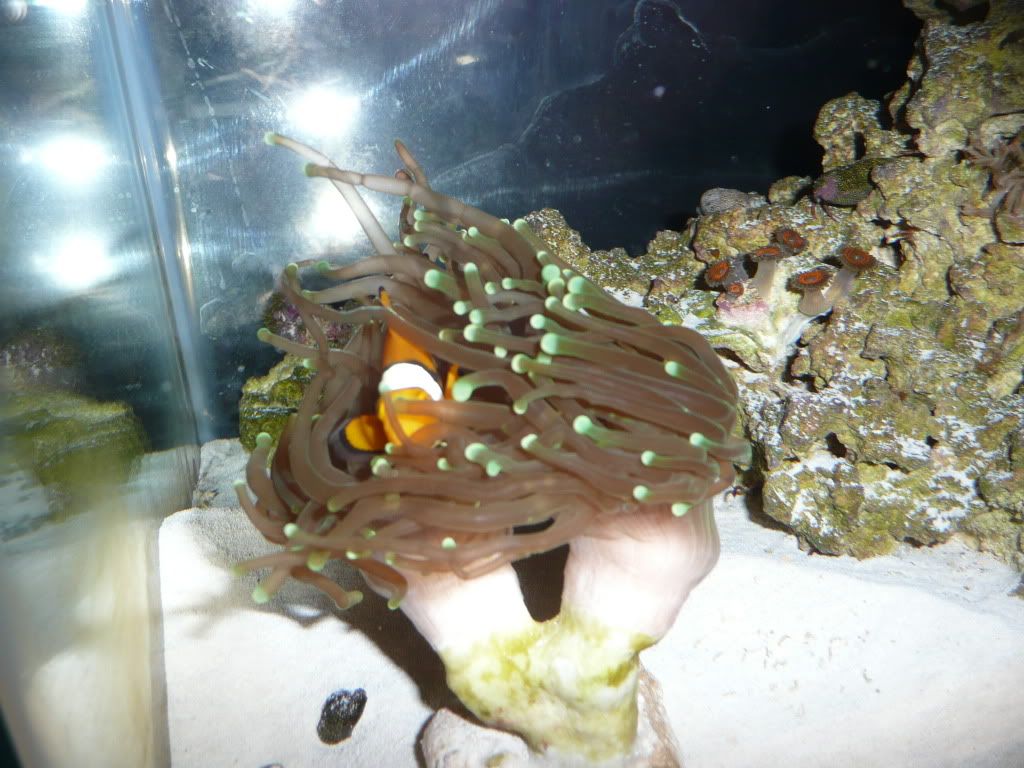
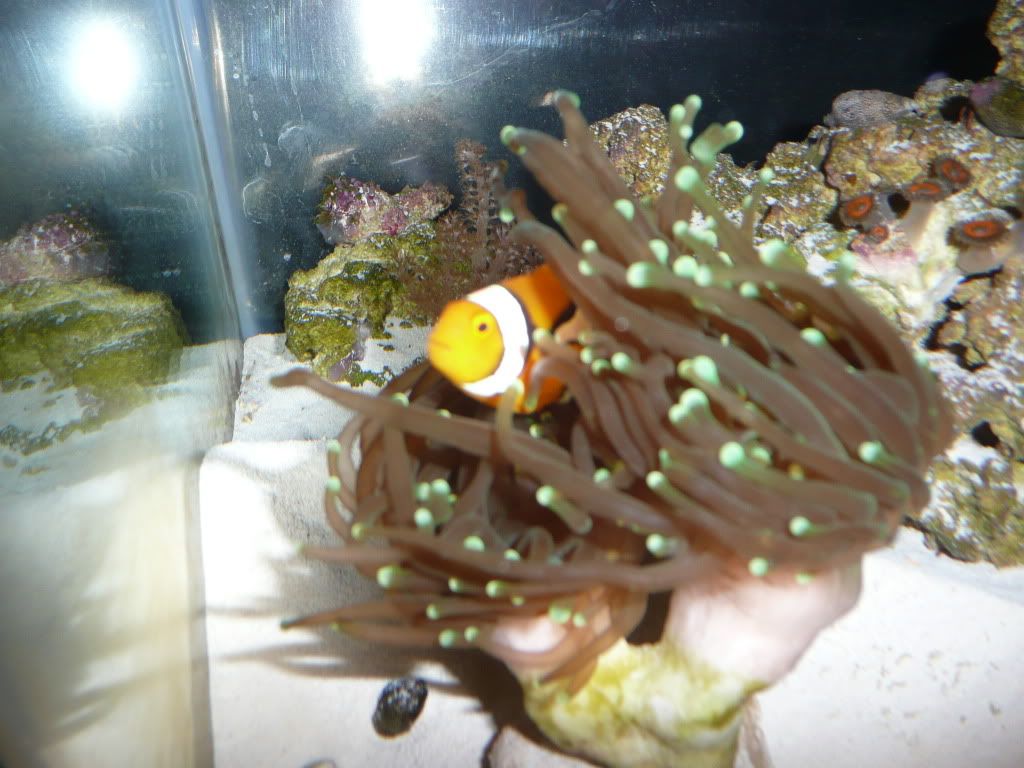
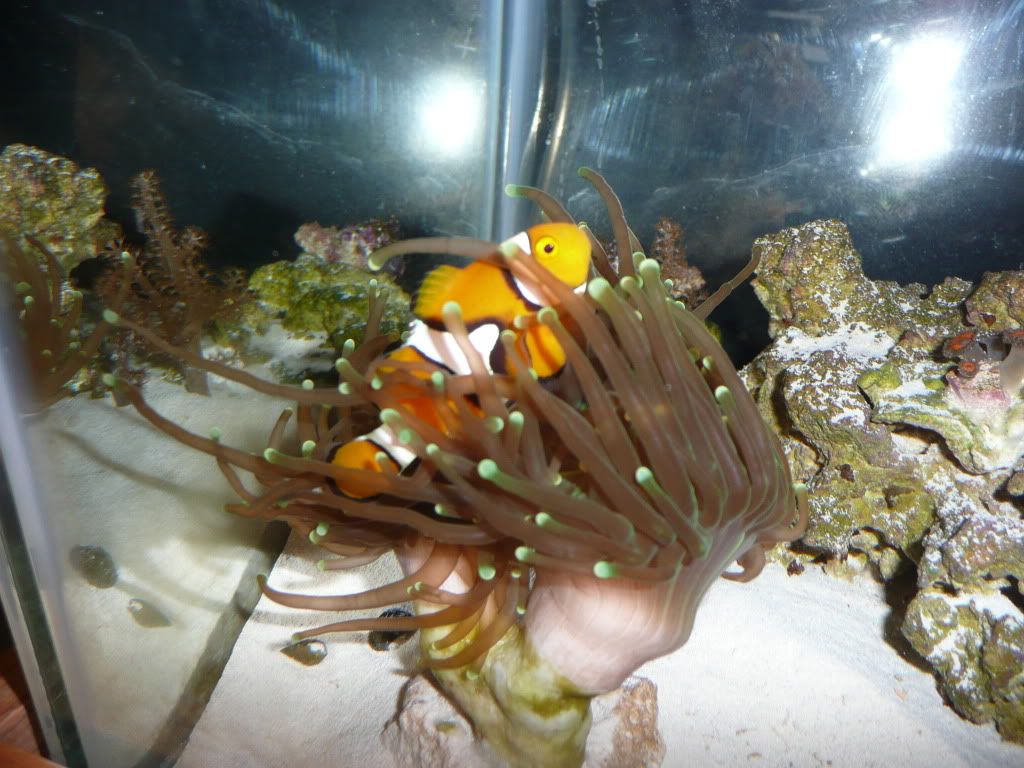
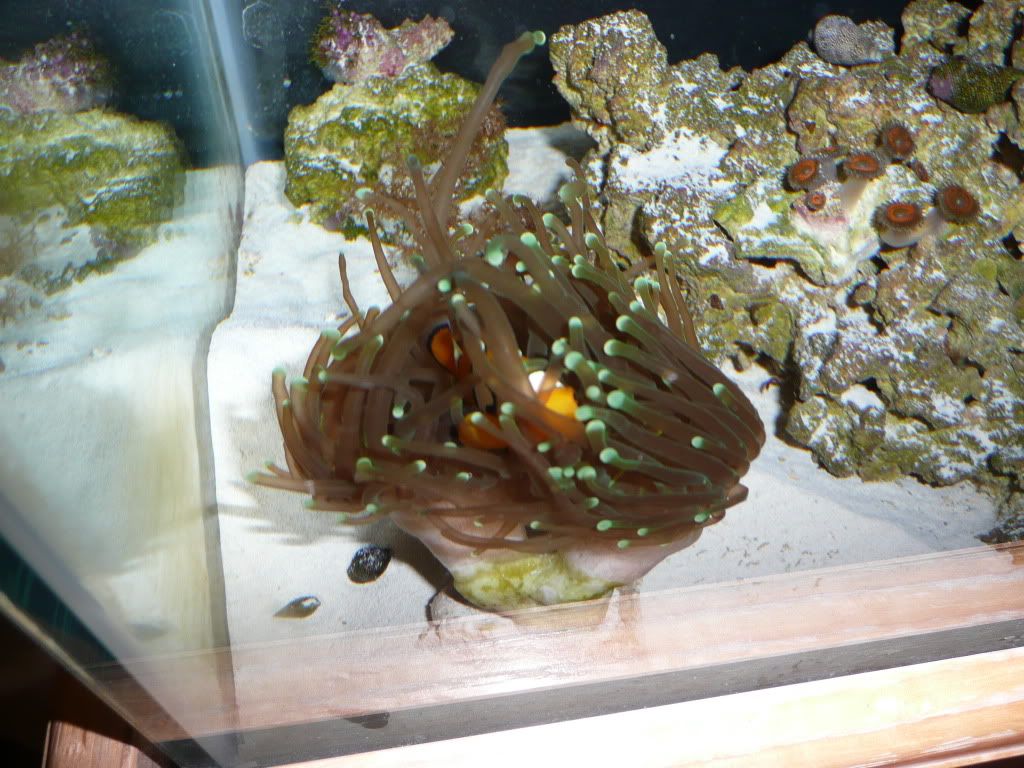
Well, I had the pleasure of visiting with bfessler on Monday night! He has an amazing frag tang set up in his basement. Needless to say I drained my fishy fund and picked up a Rose Anemone, 5 heads of Nuclear Green Candy Cane (correct me if I have the name wrong Burt), and a frag of Green Star Polyps. I added the anemone to the tank and had a surprise a couple hours after adding it.....it started splitting already!!!!!!!! The middle stages of the spilt.
The following morning it was done! I had two RBTA's!
I have read that they can split when life is going well, or when they are stressed. I would imagine this was induced by stress. Hopefully "the twins" will settle into the tank and grow well now. They are still roaming the tank a bit. Hopefully they will quickly find a spot that they will be happy and open up a bit more. The Nuclear Green Candy Cane is probably one of the coolest corals I have owned. The camera can't even pick up the true color of this piece!
This is probably my favorite picture I have every taken. I took this shortly after lights out!
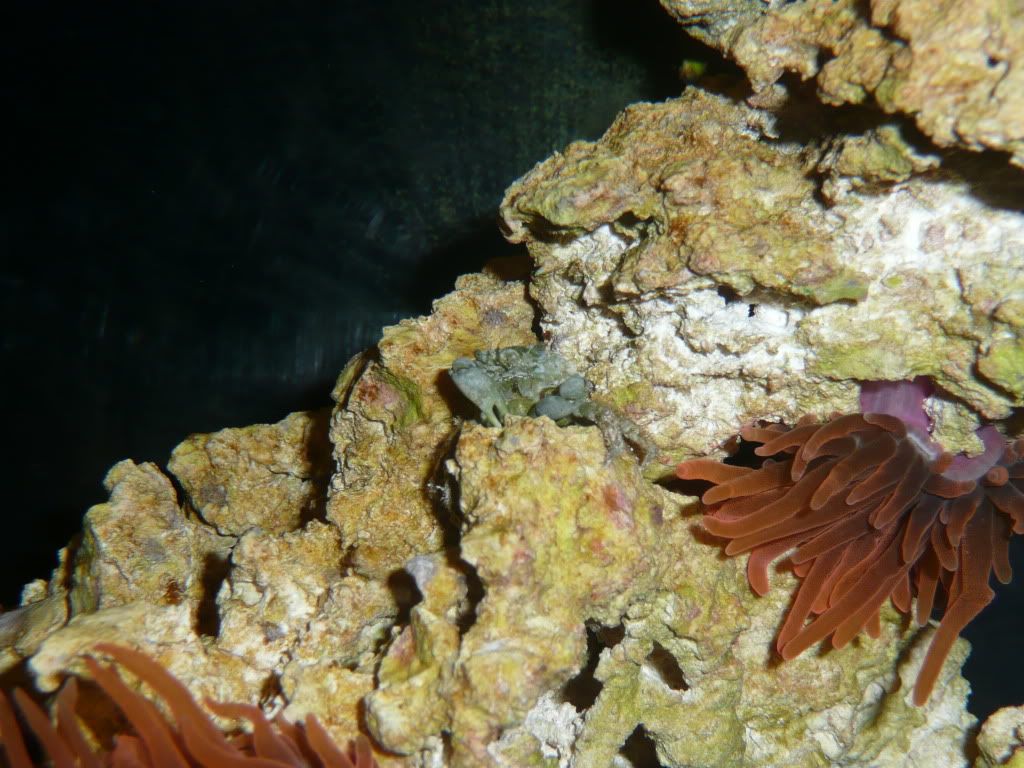
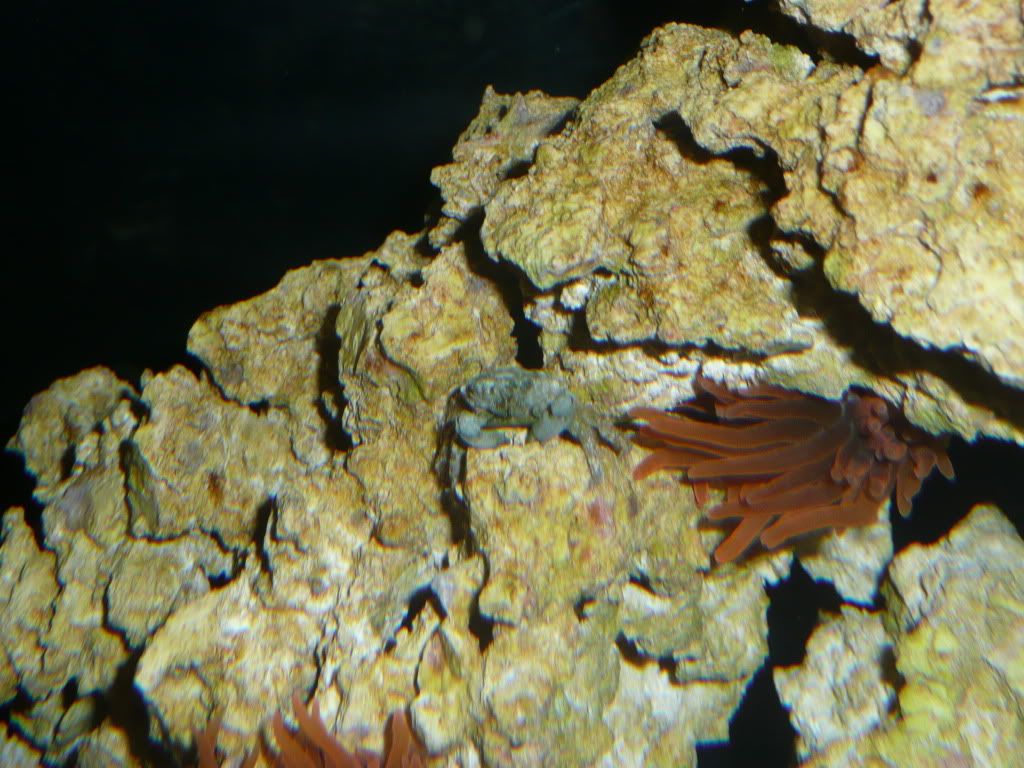
My Emerald Crab was feeling left out so he decided to pose for a few pictures.
  I will keep updating this thread as things progress!
|
Posted By: Snowsrfr
Date Posted: November 09 2011 at 10:18am
|
Tanks is looking great and coming along nicely! I applaud your patience. Slow and steady wins the race in the reef game. Love build/progress threads from the SLC reefers, since I don't get down that way much to check out how other people do things.
Keep up the good work. Bret ------------- "A fish tank is not a pet. It's a TV that you gotta feed." - John Caparulo |
Posted By: 08TRDOFFROAD
Date Posted: November 09 2011 at 11:44am
Thanks!
One of my favorite quotes is," The ocean wasn't stocked in a day, neither is a successful reef tank."
|
Posted By: Tanuki
Date Posted: November 09 2011 at 1:03pm
|
Many religions would say that the ocean was in fact stocked in a day though. Im lost on the quote. Looks like that rock is finally starting to take color! ------------- Defending Reefscape Champion (I Think) |
Posted By: 08TRDOFFROAD
Date Posted: November 09 2011 at 2:53pm
Not to go into religion, but was it infact one day, or was in a couple....? Just some food for thought.
Yeah, it is finally getting some color. I wish it would be purple coraline encrusted already!
|
Posted By: Tanuki
Date Posted: November 09 2011 at 3:51pm
|
^Im sure god could avoid cycling the ocean haha. Did you get any "purple up" from the reef fest? You can have my bottle I got if you want it. ------------- Defending Reefscape Champion (I Think) |
Posted By: ptronsp
Date Posted: November 09 2011 at 7:01pm
|
Burt has nice stuff! It's great you got two anemones now.. great pics! Pam ------------- The only clowns I like are in my tank! |
Posted By: 08TRDOFFROAD
Date Posted: November 10 2011 at 6:29am
No I didn't. I didn't go to Reef Fest. I may take you up on that offer!
|
Posted By: 08TRDOFFROAD
Date Posted: November 17 2011 at 7:35am
|
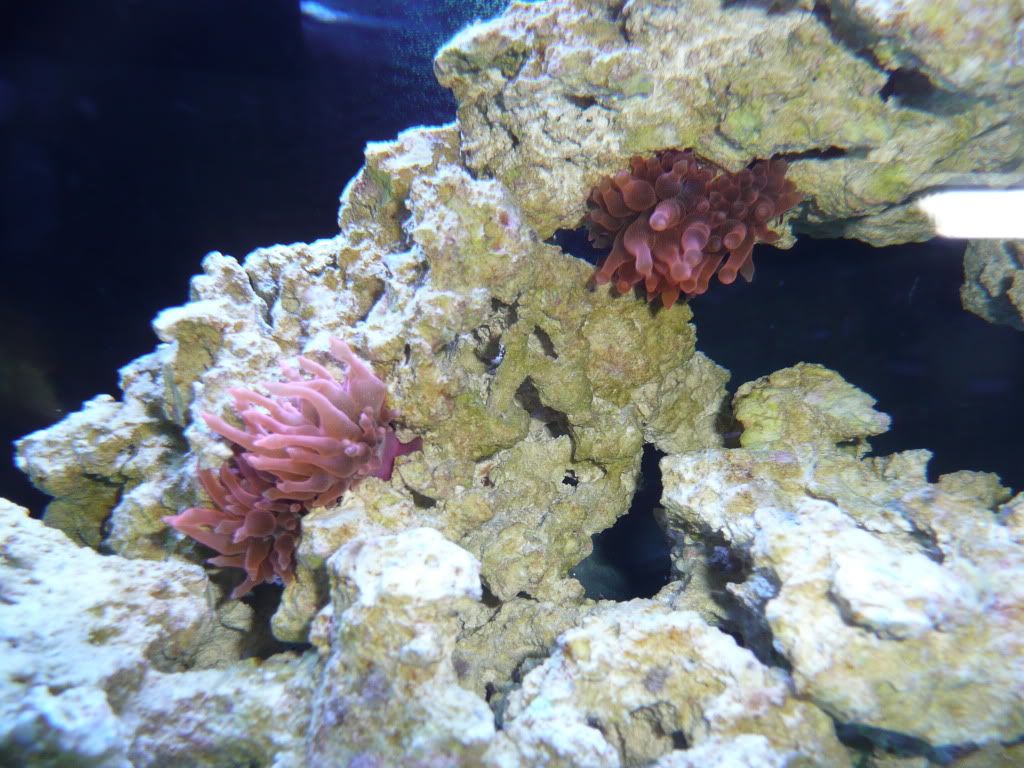
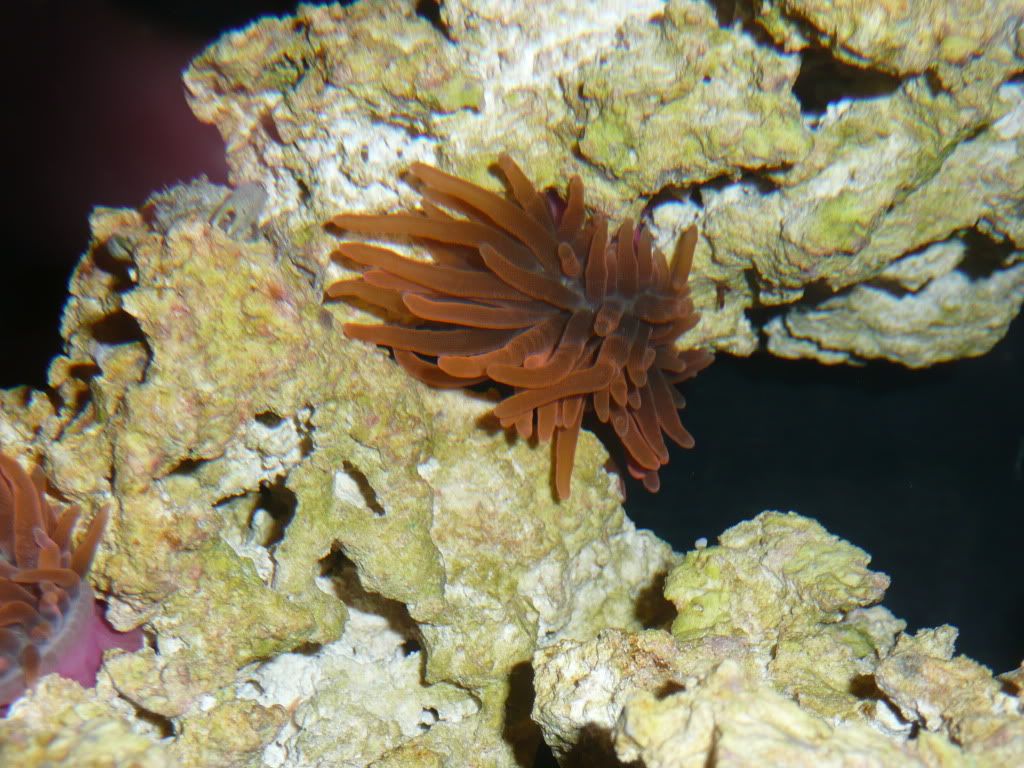
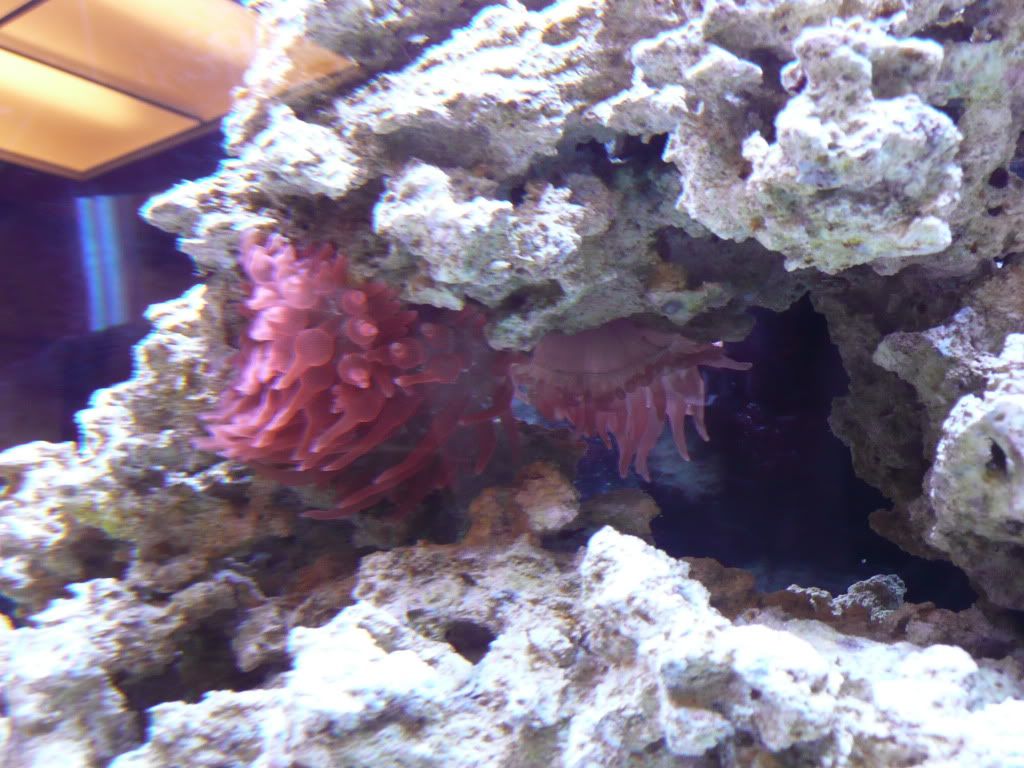
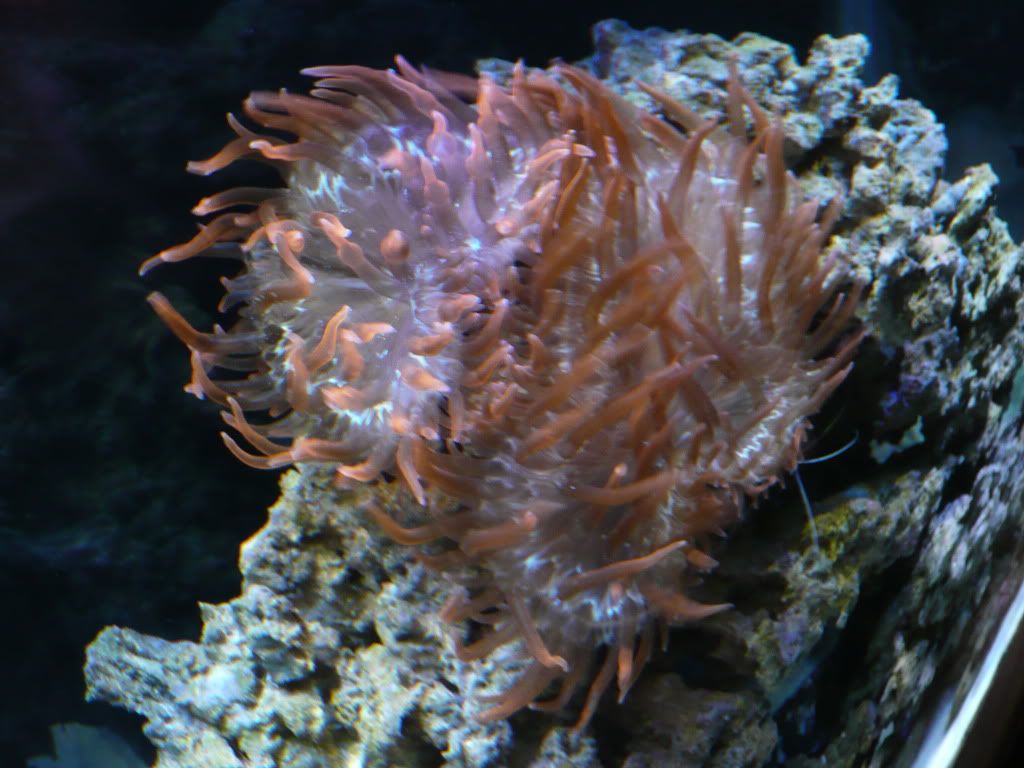
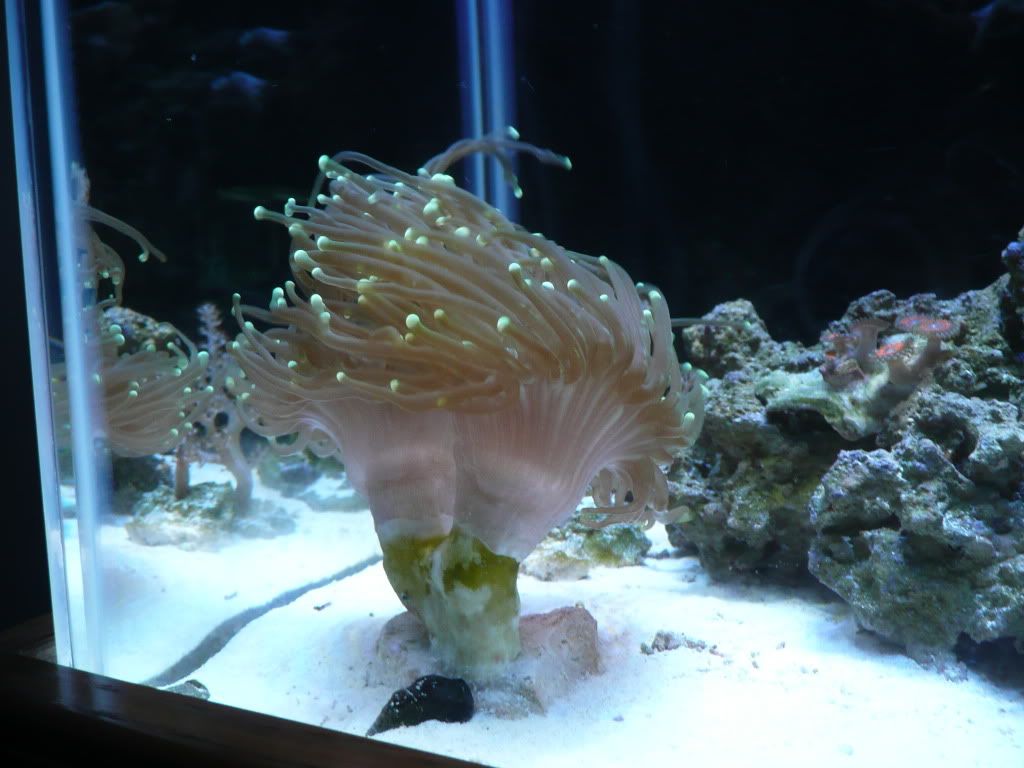
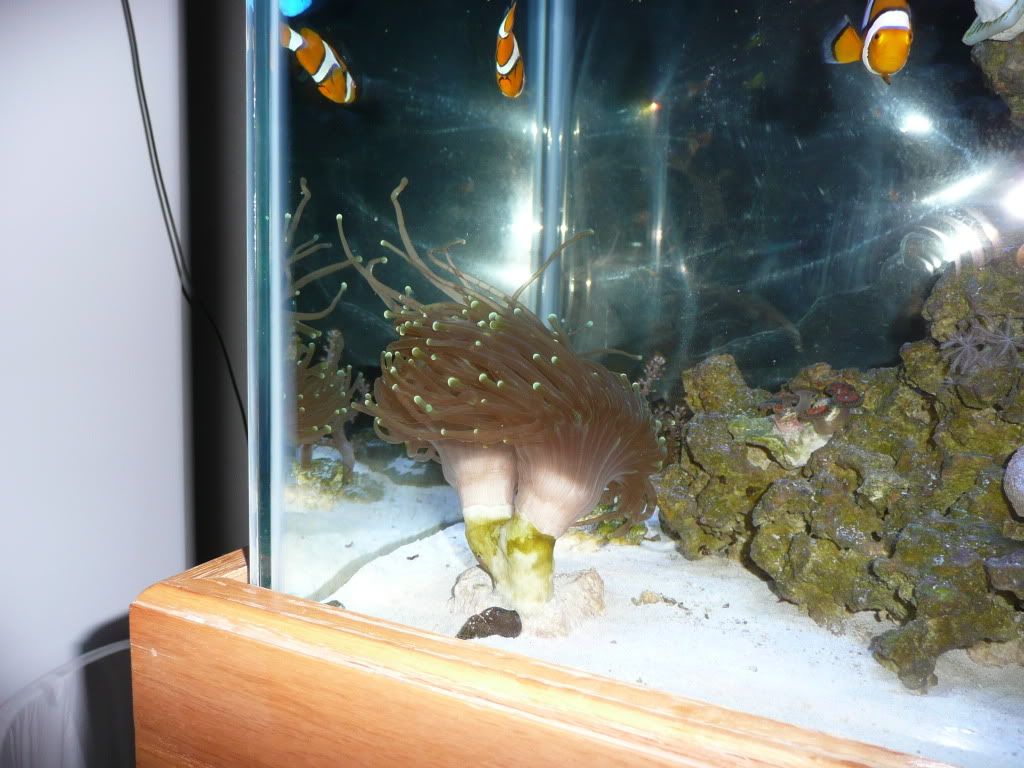
I took a few pictures to update y'all on my Rose anemones! They are looking better and better every day since the split. They have been in my tank now for about ten days.
 Here is my first casualty. My GBN (or the skeletal remains of). You can only see one tiny spot that still has any sort of PE. Sad day... I have been looking for another frag to replace it, but haven't seen any in months around here. 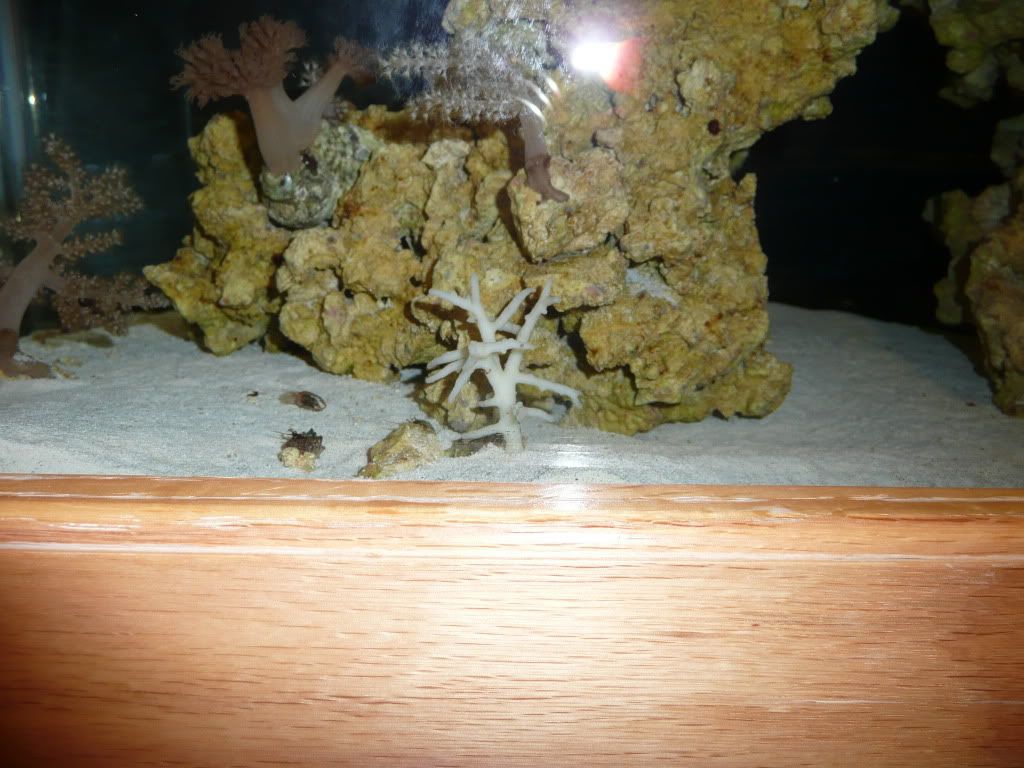 |
Posted By: Tanuki
Date Posted: November 17 2011 at 8:31am
|
^Probably wasn't getting enough light down there. Sorry to hear!
------------- Defending Reefscape Champion (I Think) |
Posted By: rufessor
Date Posted: November 17 2011 at 3:48pm
|
Second^ Also, these like LOTS of flow... doubt it had much on the sand. Also, better to mount on rock, SPS generally not so happy in sand... Better luck next, we all loose one now and again. ------------- Everything should be made as simple as possible, but not simpler -A.E. 57 Gallon RImless build in progress check the thread before if becomes boring and just full of nice pictures of colorful coral! |
Posted By: rufessor
Date Posted: November 17 2011 at 3:53pm
|
Oh... as for replacement... THere are a lot of people with this coral. Many will frag kinda as demand comes... Just post a LF Green Birds Nest kinda title in the classifieds and you will likely get more than 1 offer. I would frag mine but its moving to a bigger tank and I want it to be healthy for the transition in the next weeks. ------------- Everything should be made as simple as possible, but not simpler -A.E. 57 Gallon RImless build in progress check the thread before if becomes boring and just full of nice pictures of colorful coral! |
Posted By: 08TRDOFFROAD
Date Posted: November 19 2011 at 2:58pm
|
Posted By: 08TRDOFFROAD
Date Posted: November 19 2011 at 2:59pm
You can see where it was in this pic.
 |
Posted By: 08TRDOFFROAD
Date Posted: December 16 2011 at 6:41am
|
Here are a few updated pictures of the tank! GSP
 Kenya Trees Xenia Hammer Toadstool Leather Nuclear Green Candy Cane Horrible picture of my Zoa's not even open The twin RBTA's Lights, equipment, and sump Couple days worth of skimmate FTS |
Posted By: 08TRDOFFROAD
Date Posted: May 03 2012 at 9:32pm
|
Well, I kind of forgot about this thread on here! A lot has changed with the tank in the last six months. I will try to pull some of the major events from posts on other forums to get it up to date.
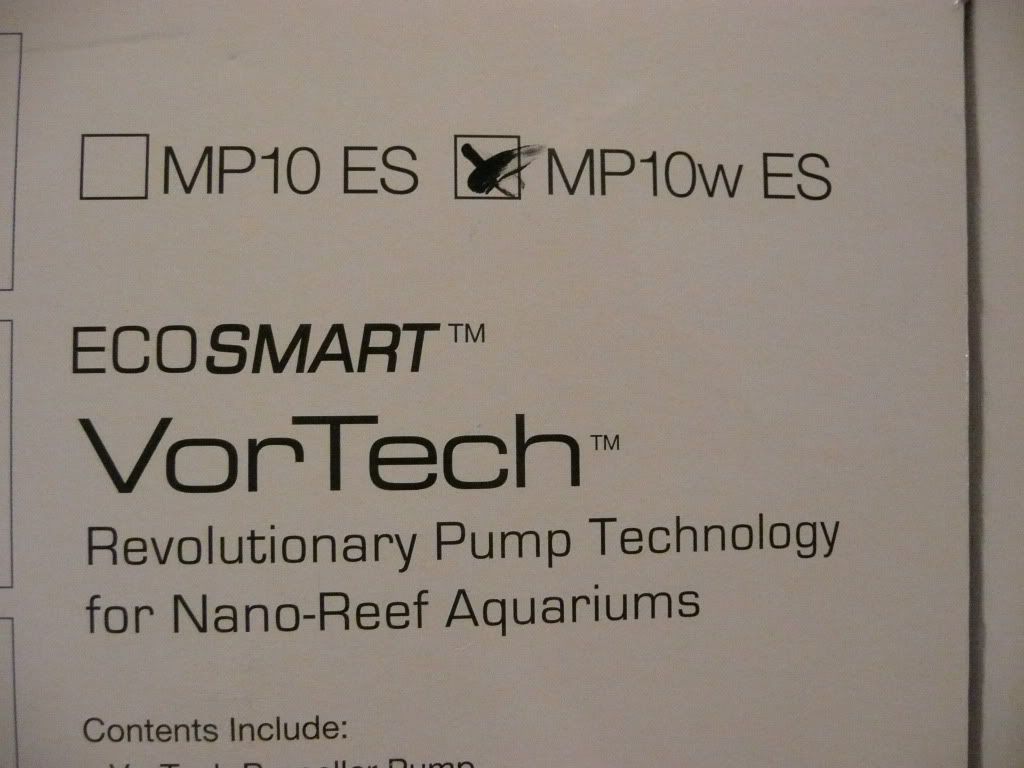
First, I added an MP10 ES that my wife (Santa) bought me for Christmas.
I spent a few hours tinkering with it, and have it to a point were I am happy with it, but I am sure there is more tinkering in my future! Ha Ha!
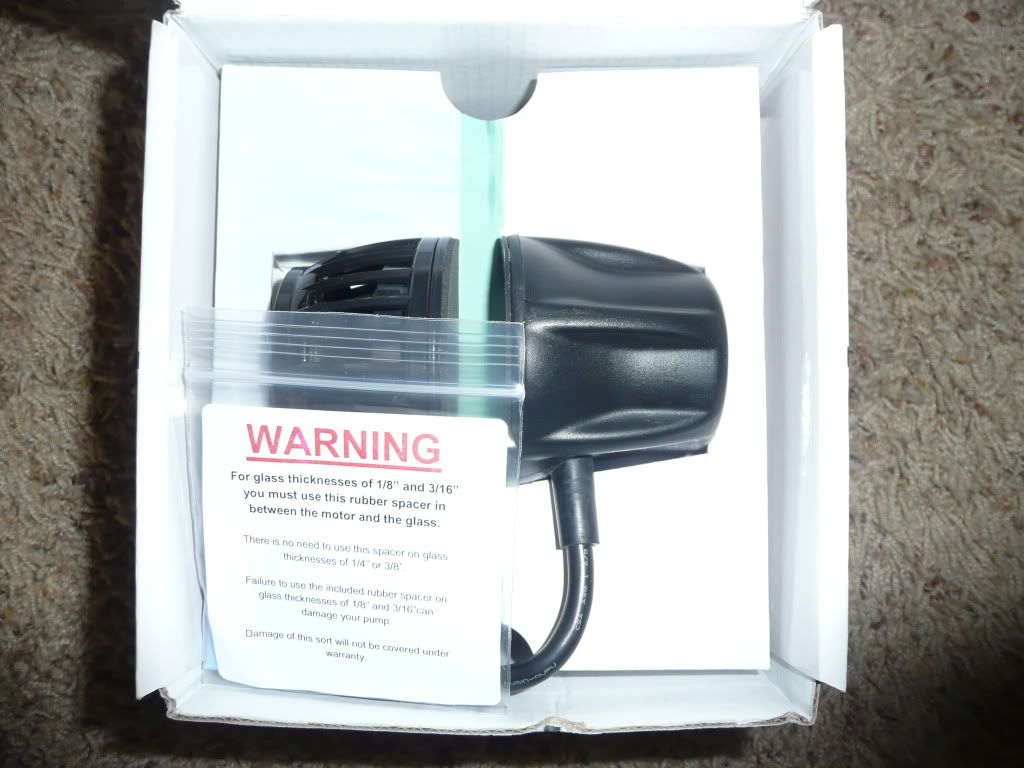
The unboxing!
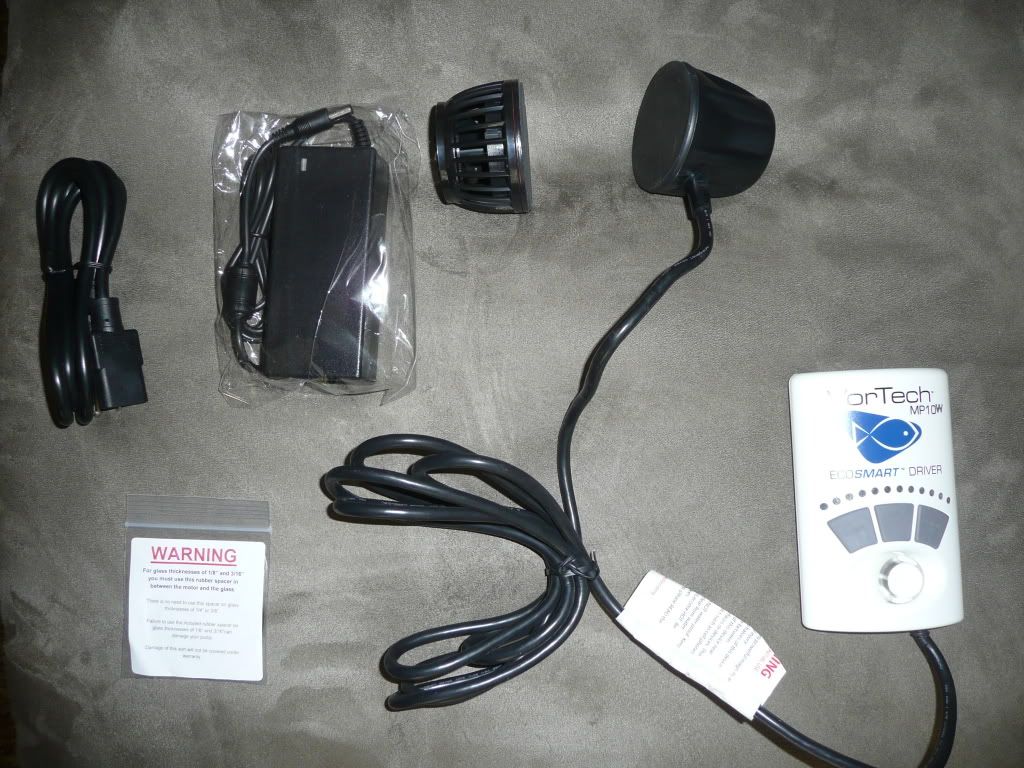
 What is in the box...
  On the tank.
 I mounted the controller on the side of the stand with the included velcro.
 I still need to tidy up the wires with some zip ties.
After flipping through the instruction manual, it became very apparent to me that Vortech intends these pumps to be used in pairs. 4 pages of the quick start manual are about assembly, and the next six are about pairing two pumps together. I called my LFS yesterday to see if they still had one on the shelf, (because they were still $265 instead of the $280 everyone else is selling them for) no luck. So I will be keeping my eye out on the classified section here and on other forums to try to pick up a second for the other side of the tank.
Anyway, here is a short video of the one running on my tank, making a "wave".
http://s257.photobucket.com/albums/hh214/snow_man84088/Aquarium/?action=view¤t=P1020271-1.mp4" rel="nofollow">  |
Posted By: 08TRDOFFROAD
Date Posted: May 03 2012 at 9:34pm
|
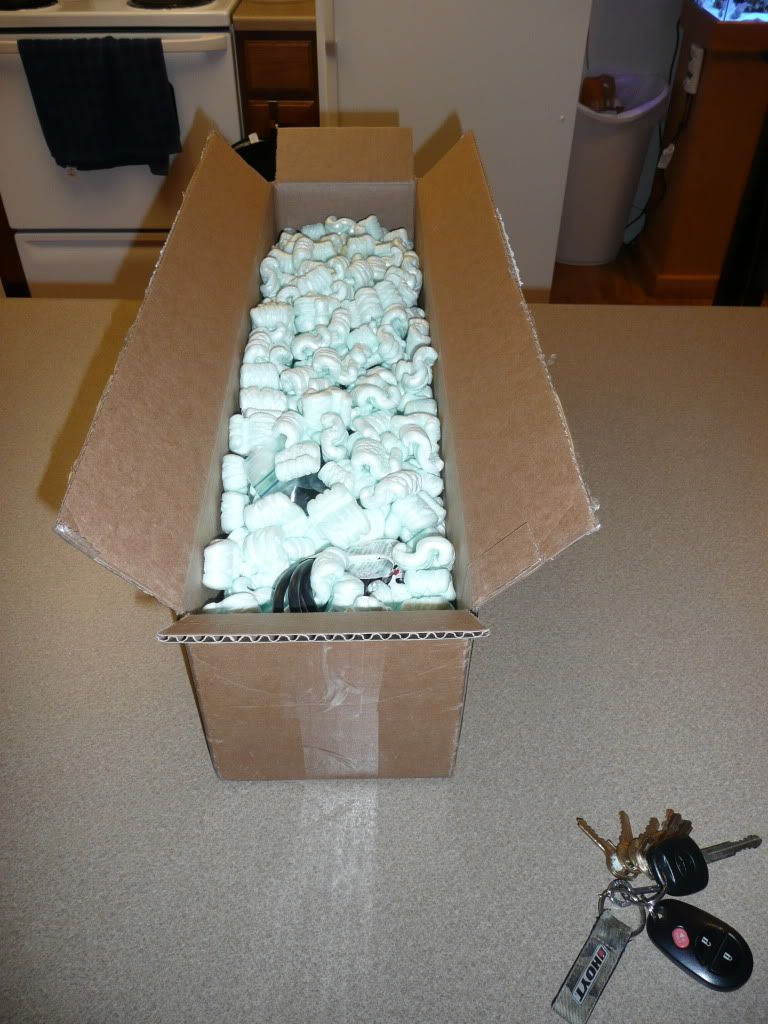
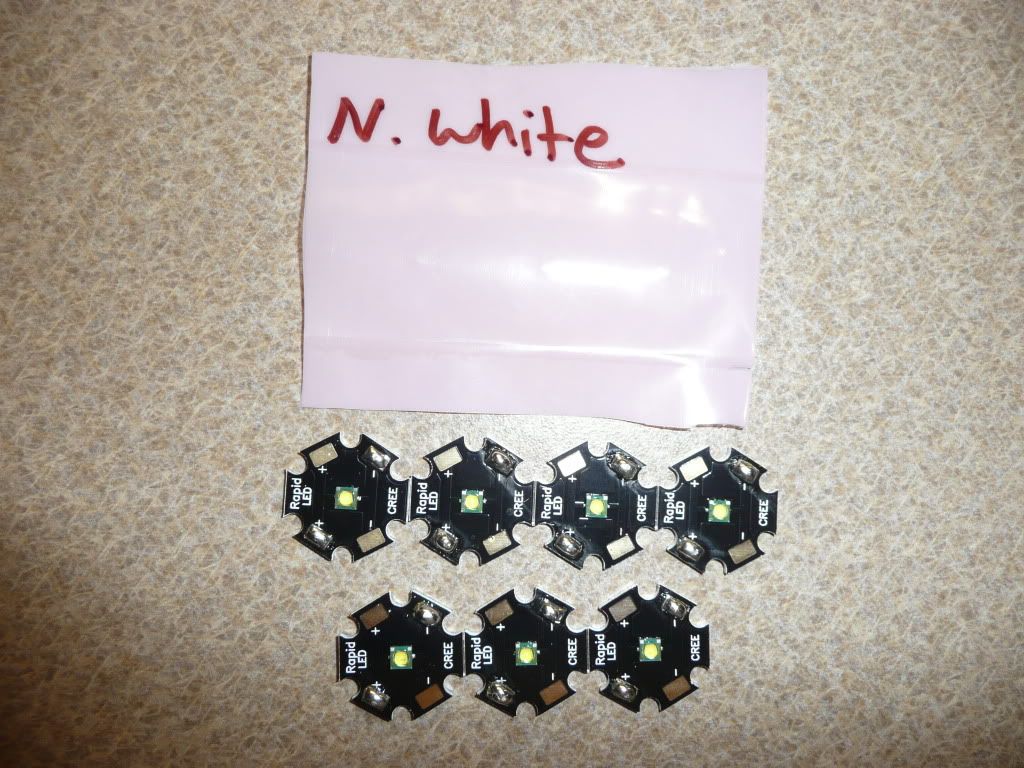
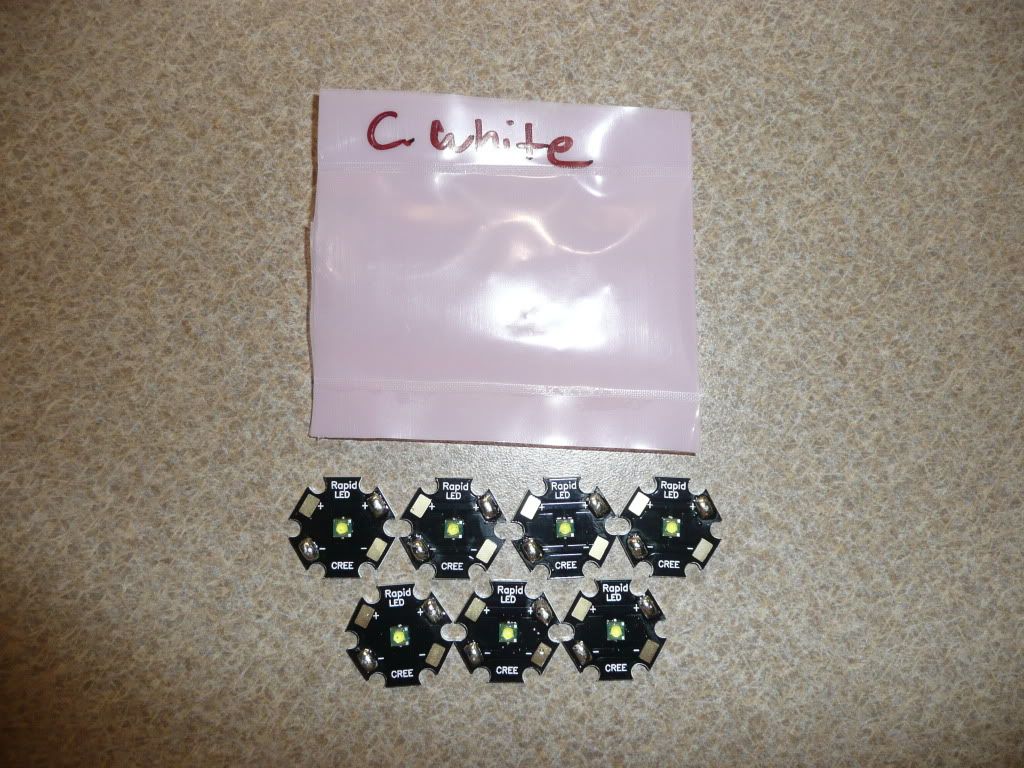
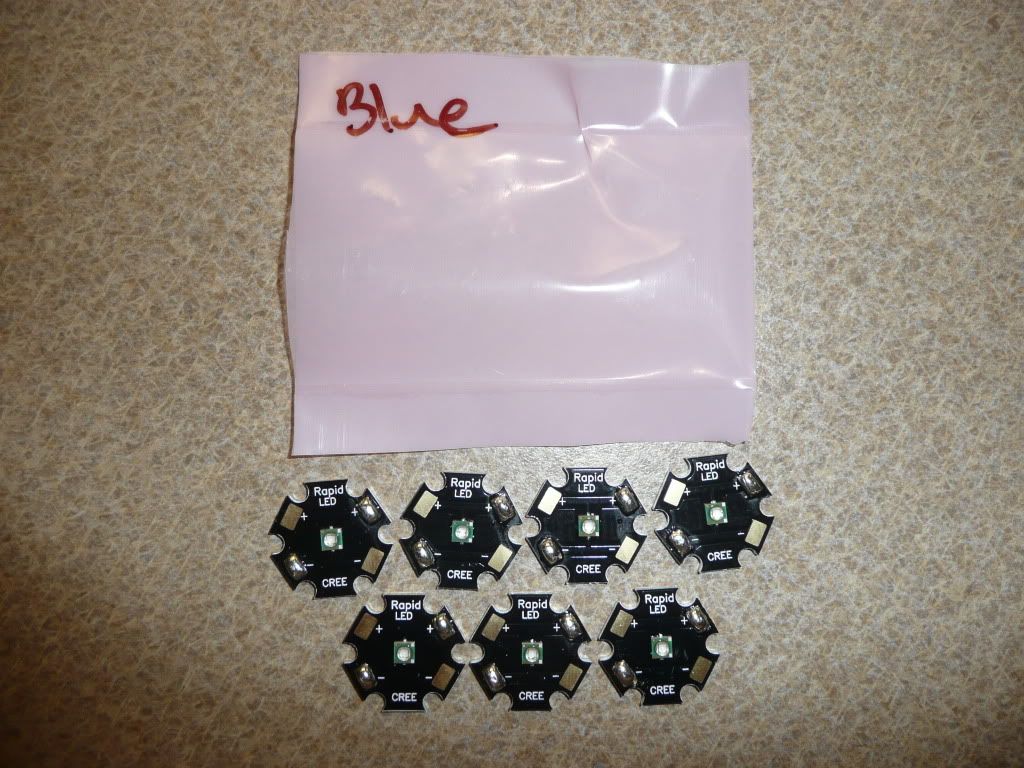
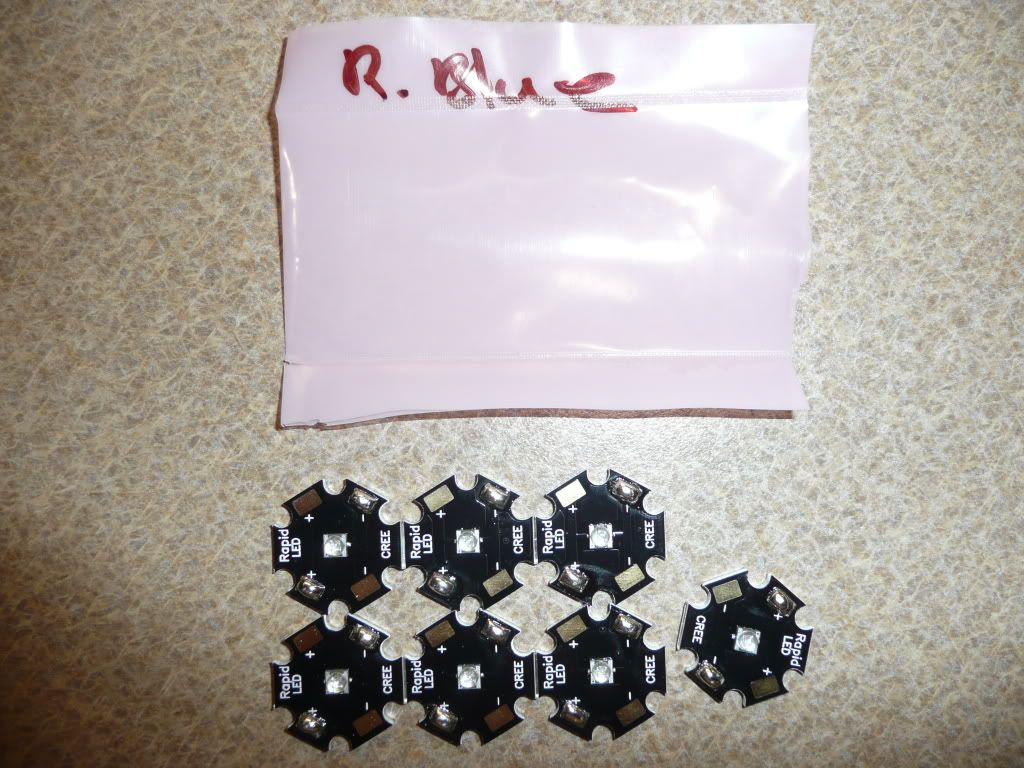
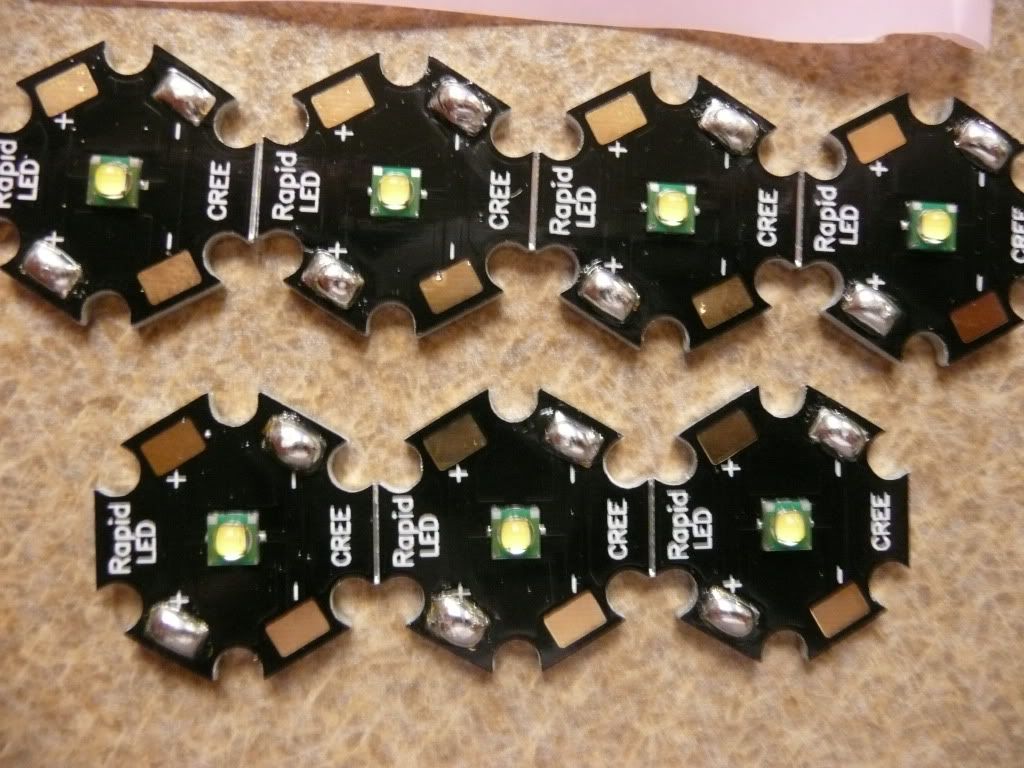
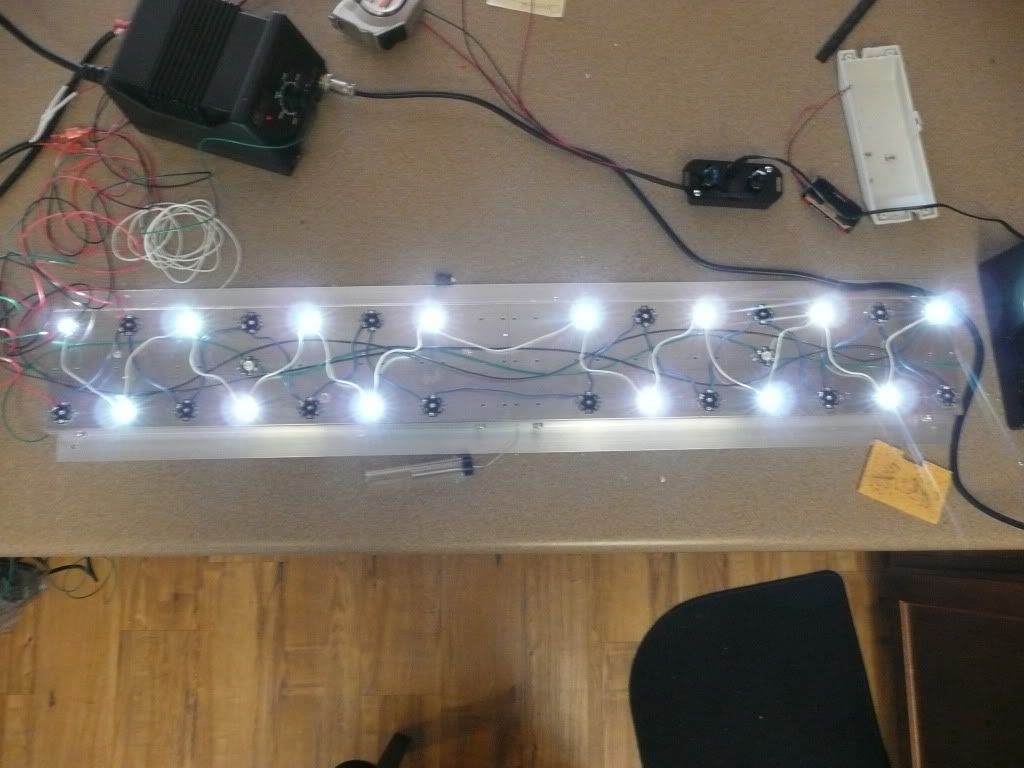
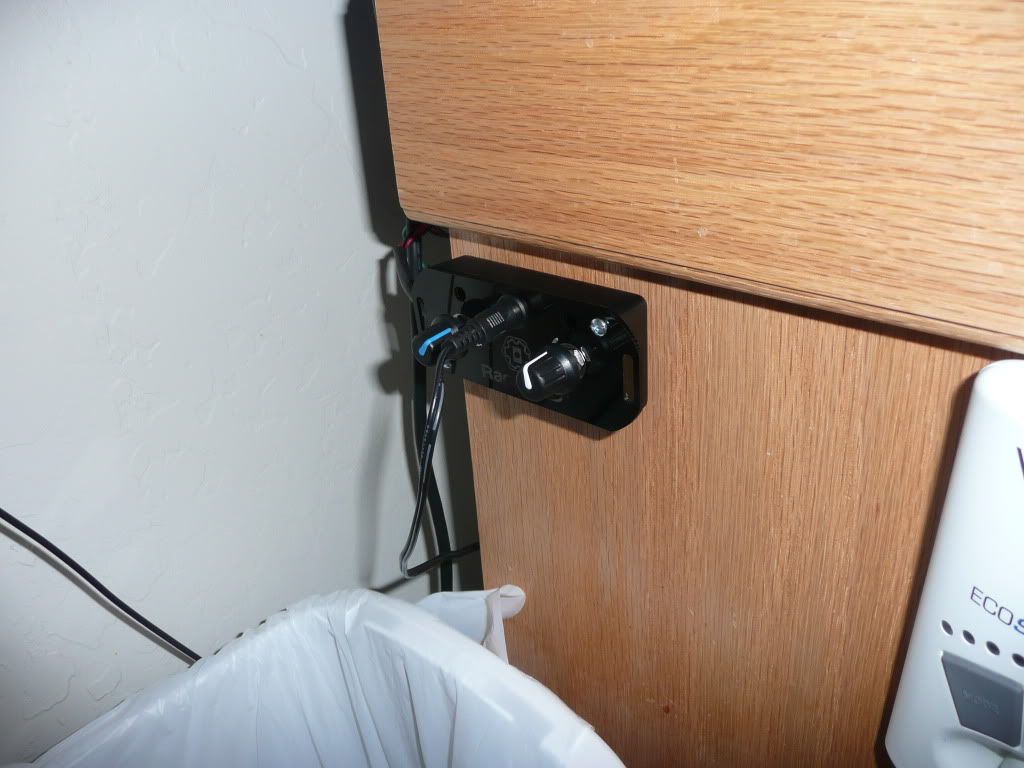
Next, I switched to LED's. I DIY'ed a fixture with parts from Rapid LED. Here is the build.
Here is the unboxing!
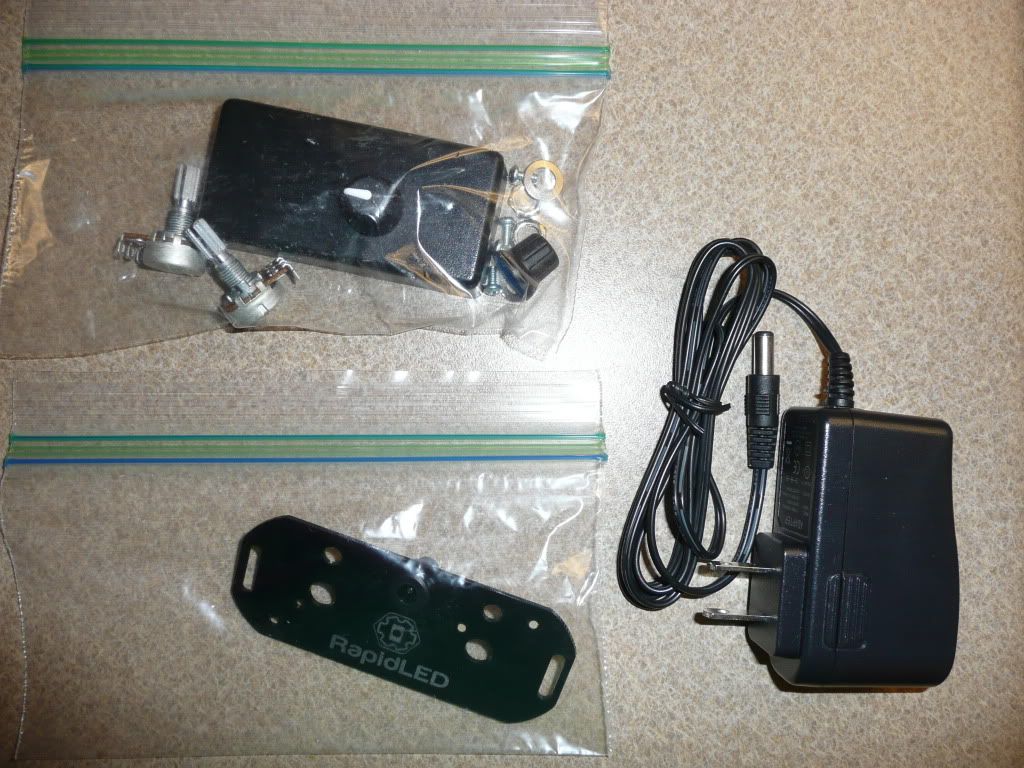
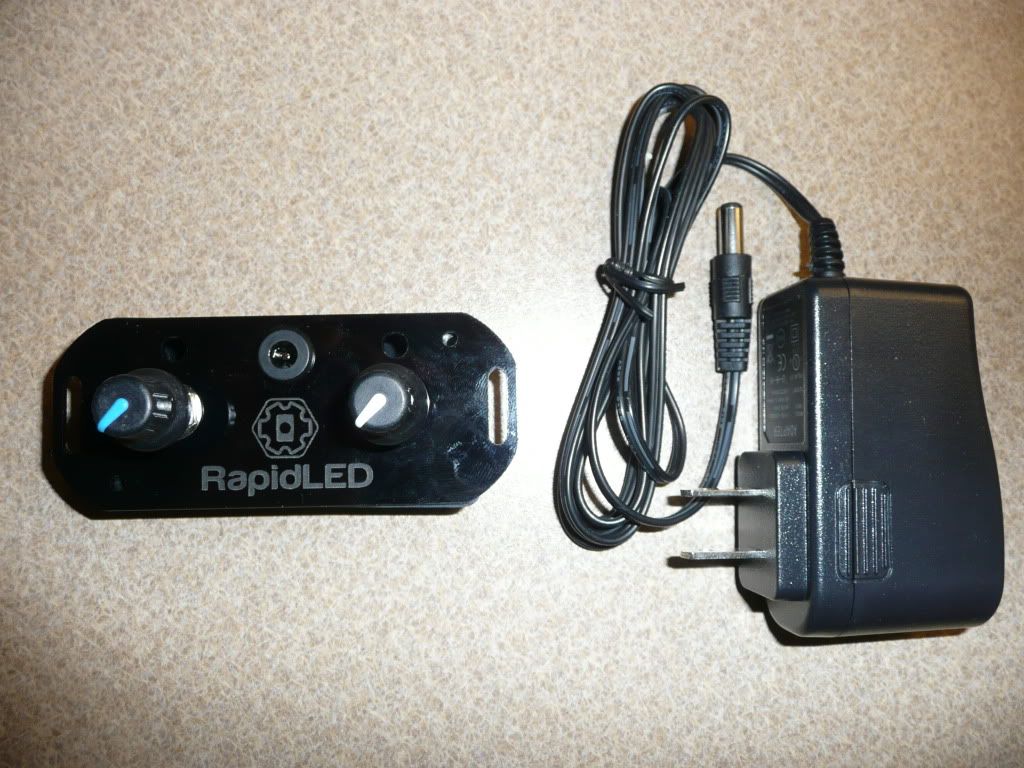
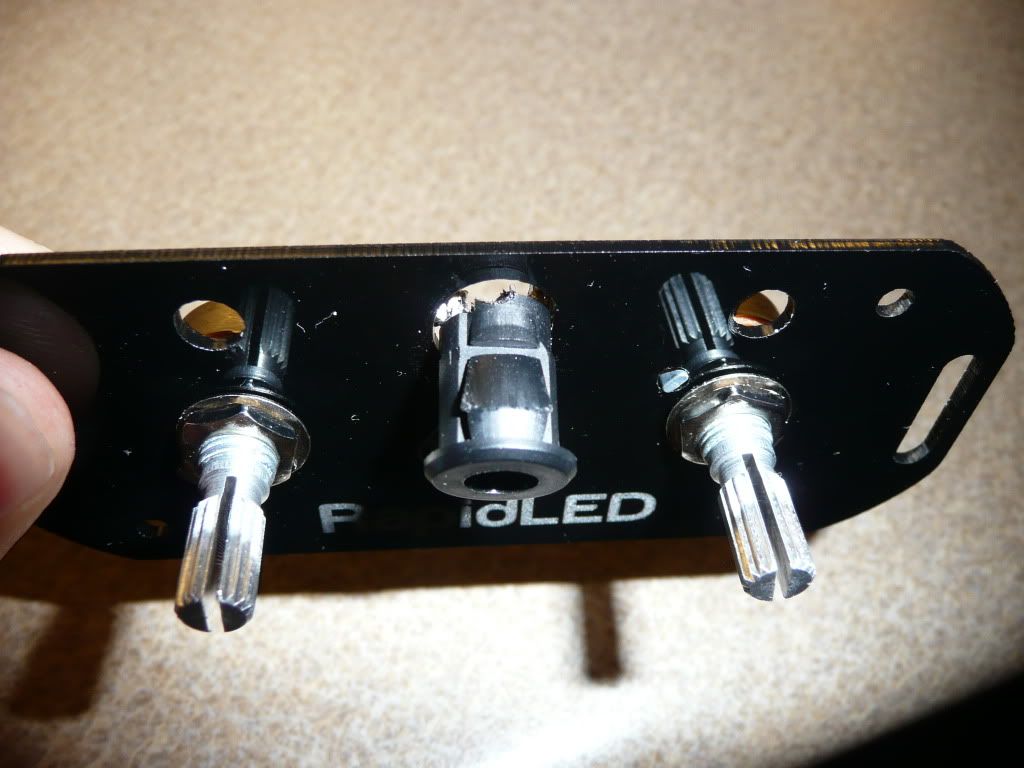
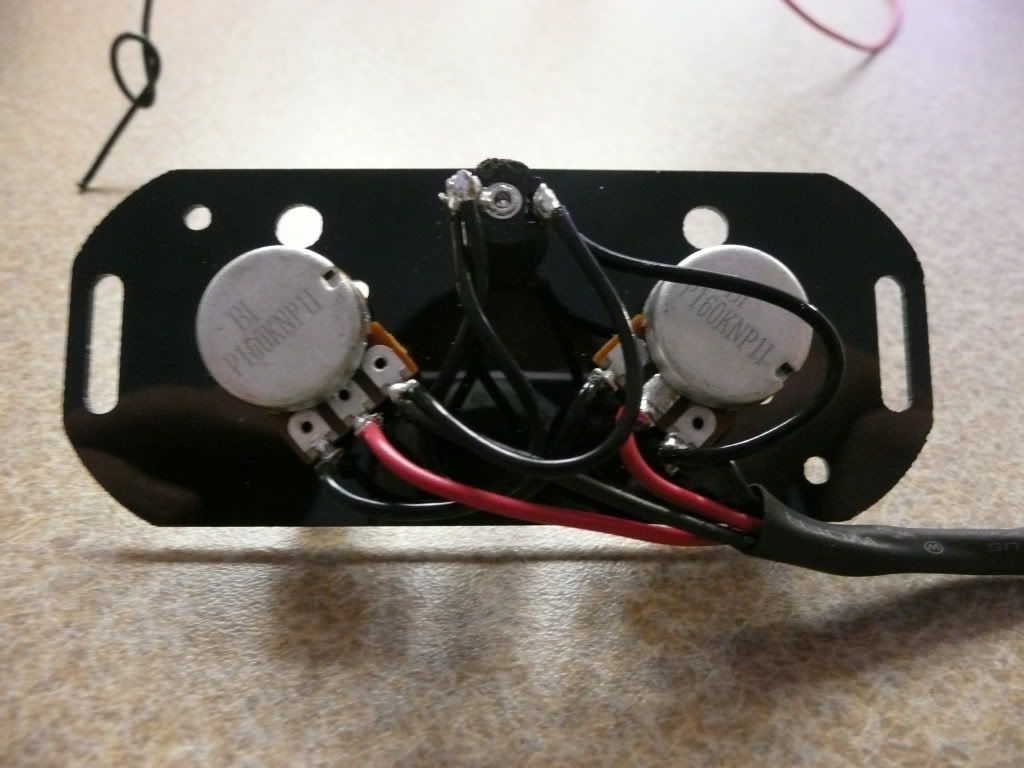
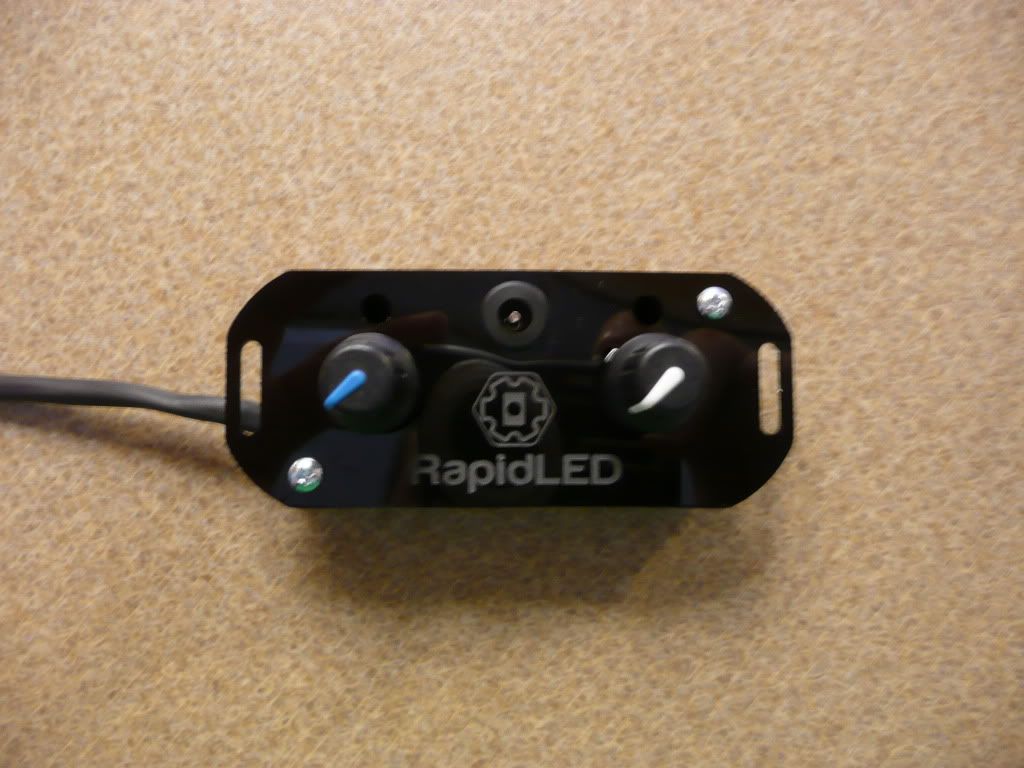
 The 2 Color dimming kit.
 Partially assembled, minus the wiring/soldering.
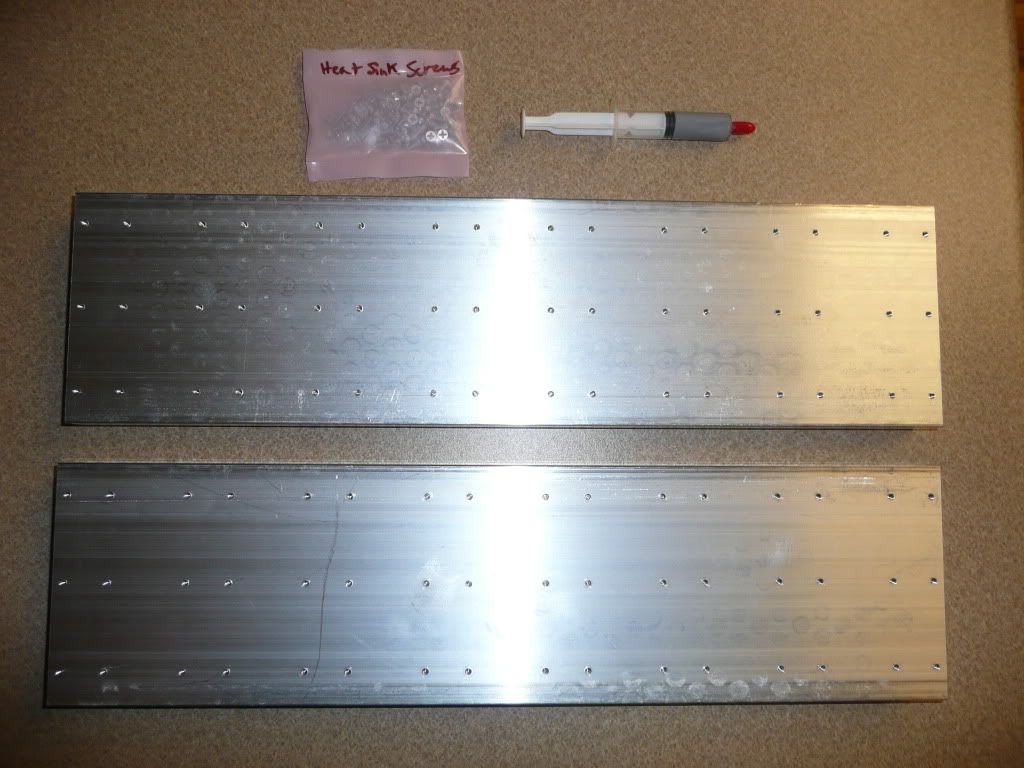
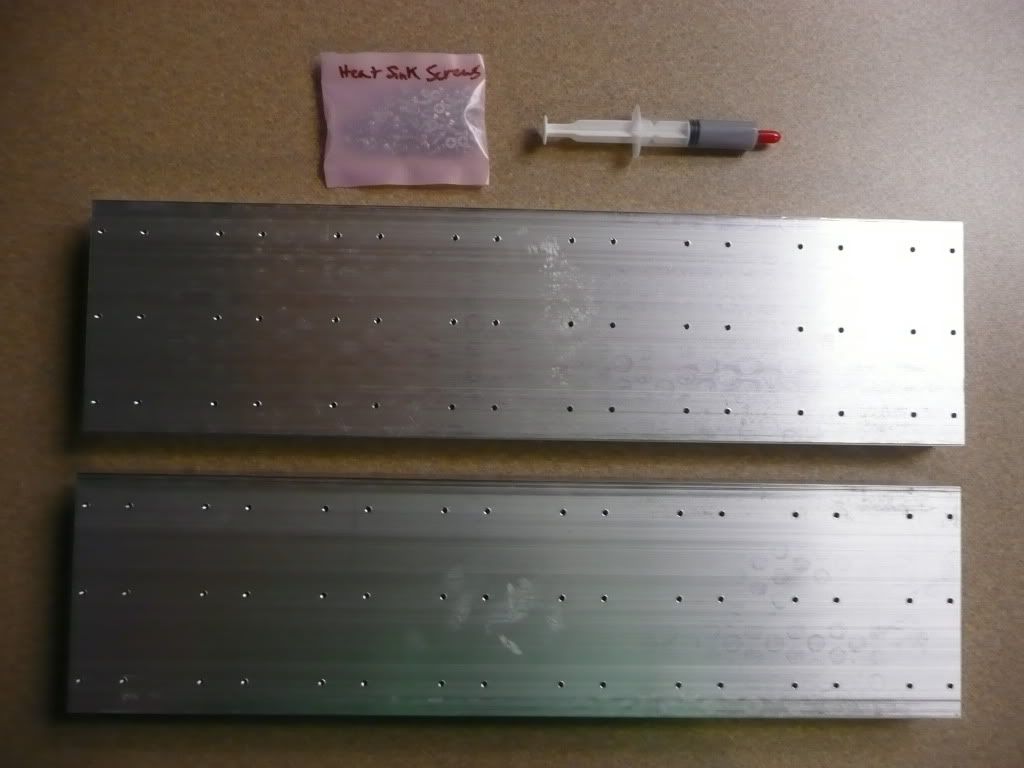
 The heatsinks with screws and thermal grease.
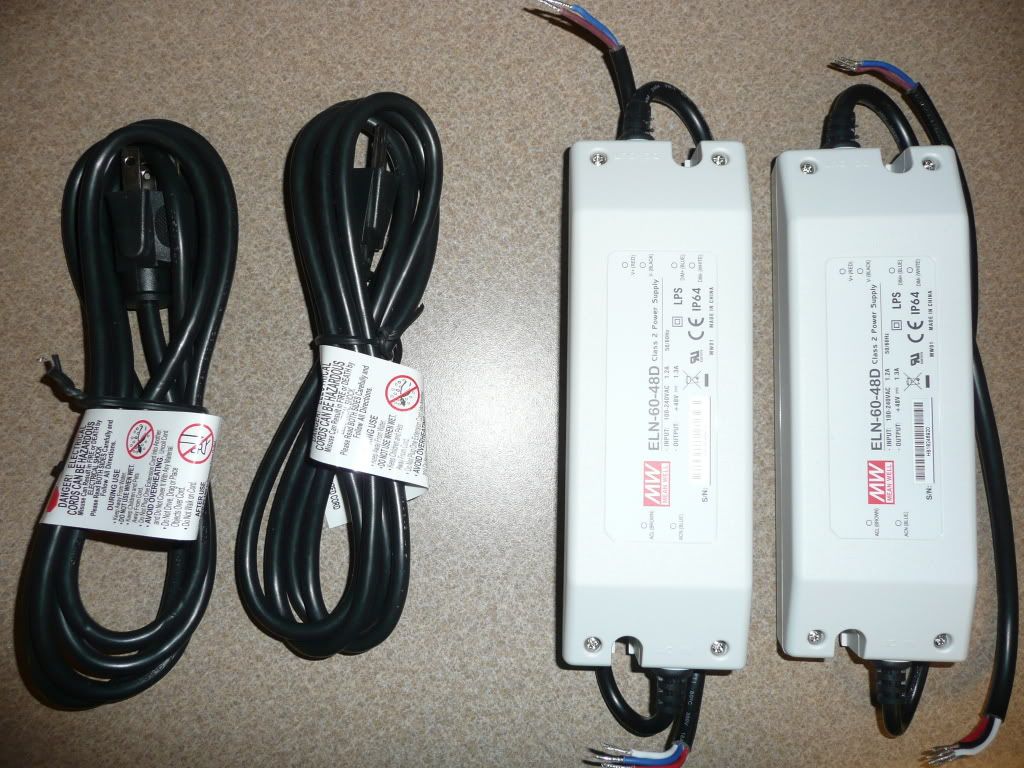
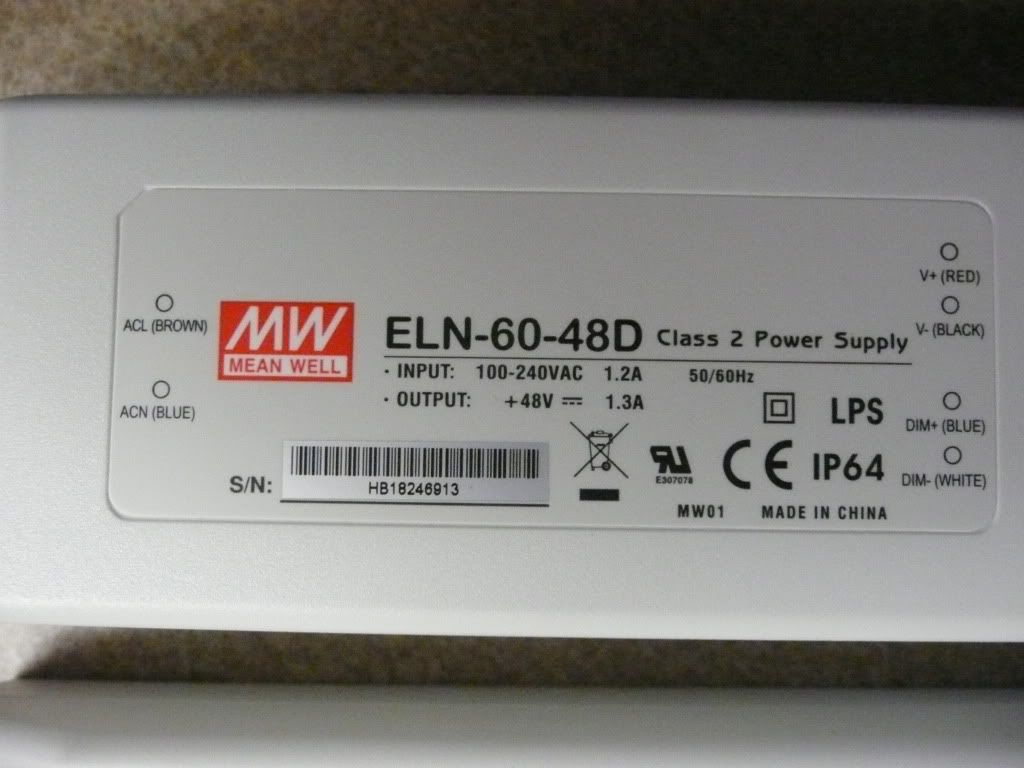
  The Drivers and power cords.
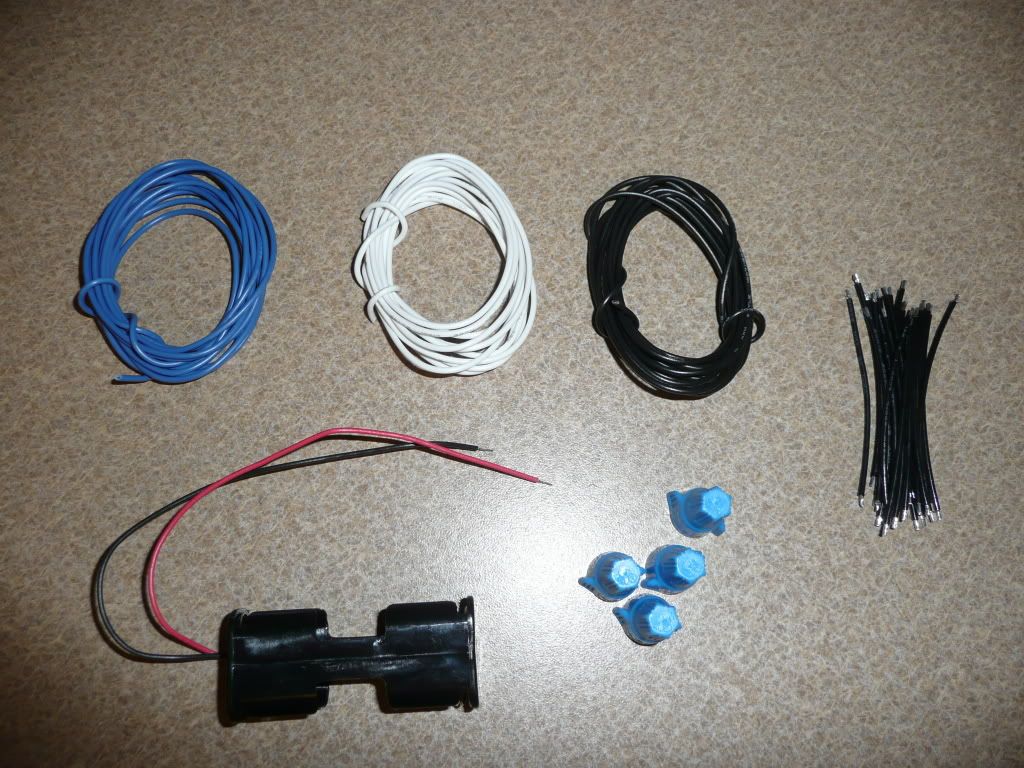
  Miscellaneous wire/supplies and led tester.
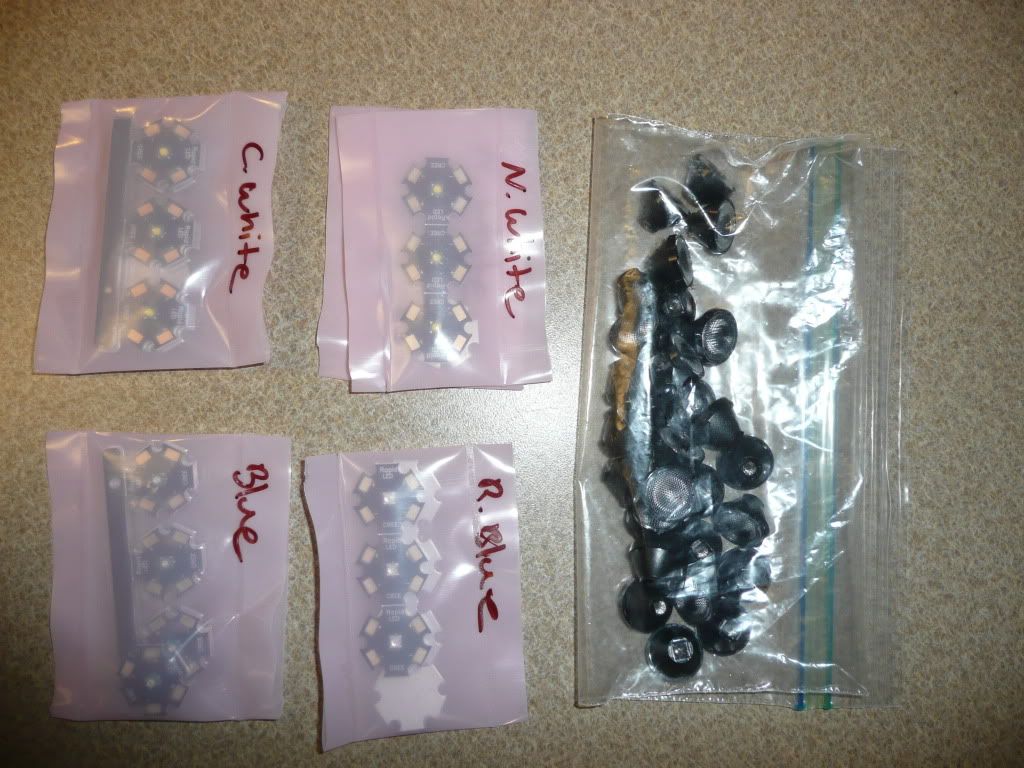
 All 28 led's convienently labled with black 80 degree lenses!
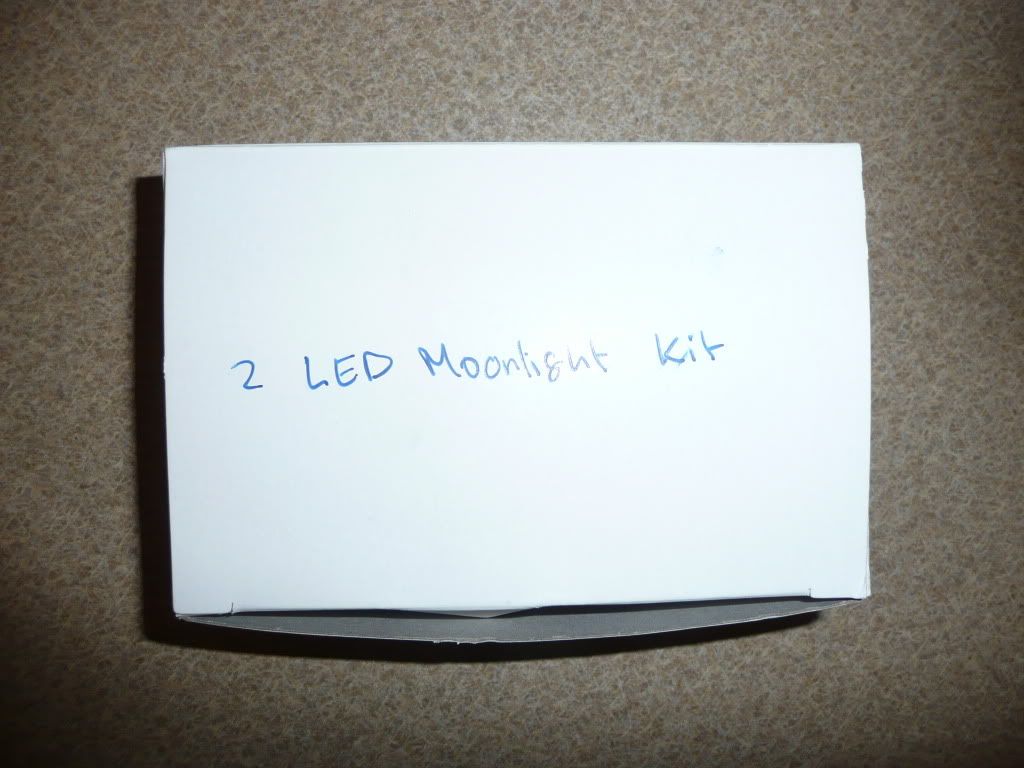
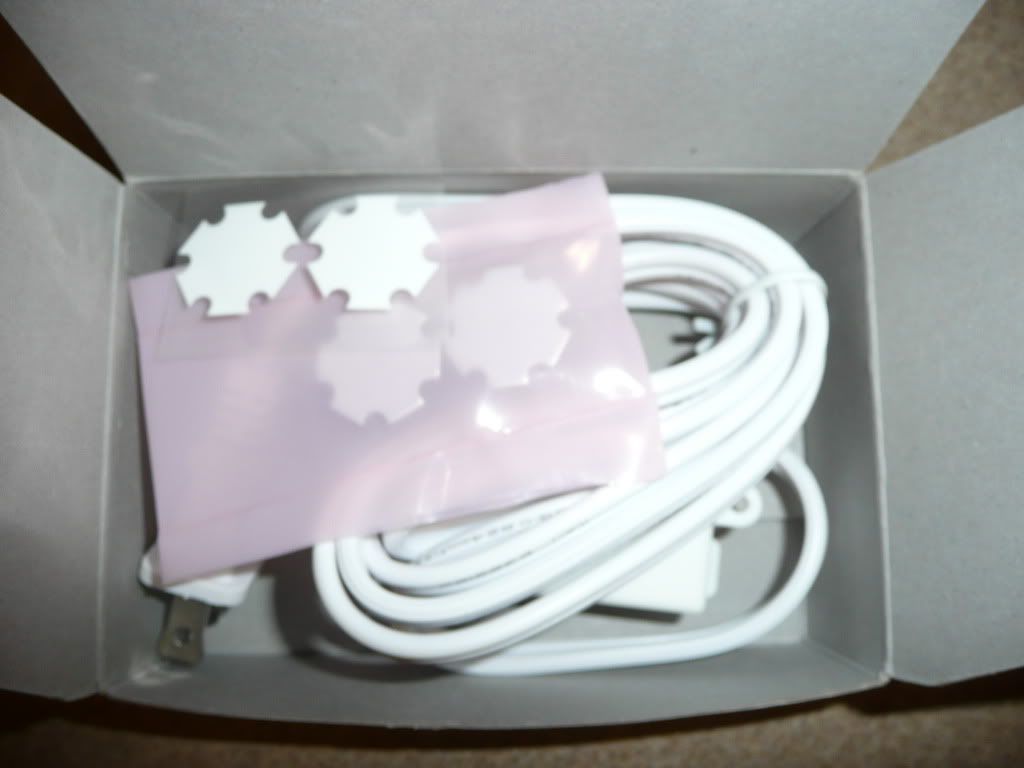
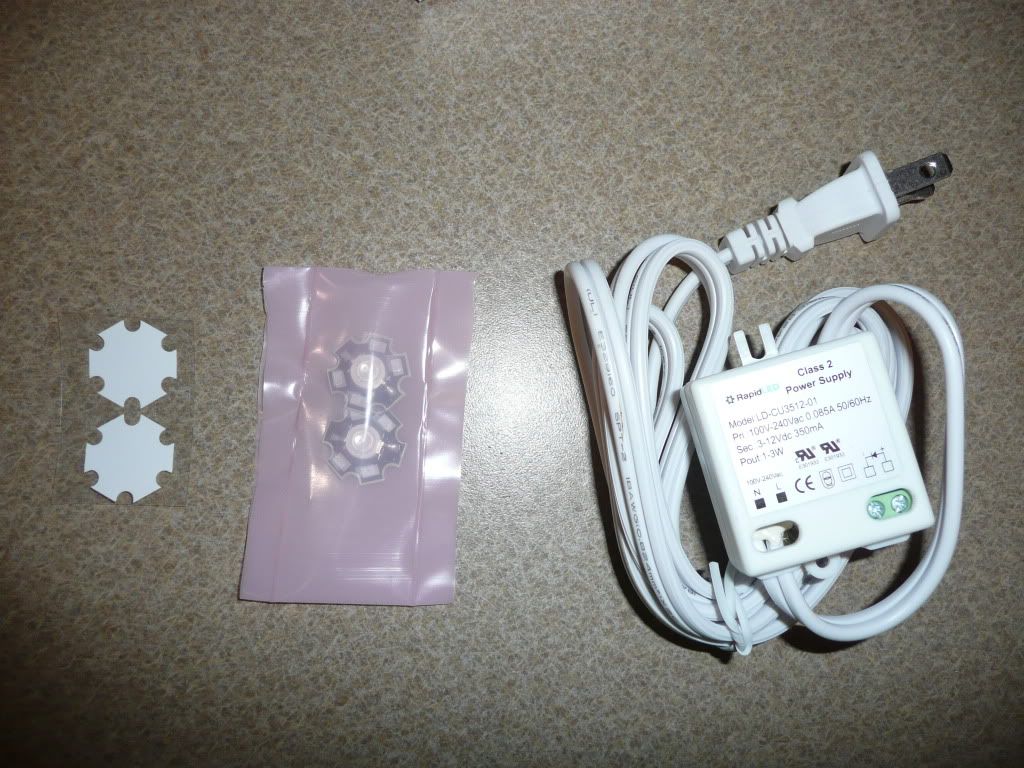
 And last but not least, the two led moonlight kit!
   |
Posted By: 08TRDOFFROAD
Date Posted: May 03 2012 at 9:35pm
|
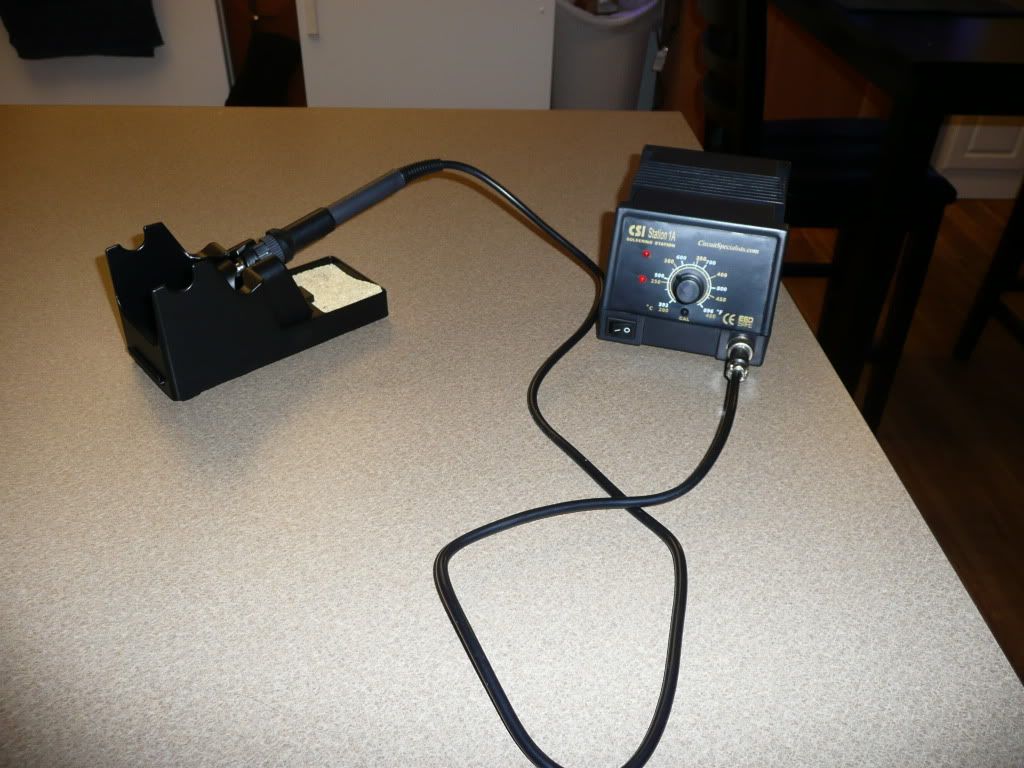
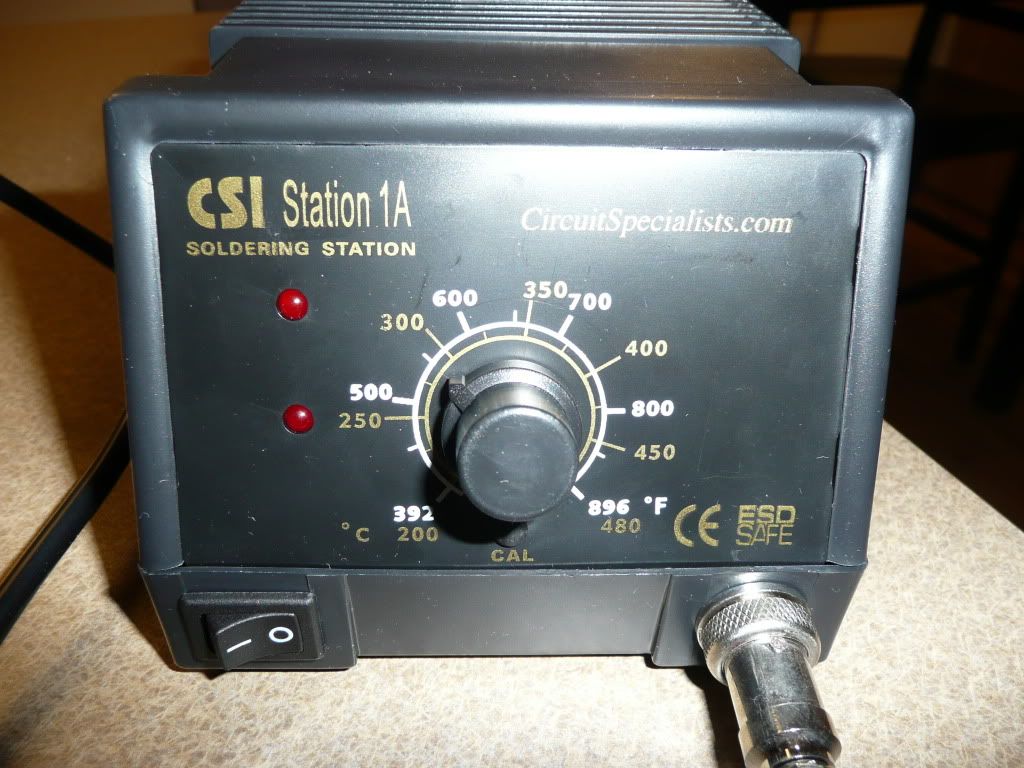
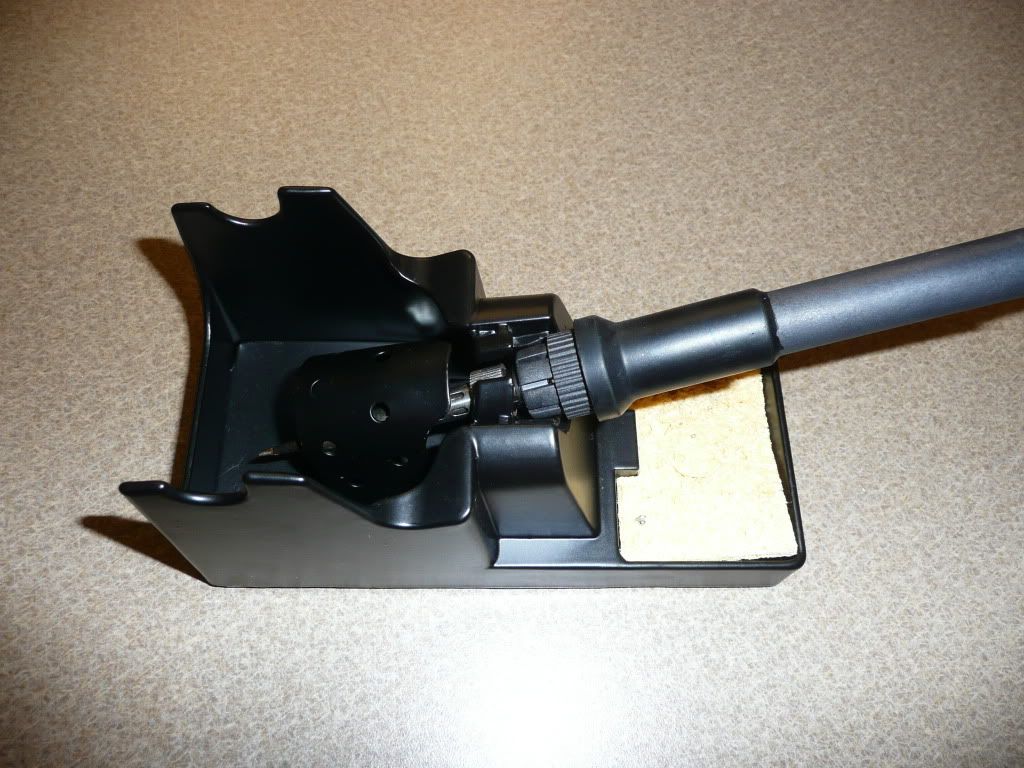
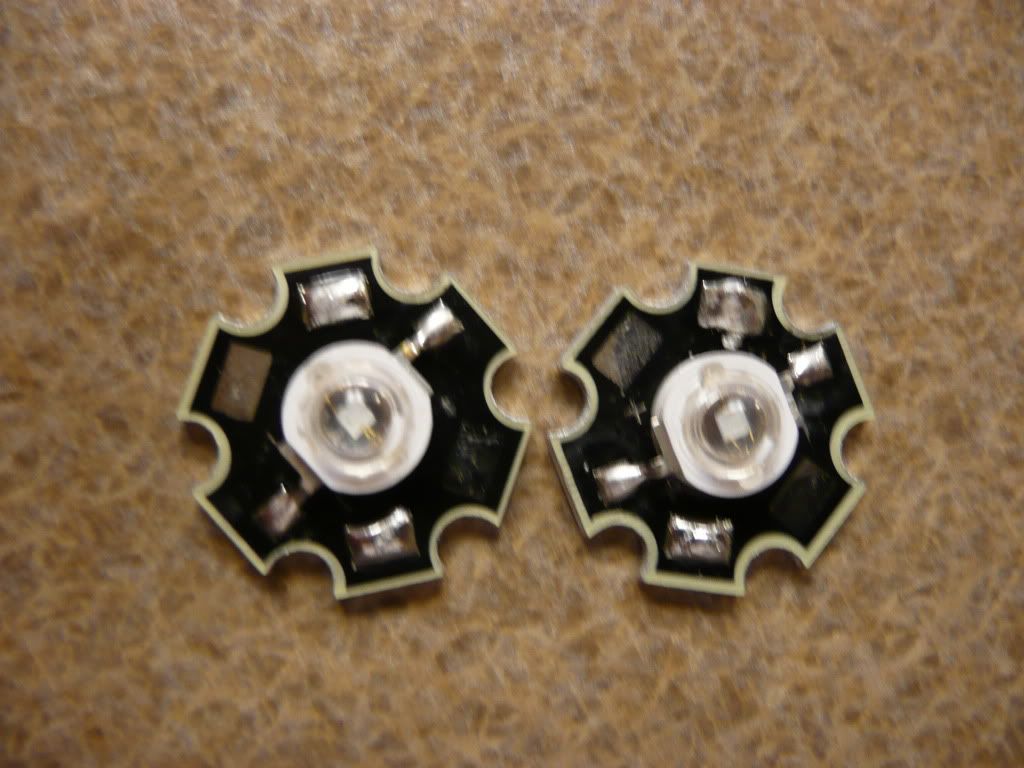
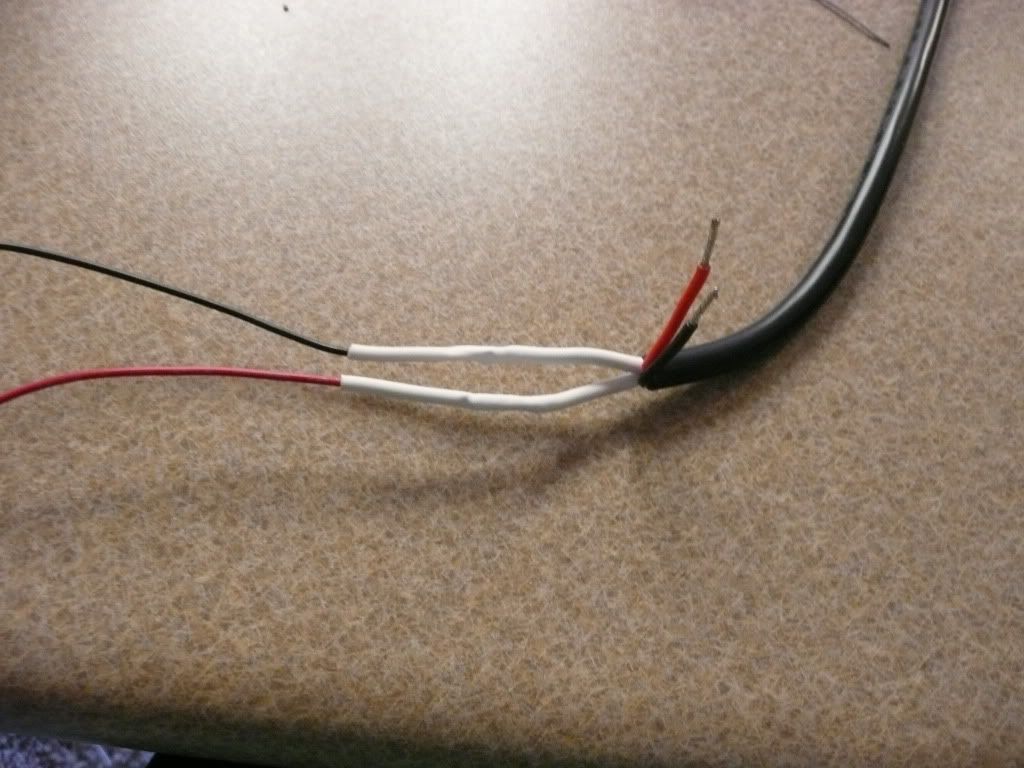
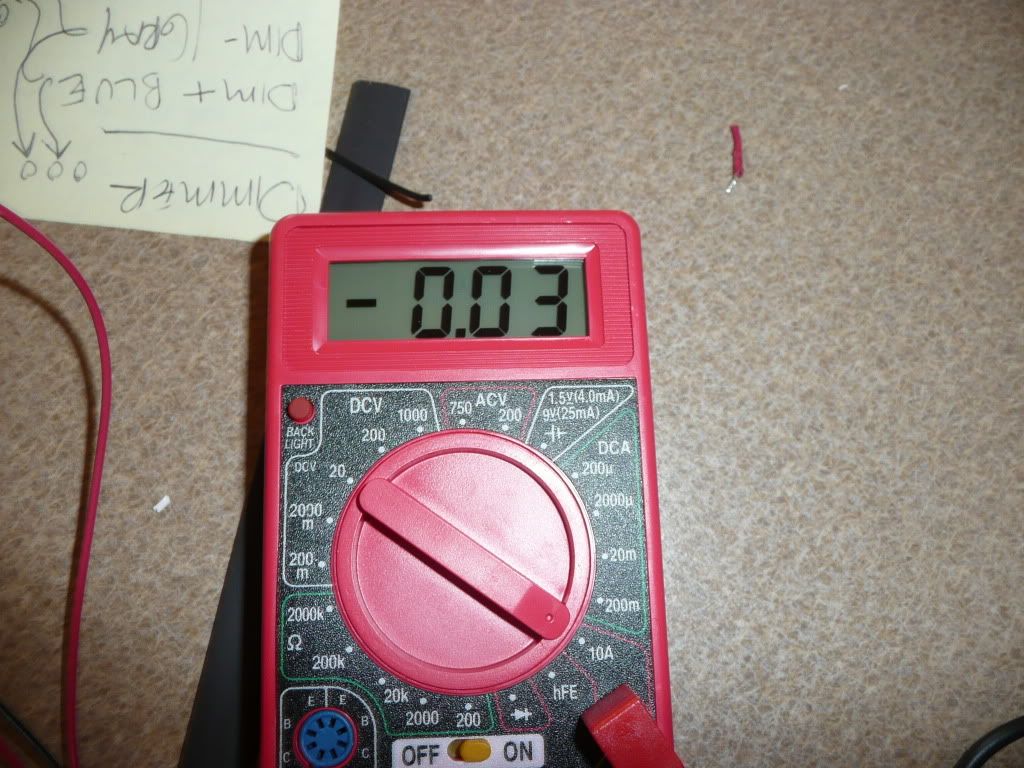
The soldering station I ordered. The moonligths...these were the first ones I tinned so they aren't the prettiest joints! The rest of the led's. A close-up! I had an issue with the faceplate/dc connector on the dimmer kit (the dc connector is broken and doesn't snap securely into the faceplate), so I started working on it to practice my soldering skills, but have stopped because Mike is sending me a new one along with a bit more wire free of charge, rapid has great customer service!!! There you have it! That is all the progress I have made so far! |
Posted By: 08TRDOFFROAD
Date Posted: May 03 2012 at 9:36pm
|
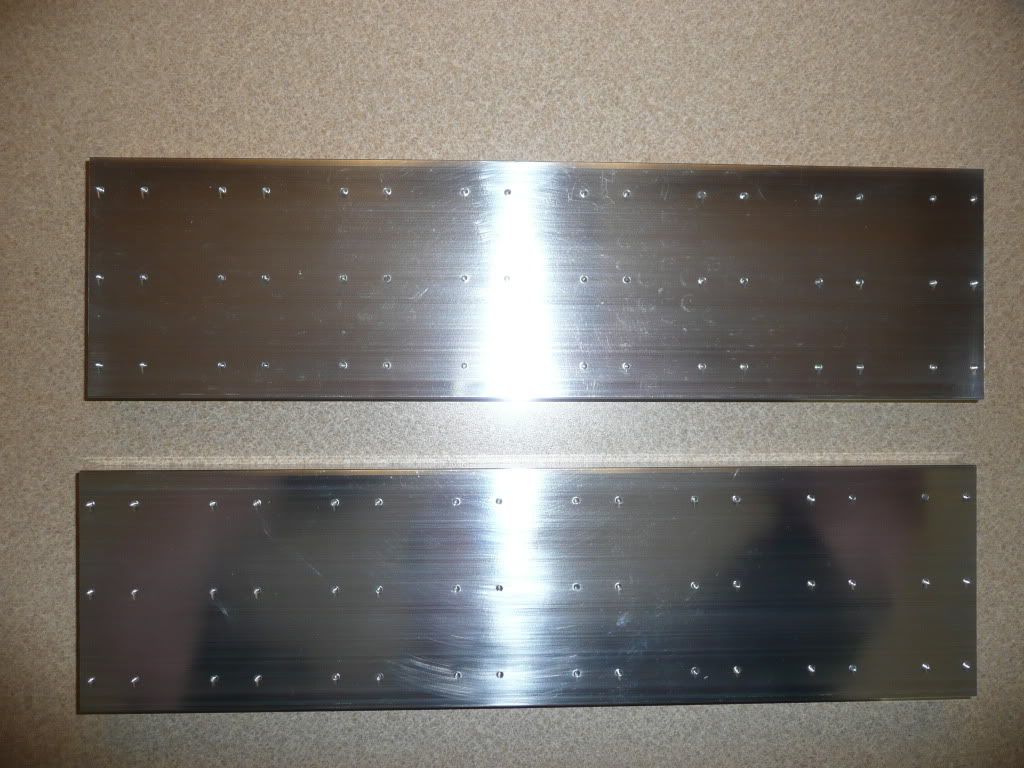
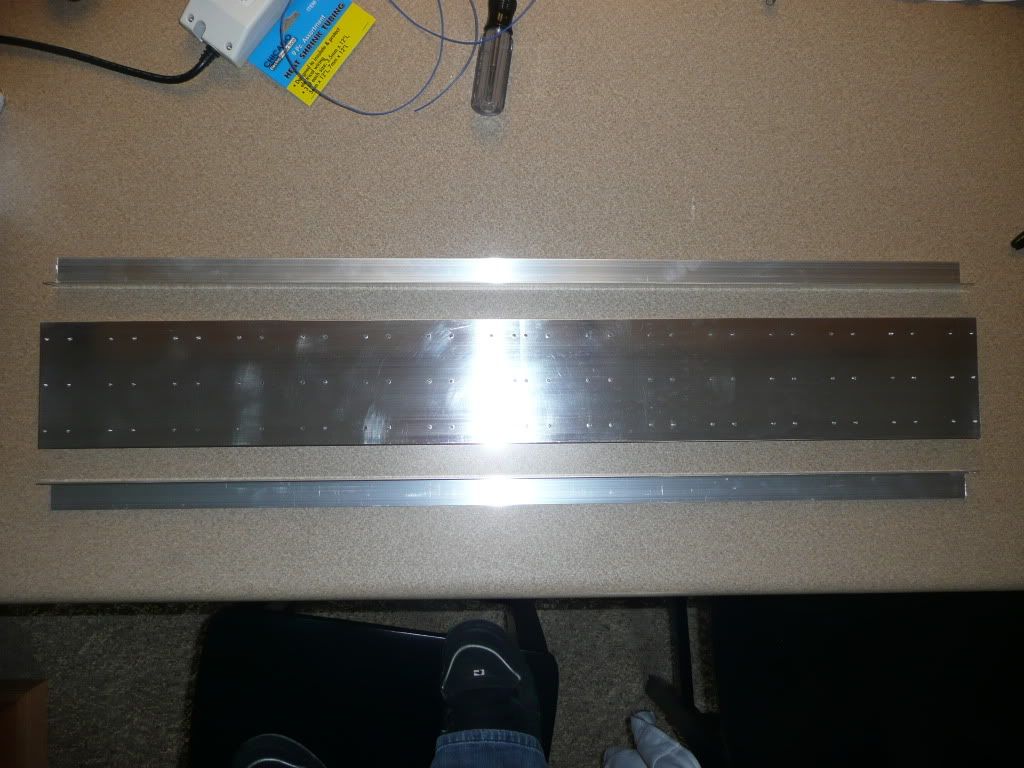
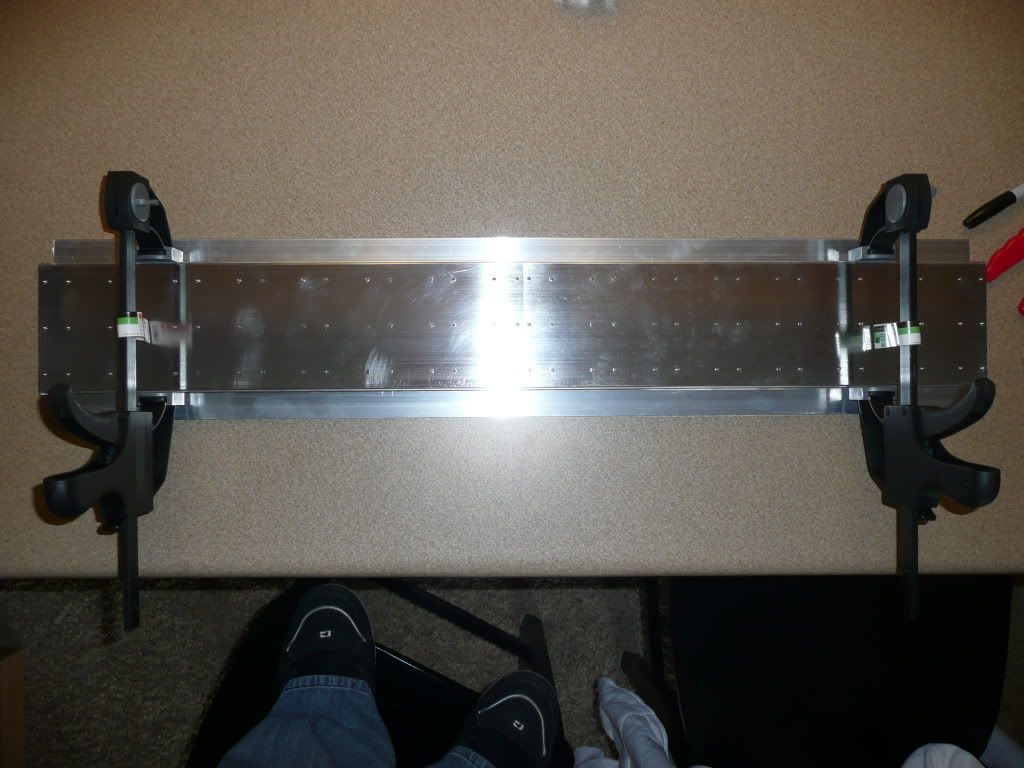
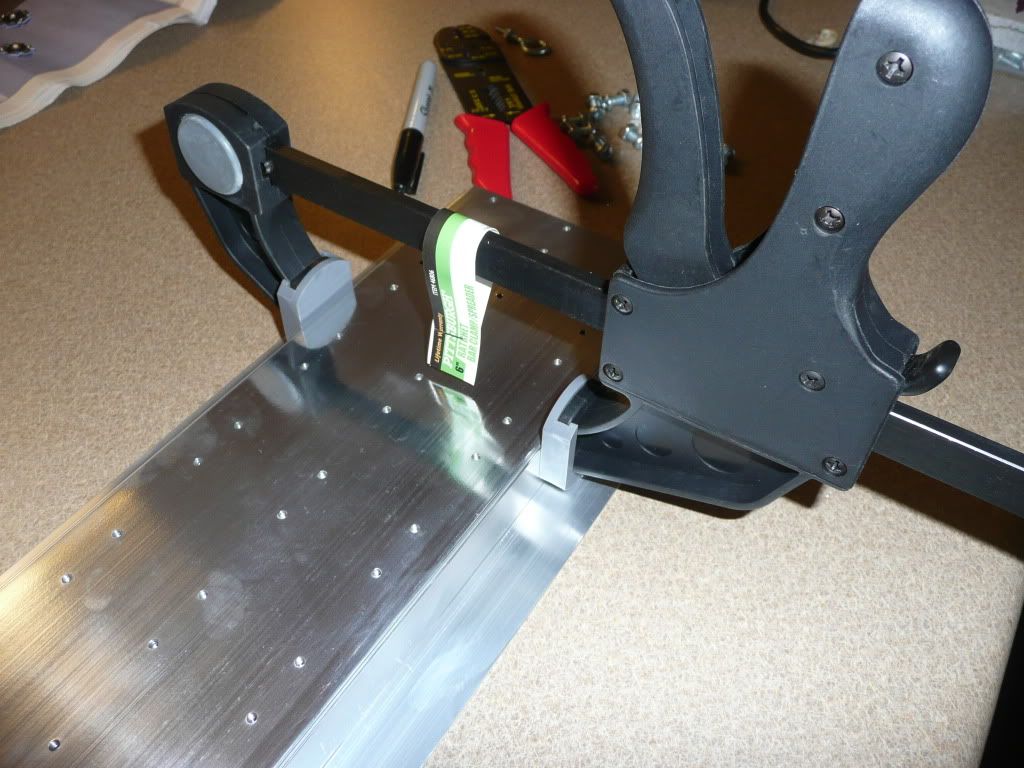
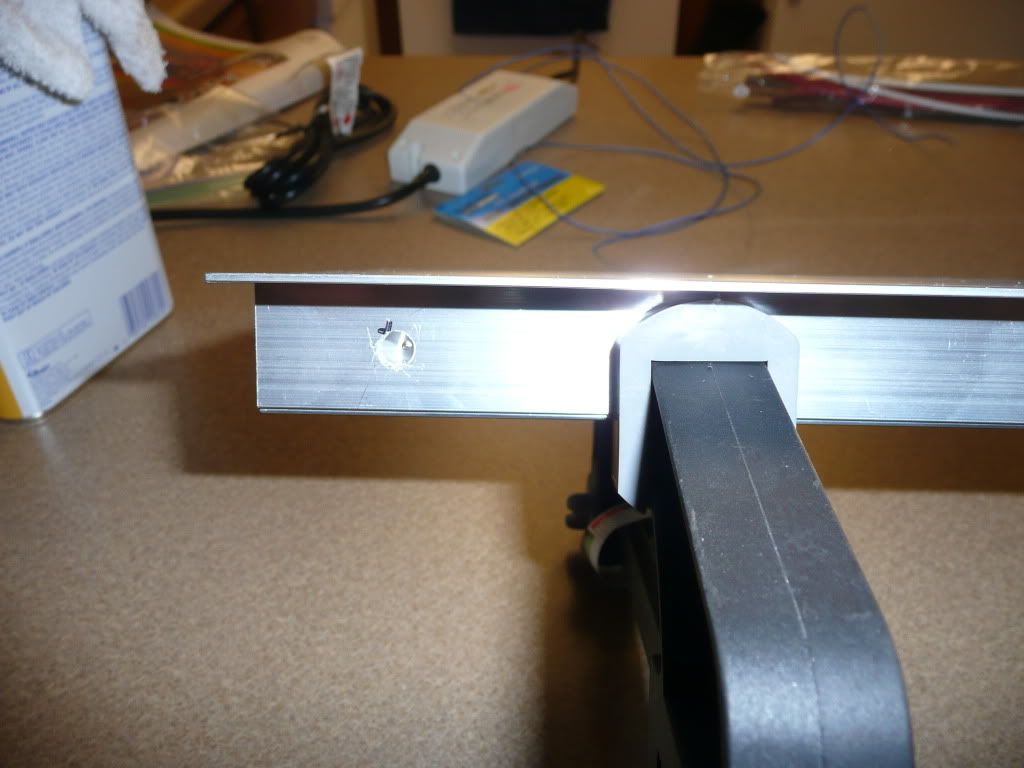
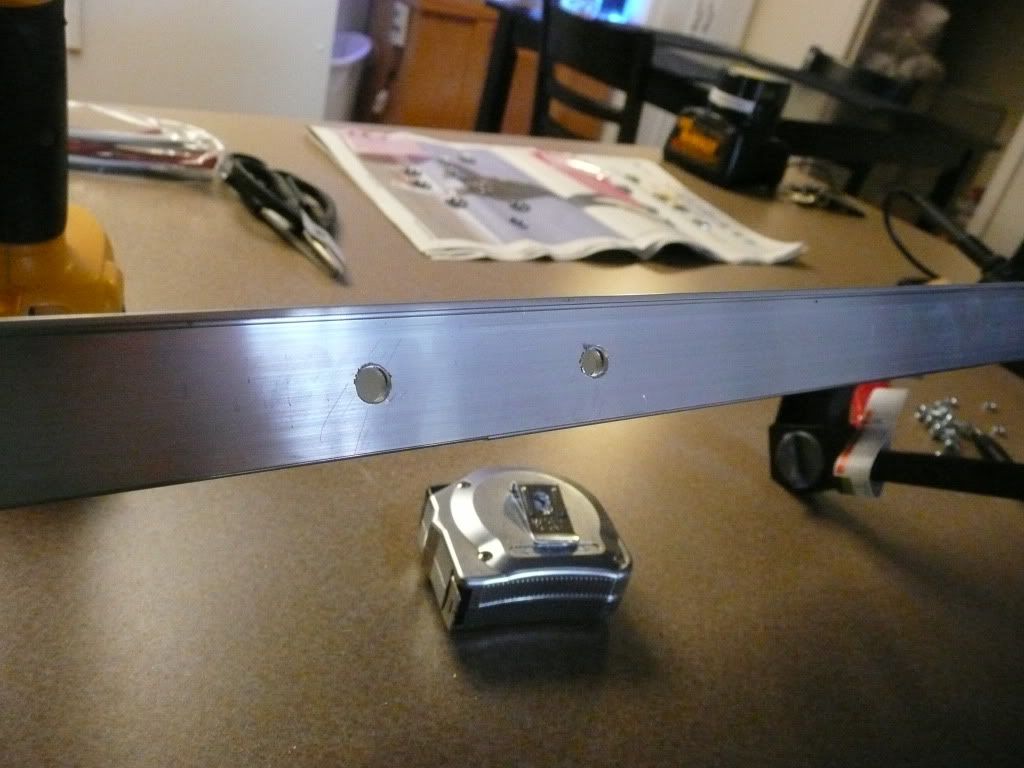
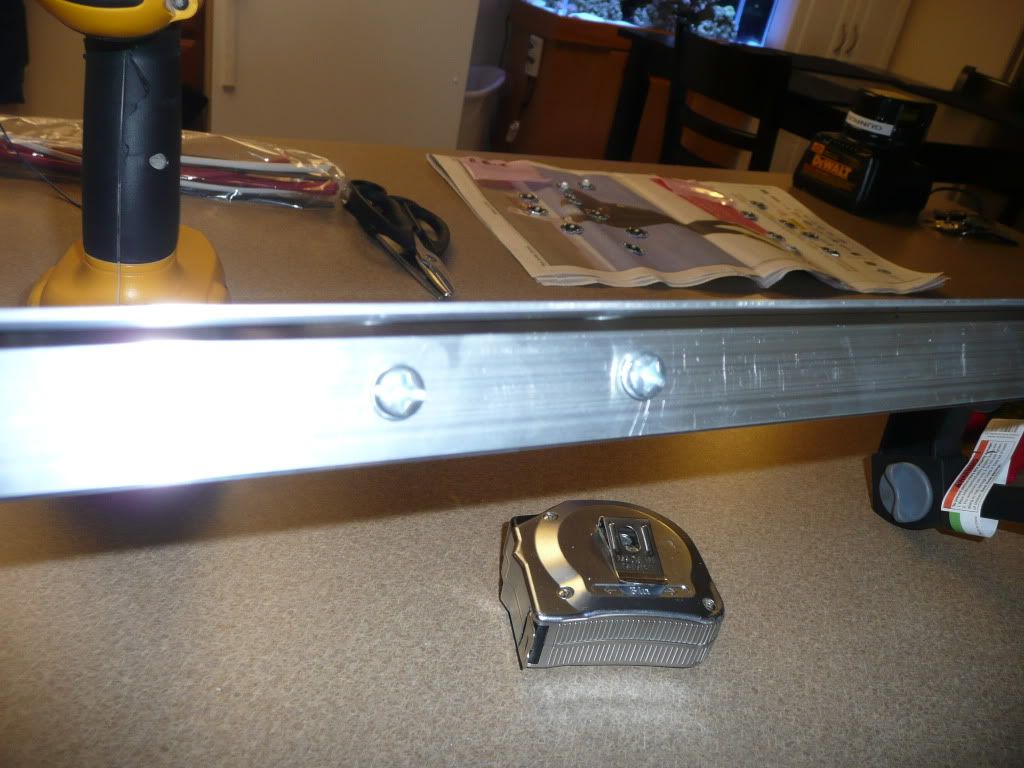
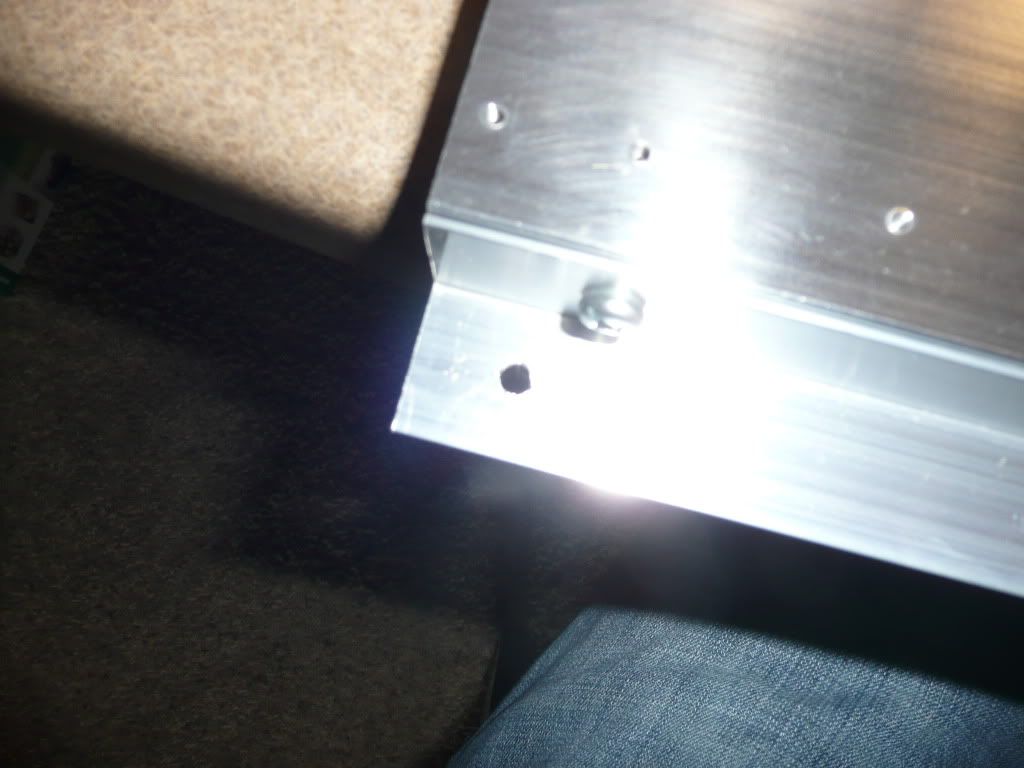
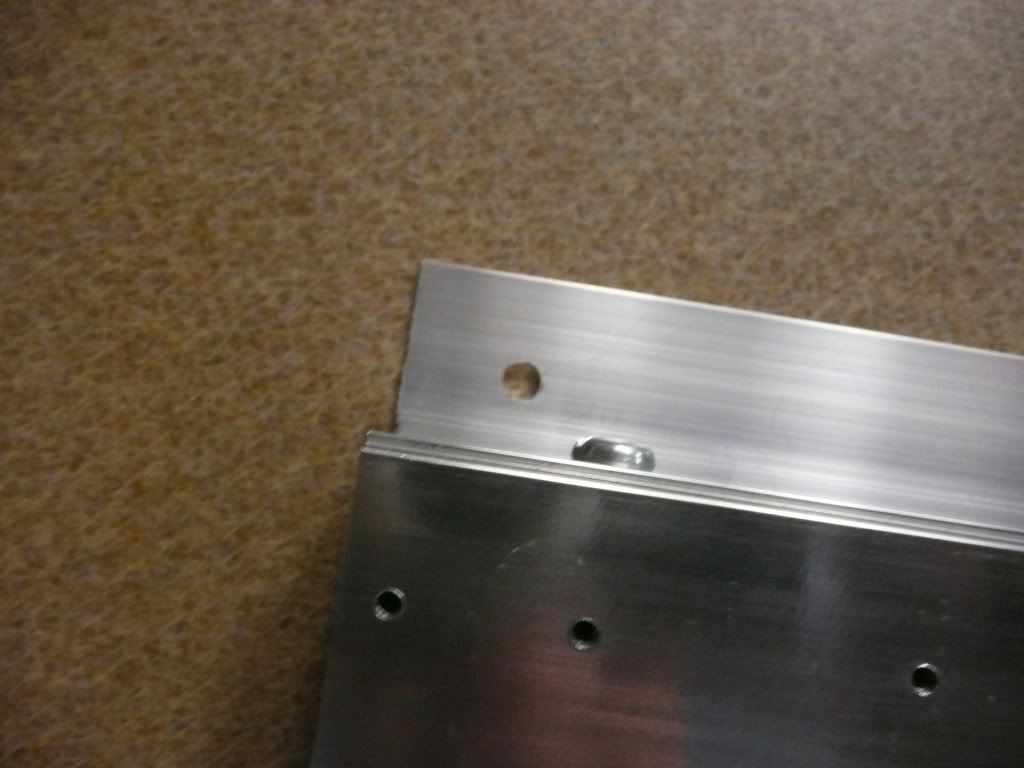
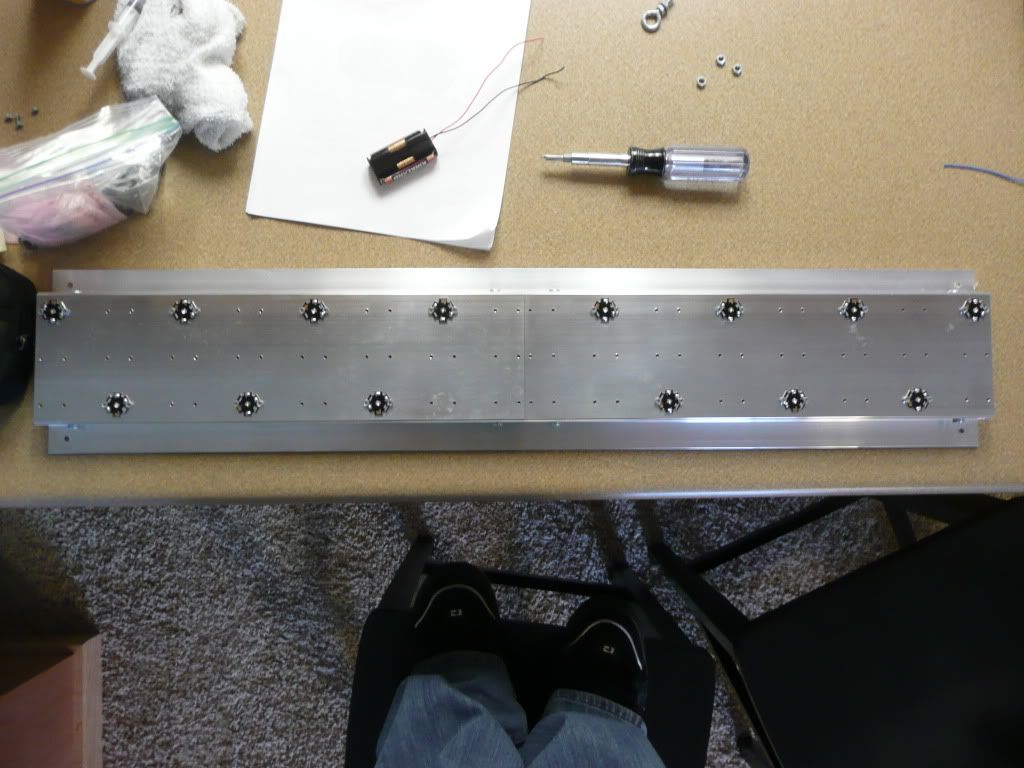
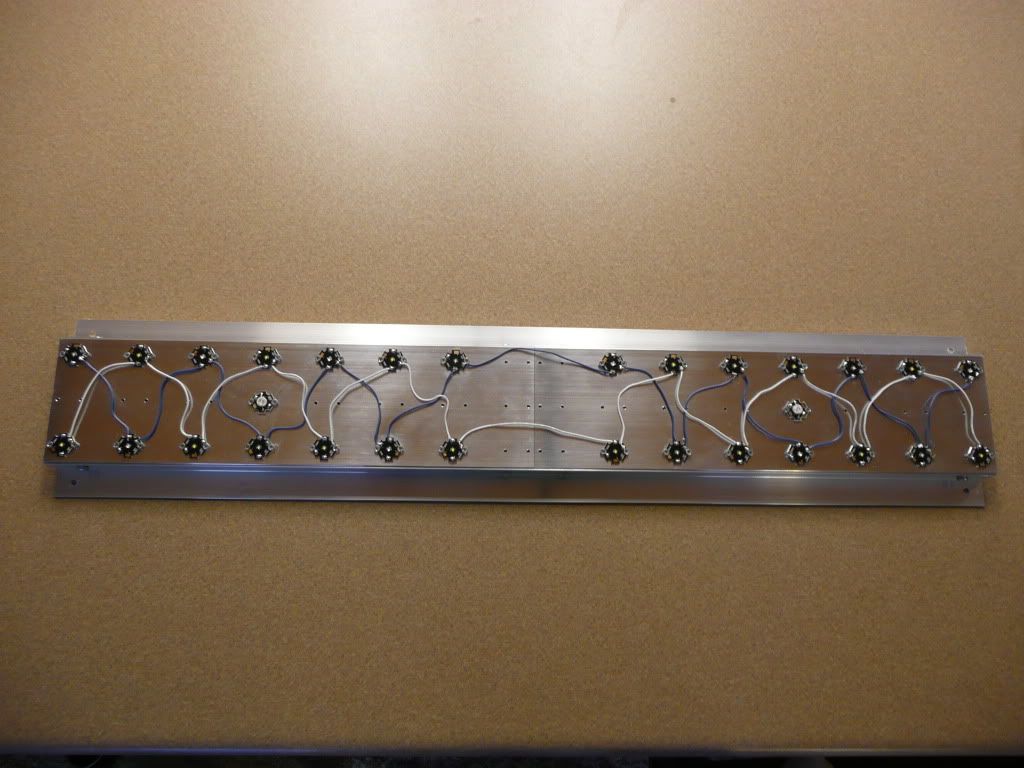
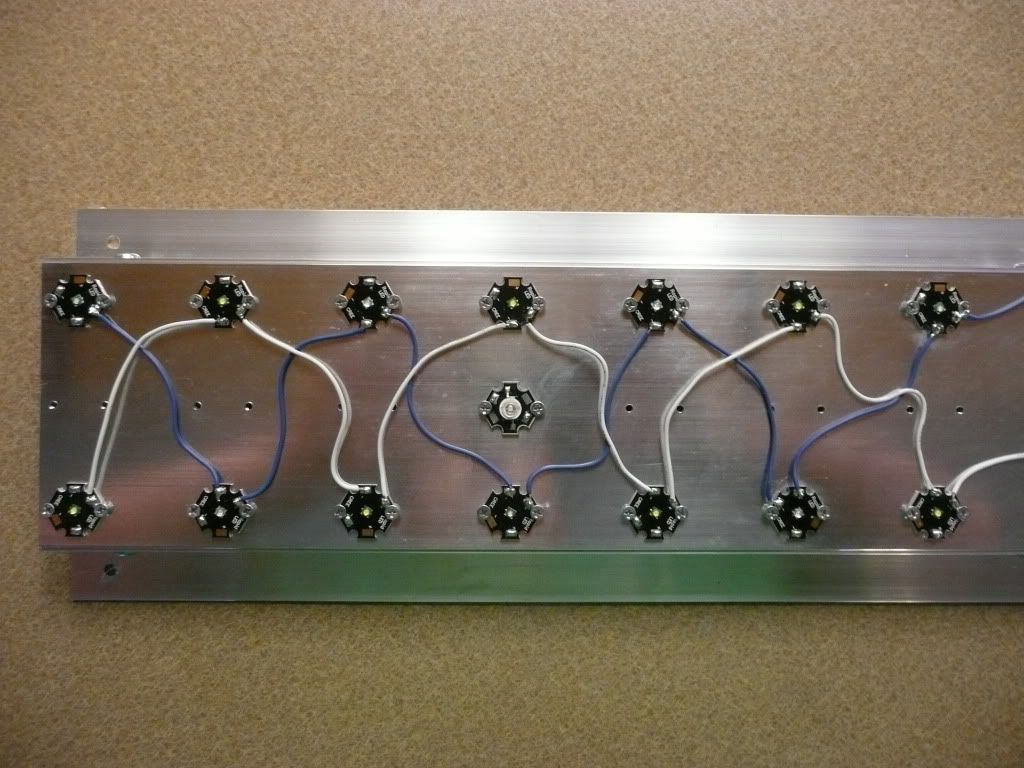
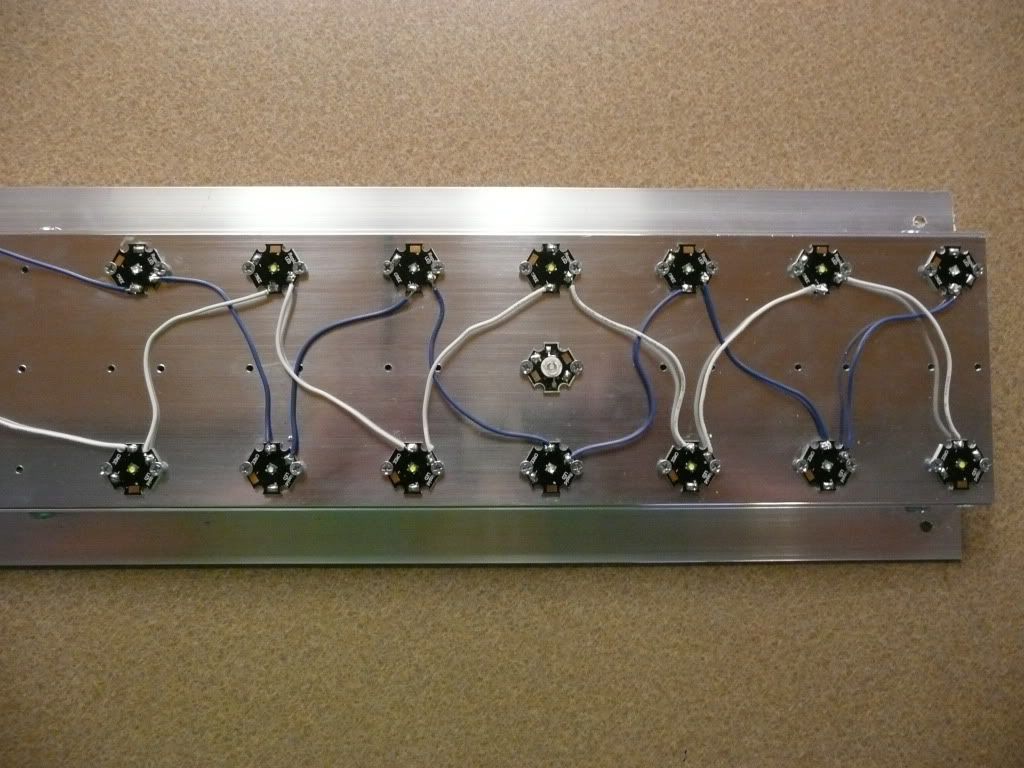
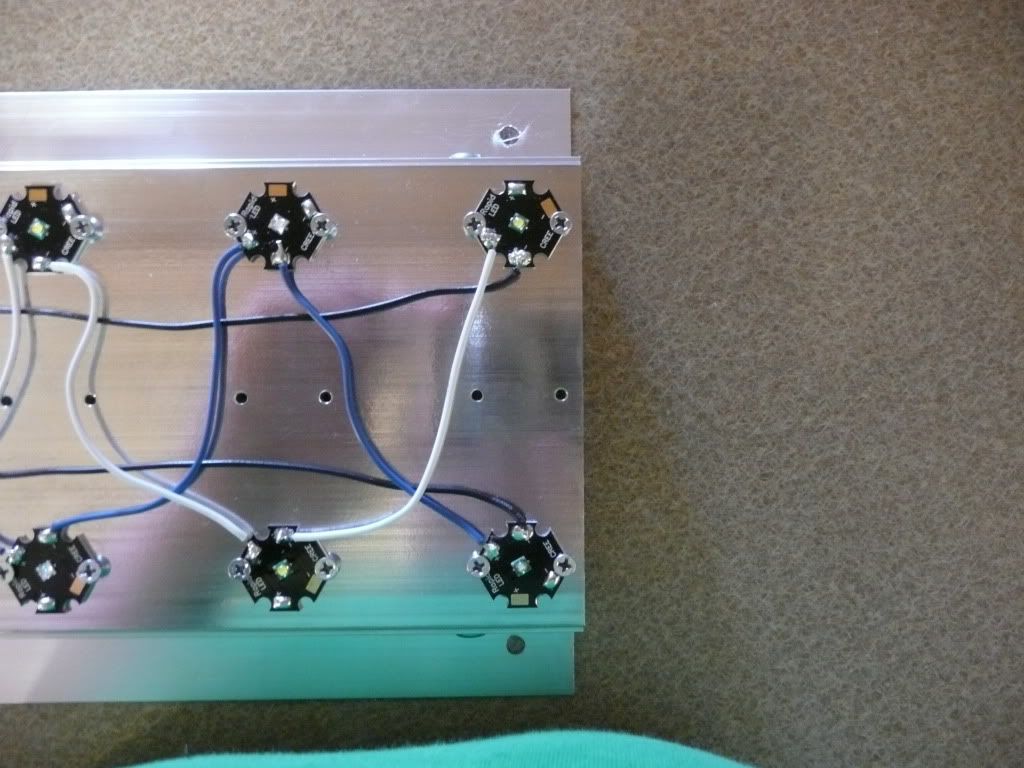
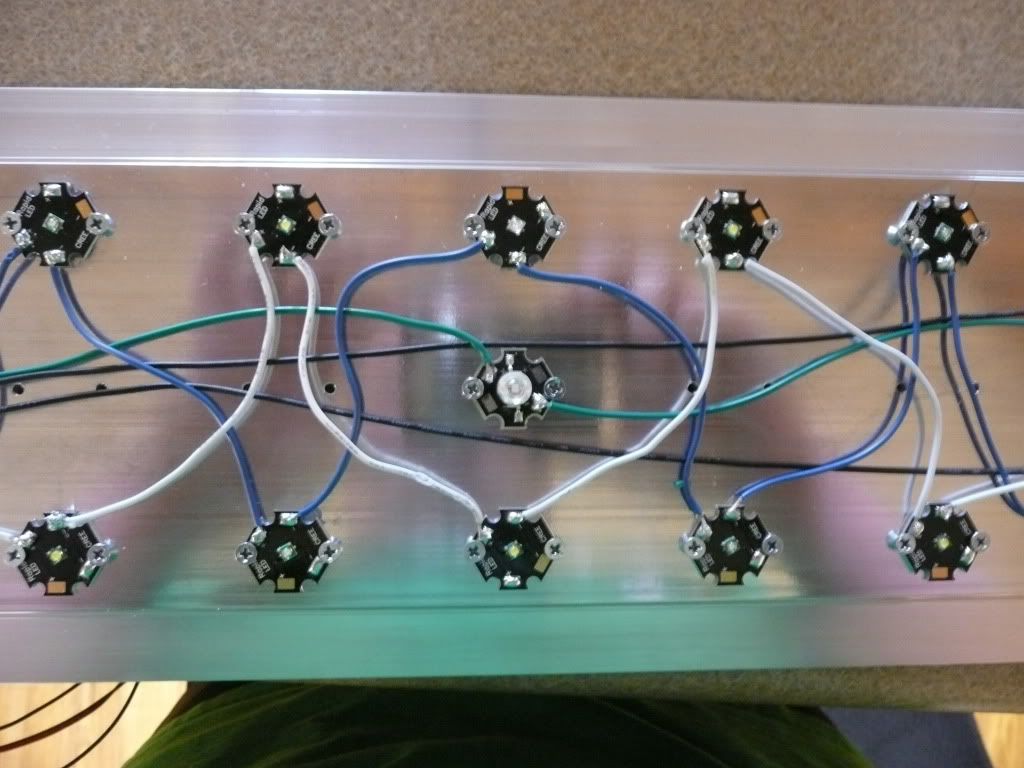
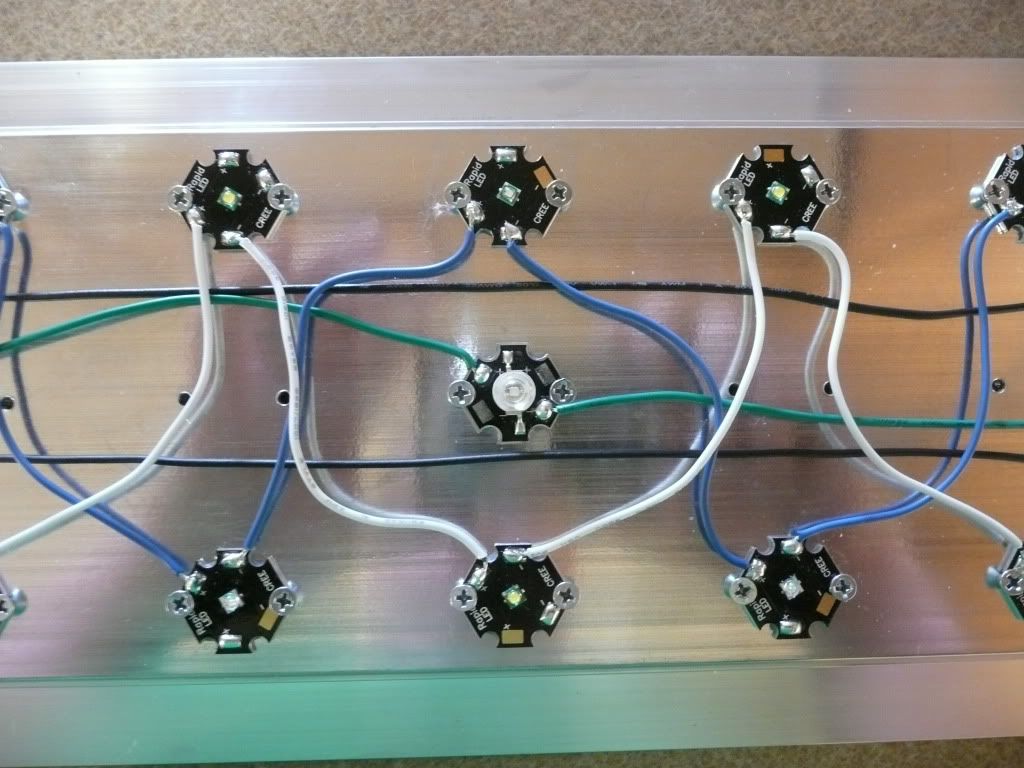
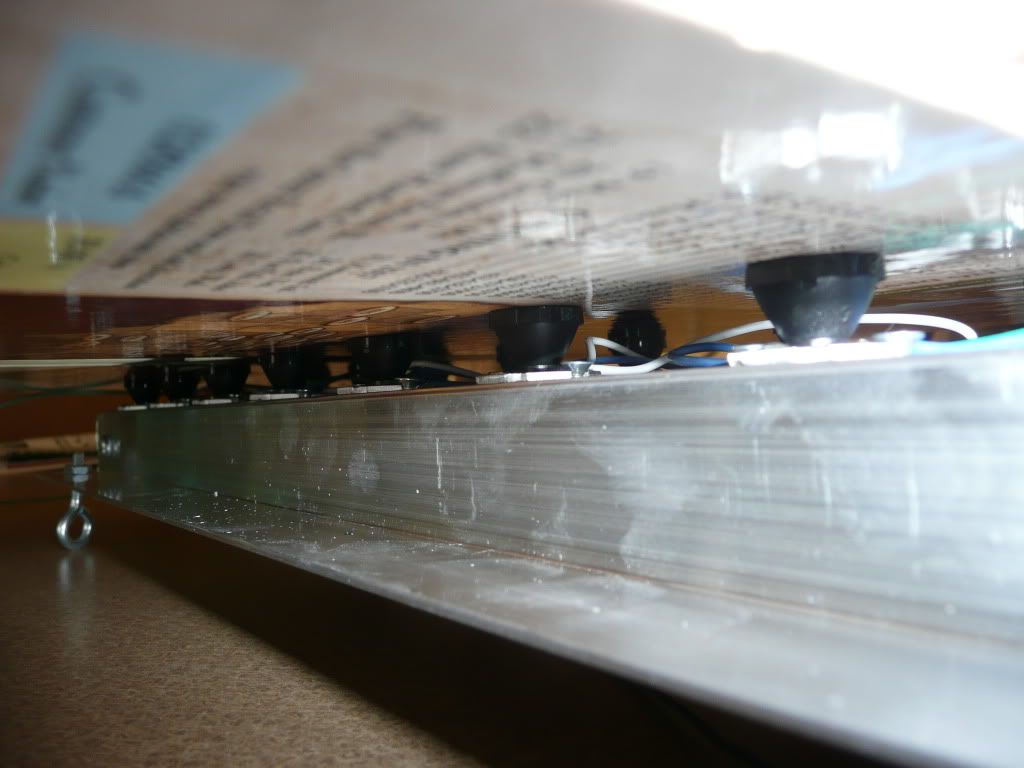
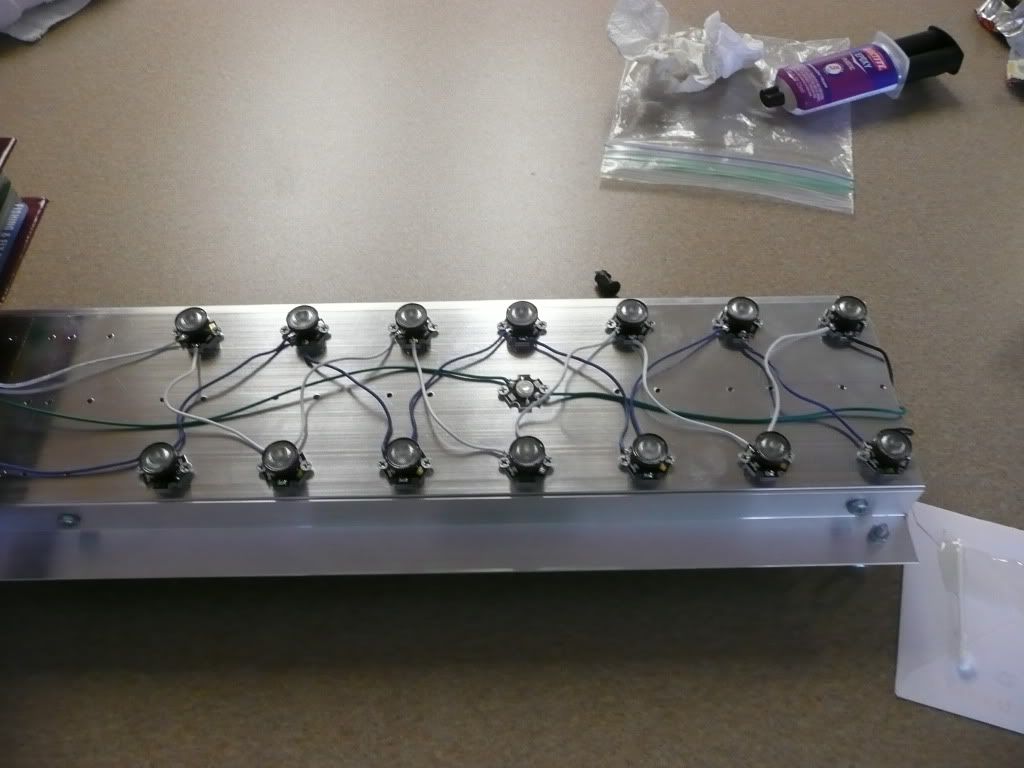
Ok, here is my documented 28 Cree Led build. It took me probably 25 hours over the course of four days to complete the build start to finish. Here is the difference after polishing one heatsink. Both polished and ready to go. I ran to the LHS and picked up two pieces of aluminum 1" angle along with some chain and "s" hooks for hanging the fixture in the canopy. I then measured and drilled the angle to use as a template for drilling the heatsinks (I forgot to take a pic of this step). All Clamped up. Drilled and ready for bolts. Bolted together and ready for LED's. I drilled a hole in each end of the angle big enough to fit the eye bolts I had used to hang my halides in the stand. Now it was time to start attaching the LED's! |

Posted By: 08TRDOFFROAD
Date Posted: May 03 2012 at 9:36pm
|
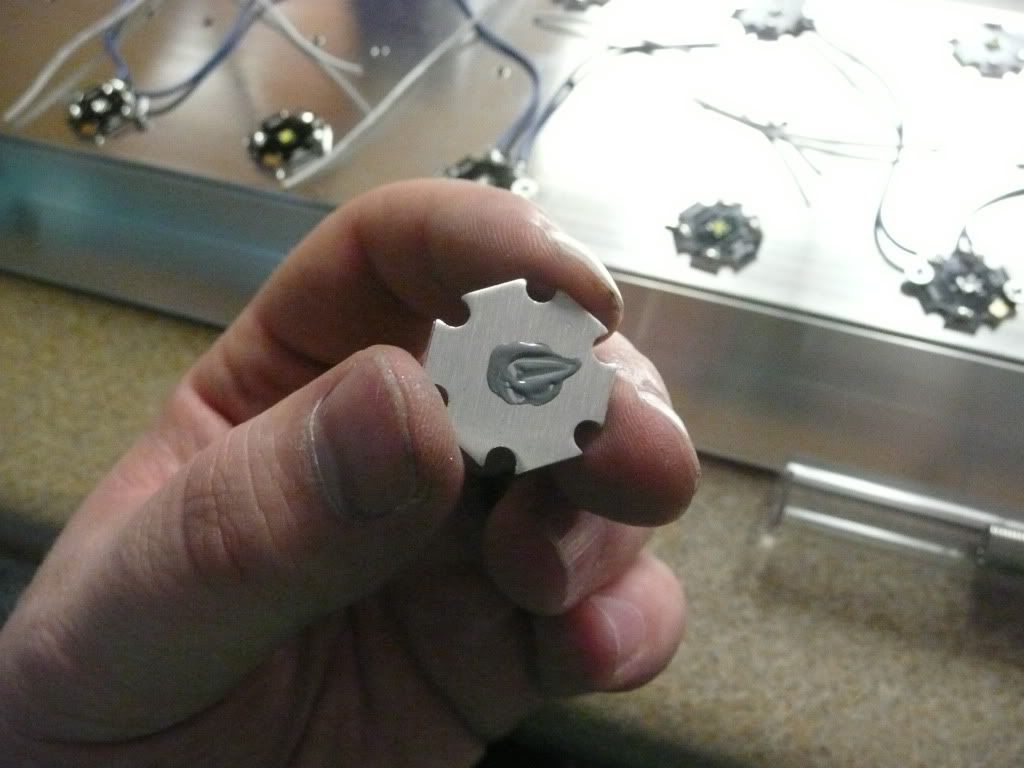
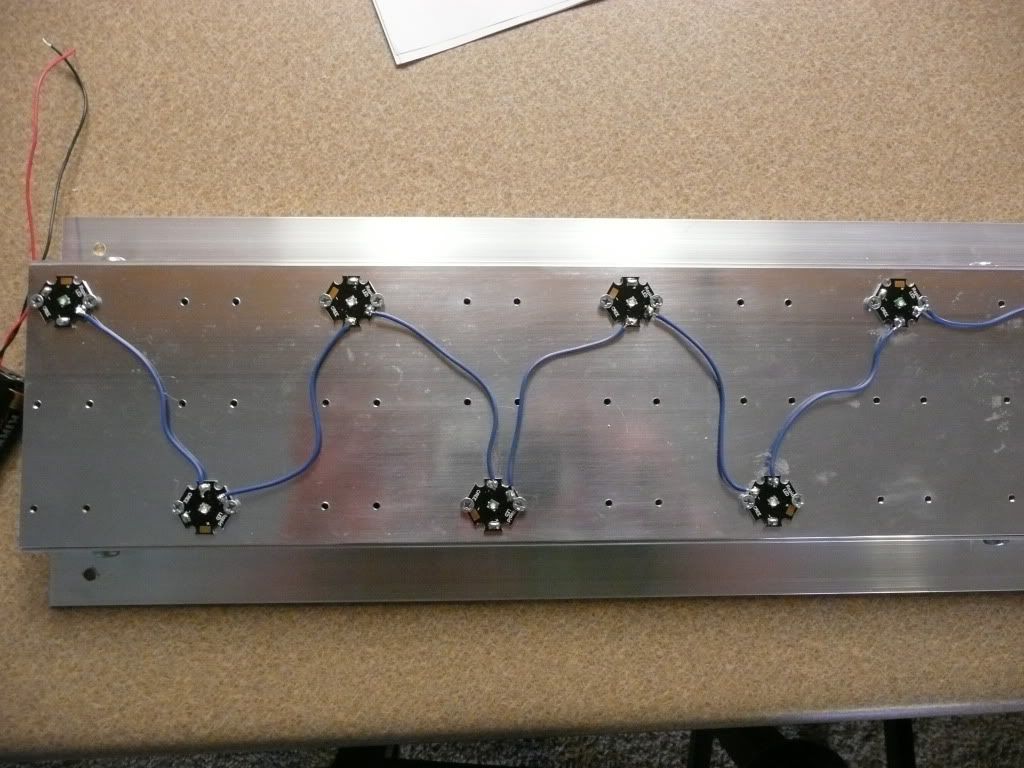
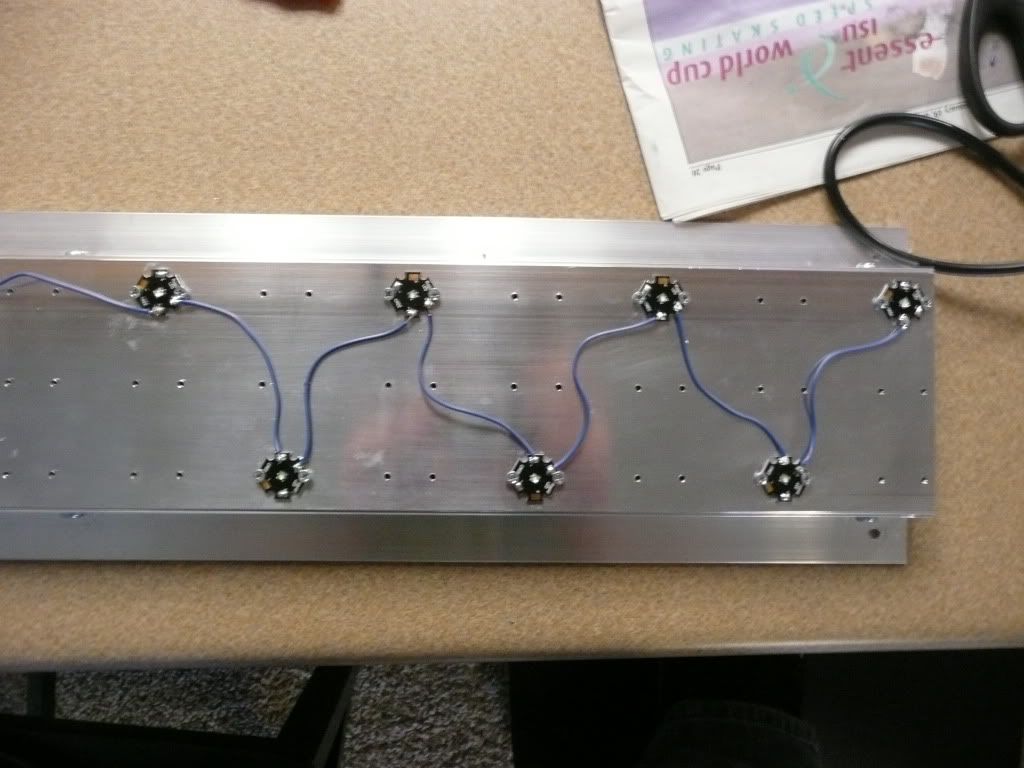
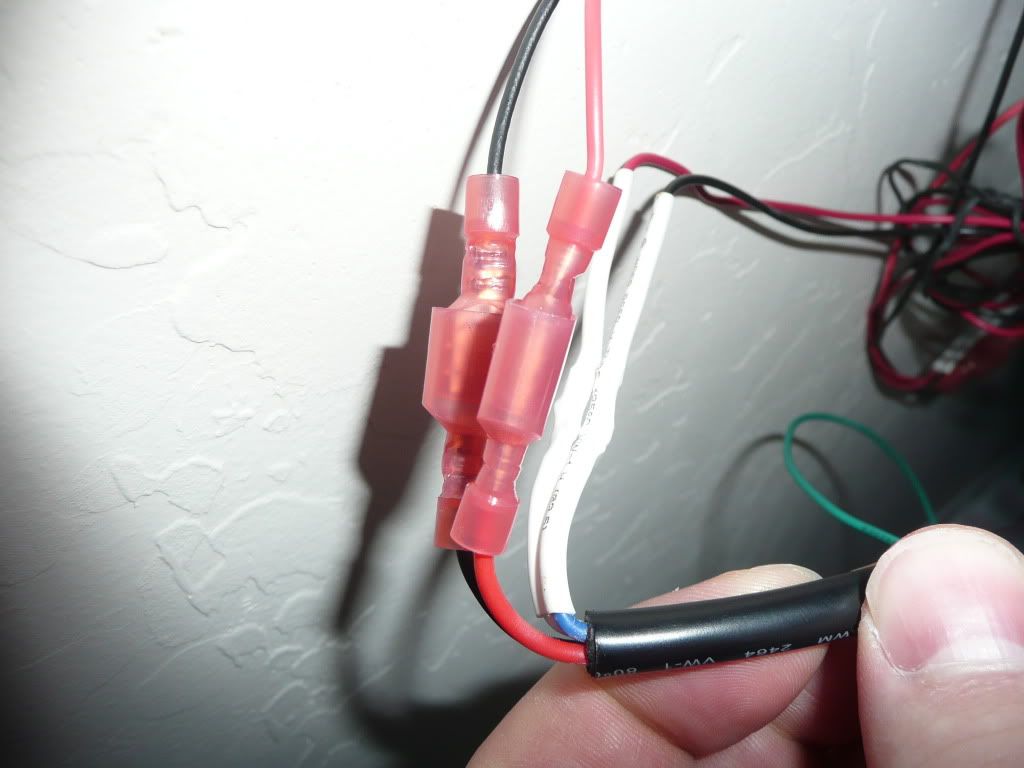
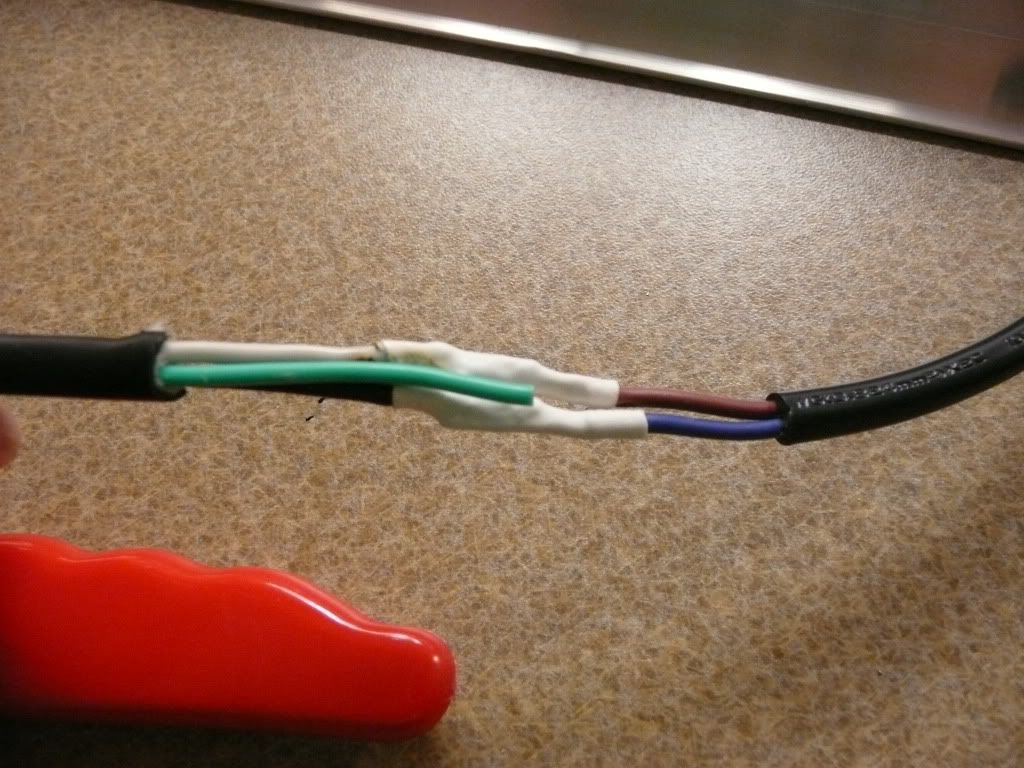
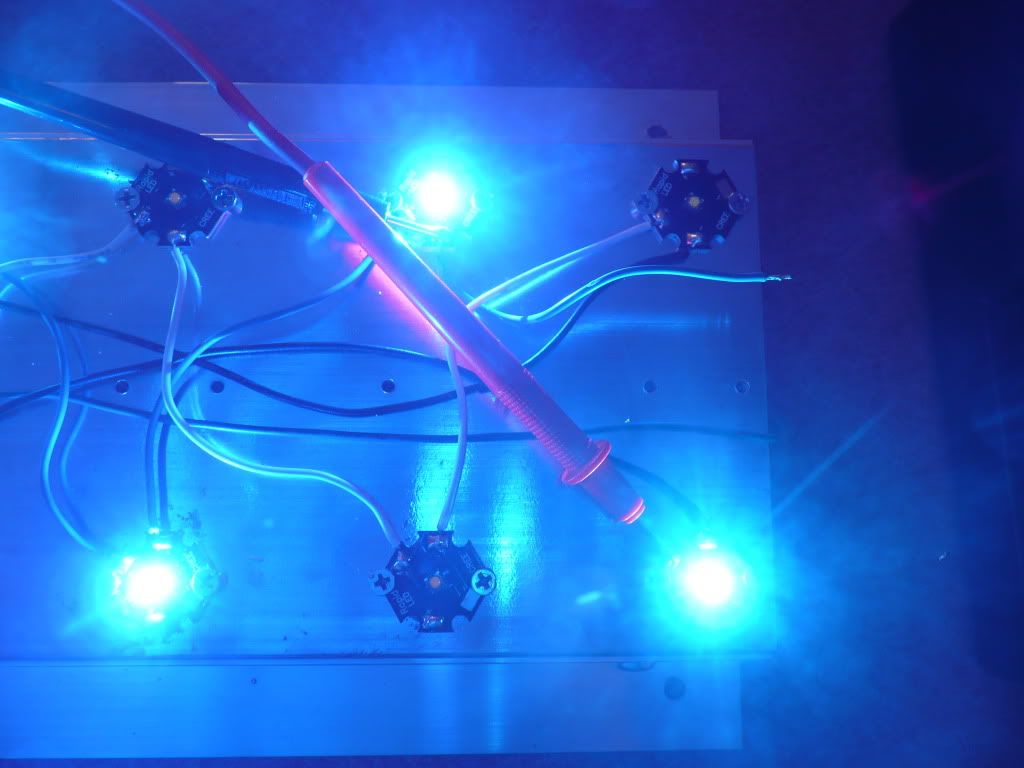
I started with the blues. I followed the pattern posted earlier in the build for LED layout. B NW RB CW RB NW B || RB CW B NW B CW RB The blues attached. You don't need very much thermal grease when attaching them to the heat sink. If you use too much it just oozes out and looks like crap! (I learned the hard way) I had to take off the led's once and repolish the sink because I used too much and the ^ happened. Just the right amount! Way too much! Ha ha! Next it was the wiring and soldering, sorry to disappoint but there are no action shots as I only have two hands! ;) The whites on and wired! Along with the moonlights screwed to the heatsink. I finished up the wiring on the moonlights and the long runs on the leds to the drivers. I used an insulated rubber disconnect on the wiring from the led's and the drivers to allow the easy removal of the led's/canopy without having to remove the drivers and dimmer switch. |

Posted By: 08TRDOFFROAD
Date Posted: May 03 2012 at 9:44pm
|
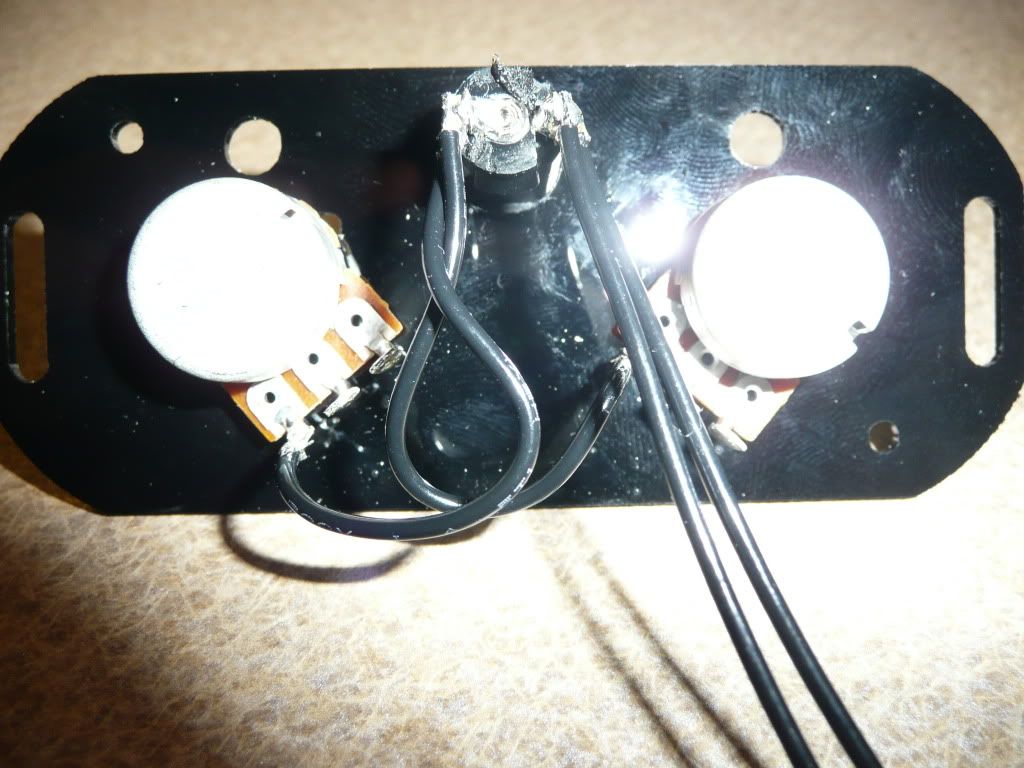
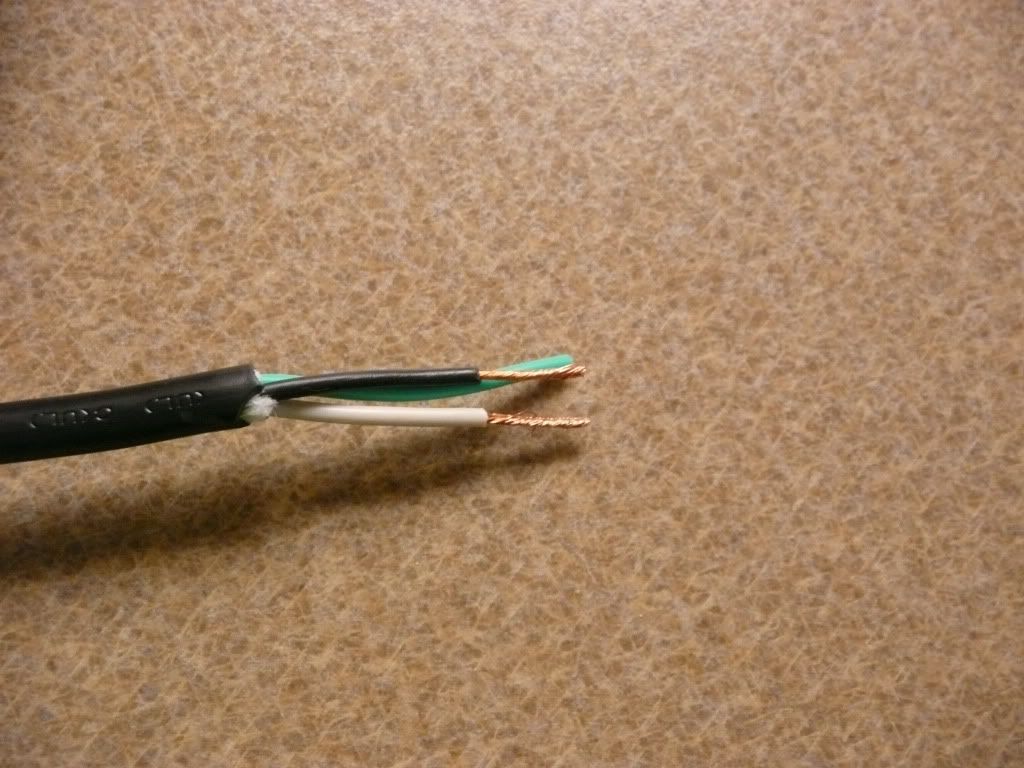
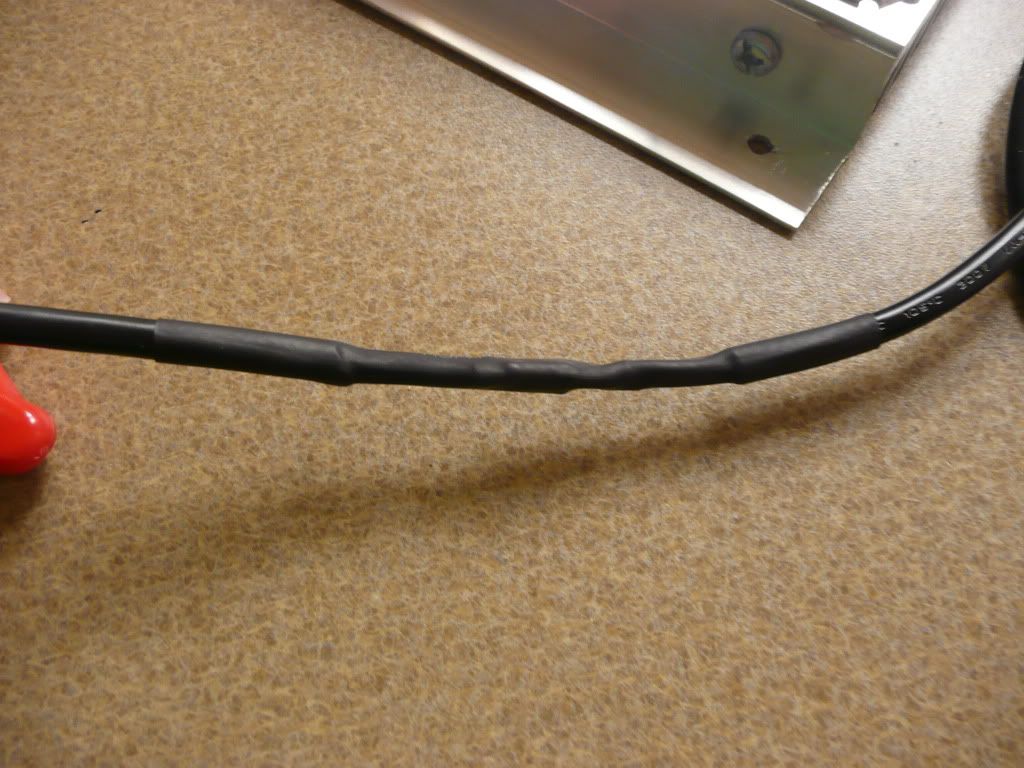
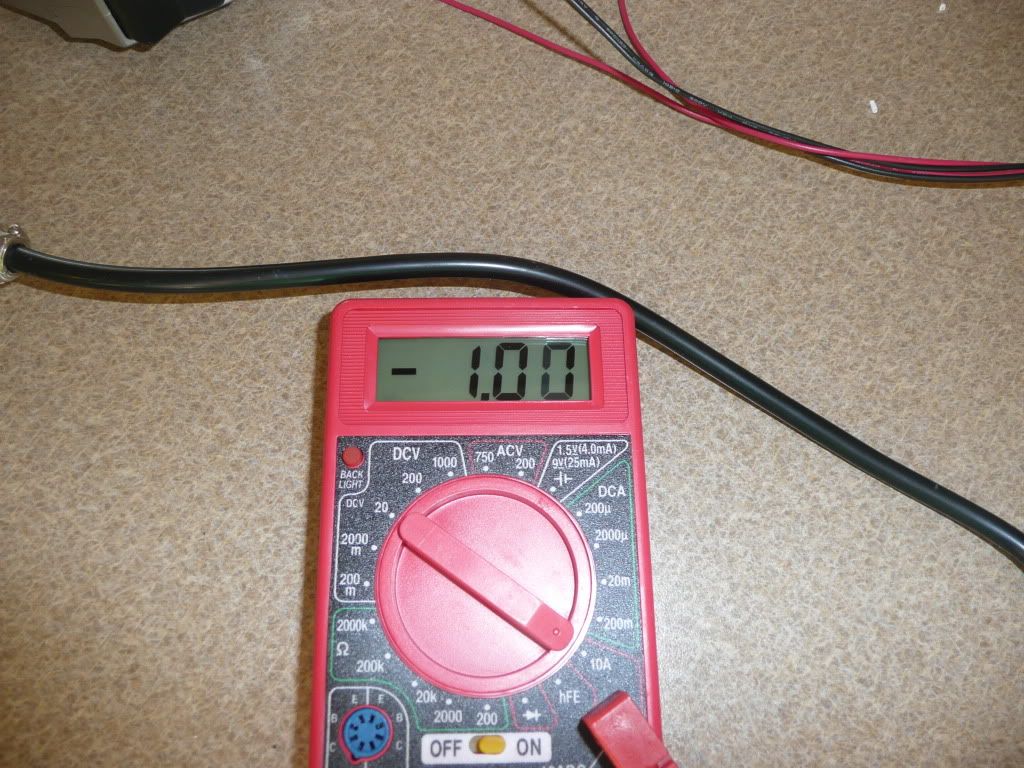
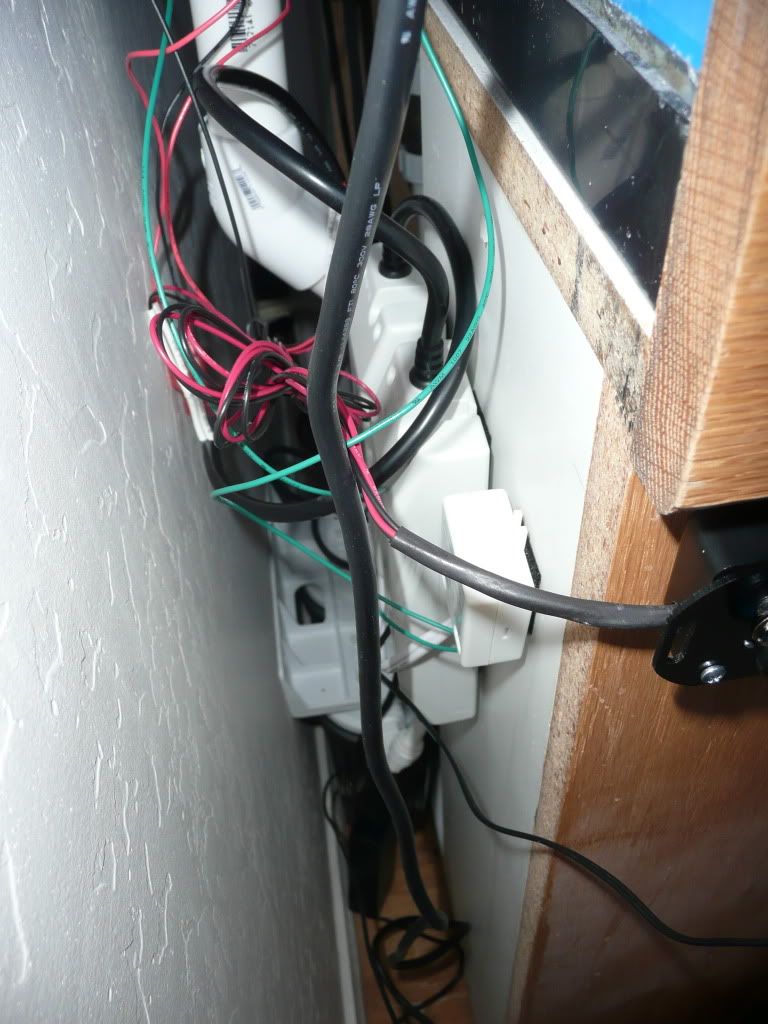
Next was the wiring the drivers. I repeated these steps for both drivers. I started by stripping the insulation off the cord to be attached to the driver. Then I soldered the connections and heat shrunk them to prevent a short or fire. Then a final heat shrink to make it nice and pretty! Next, I finished up the DIY Dimmer wiring. Final assembly completed. Dimmer Kit wired to driver. Like above, I soldered and heat shrunk the connections for protection. All the wiring is complete and it is time for the moment of truth! Plugging them in and adjusting the SVR2! I have to admit, I was a bit like Clark Griswold at this point, although nobody else was there to give me a drum roll as I plugged in the drivers! Much like Clark's experience, the led's did not light… Nothing happened…nothing lit up…nothing did anything! I quickly unplugged the driver hoping I didn't screw anything up! After several seconds of the driver being unplugged the led's would flash! I was so frustrated at this point after hours and hours and hours of work, it was the biggest let down!!! I carefully checked each connection on the every led, checked for a ground somewhere on the heatsink and could not find any issues! After more than an hour of tinkering and still not getting the led's to light up I had all but given up when I looked across the counter and say the 10v adapter still in the plastic! I hadn't plugged the 10v supply in so the driver's weren't receiving a signal from the dimmer circuit! Ah ha! I thought, quickly plugged it in and then plugged in the drivers. Still nothing!!!!!!! I was ready to throw the fixture across the room! But, instead I calmly sat and double checked the wiring on the dimmer circuit…somehow I had crossed/confused the +/- dimmer circuit coming from the drivers and had wired the dimmer circuit backwards! I heated up the soldering iron and in a few minutes my stupid mistake was resolved. Hours of frustrations for something so stupid! Ha ha! |
Posted By: 08TRDOFFROAD
Date Posted: May 03 2012 at 9:44pm
|
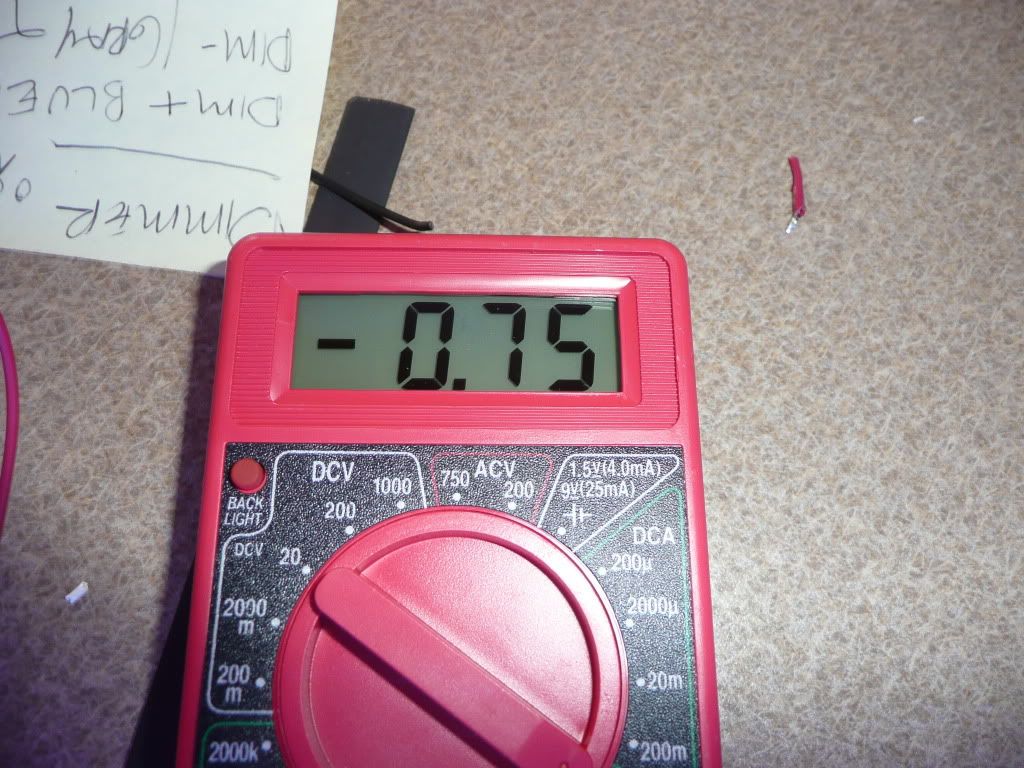
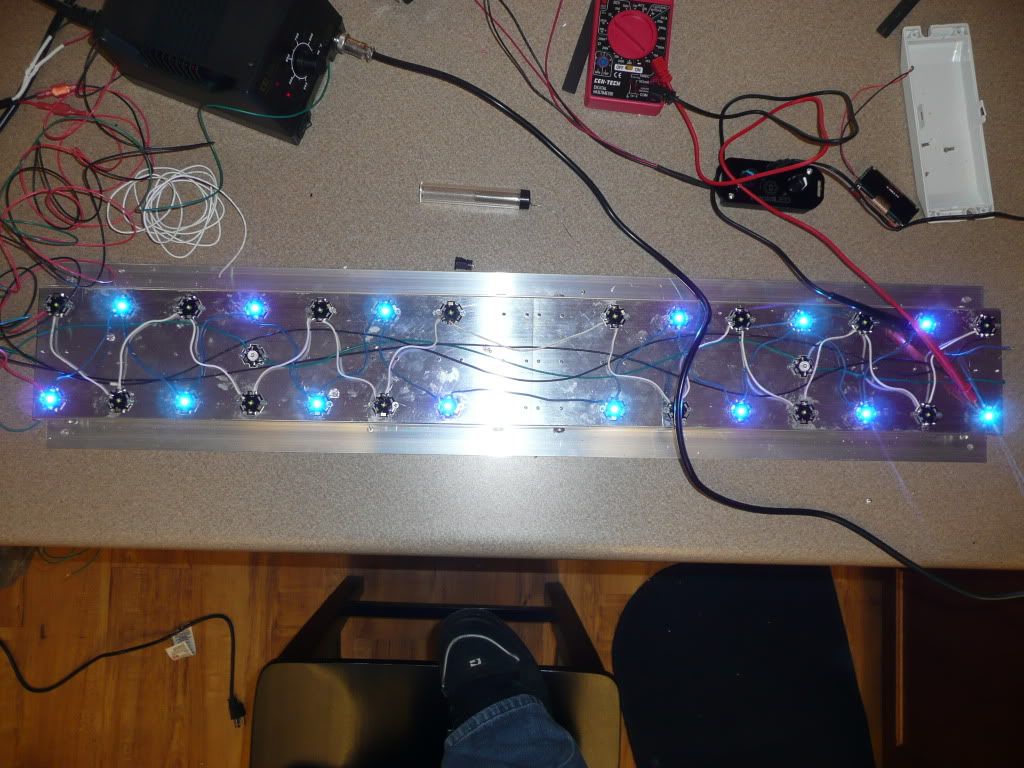
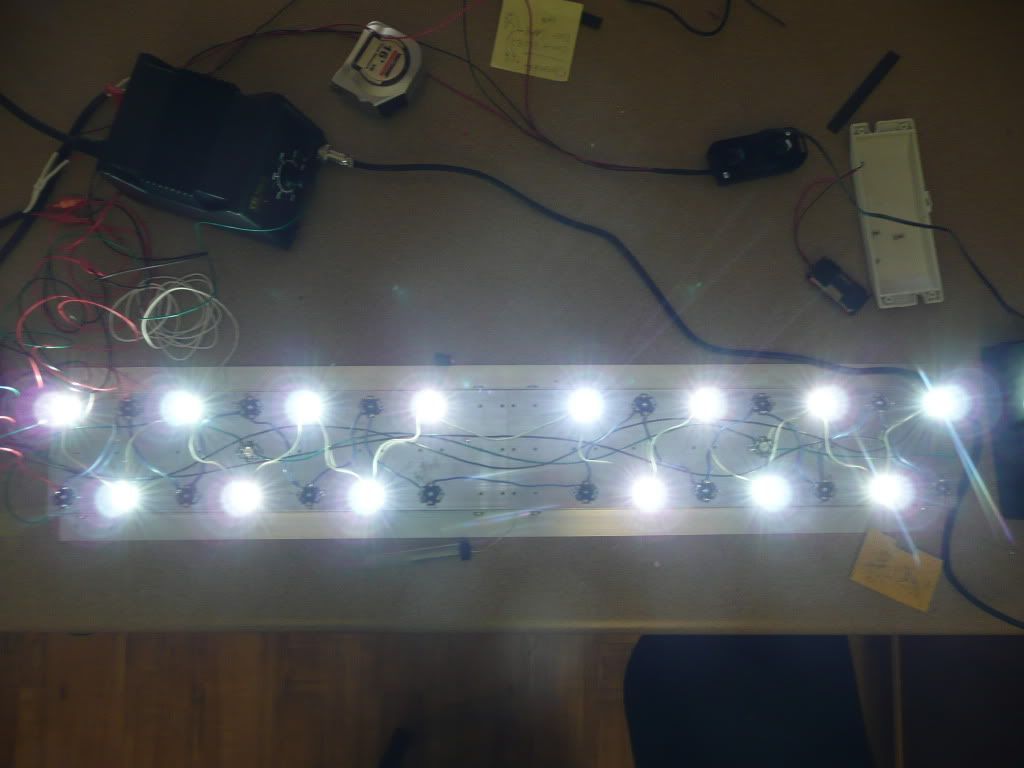
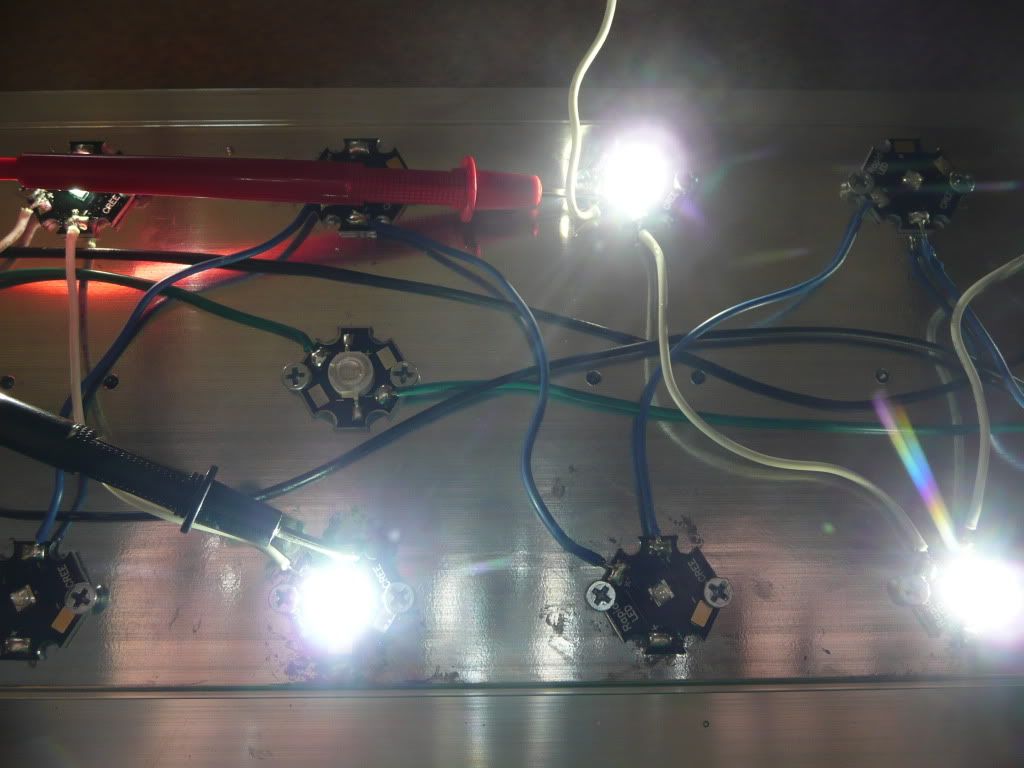
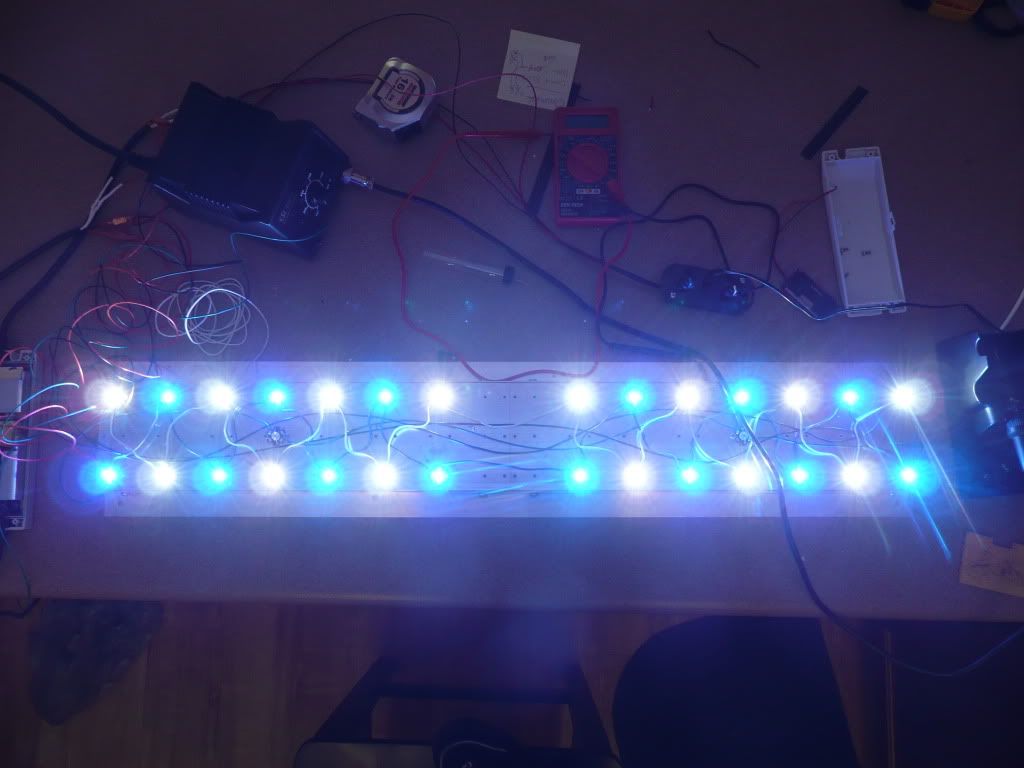
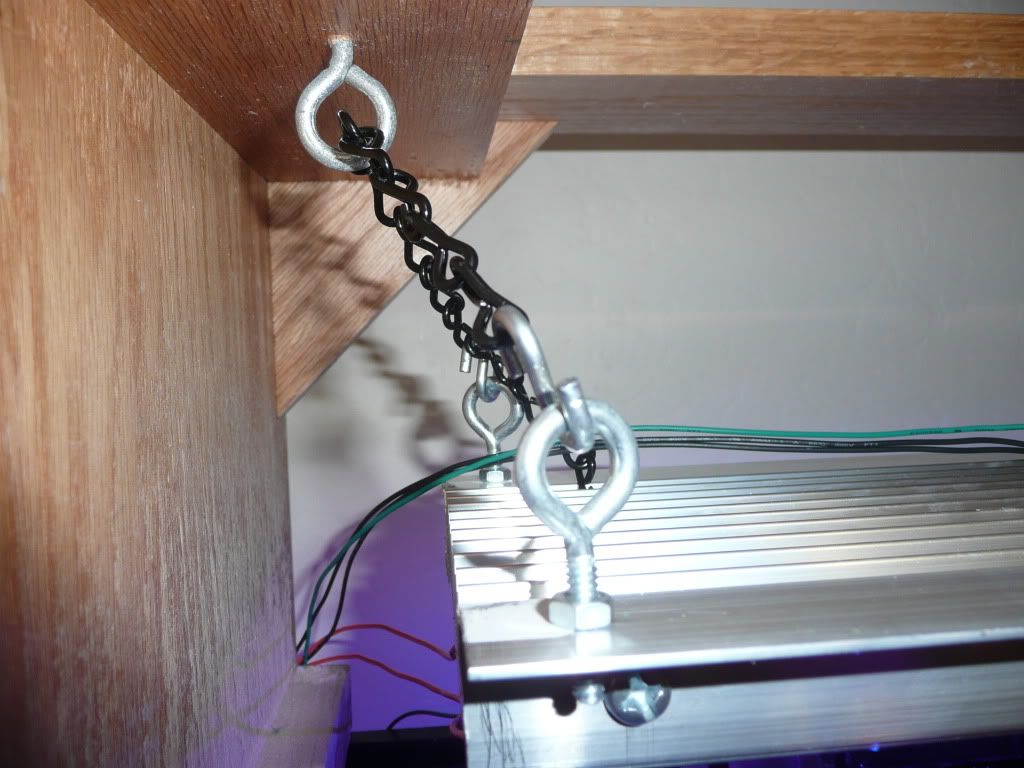
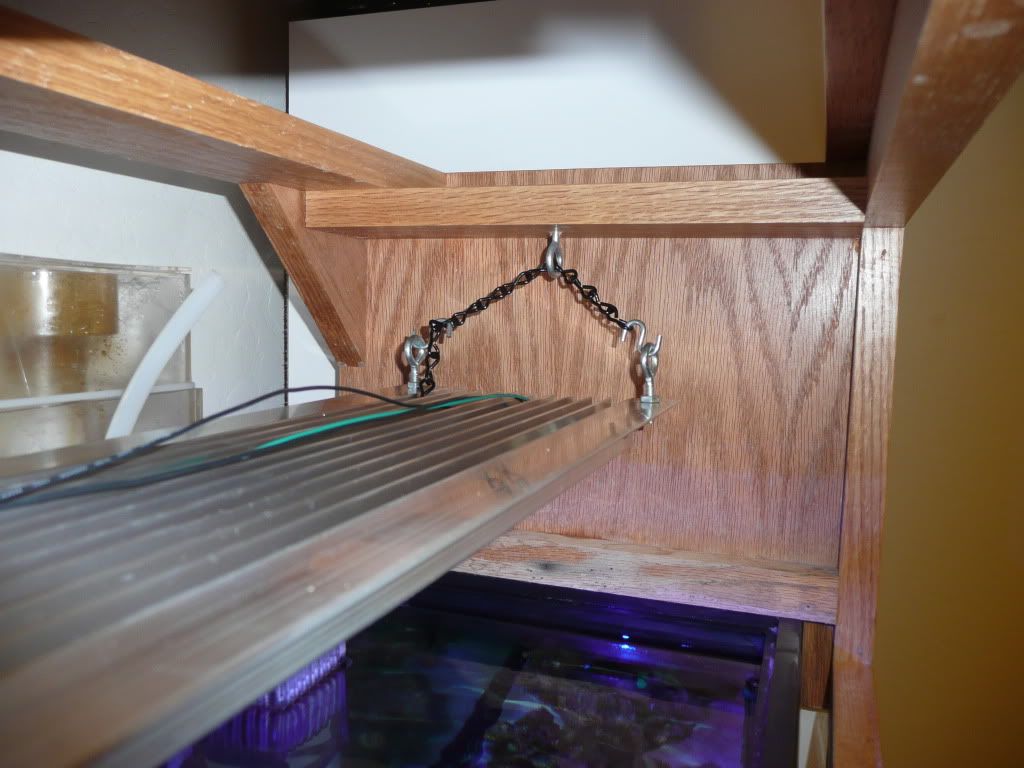
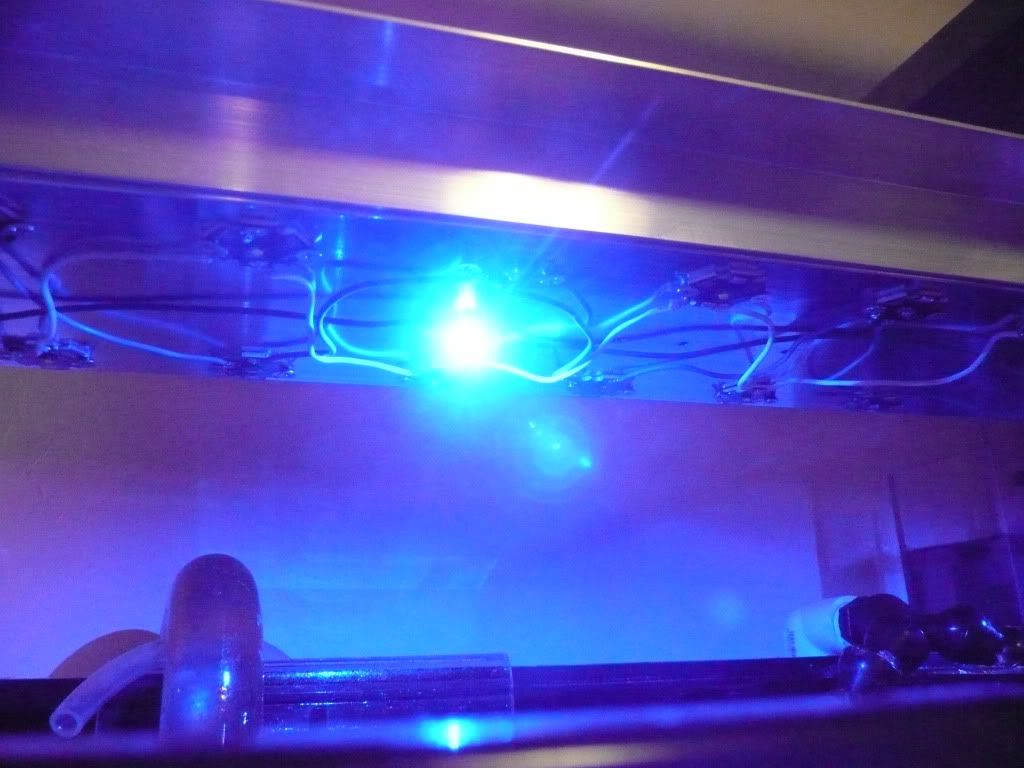
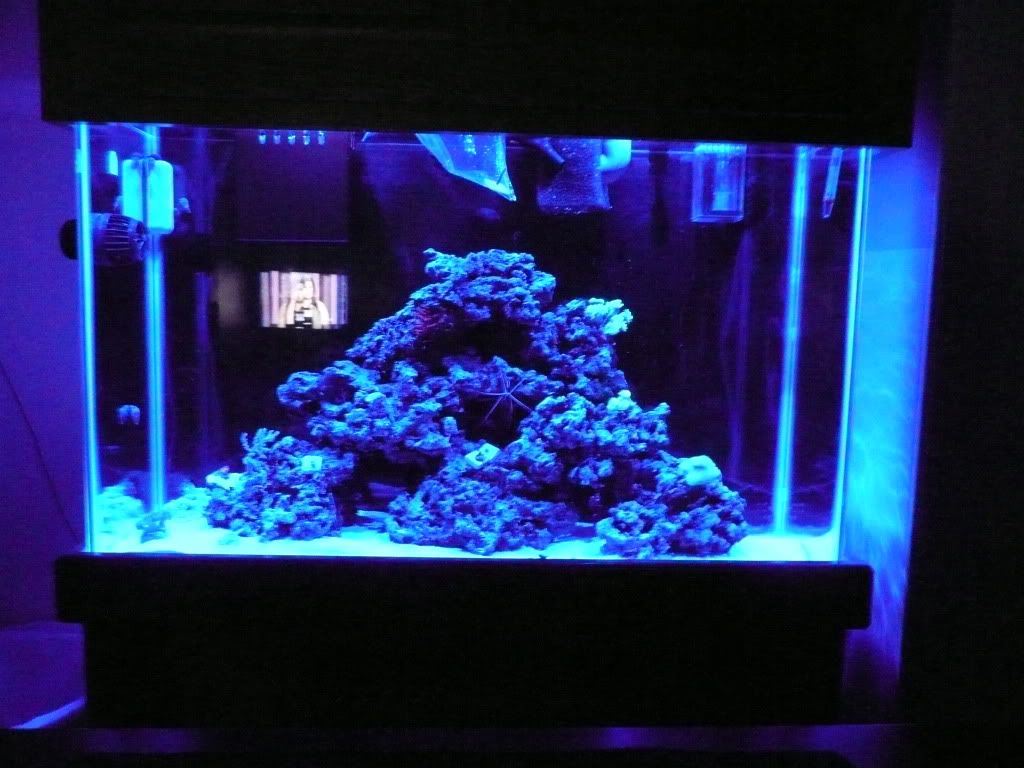
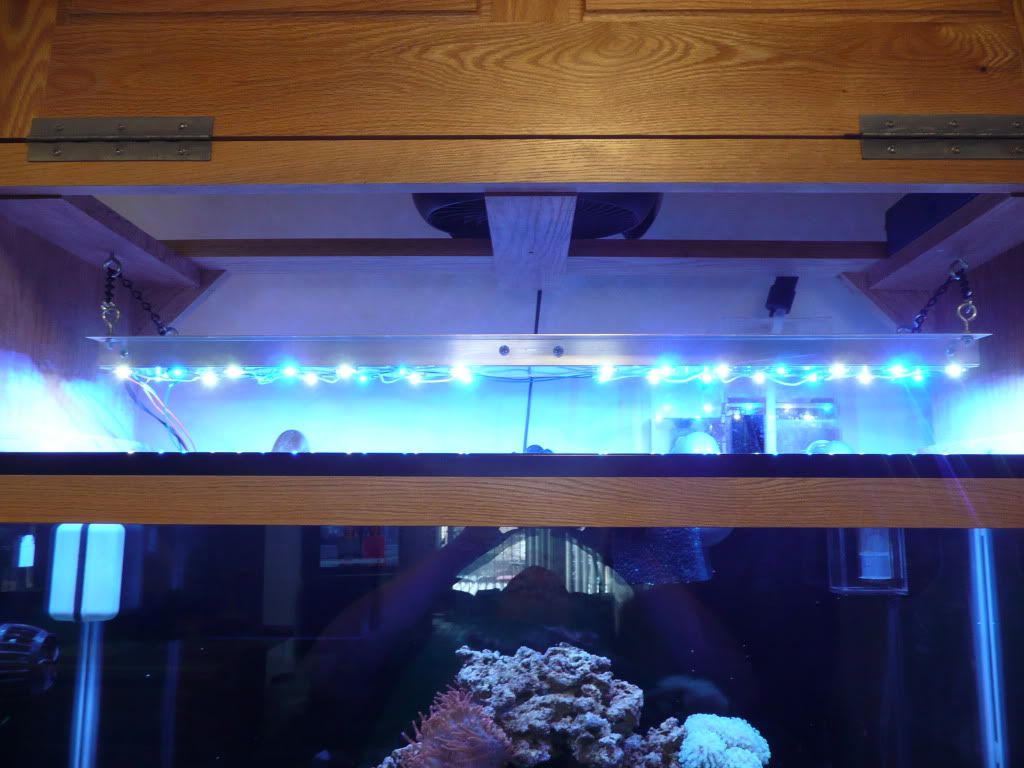
Once again sans drum roll I plugged the blue driver in and…. I soldered my multimeter in line to adjust the voltage from the driver. I set the blue driver to 750 mA. I turned the dimmer down with the meter still attached. It would dim down to 30 mA before the led's would shut off. Then it was on to the whites! I plugged them in and as expected it looked like high noon in my kitchen. I soldered the leads in the exact same way I did on the blues. I adjusted the SVR2 to run the driver at 1000 mA. The whites don't dim near as low before they turn off. I didn't have the meter on so I can't tell you exactly how low they go mA wise. Here is my fixture in all its glory! I definitely should have worn sunglasses! Next was mounting it in the canopy. I used the eye bolts that were previously screwed in/installed for the halides. I installed the other eye bolts that I pulled out of my halides that were used to hang them from the rope.I then cut the 3 feet of chain I purchased into 1 foot length. I fed the chains through the eye bolts and hung the fixture using the "s" hooks I picked up. I used Velcro to mount the drivers and the dimmer control for easy removal, for some reason these pics didn't make it on my thumb drive, but I will add them later. I forgot to take a pic when I tested the moonlights, but here is one lit up! And now for what I am sure you have all been waiting for… FTS's!!!!!! Sorry I didn't realize they are so blurry...I really need a Nikon D5100! Moon lights only Royal blues only Whites and blues |

Posted By: 08TRDOFFROAD
Date Posted: May 03 2012 at 9:46pm
|
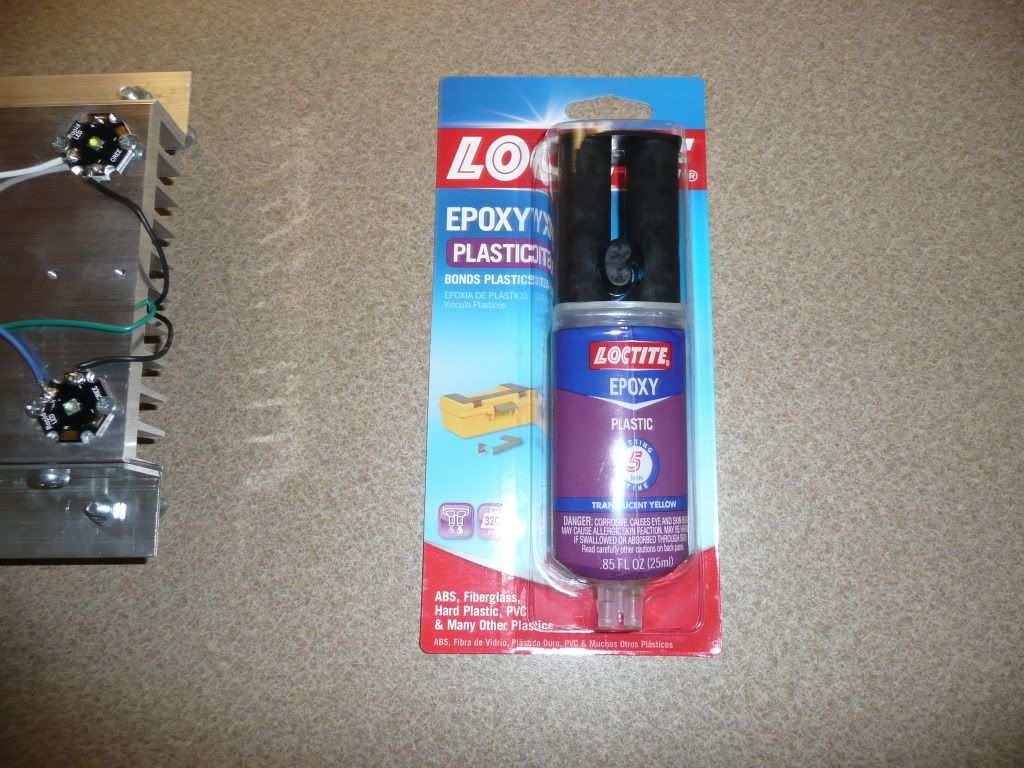
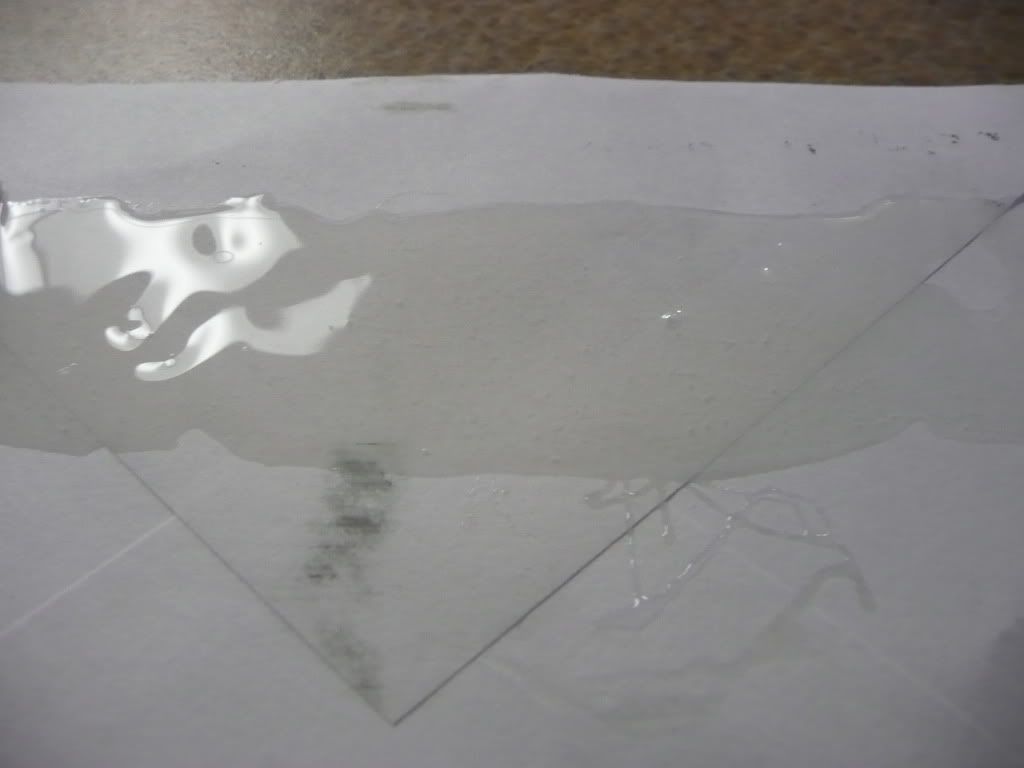
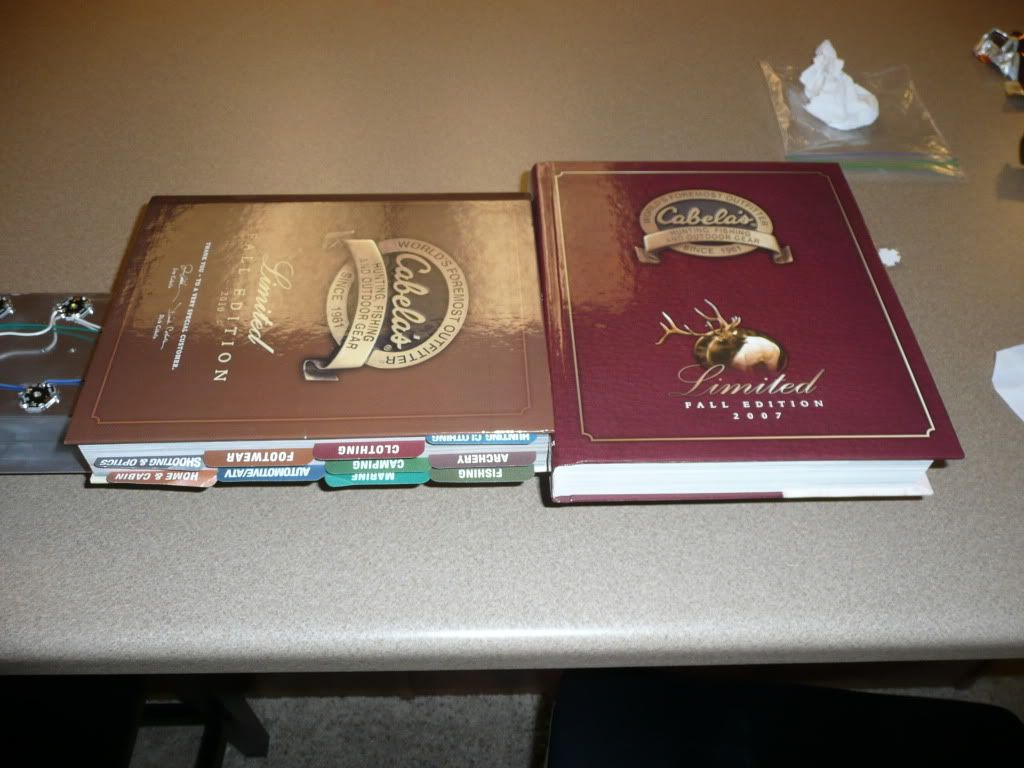
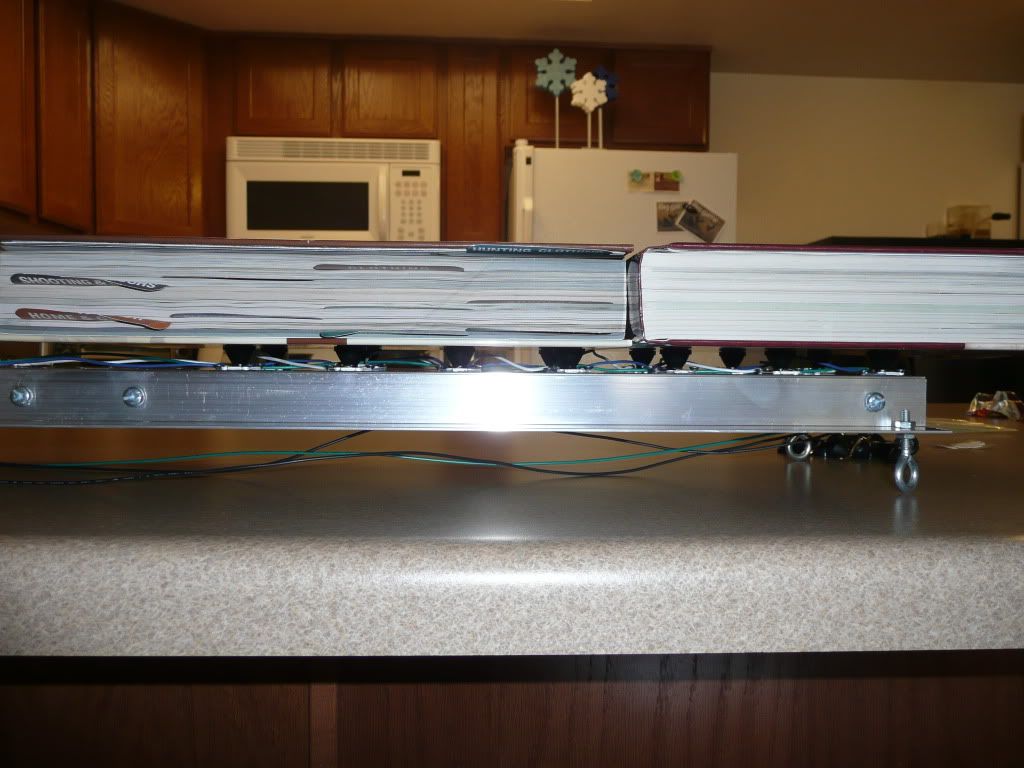
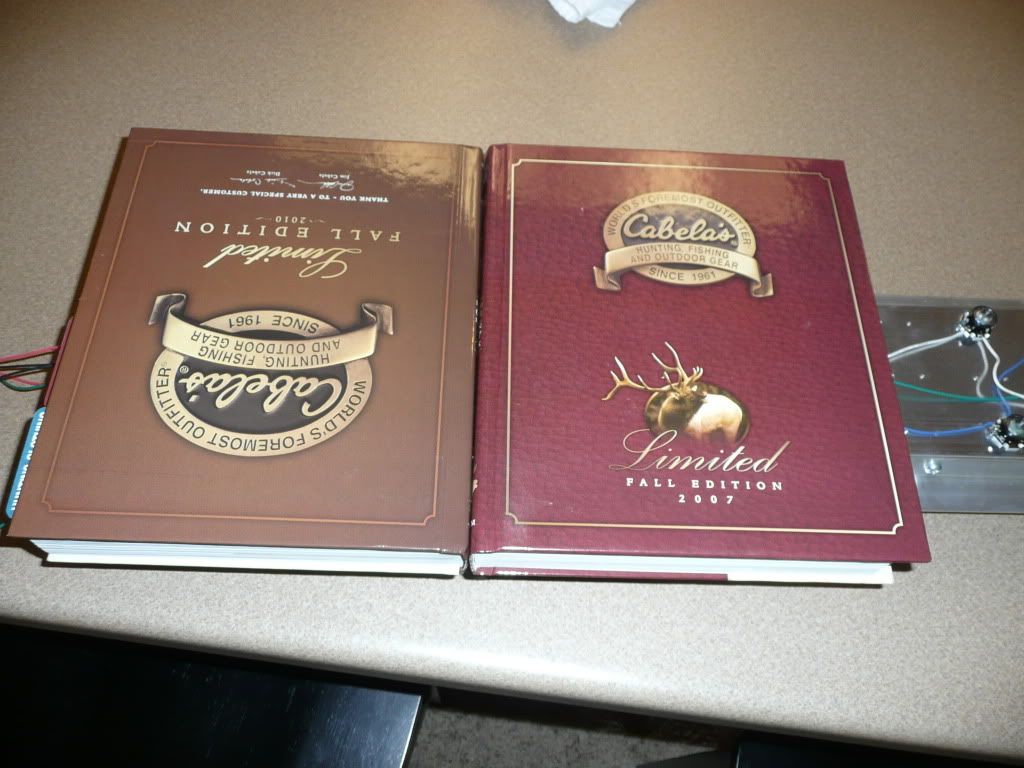
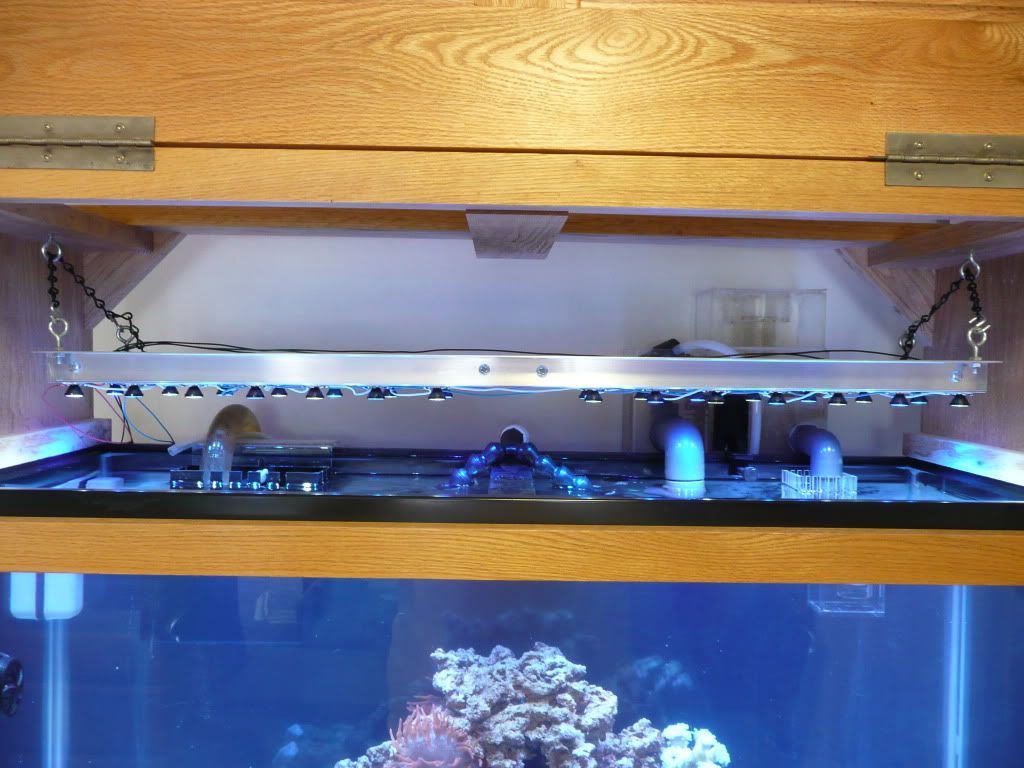
I put the lenses on my LED's! After talking to Mike at Rapid I picked up some plastic epoxy from my LHS. I mixed equal parts of the two and spread it out as a thin layer for easy dipping of the lenses. I then dipped the lenses and placed them on the the LED's. I then used two "books" as a weight to hold the lenses nice and level/flat against the LED's while the epoxy set. I did half the fixture at a time. I left the books for 20 minutes to allow for cure time. (per the epoxy instructions) I then repeated on the other side. Here is one side complete! Here is a before and after comparison to show how the lenses focus light down in to the tank! A few FTS after the lense install! While I was waiting for the epoxy to set I did a water change! Here is my water mixing! (I was bored so I took pictures) I also drilled syphon break holes in my loc-line finally!
|
Posted By: 08TRDOFFROAD
Date Posted: May 03 2012 at 9:51pm
|
I added some SPS and lost most it. I struggled to get my alkalinity, magnesium and calcium to stabilize. I switched to Aquavitro Salinity, which seems to have curbed the problem.
Once I got the issues straightened out, I began adding more stuff.
I went with my wife yesterday to Bird World/Pet Village in Bountiful, which is a bit of a drive so we don't make it there very often. I saw a few things I HAD to have...I couldn't help myself!!!
Some zoa's (I believe they are either Aquaman or very nice strain of radio active dragoneyes)
  A Green Birdnest
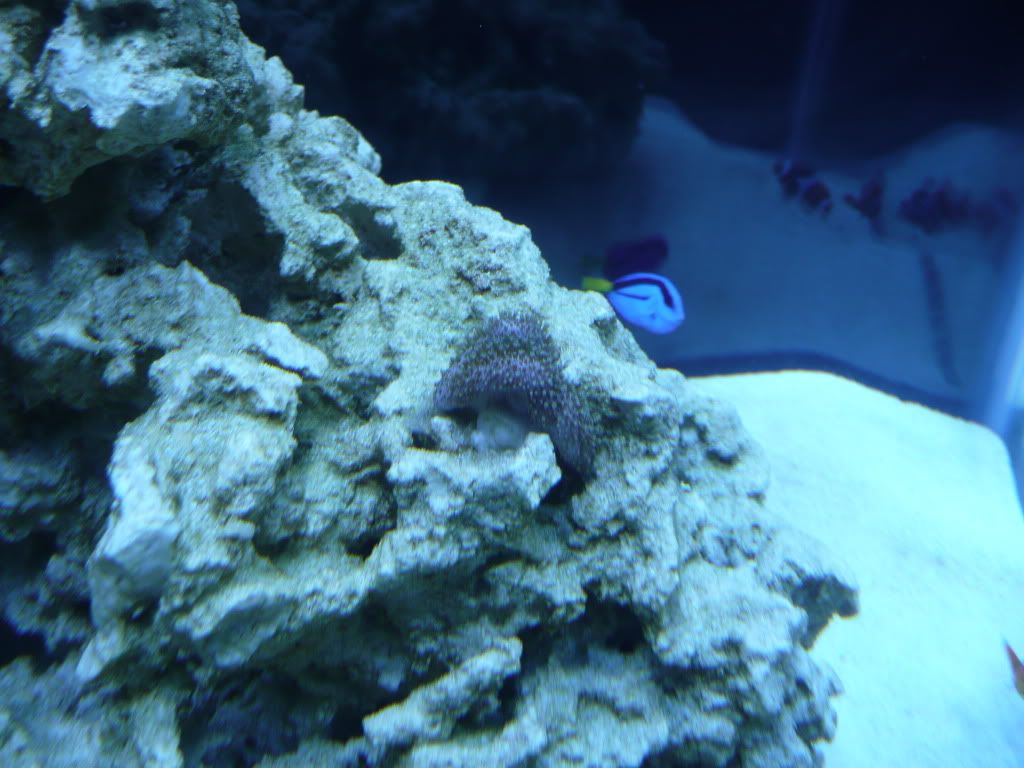
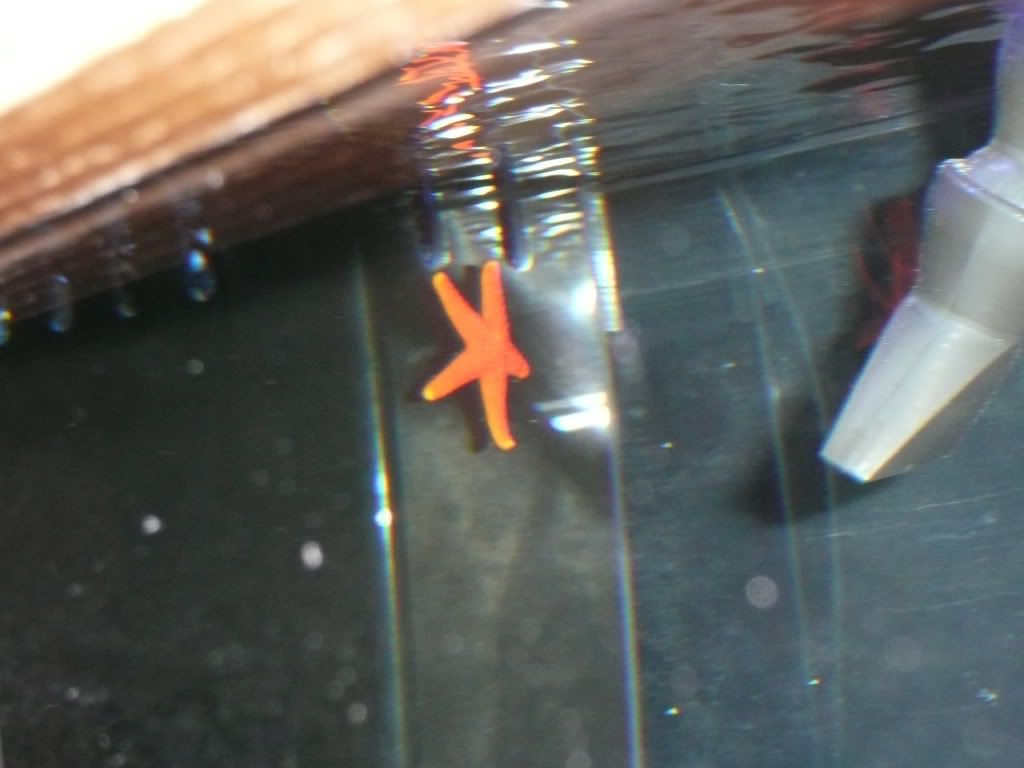
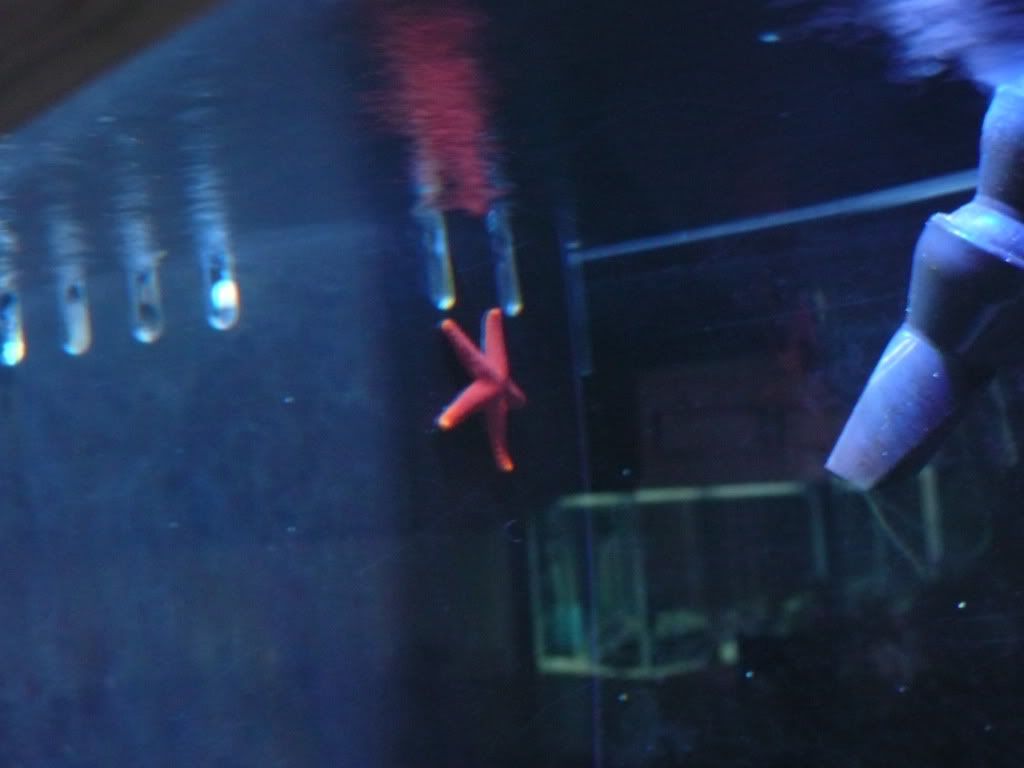
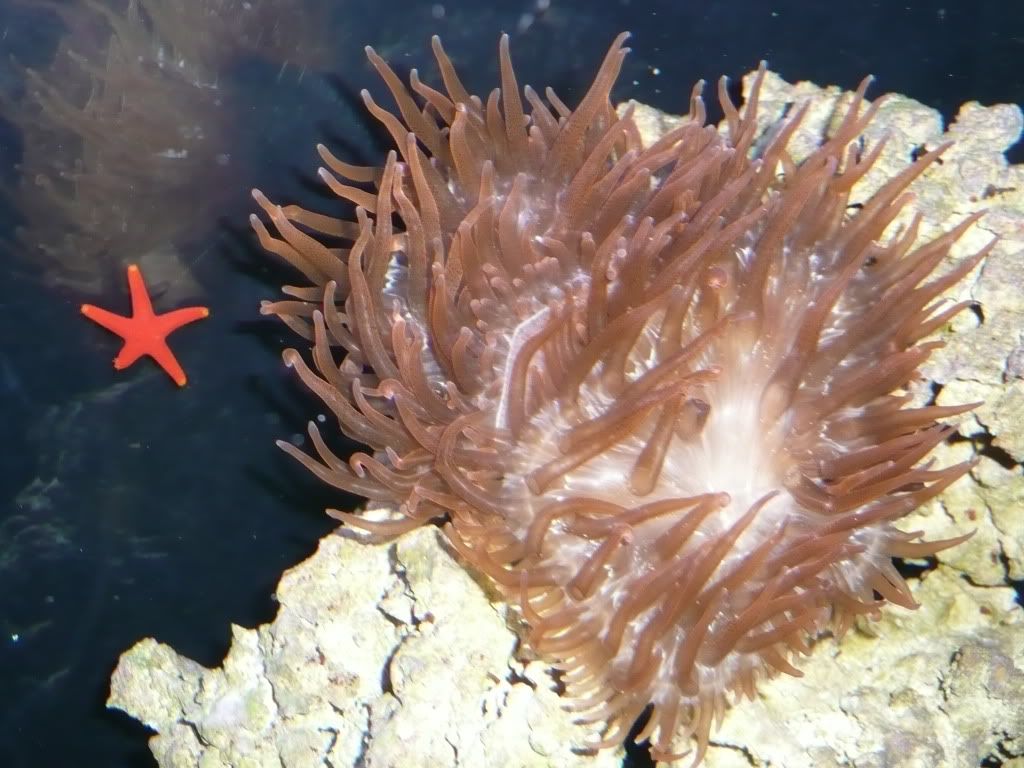
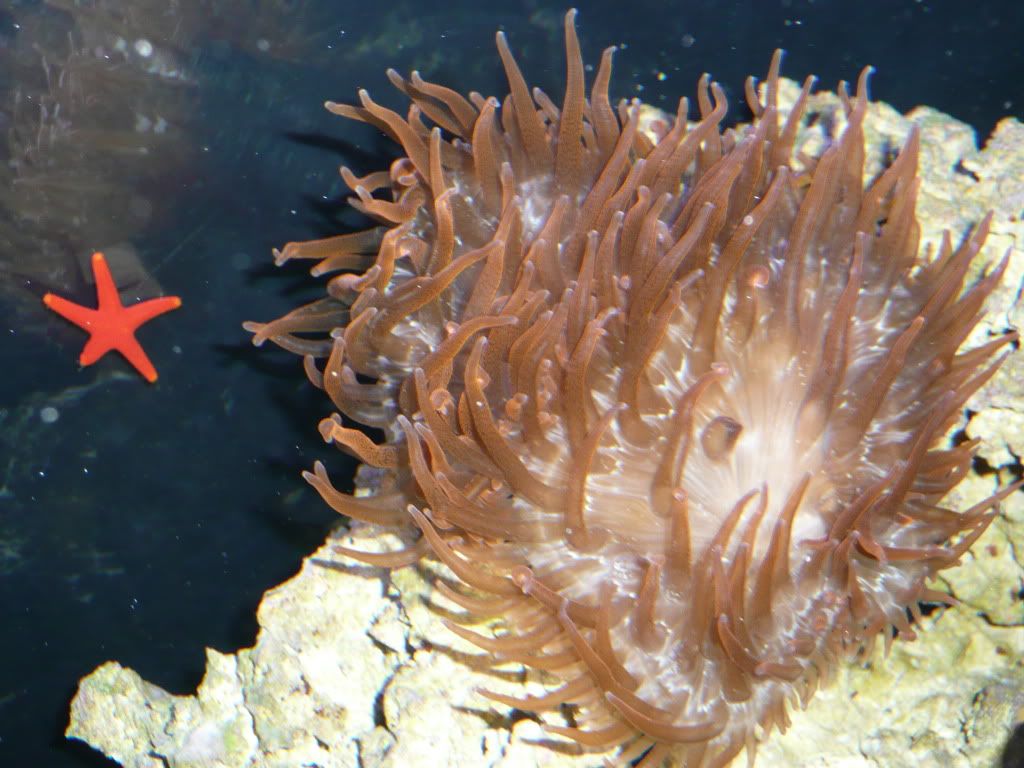
  And a Bali Red Starfish (he was hiding behind my overflow box this morning, this is the best picture I could get)
 My Bali Red Starfish poked out from my overflow box the other day. I was able to snap a few pics. These are the best pictures of him I have to date!
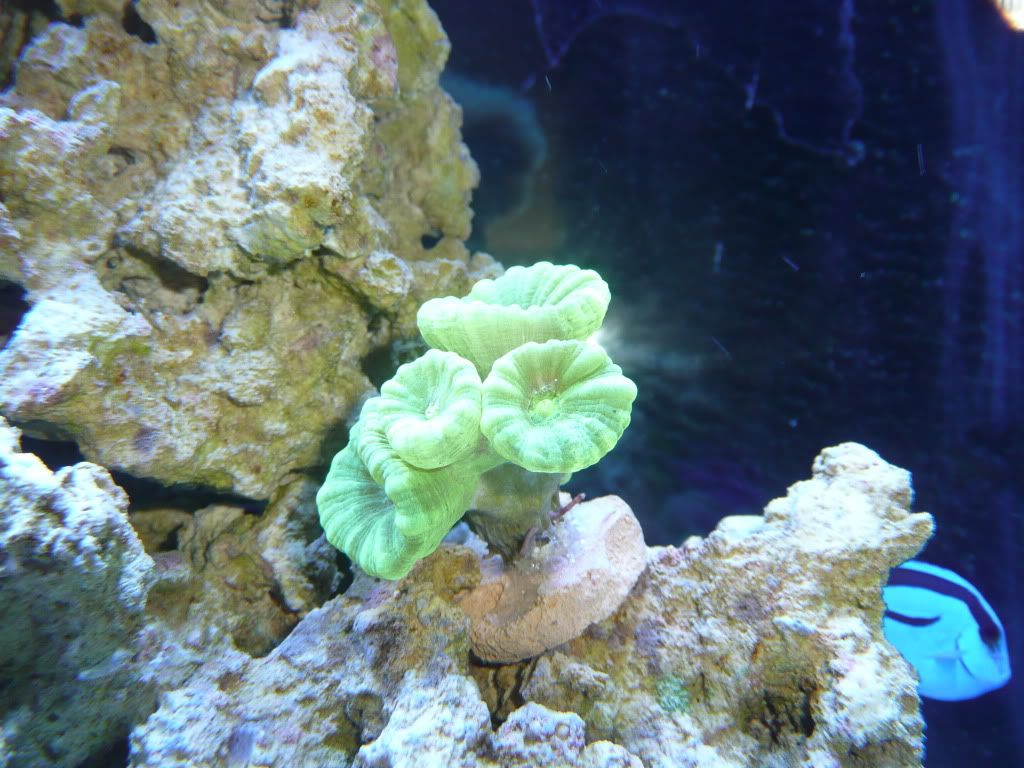
  I also snapped a pic of my candy canes. They are showing signs of improvement!
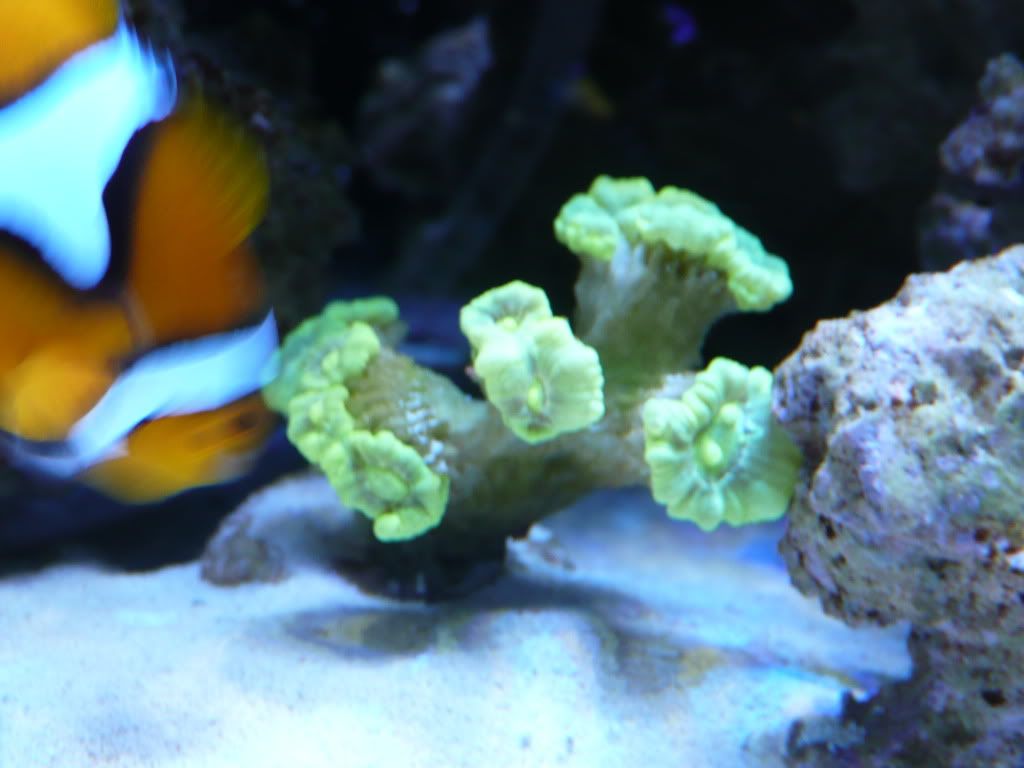   This is what they looked like on February 24, 2012, right after I moved them to the sand bed in the shade.
  |
Posted By: 08TRDOFFROAD
Date Posted: May 03 2012 at 9:54pm
|
I woke up a bit early this morning and fired up the LED's to give the corals enough time to open up and look "purdy" before I left for work! It's picture time! We'll start off with the Rose Anemone's! These have put on some size over the last few months! With flash My Nuclear Green Candy Canes are looking much better than they were! With your guys help I brought them back from death's door step! With Flash My Horizon Paly's have been doing great! I started with one polyp a few months ago. The pictures explain the rest. Next up is the Kenya Tree "frags". They are much a frag anymore, more like mini colonies! On to my Hammer Coral, it is looking much better down near the sand bed than it has in a few months! I think it was just getting too much light. It seems to be darkening up a bit more now too! The Green Toadstool still seems a bit bleached, but I'm not sure how much longer I will keep it. My zoa's are finally starting to multiply. Here they are at random. (My new frag blew off the plug and I am currently trying to get them to attach to the rock work, so there are no pictures of them this time) The Green Star polyp frag that I was hoping would quickly cover my back glass is only growing slowly but surely! A mystery coral that came on another frag, I believe it is a clove of some sort. I have seen noticeable growth in these as well over the last few months. And, last but not least! My ever growing coralline spot! |
Posted By: 08TRDOFFROAD
Date Posted: May 03 2012 at 9:57pm
|
And a final update, that will bring the tank to it's current status. I picked up a bunch of stuff from Burt's "Going out of business" sale! Ha ha!
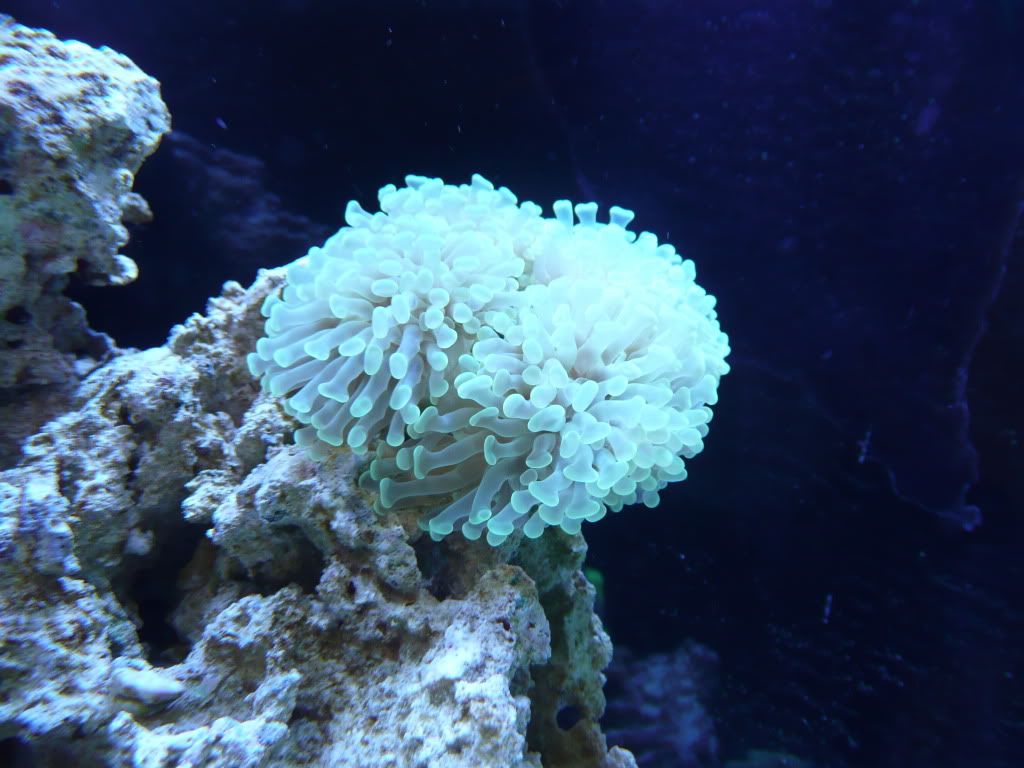
First, one of my favorite new additions. The Torch Coral!
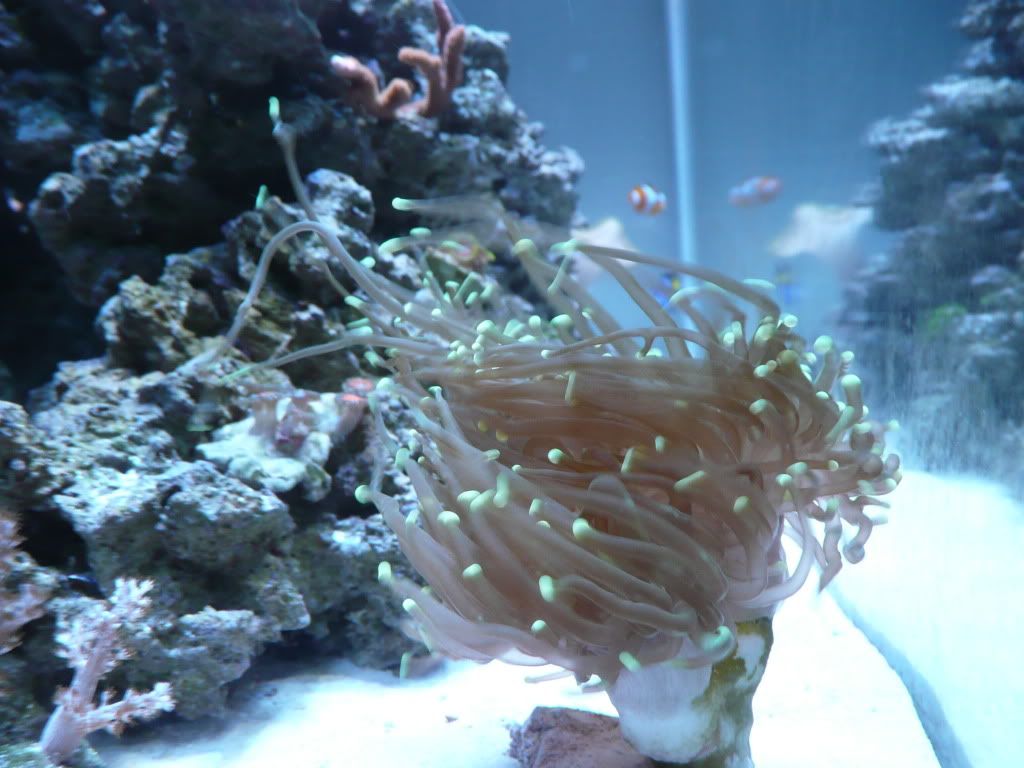 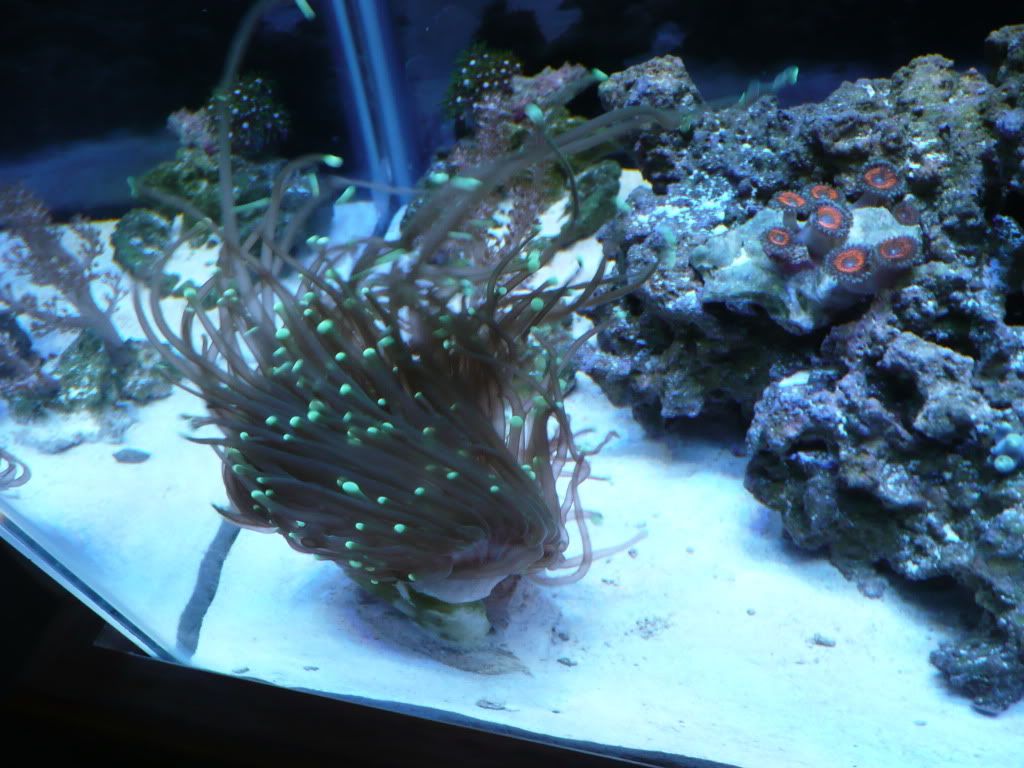 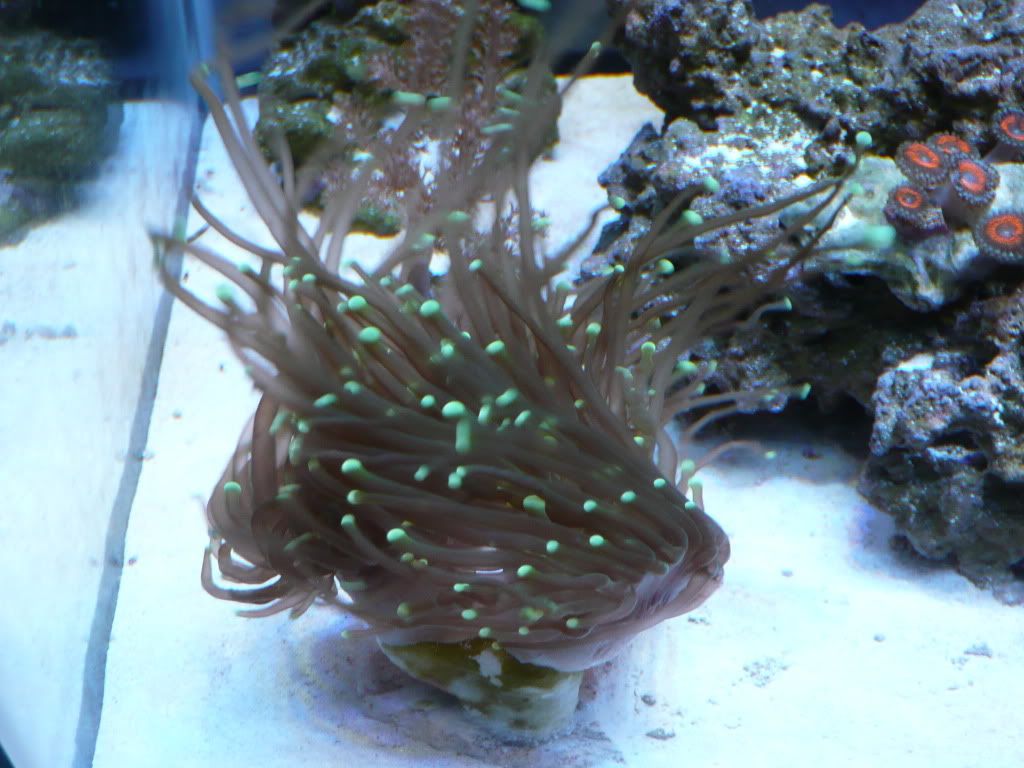 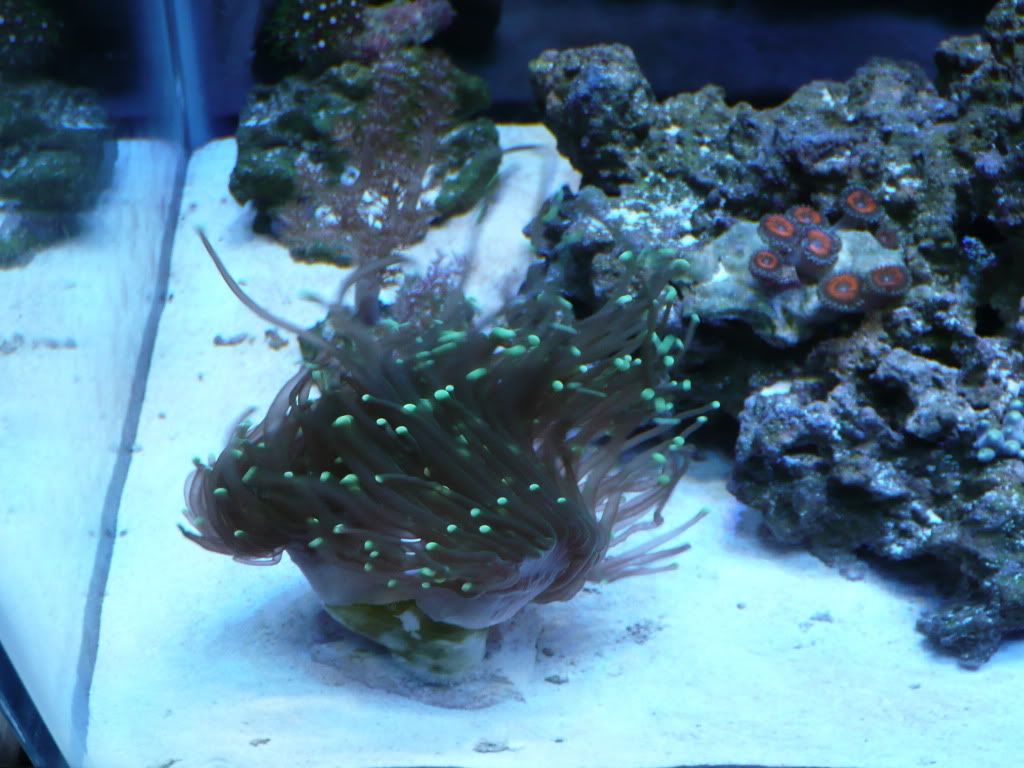 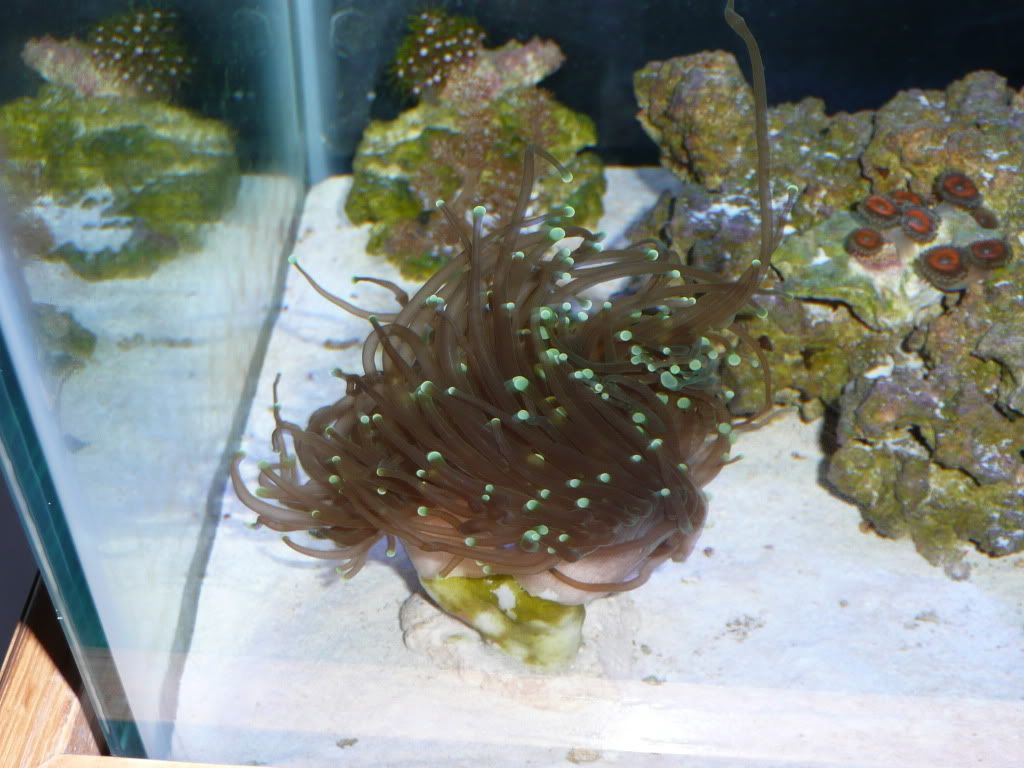 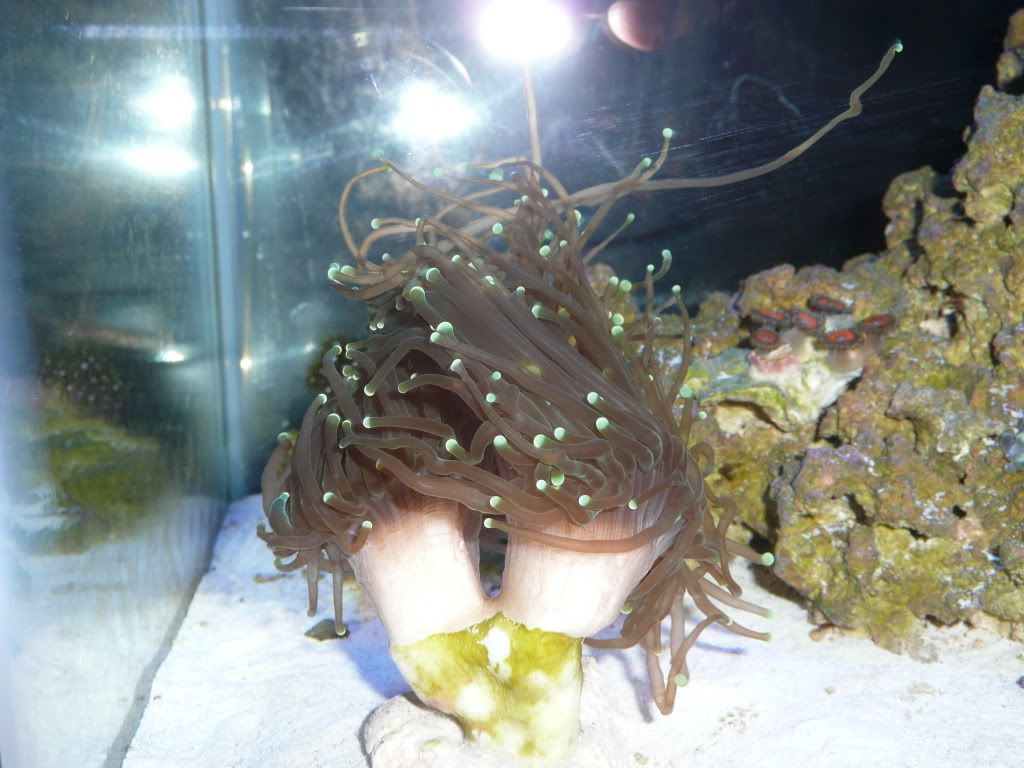 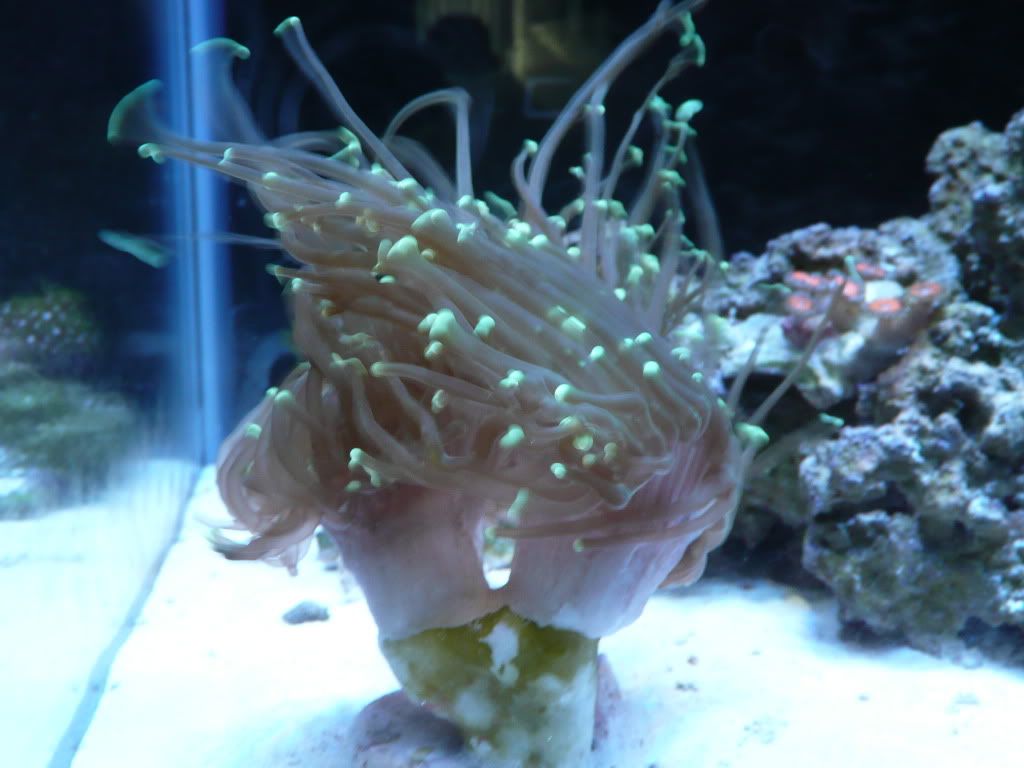 These pictures don't even do this Torch justice! The longest sweepers are probably 6-8 inches long! It has the brightest green tips I have ever seen! I suspect it is an Austrailian variant...Burt, can you confirm or refute this? All I know is I haven't seen anything near this nice in any of the LFS....ever!!!! Orange Digitata Idaho Grape Monti Pink Monti Zoa's Purple Paly's 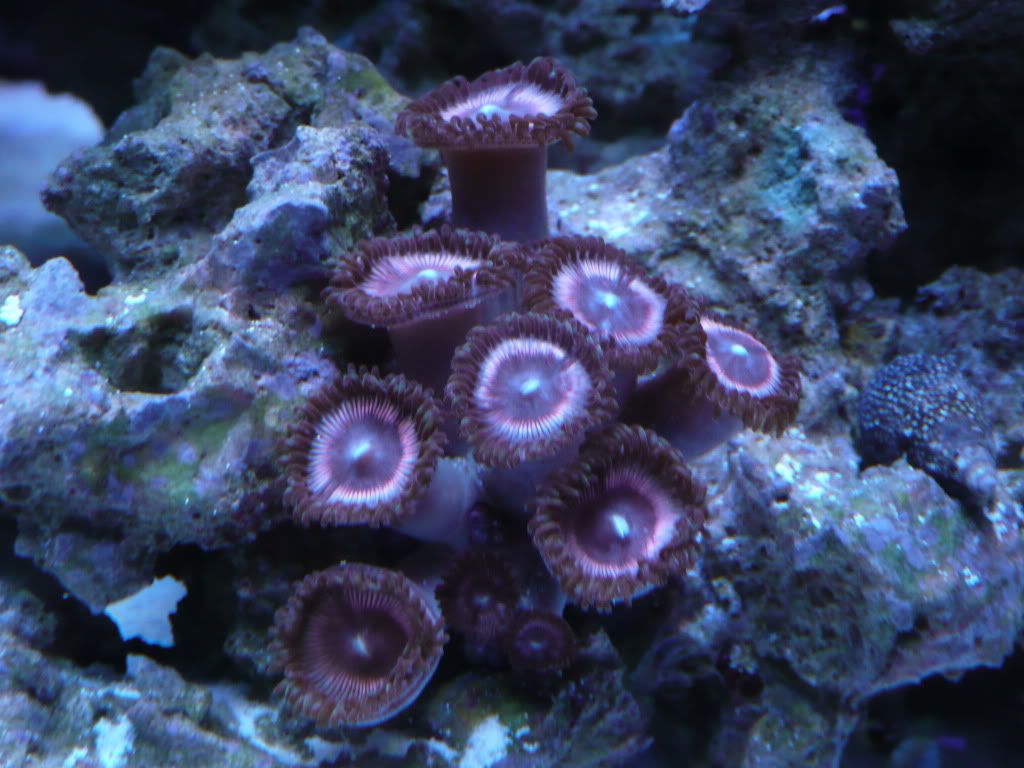 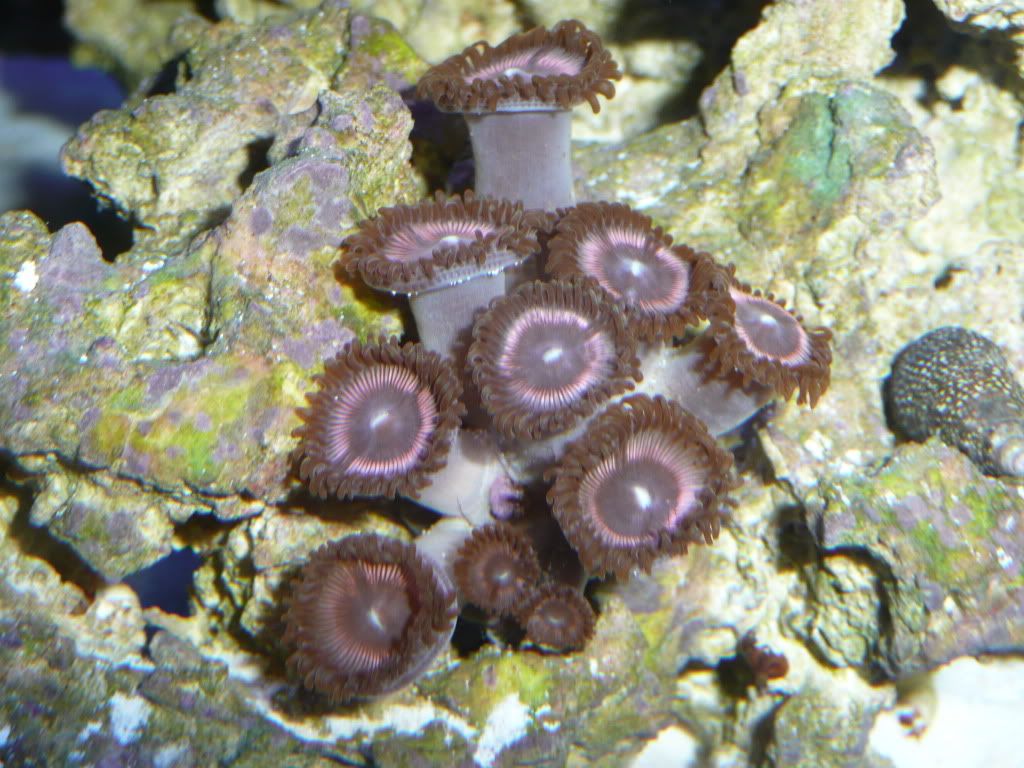 |
Posted By: jeromy
Date Posted: May 03 2012 at 10:46pm
| Looking good! Great job on the led fixture. |
Posted By: 08TRDOFFROAD
Date Posted: May 04 2012 at 12:26pm
| Thanks! I am very happy with the way it turned out. |
Posted By: Kaiden32
Date Posted: May 08 2012 at 3:57pm
| Nice job with the LEDs! There's no way I could have done that haha.. Your tank is looking awesome. |
Posted By: rufessor
Date Posted: May 08 2012 at 4:16pm
|
Nice JOB! +1 So how the heck do you get pictures that look anything like reality with the LEDs on. I have a Nikon D200 and a selection of lenses to choose from but I usually get crazy colors under the Blues and although the mixed shots are sorta kinda Ok... they basically SUCK. I really want to post pics but am so afraid of the pictures I have I have not posted anything! WHAT do you do for white balance? ------------- Everything should be made as simple as possible, but not simpler -A.E. 57 Gallon RImless build in progress check the thread before if becomes boring and just full of nice pictures of colorful coral! |
Posted By: 08TRDOFFROAD
Date Posted: May 16 2012 at 1:46pm
| Rufessor, to be honest I am just using a cheaper point and shoot Panasonic camera, I shoot with the white balance on auto and it just adjusts on its own. I usually don't even use the flash as it seems to wash the colors out a bit. But even the pictures I post are not an accurate rendering of color! |
Posted By: Kaiden32
Date Posted: May 16 2012 at 5:16pm
| Yeah in the past I have had problems taking pics of my tank with the LEDs. I don't really know why they make the camera freak out, but they do.. |
Posted By: 08TRDOFFROAD
Date Posted: May 17 2012 at 6:43am
|
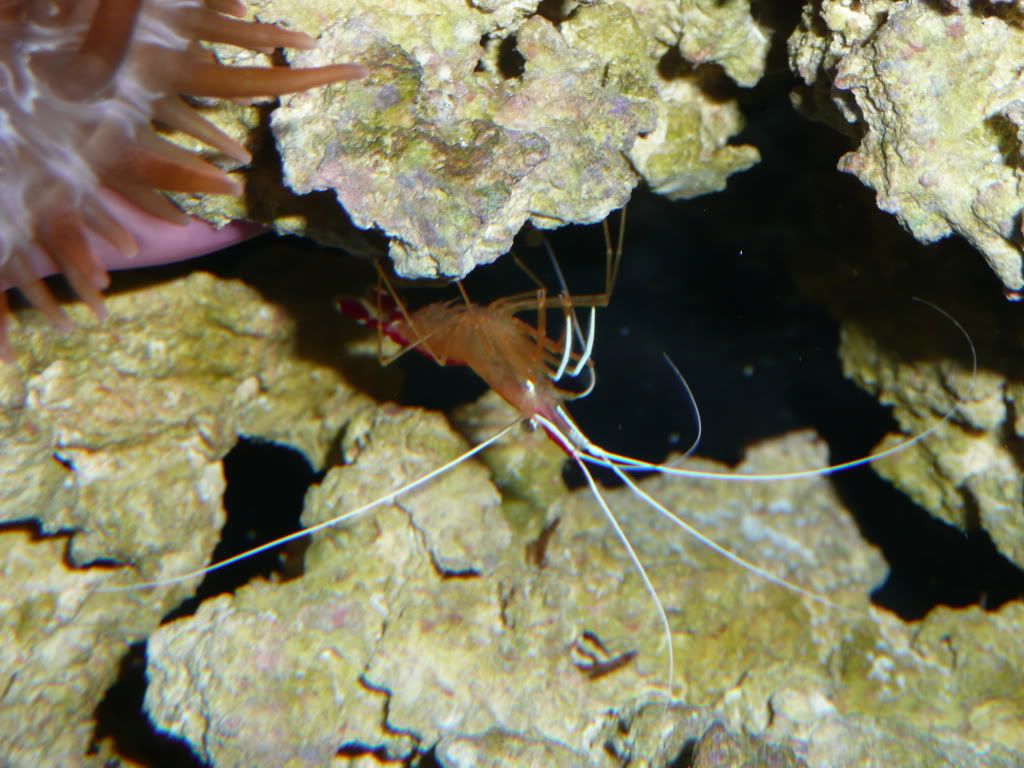
I took some new updated FTS and coral shots. I had a really hard time getting the camera to focus last night, so forgive some of the blurry shots, the Point and shoot didn't want to cooperateve very much! And these were taken right after I did a water change so some of the corals aren't at their happiest moments! FTS Rose Bubble Tip Anemones Torch Coral Hammer Nuclear Green Candy Cane Idaho Grape Monti Pink Monti Orange Digitata Kenya Trees Green Star Polyps Zoanthids Horizon Palys Purple Palys Green Toadstool Leather (not very happy) Skunk Cleaner Shrimp pair
|


Posted By: Hogie
Date Posted: May 17 2012 at 4:24pm
| I just read through the whole thread and, wow! That was pretty cool. It gives hope to a newbie like me to see the whole process and different stages of emotion of excitement, panic, despair, frustration, satisfactions and contentment. All the pictures are awesome! You build your own LED's?! Man, that's way out of my range. Thanks for all the work to do tell the story! |
Posted By: 08TRDOFFROAD
Date Posted: May 26 2012 at 7:16am
|
Last night while my wife and I were eating dinner, I noticed something "fishy" going on in the tank! I will let the pictures do the explaining!
My clownfish are hosting my Torch Coral!!!! Not exactly what I was hoping them to host, but it works for be! It was very cool to see just have playful their antics are with the Torch! Now hopefully eggs aren't too far in the future! |

Posted By: BillyC
Date Posted: May 26 2012 at 7:22am
| Very cool man! I like that first picture with the clown hanging out between the torch heads. |
Posted By: Kaiden32
Date Posted: May 26 2012 at 7:51am
| That's awesome man! My clowns wont host anything in my tank. I want to get an anemone and maybe the will host that haha. |
Posted By: builderofdreams
Date Posted: May 26 2012 at 9:14am
|
Very nice build and it looks Fantastic One question: Is your Hammer physically touching your leather. Hammer has a nasty sting and leather has a nasty toxin that is released when irratated. Might want to seperate the two. Just a thought. ------------- It's Not a Hobby It's an Obsession 150&210 Gallons of Madness and. Sanity! 801-850-4915 http://www.utahreefs.com/forum/forum_posts.asp?TID=65135&title=builderofdreams-feedback-post |
Posted By: 08TRDOFFROAD
Date Posted: May 26 2012 at 10:22am
| Yeah, I noticed last night that they looks like they are now coming into contact with each other down near the base of the leather (the hammer has grown a ton in the last few weeks). I need to figure out somewhere else to put the hammer! I am just nervous about moving it because it looks so good right now! |