I said I would post some photos so here are a few cell phone pics of the process.

The first step was of course to build a stand. I started with just a wood stud frame, which I will skin later with some nice wood (haven't decided yet).
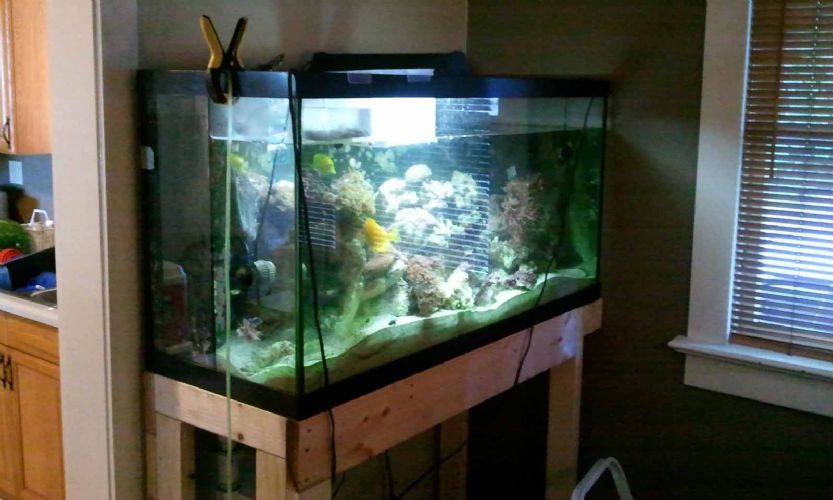
Next, I set the tank on the stand, leveled it, and began to fill. I was in a hurry to get livestock out of the coolers they'd been in for more than 2 days. So I put in all the rocks, sand, fish & coral, and filled it to about 3/4 full. I hadn't rigged the plumbing yet so i couldn't have water in the overflow.
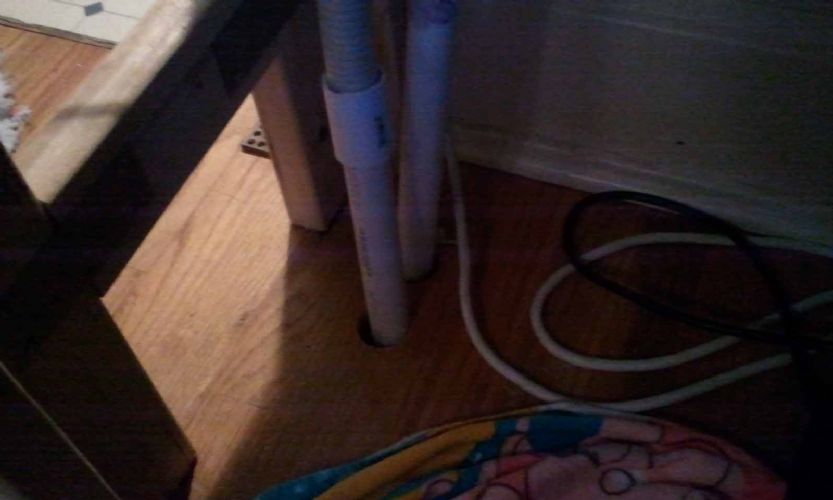
Next of course was to install all the plumbing and get the sump set up. Although my wife knew about my plans to plumb it to the basement, she was still initially upset when she saw the two holes in the nice hardwood floor. I just about burned out my drill getting through the T&G decking below! I wanted to go through the wall, then down, but it's quite difficult to do that with the 1920's wall construction.
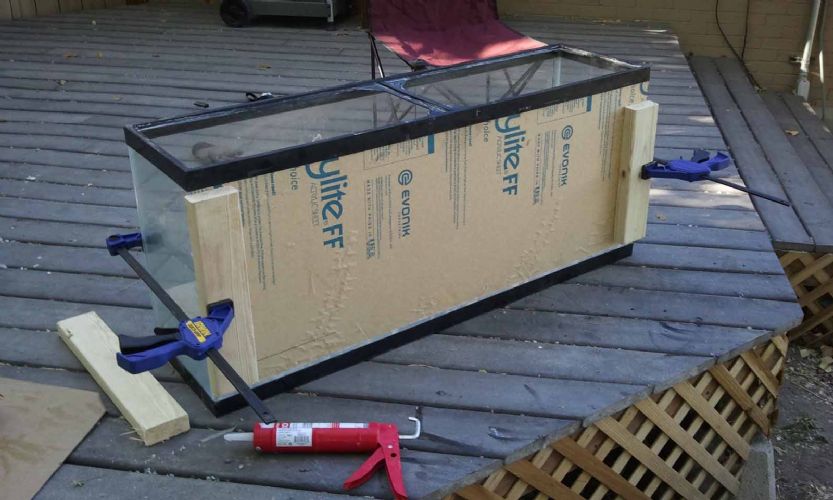
Originally I planned to resurrect a broken 55G tank I had lying around. I replaced the shattered back panel with a 3/8" piece of clear acrylic (not cheap BTW).
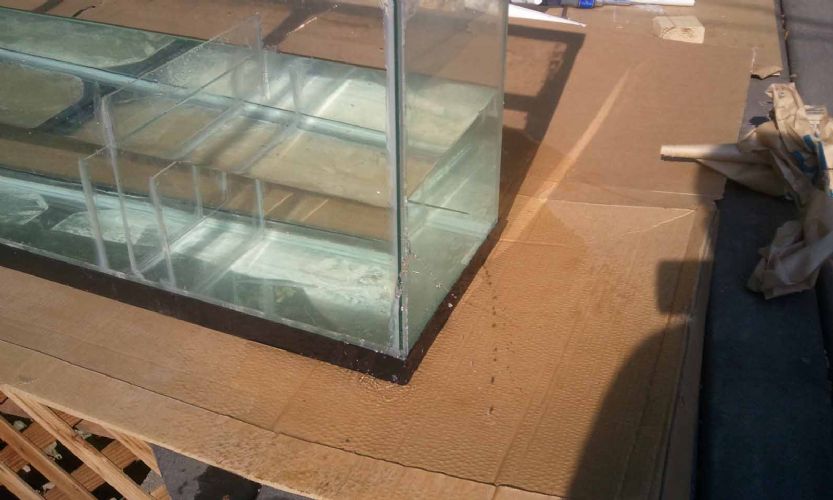

Unfortunately, the silicone did not adhere to the acrylic. I'm not sure why, other than maybe it was too hot sitting out on the deck for two days. Anyway, now the tank can be an excellent TERRARIUM if I remove the baffles!

This little setback was actually a blessing in disguise. I was about to shell out $200-300 for a brand new acrylic sump (around 40-60 gallons) when my wife pointed out that we now have an abundant supply of plastic storage totes we used for moving all our stuff. I have seen them used before successfully, but I also know that they can sometime off-gas and leach unwanted chemicals into the water if they haven't fully cured. The totes we have don't smell strongly of plastic, so I decided to go for it. Now I have a much larger water volume than I would have had with a different sump. Plus, I have built-in shelving with the system. I used some of our extra wire shelves and offset the uprights to compensate for the level change form the concrete pad to the floor.

Drain line split between skimmer chamber and refugium
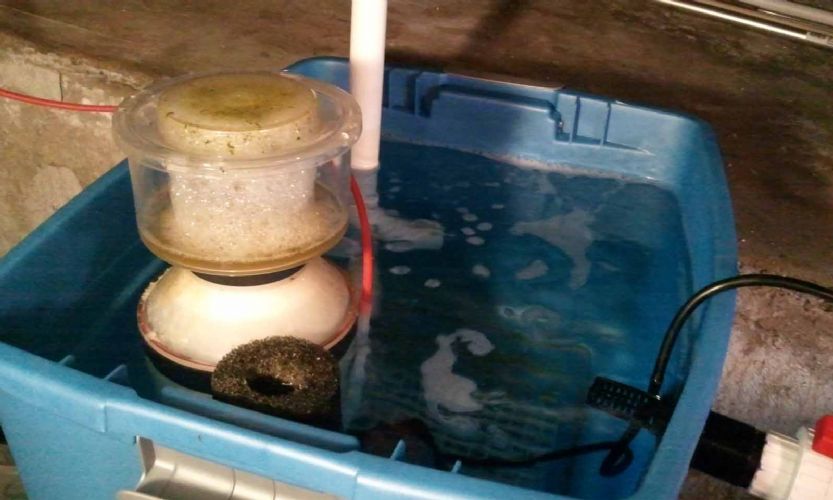
Skimmer
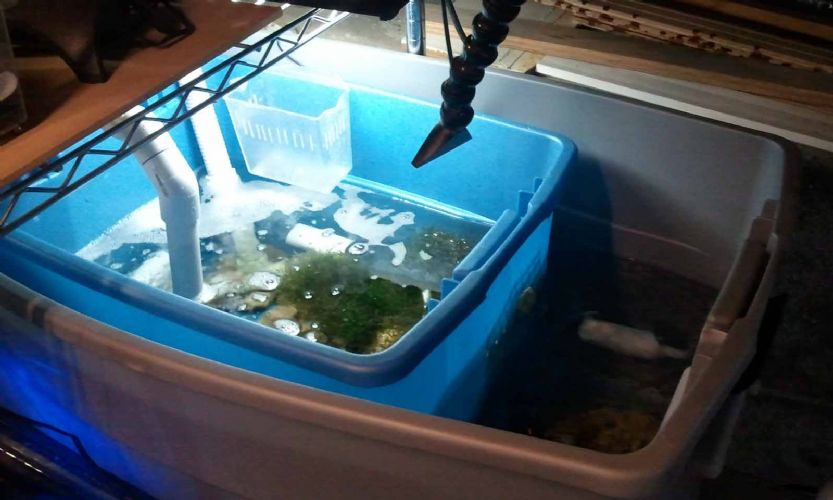
Refugium

Live ghost shrimp for my dwarf lion. Hey if anybody has any ideas on better food, or how to get the lion to eat frozen krill or something that would probably be healthier for him in the long run.
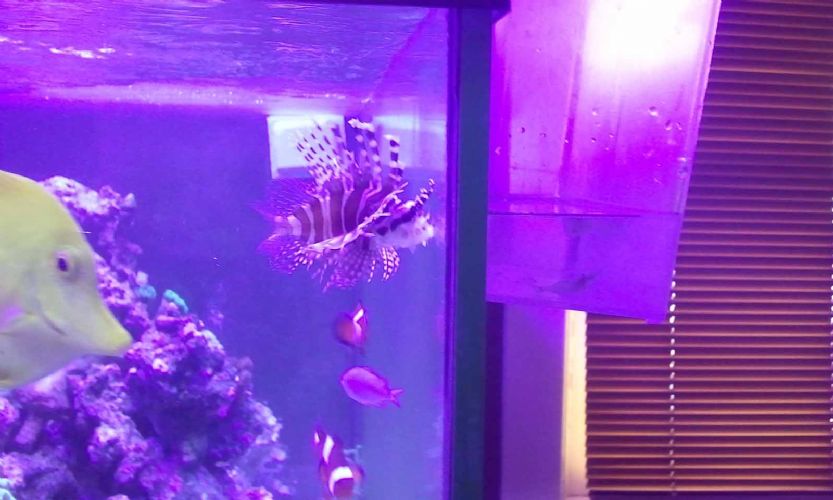
Here he is salivating
So with that all set up, the tank is looking and running great. Here are some pics with the aquascaping done:
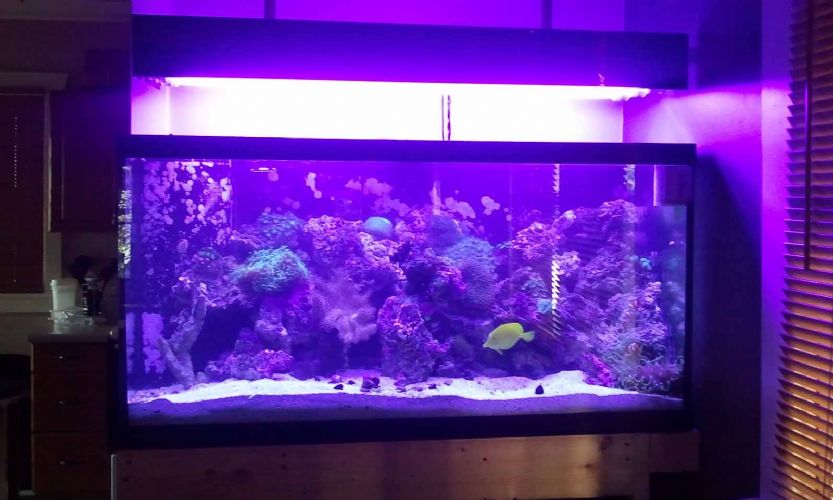
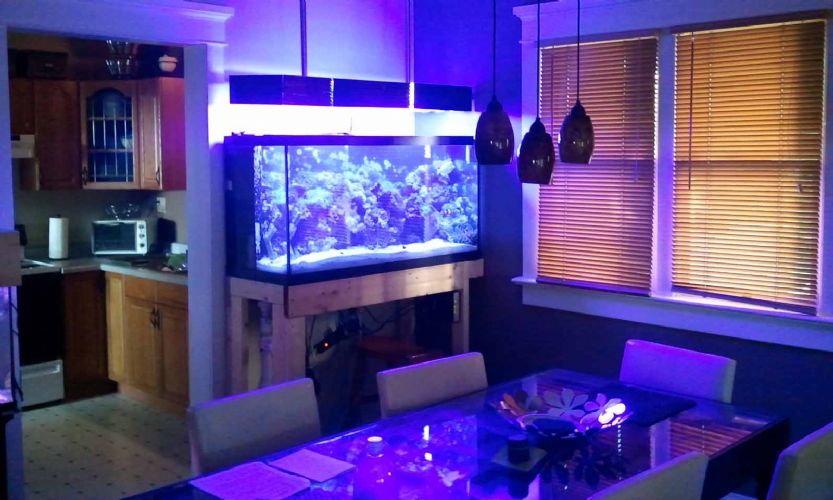
As I said before, I will put some sweet wood on that frame and build in some doors to access the plumbing and electrical controls.
Finally, due to the failure of my nice expensive >:( Little Giant 4-MDXQ-SC pump, which produced a ton of fantastic flow at the increased head height, I've been running on a spare. It's a smaller Little Giant, and after I refurbished it, it runs surprisingly well, just doesn't throw quite as much water as the other did. A few days ago i had the idea to plumb in a second pump (since i have another spare) to either run simultaneously to increase flow and/or serve as a backup/bypass if I need to service the other. So I rigged it up, and currently they are running side by side and producing roughly the same flow as the original pump did. The question will be how energy efficient they really are...I know if you're like me you like pictures, so here are some:
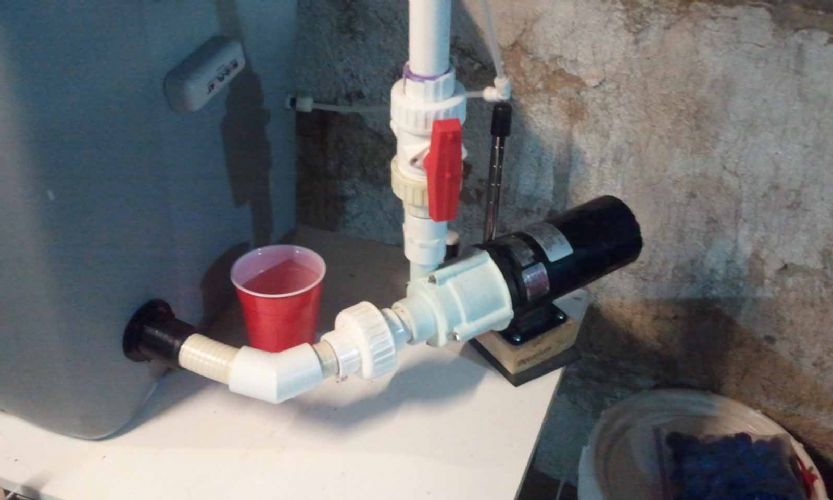
Single pump
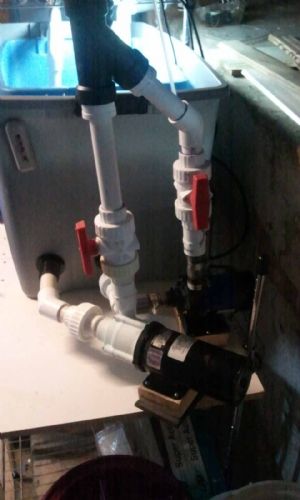
Dual pump setup with ball valves to shut off the inactive pipe

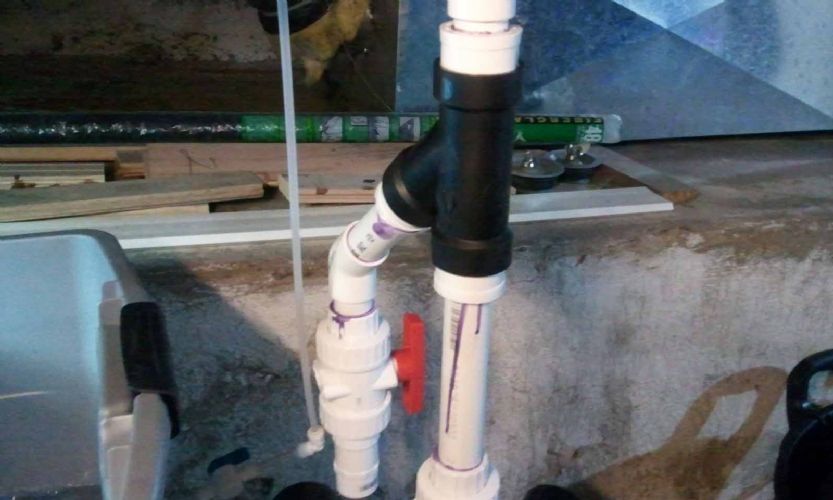
Both main pumps, and three Koralias (hidden behind the rocks) are all controlled by a second-hand WaveMaster.